


 My Orders




MLG19PDCXW Maytag Washer Dryer Combo - Overview
Diagrams for MLG19PDCXW
See every part. Know exactly what you need.
-
BASE (WASHER)

-
CABINET - FRONT (DRYER)

-
CABINET - FRONT (WASHER)

-
CABINET - REAR (DRYER)

-
CABINET - REAR (WASHER)

-
CONTROL CENTER (DRYER)

-
CONTROL PANEL (DRYER)

-
DOOR (DRYER)

-
DOOR & FRONT PANEL (WASHER)

-
DOOR SHROUD & DOOR LATCH ASSEMBLY (WASH)

-
DOOR SHROUD & DOOR LATCH ASSEMBLY (WASH)

-
GAS VALVE (DRYER)

-
MOTOR & MOTOR CONTROL

-
MOTOR DRIVE (DRYER)

-
OUTER TUB (WASHER)

-
SPINNER ASSEMBLY & OUTER TUB COVER (WASH)

-
TUMBLER (DRYER)

-
WIRING INFORMATION

Enter a part description. DIY Heroes keep it simple, eg. "belt" or "pump".
Search filter:
Clear Filter
Your search term must have 3 or more characters.

$22.52
In Stock
Drum Support Roller Kit
Part #12001541
The drum support roller (Dryer Drum Support Roller, Drum Roller and Washer Assembly) holds the drum in the proper position while it spins on the support wheels. This part rotates on the roller shaft which is attached to the rear bulkhead. This part should be replaced whenever it does not rotate easily on the roller shaft. If you’re notici...Read moreng a thump, scrape, or squeal while your drum is spinning, it may be your drum support rollers. Take a look at your existing drum rollers; if one or both of them are worn or broken, you’ll need to replace them. The drum support roller is subject to constant wearing when your dryer is in use, which causes them to break down over time. This part features 1 roller and 2 small washers, and measures approximately 3 inches in diameter. It is constructed with a combination of plastic, metal and rubber. This model comes in black/beige.
Read less

$28.42
In Stock
M Series New Style Coil Kit
Part #279834
When the igniter reaches a high enough temperature, these coils (Coil Valve, Dryer Gas Valve Coil Kit, Dryer Valve Coil Kit, Gas Valve Solenoid) work together to open the gas valve and allow the gas to enter the burner. This is a safety mechanism to ensure that there are no unsafe buildups of gas inside your appliance. The coils are attac...Read morehed to the dryer gas valve. If the dryer does not heat or heats intermittently, the coil may not be opening the gas valve. Both coils must be operational for the valve to open. No continuity would indicate a defective coil, but they can be intermittent and fail when they get hot. Both coils should be replaced when one of them is broken. This part can break as a result of material fatigue from normal use. This part measures approximately 1 inch in diameter and 1 inch in height, and is constructed of plastic and metal. It comes in black/beige. This part features a 3-terminal boost/hold coil and a 2-terminal secondary coil
Read less

$12.85
In Stock
Front Glide Kit
Part #306508
The front glide is located at the front of the dryer, the drum rides along it. If you hear a metal-on-metal noise when your dryer is running, your front glide may be worn out and require replacing. This front glide kit comes with a blue plastic glide, a brown cork pad, and two metallic rivets. Two kits are required per appliance. While yo...Read moreu have the front bulkhead removed for this repair, you may want to inspect the felt that lines it. If the felt is damaged, it is recommended that you replace it at the same time. You will need a rivet tool for this installation, as well as a stubby Phillips screwdriver, a 5/16 nut driver, and a drill with a 1/8-inch bit.
Read less

No Longer Available
Roller Shaft
Part #WP6-3129480
This roller shaft is also known as a support roller shaft or a drum roller axle, and is a part for your dryer. The function of this piece is to act as the axle for the drum roller; it provides a place for the roller to spin. The tools required for this repair are a stubby Phillips screwdriver, a 5/16 nut driver, a pair of snap ring pliers...Read more, and a 9/16 wrench. The first step before replacing this part should be to disconnect your dryer from the power source.
Read less

$27.36
In Stock
Multi Rib Belt - 91-5/8 Inches
Part #WP33002535
This multi rib belt spins the dryer drum during the drying cycle. This belt is 91-5/8 inches in length, 3/8th of an inch wide and has five ridges. It is black in color and made of rubber. You may need to replace the belt if your dryer is noisy or will not tumble.

$6.40
In Stock
Dryer Retaining Ring
Part #WP9703438
This part is a retaining ring, sometimes called a retaining clip, that holds the drum support roller onto the shaft of a dryer. It is made entirely of metal and measures less than an inch in diameter. The retaining ring is a genuine OEM part sourced directly from the manufacturer. The ring may vary in appearance due to manufacturer substi...Read moretution, but the function is the same. You may need to replace this part if the dryer is noisy during tumbling, will not tumble, or takes too long to dry. Be sure to check drum support roller kit and shaft before ordering parts.
Read less

$19.30
In Stock
Dryer Idler Pulley Wheel & Bearing
Part #WP6-3700340
The idler pulley tightens the drive belt to properly spin the dryer drum. It is attached to an idler bracket. This part comes with the idler pulley and center bearing. To replace this part, you will need a Phillips screwdriver, channellock pliers, a 5/16ths nut driver, and a flat blade screwdriver. Make sure to disconnect power to the dryer before beginning this repair.

$35.80
In Stock
Dryer Radiant Flame Sensor
Part #WP338906
If your gas dryer is not heating up or igniting, then replacing the flame sensor, located in the burner assembly, could solve it. This part senses heat from the igniter to monitor if it is hot enough to ignite gas to light the burner. Once the igniter is hot enough it will open the valve and allow gas to flow. This is a safety mechanism t...Read moreo prevent dangerous levels of gas from building up. To repair, the main top of the dryer should be lifted, as well as the front panel to access the component. This flame sensor assembly is made of both plastic and metal.
Read less

$12.85
In Stock
Drum Roller Shaft Washer
Part #WP312535
If you notice that your dryer is noisy or will not tumble, then you may need to replace the drum roller shaft washer. This drum roller shaft washer is just under an inch in diameter and is sold individually. It is located on the shaft of the drum roller, in the interior of your dryer. To access the drum roller shaft, you will need to remo...Read moreve the front panel of your dryer, and then remove the drum. Before completing this repair, be sure to disconnect the power source from the dryer. Tools required for this repair include a 5/16 nut driver, a stubby Phillips screwdriver, and a pair of snap ring pliers.
Read less

$28.42
In Stock
Flat Style Igniter
Part #4391996
This flat style igniter comes with a wire harness connector. This part ignites the gas within the dryer. Bracket is NOT included.

$19.30
In Stock
Dryer Drum Felt Seal
Part #WP33001807
This is a drum felt seal for your dryer. It creates an airtight seal between the dryer rear panel and the back of the drum. It is important that this seal be flexible so it does not interfere with the function of the appliance. This model may be used for the front or the rear of your appliance. Take note that the adhesive is not included....Read more The most common reason for needing to repair this part is if your dryer will not tumble, or there is not enough heat to properly dry your clothing.
Read less

$12.85
In Stock
Idler Pulley Shaft Washer
Part #WPY312527
This idler pulley shaft washer is used with many clothes dryers. It is less than an inch long, and it is black in color.
Common Symptoms of the MLG19PDCXW
How this model fails, and the parts that fix it.
Noisy
Fixed by
these parts
these parts


Show All
Leaking
Fixed by
these parts
these parts


Show All
Not Heating
Fixed by
these parts
these parts


Show All
Will not drain
Fixed by
these parts
these parts


Show All
Door won’t close
Fixed by
these parts
these parts


Show All
Marks left on clothes
Fixed by
these parts
these parts

Show All
Drum Not Spinning
Fixed by
these parts
these parts


Show All
Too hot
Fixed by
these parts
these parts

Show All
Won’t Start
Fixed by
these parts
these parts


Show All
Burning smell
Fixed by
these parts
these parts
Show All
Will not agitate
Fixed by
these parts
these parts
Show All
Spins slowly
Fixed by
these parts
these parts
Show All
Spinning Issues
Fixed by
these parts
these parts

Show All
Door Pops Open
Fixed by
these parts
these parts
Show All
Running With Door Open
Fixed by
these parts
these parts
Show All
Door latch failure
Fixed by
these parts
these parts

Show All
Will Not Start
Fixed by
these parts
these parts

Show All
Watch our pros, then fix it yourself.
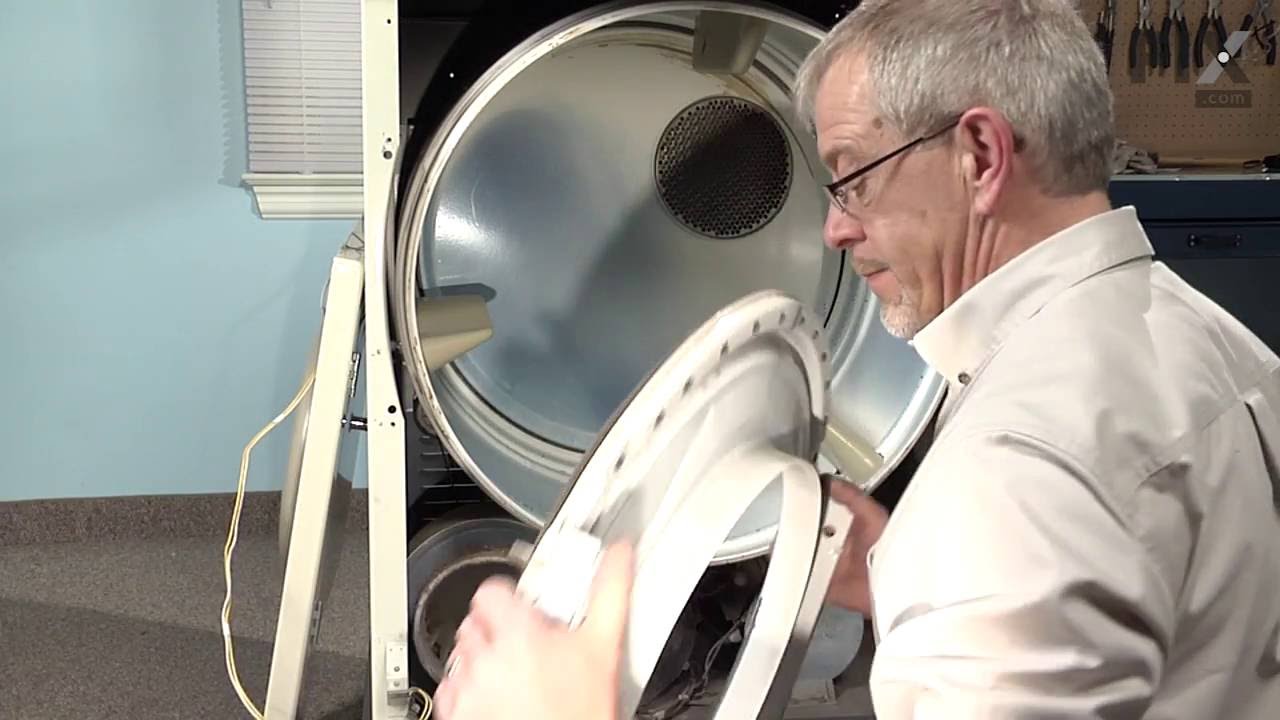
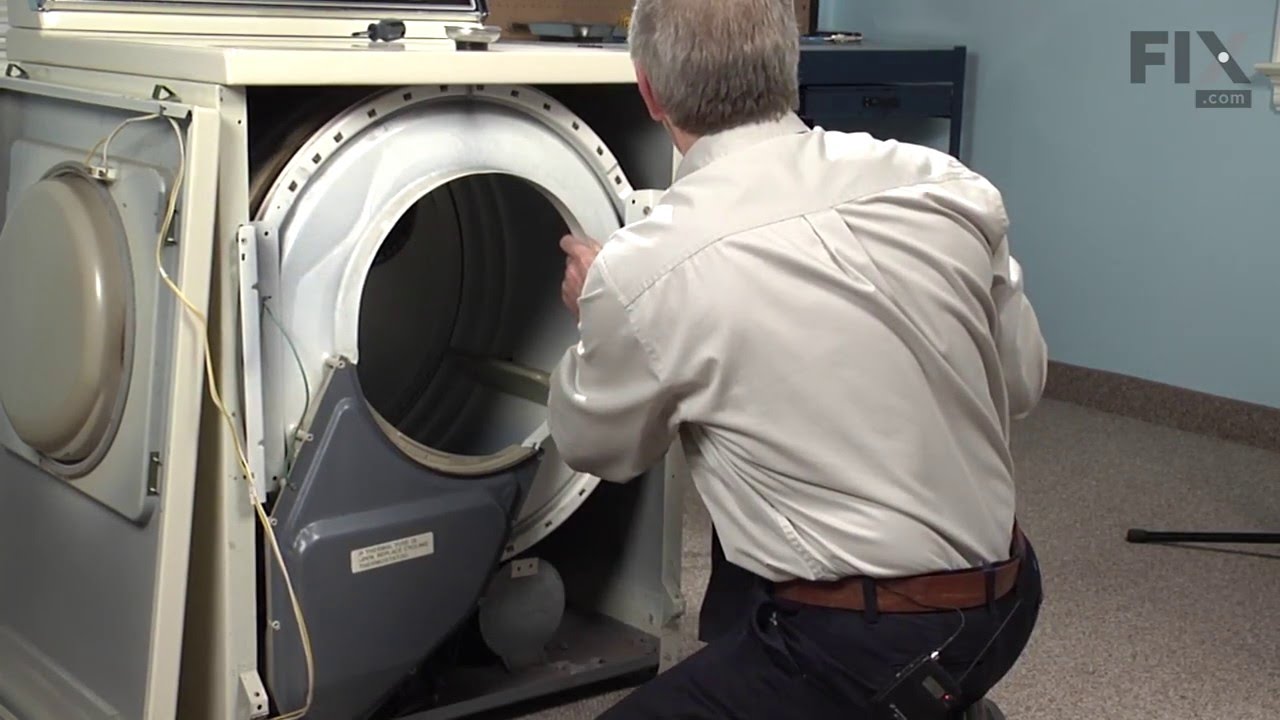
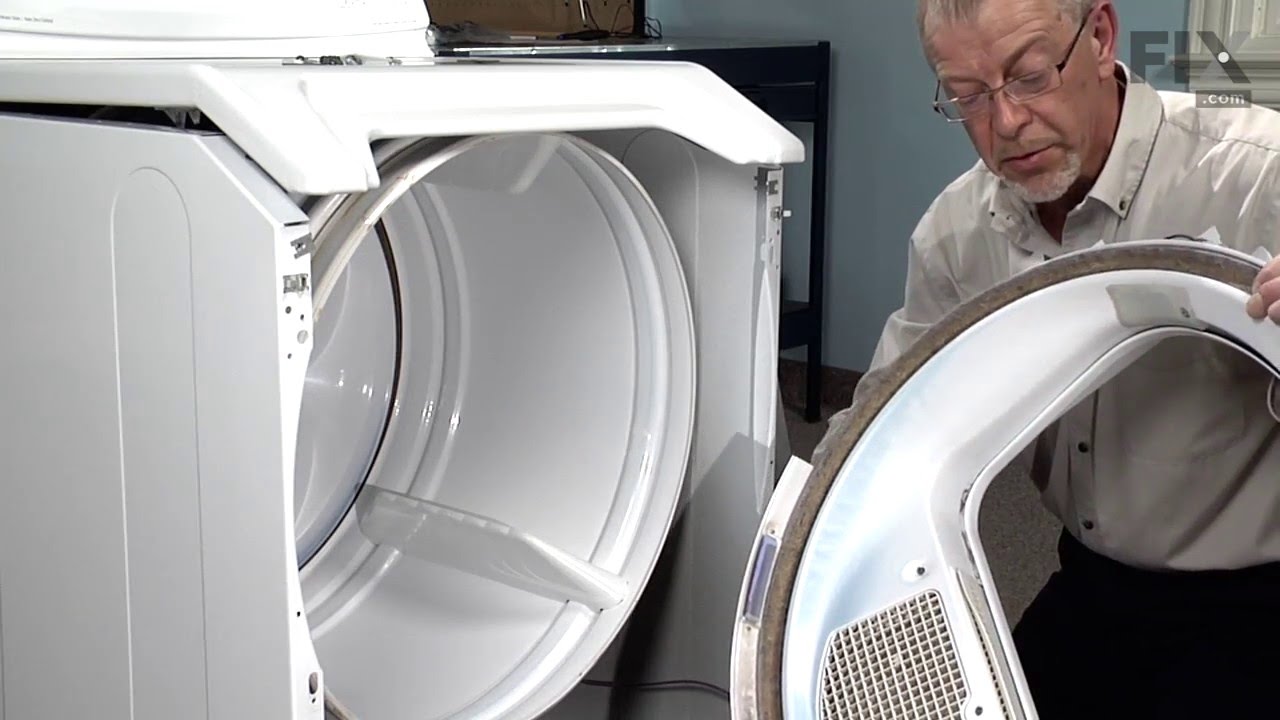
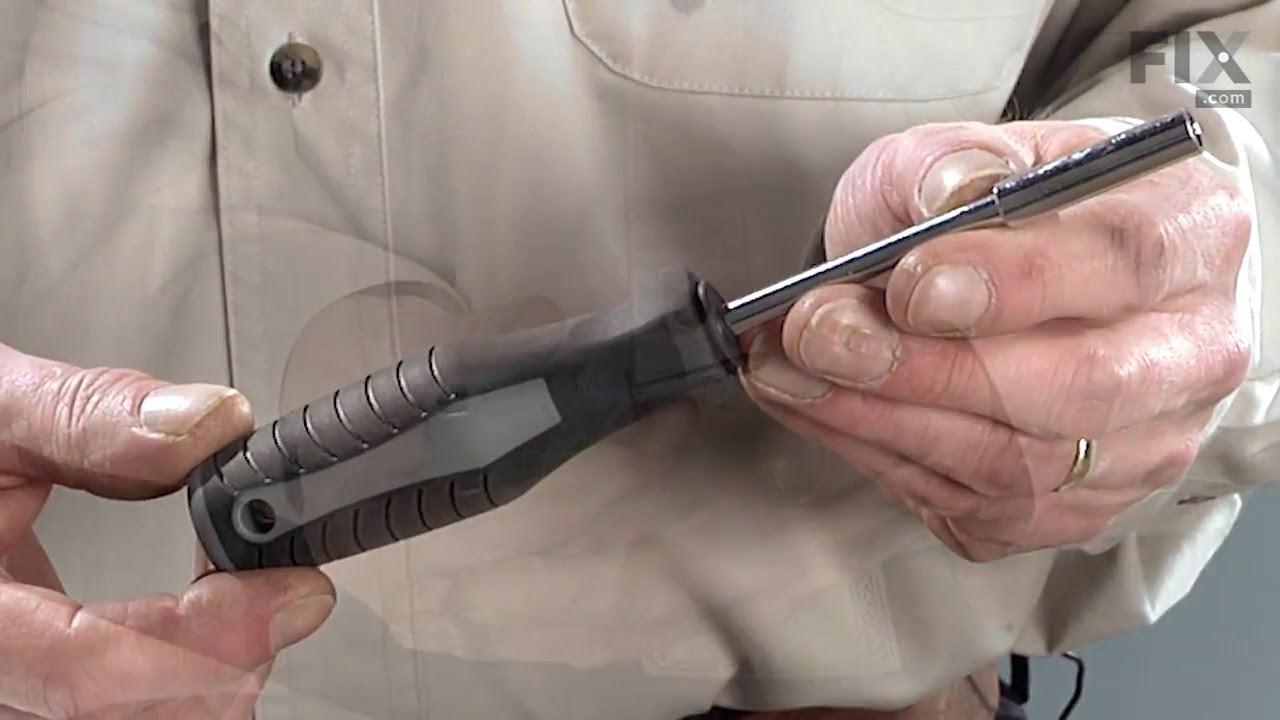
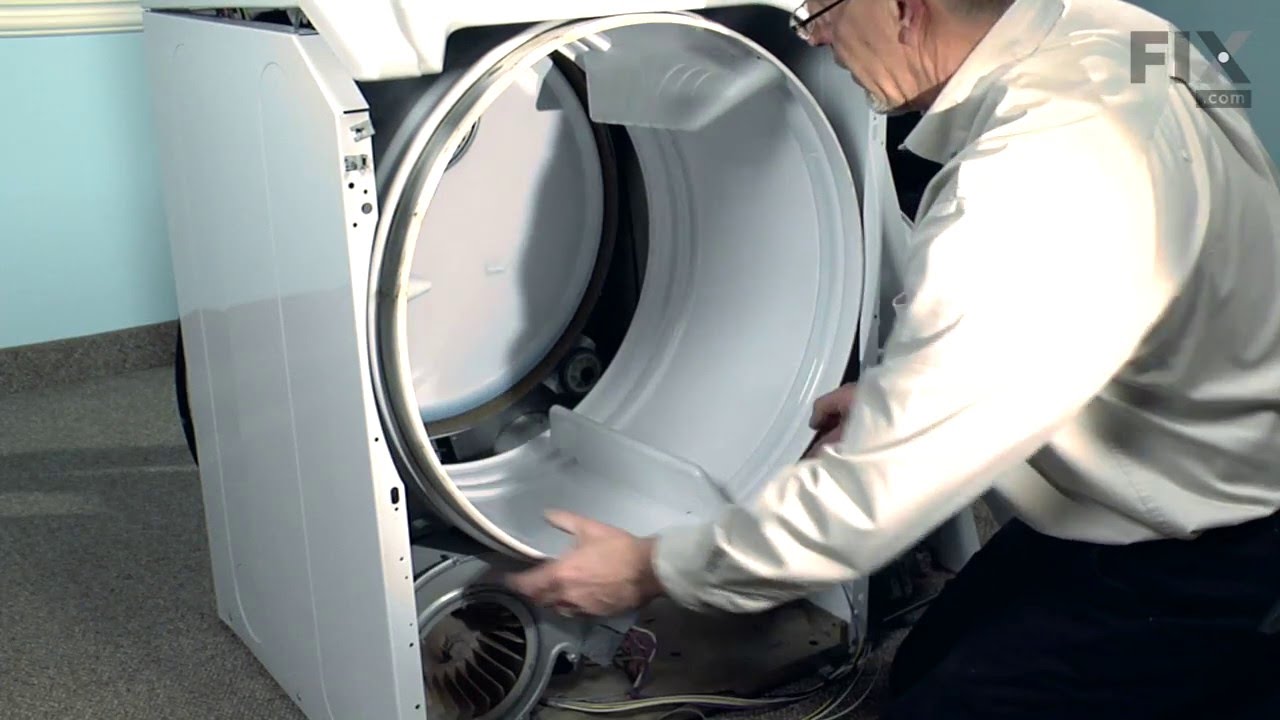
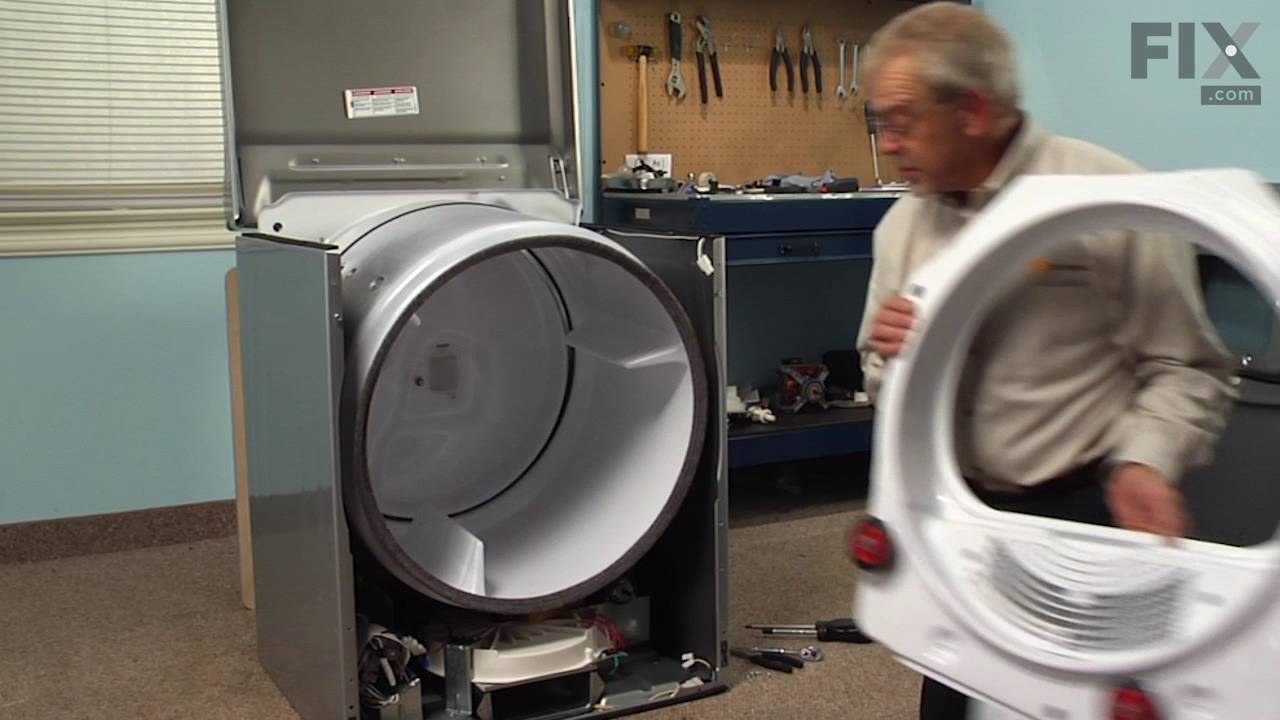
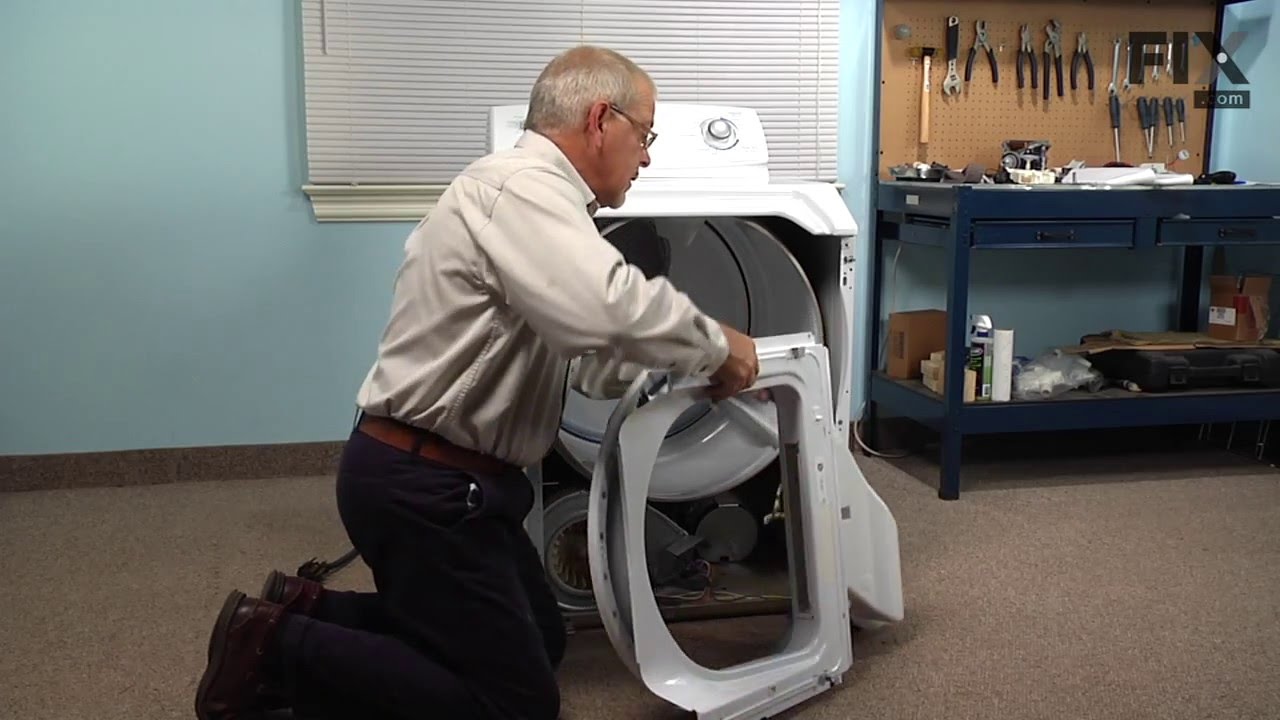
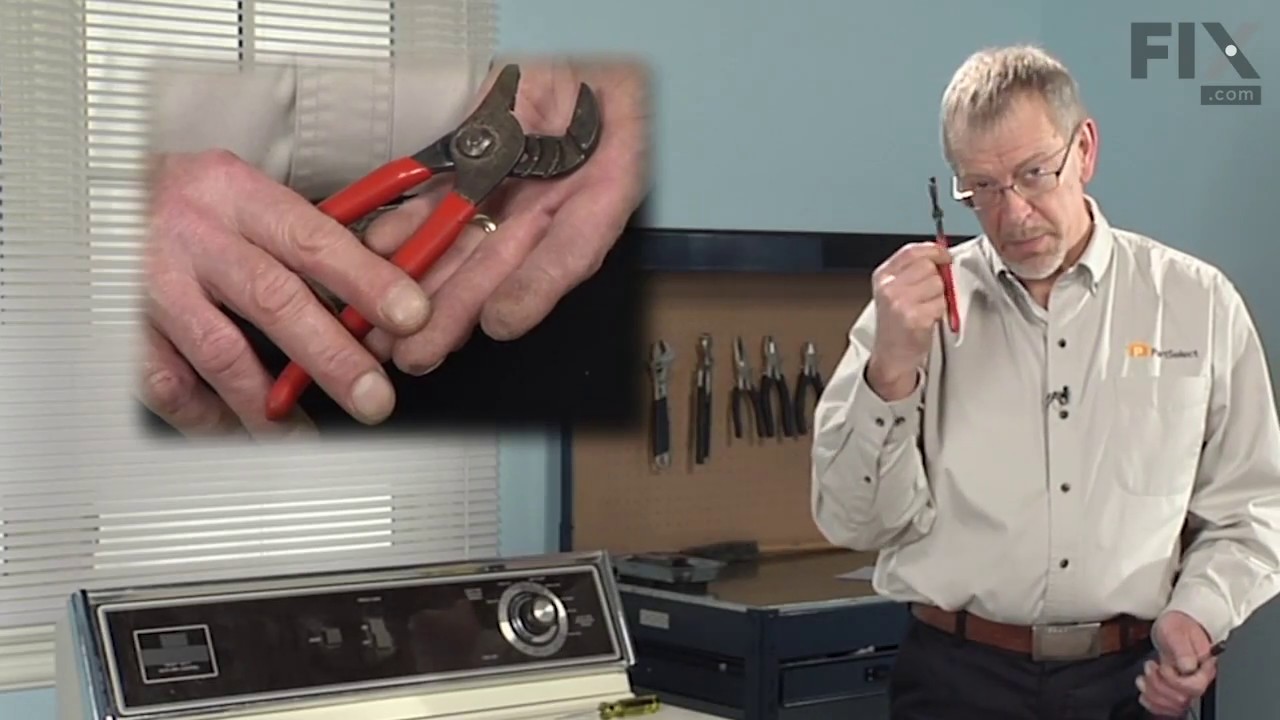
See how others fixed this model. Time, tools, difficulty, and steps that lead to victory!
View More
Search repair tips from other customers using simple keywords like "replace", "fit", "remove", "inspect". DIY doesn't mean you have to do it alone!
Search filter:
Clear Filter
Your search term must have 3 or more characters.
noisy rollers, broken latch
673 of 705 people
found this instruction helpful.
first, I unplug the power supply of the dryer then I removed the two screws at the bottom of the dryer then pulled out the front part of the dryer,unplugged the blue & yellow wire for the on/off switch for the door,at the back of the dryer I unscrew the pannel for the belt,disconect the belt,and I unscrew the four screws on both side of t
... Read more
he front pannel to remove the front cover of the drum. Once I removed the front cover of the drum I can now remove the drum itself to access the drum support roller. I unscrew the rollers then replace it with the new once. It was an easy job.
Thank you.
Thank you.
Read less
Other Parts Used:

Was this helpful?
Thank you for voting!
dryer squeeking
525 of 567 people
found this instruction helpful.
removed front panel,lifted top, removed drum and drive belt,remove old rollers and acc and instlled new and reinstalled dryer parts.
Other Parts Used:

Was this helpful?
Thank you for voting!