


 My Orders




MGC7636WB00 Maytag Cooktop - Overview
Diagrams for MGC7636WB00
See every part. Know exactly what you need.


Enter a part description. DIY Heroes keep it simple, eg. "belt" or "pump".
Search filter:
Clear Filter
Your search term must have 3 or more characters.

$7.47
In Stock

$49.50
In Stock
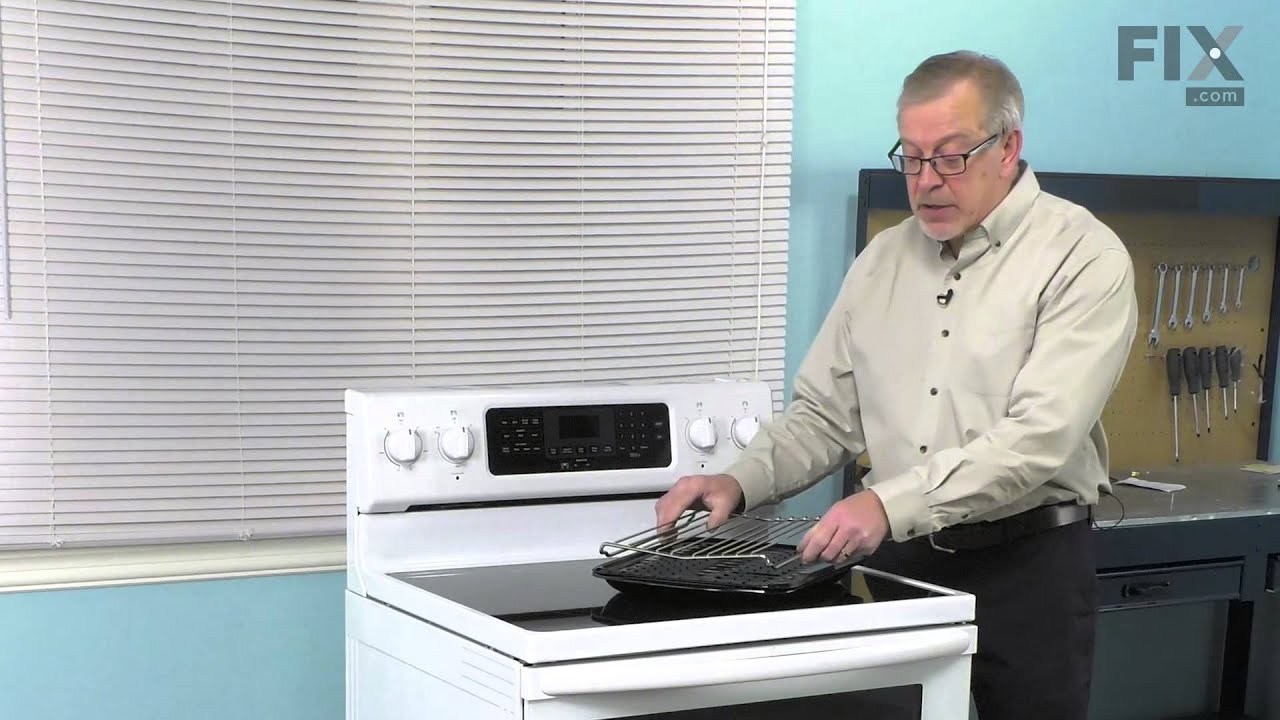
2 Piece Broiler Pan
Part #4396923
This broiler pan and roasting rack set is designed to help reduce mess while cooking by allowing grease to drain away from food. Its durable porcelain-coated construction stands up to high temperatures and makes cleanup simple. With approximate dimensions of 16 3/4 inches long, 12 3/4 inches wide, and 1 3/4 inches high, it offers a convenient size for everyday broiling and roasting.

No Longer Available
Cooktop Cleaner
Part #W10355051
This bottle of non-abrasive cooktop cleaner breaks down and gets rid of the hardest baked-on stains and residue without causing any harm to your appliance. The bottle is 10 oz and does not require a large amount of product to do the job. This cleaner is perfectly safe to use on any glass, ceramic, stainless steel, chrome, or porcelain coo...Read morektop surface. The cleaner is creamy in texture and provides a protective coat of silicone on smooth surfaces. To apply, use a gentle scrub, sponge, or rag and gently press in a circular motion until the stains are removed.
Read less

$11.77
In Stock
Appliance Scraper
Part #WA906B
Use this scraper for your ceramic/glass cooktop. It has a retractable blade and is an all-purpose tool for cooktops, mirrors, windows and tile. Use it to also remove paint, paper, dirt, stickers and more.

$82.56
In Stock

$62.60
In Stock
Burner Cap - Left and Right Front
Part #WPW10183368
This burner cap sits on top of the burner base. Sold individually.

$11.77
Special Order
CLEANER
Part #W10336909

$55.29
In Stock

$55.29
In Stock
Burner Cap - Right Rear
Part #WPW10183370
This burner cap sits on top of the burner base. Sold individually.

$48.45
In Stock

$135.40
On Order

No Longer Available
Stainless Steel Cleaner
Part #31462A
Use this bottle of stainless steel cleaner and polish for any of your stainless steel appliances.
Watch our pros, then fix it yourself.
See how others fixed this model. Time, tools, difficulty, and steps that lead to victory!
View More