



 My Orders




MFW7020RF0 Whirlpool Washer - Overview
Diagrams for MFW7020RF0
See every part. Know exactly what you need.


Enter a part description. DIY Heroes keep it simple, eg. "belt" or "pump".
Search filter:
Clear Filter
Your search term must have 3 or more characters.

$7.47
In Stock
Washer Hose Clamp
Part #WP596669
This hose clamp is used in a wide variety of household appliances. Most often it is found in washers, dishwashers, refrigerators, freezers, dehumidifiers, garbage disposals, or air conditioners. This clamp is used to securely attach a hose to another part of your appliance, which helps prevent leaks from those connections. Depending on th...Read moree appliance, it can attach hoses to drain pumps, water inlet valves, pressure switches, and injector nozzles. We recommend you refer to model-specific diagrams for appropriate uses and exact placement. This hose clamp is made of metal, and is sold individually. To access and replace this part you will need a nut driver, pliers, and screwdrivers. Before you begin any repair work, make sure you have unplugged your appliance, and shut off the water supply if applicable.
Read less

$90.36
In Stock
Hinge
Part #WPW10208415
This is a door hinge, which allows for your washer door to properly shut during the washing cycle, and open after it is finished. If your door hinge is bent or broken and not allowing the door to shut properly, this hinge needs to be replaced immediately. Replacing this hinge will require a screwdriver to remove and install. This door hin...Read morege is an OEM part made of durable metal, and does not come with any other parts, like the necessary securing screws or install bracket.
Read less

$19.30
In Stock
Dryer Cap
Part #WPW10208398
This is a dryer door hinge cap, also known as a bushing, which is a durable plastic cap that is installed on the door hinge and is used to allow your dryer door to operate smoothly when opening and closing. If the door for your dryer is not properly opening and closing, this cap needs to be replaced immediately. To replace this door hinge...Read more bushing, you will need a screwdriver to remove and disassemble the door for your dryer. This door hinge bushing is sold individually, but normally wears at the same rate as the others within your dryer door, so order as many as are needed.
Read less

$22.52
In Stock

$8.55
In Stock
Washer Hose Clamp
Part #WP616099
Note: This part has been updated by the manufacturer. It may appear different but will still function the same as the original. The hose clamp is about 2 inches in diameter and made of stainless steel. A hose clamp generally attaches hoses and tubes to various equipment This part consists of a band and a screw that tightens along the slot...Read mores when it is turned. This part works with washers, dishwashers, food waste disposers, and ice makers. This will need to be replaced if you notice leaking coming from the appliance.
Read less

$28.42
In Stock
Affresh Washing Machine Cleaner Tablets – 6 Count
Part #W10501250
This Affresh Washing Machine Cleaner deep cleans to help remove the odor-causing residues and grime that daily loads leave behind. The time-release tablets are EPA Safer Choice certified, septic-safe and designed to clean inside all machines, including HE (High Efficiency). Use monthly or every 30 cycles for a consistently clean machine.

$9.62
In Stock
Washer Hose Clamp
Part #WP356138
This clamp helps to prevent leaking by holding the end of water hose in place.

$74.08
In Stock

$27.36
In Stock
Boot Seal Retaining Ring
Part #W11266654
This is an OEM boot seal retaining ring for various models of front-load washing machines. This retaining ring is used to clamp down and secure the inner boot, also known as a seal or gasket, of your washing machine. Over time and with extended use, this retaining ring may break or become worn out, and need replacing. This ring measures ...Read morefeatures a diameter of approximately 16.3 inches and is made of metal. Because this ring is highly compressed, you will need a set of pliers to secure it around the boot seal of your washing machine. This retaining ring is sold individually, so it does not come with any other parts.
Read less

$67.82
In Stock
Stack Kit
Part #W10869845
This stacking kit allows compatible front-load washer and dryer models to be stacked vertically. It is designed to maximize laundry space and can be used on various models. Please use your model number to verify compatibility before purchasing.

$9.62
On Order

$132.14
In Stock
PUMP-WATER
Part #W11458345
This water pump assembly is a genuine replacement component designed to efficiently remove water from the washer during the drain cycle. Engineered for select washing machine models, it plays a critical role in maintaining proper drainage and cycle performance. A malfunctioning pump may result in standing water, slow draining, or cycle in...Read moreterruptions. Constructed from durable materials, this OEM part ensures reliable operation and long-term use. Installation should be performed with the washer unplugged, and model compatibility must be verified prior to purchase.
Read less
Common Symptoms of the MFW7020RF0
How this model fails, and the parts that fix it.
Leaking
Fixed by
these parts
these parts


Show All
Door won’t close
Fixed by
these parts
these parts


Show All
Lid or door won’t close
Fixed by
these parts
these parts

Show All
Door Sags
Fixed by
these parts
these parts
Show All
Water Filling Issues
Fixed by
these parts
these parts


Show All
Will not drain
Fixed by
these parts
these parts

Show All
Does not dispense fabric softener or detergent
Fixed by
these parts
these parts
Show All
Locking Issues
Fixed by
these parts
these parts
Show All
No hot or cold water
Fixed by
these parts
these parts
Show All
Draining Issues
Fixed by
these parts
these parts
Show All
Watch our pros, then fix it yourself.
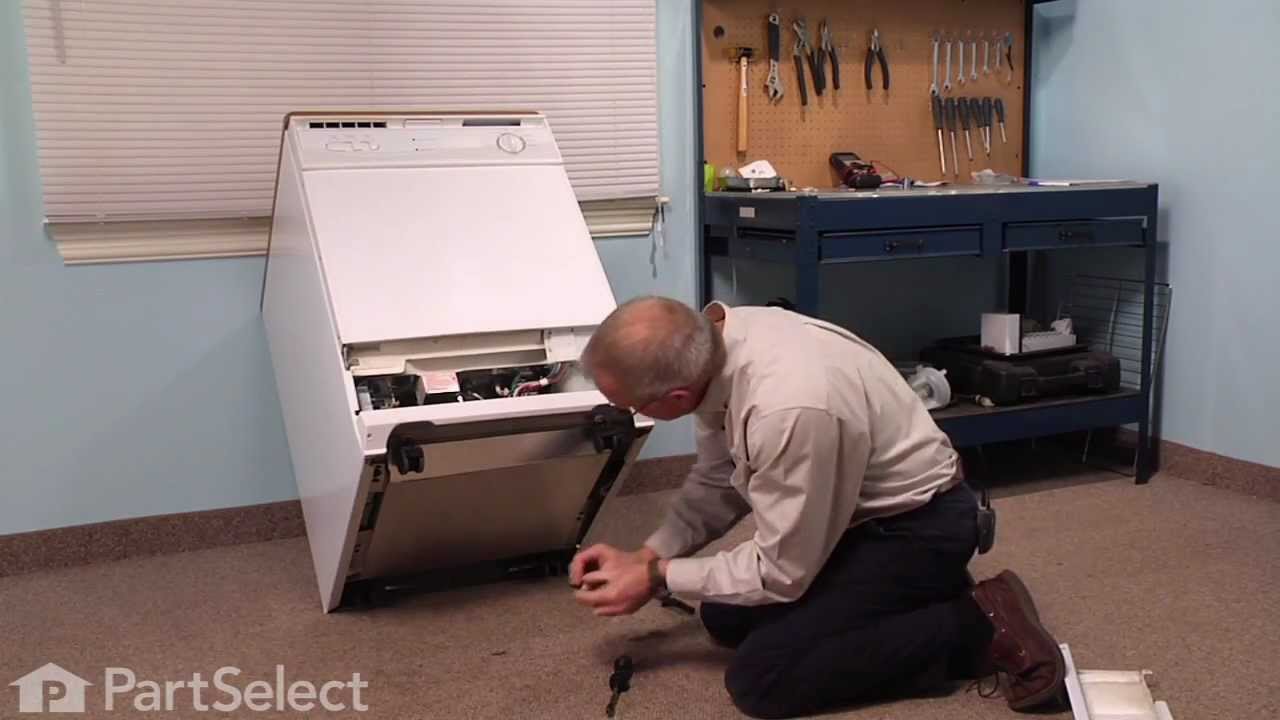
See how others fixed this model. Time, tools, difficulty, and steps that lead to victory!
View More