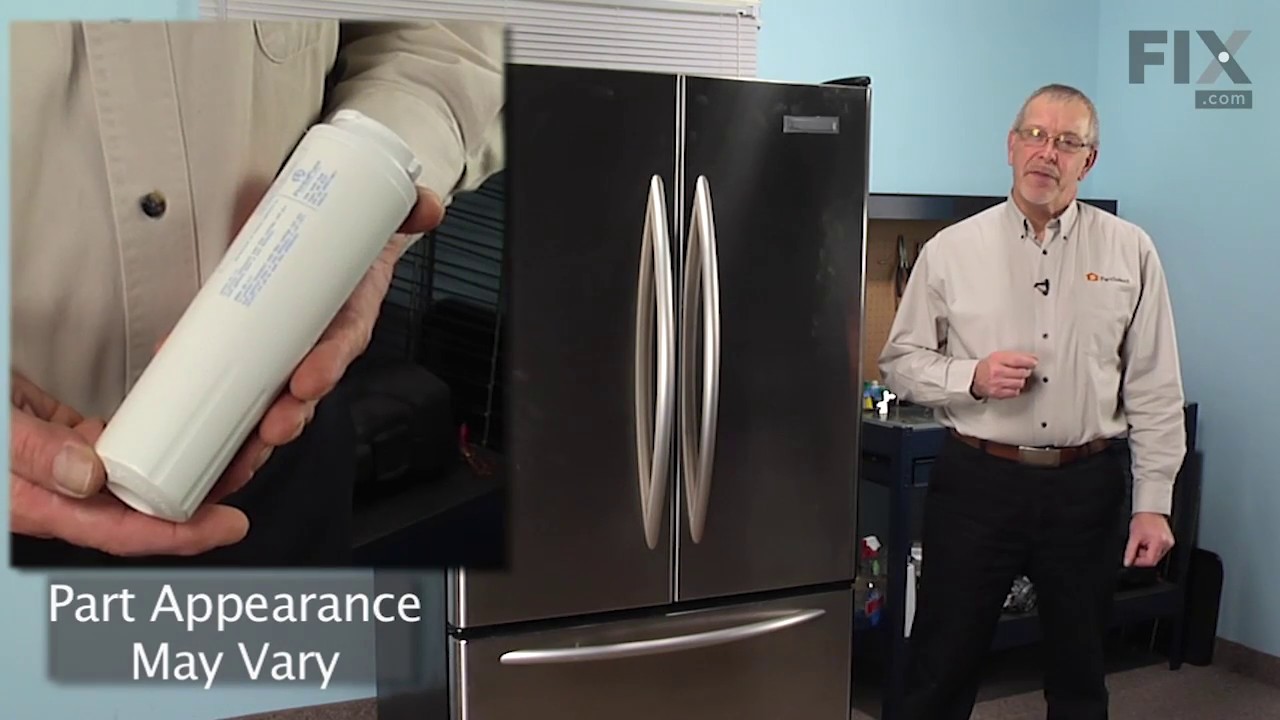
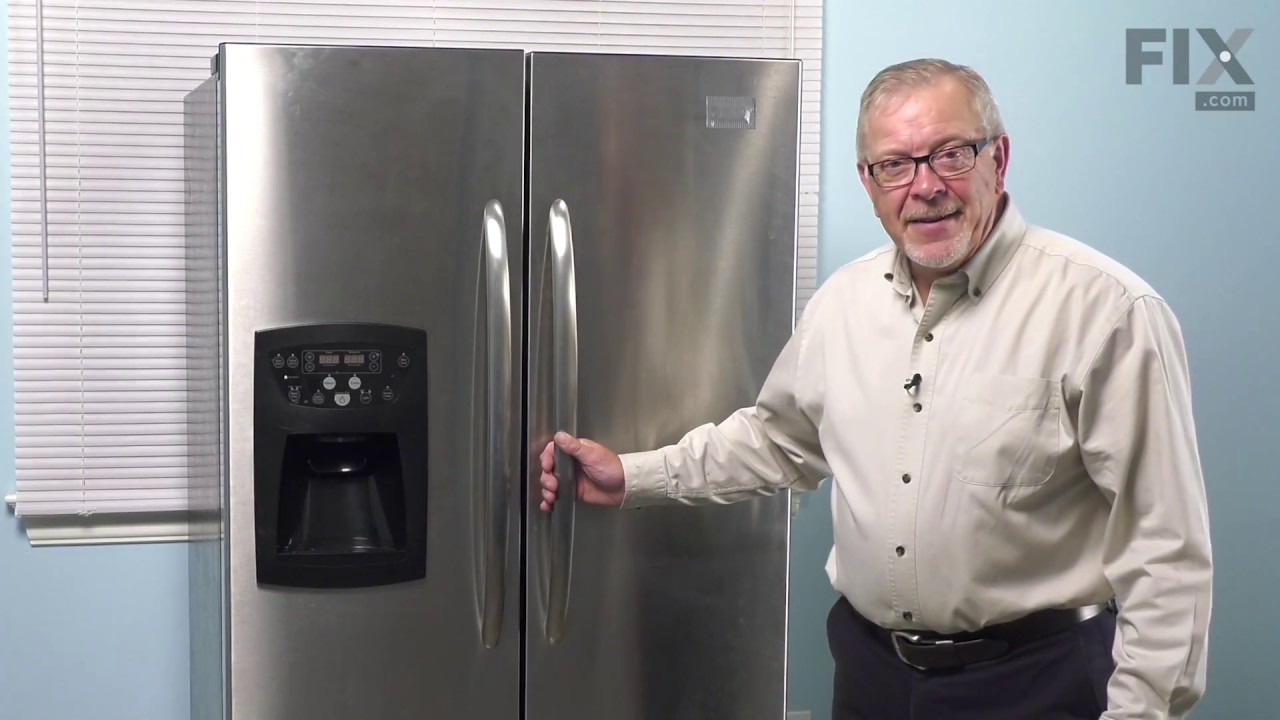
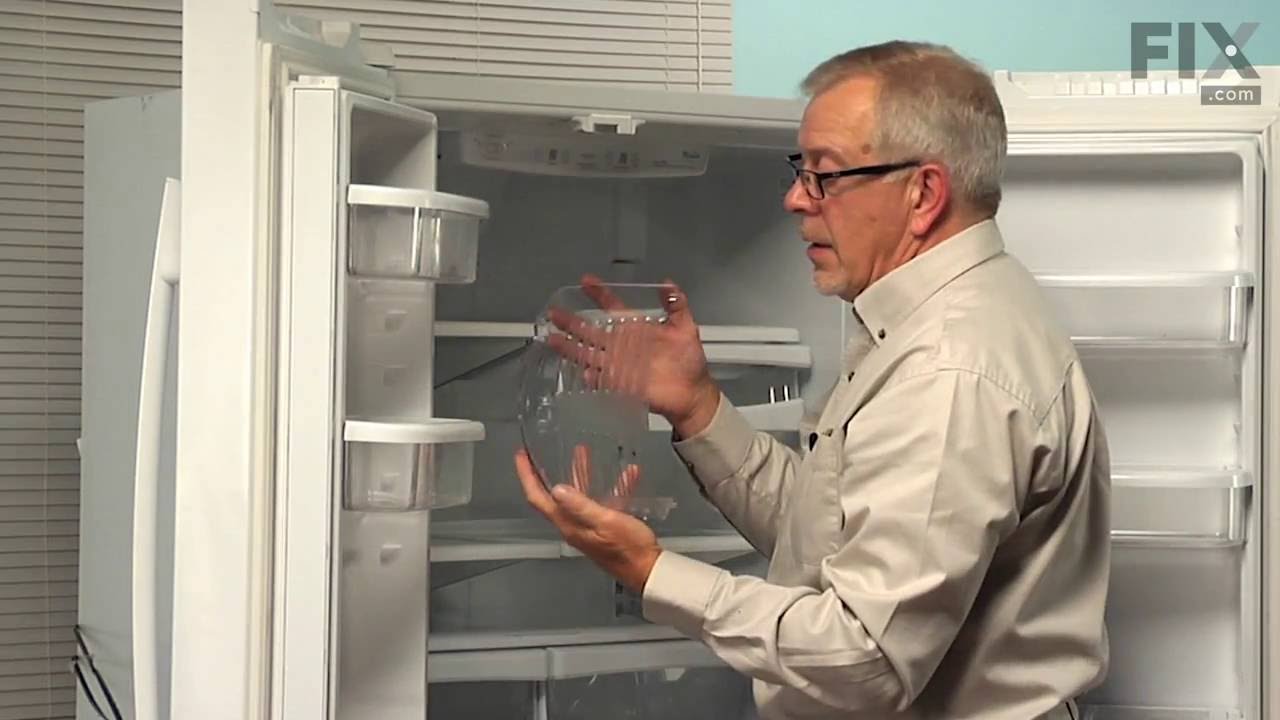
This water filter (Whirlpool EveryDrop Refrigerator Water Filter, Single Turn Filter) purifies water going to the water dispenser and sometimes the icemaker as well. This part should be replaced if it is causing reduced water flow or just replaced periodically per the owner manual. Replacing this water filter may fix a noisy or leaking fr...Read moreidge, a fridge that is not dispensing water (or reduced flow rate), and an ice maker that is not making ice at all, or not making enough ice. This filter is white, sold individually and measures 8 inches by 3 inches in diameter. This water filter has been updated by the manufacturer. It may appear different but will still function the same. It is sold individually.
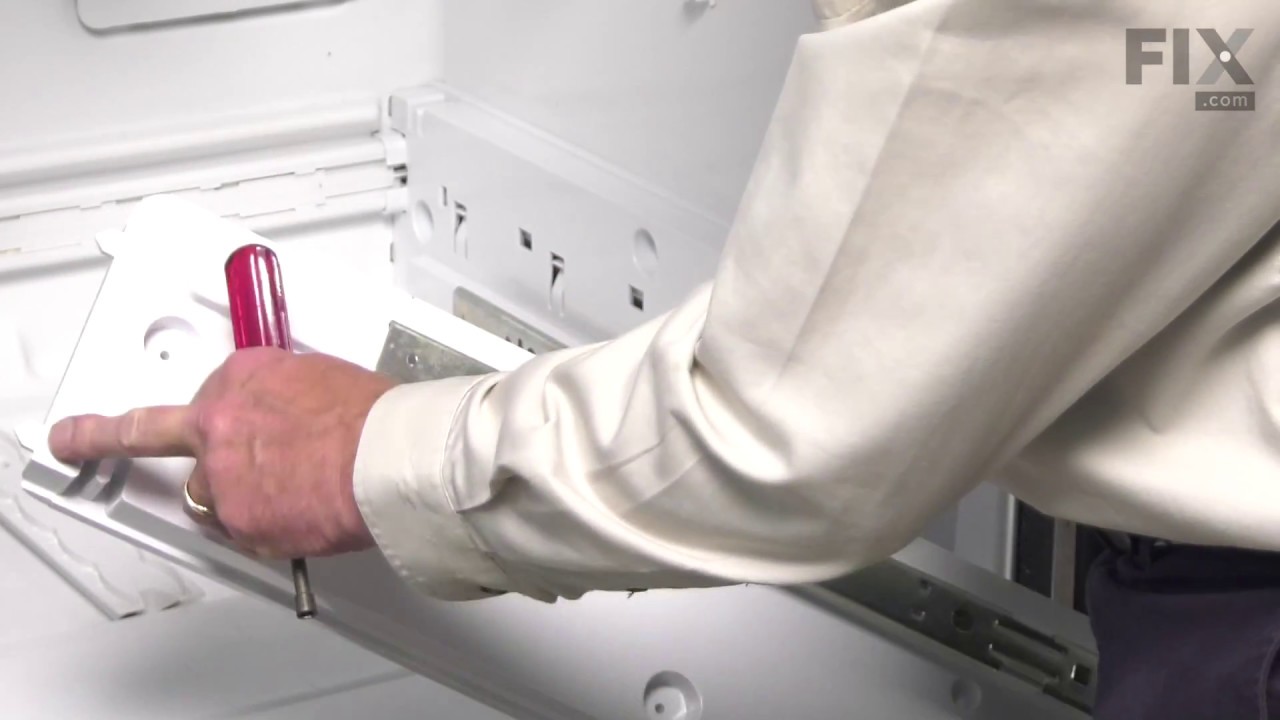
This manufacturer-approved Refrigerator Pantry End Cap Kit, also known as the Refrigerator Drawer Support, is a kit containing all parts of the Pantry End Cap. It snaps into place on the appliance’s pantry drawer to help contain the items inside and to keep your refrigerator door from sliding all the way out. It is rated as "medium" diff...Read moreiculty to install, is constructed of plastic and comes in white. If broken or missing, the pantry drawer will not stay in place and the part should be replaced. Refer to your user manual and model number to ensure this is the correct part for you. This kit includes both the right and left side end caps, as well as the pins that will hold them in place. To replace an end cap, remove the three screws holding it in place. Then, remove the pin and end cap, replacing the old end cap with the new end cap. In the past, the left and right end caps were sold separately, but the part has been updated and now includes both sides. The part is sold as a kit, and unfortunately, as such none of the parts are available individually.
This ice maker (Ice Maker Assembly, Refrigerator Ice Maker) produces ice cubes that are ejected into the storage bucket. It is located in the freezer section of your appliance, mounted on the freezer wall. The ice maker can break from normal wear and accidental damage. If this happens, your refrigerator may no longer make ice cubes, or ma...Read morey not make enough cubes, and the part should be replaced. This model measures approximately 11 inches long and 5 inches wide. It’s constructed of plastic and metal, and comes in black/white/silver. This assembly includes the ice mold and the control device.
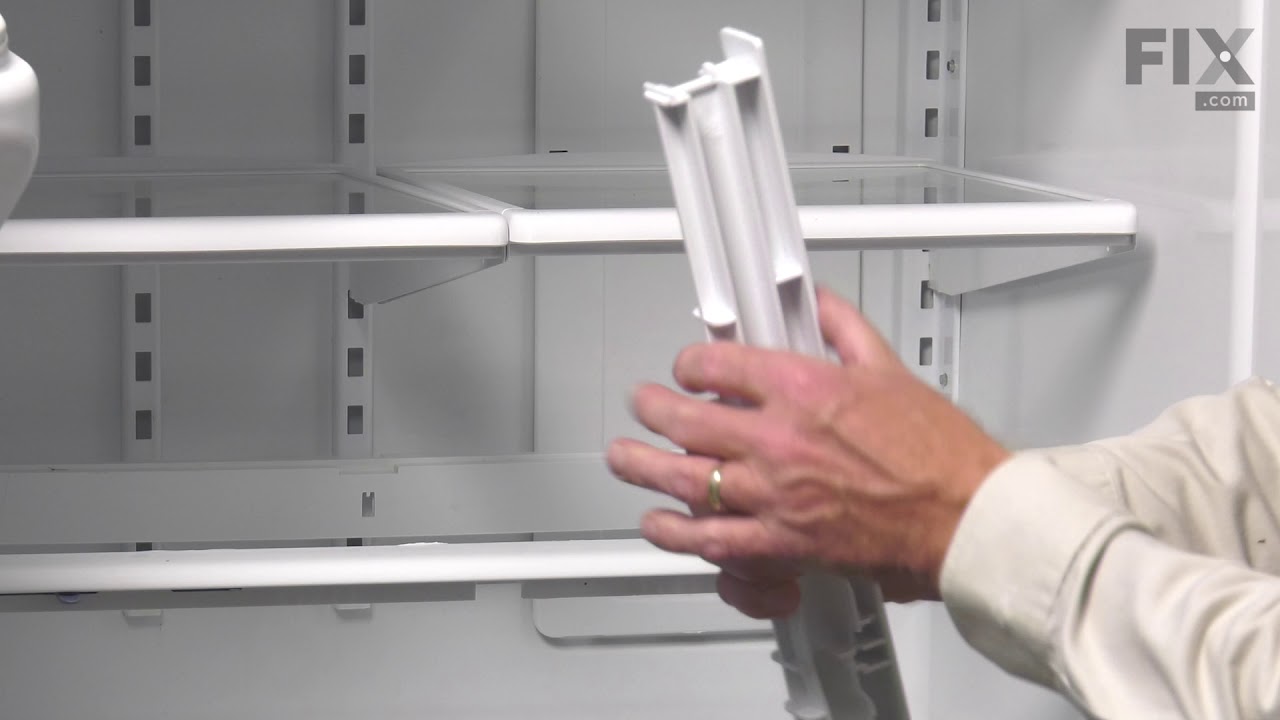
This OEM Center Rail is a white plastic part which supports the crisper frame, which holds the crisper. Fifteen inches long and white in colour, if broken, the support may no longer hold properly. Refer to your model number and user manual to see if this part will be right for your appliance. This part is a very easy repair which only ta...Read morekes a few minutes and does not require any tools. Just slide the crisper drawers out, lift out the glass shelf, slide the new rale into place and replace the glass shelf and crisper drawers. This part is sold individually and not as part of a set.
This pantry drawer lid is also known as a pantry drawer door or pantry drawer cover. This is a genuine OEM part, and is sold individually. This part helps keep everything inside the drawer. It acts as a cover, and also keeps your drawer at the proper temperature by creating a seal. You may need to replace this part if door does not open o...Read morer close, or if the drawer is too cold. No tools are required for this replacement, simply push the hinge pins aside to remove the old lid. Consider checking the pantry end cap kit for damage before ordering the pantry drawer lid, as they are often purchased together.
This light switch may also be known as a refrigerator door switch or a light switch kit, and is compatible with your refrigerator. The function of the refrigerator door switch is to turn on the light when your fridge door is open, and to make sure it is off when your refrigerator door is closed. The reason you would need to replace this p...Read moreart is if your light is not turning on when your door is open. For this repair, you will need a putty knife, and a small flat-blade screwdriver.
This is a multi-use and multi-appliance screw. It can be used on a microwave, refrigerator, range/oven, air conditioner, dehumidifier, washer, or dryer. The measurements of this screw are 8 x 1/2 inch. It has 6 threads. Refer to the manual provided by the manufacturer for further information on repair and accurate guidance. Remember to wear work gloves as a safety precaution.
This part, when activated, releases water from the supply line into the ice mold. This water inlet valve is for refrigerators.
Water inlet valve supplies water to the refrigerator ice maker and water dispenser.
Safely store any food that could deteriorate while the power is off and unplug the refrigerator before installing this part. Wear work gloves to protect your hands.
This genuine OEM crisper frame support provides stability to the crisper drawer in your refrigerator, preventing sagging or collapse under the weight of produce. It is typically located at the bottom or near the rear wall of the fridge. If the crisper drawer feels unstable or wobbly, it may indicate a broken or damaged frame support. To r...Read moreeplace it, remove items from the crisper shelf, then the shelf and crisper itself. Take off the glass from the top of the frame, and pull the support off the mounting stud. Note that the wall anchor for mounting this replacement part is sold separately.
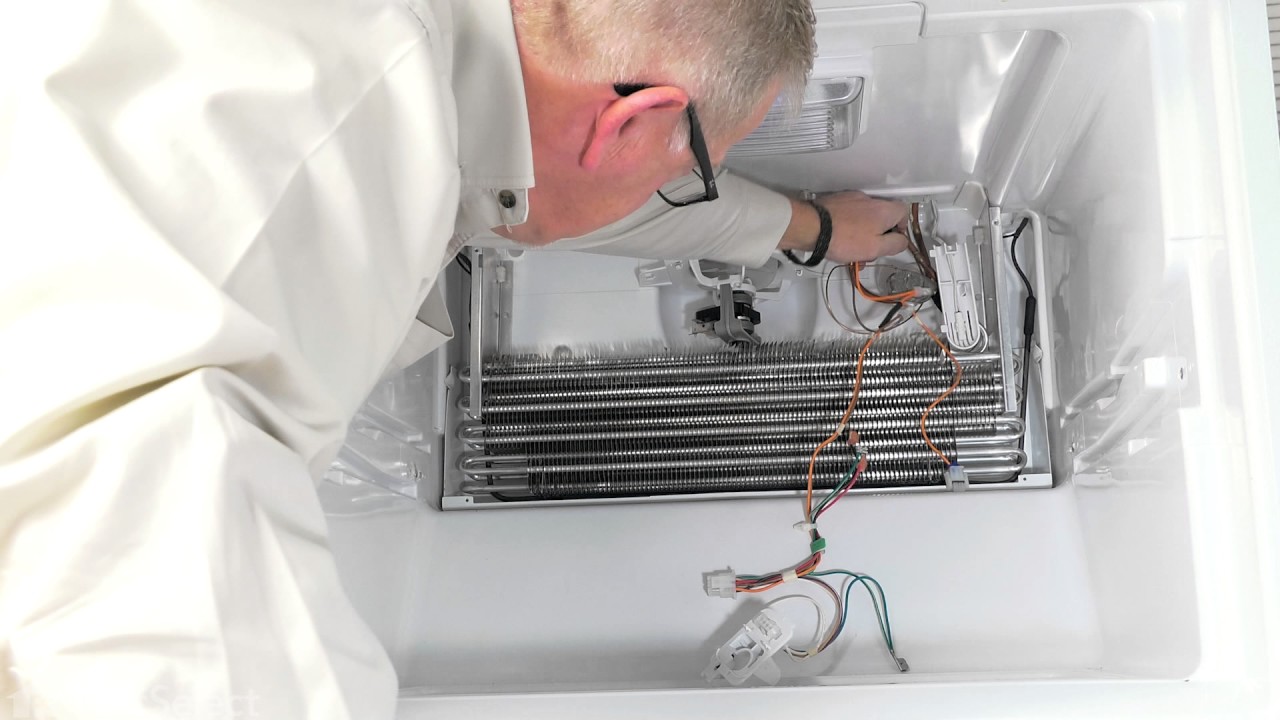
This includes both the run capacitor and the start relay. The capacitor helps the compressor kick on and off while maintaining a constant temperature to keep things frozen in your freezer.
The start relay boosts the compressor, and then shuts off as soon as the motor gets up to speed and the overload provides extra protection against excessive temperatures.
Ask our experts a question about this model and we'll get back to you as soon as possible!
We may have answered a similar question already! Search questions and answers left by others using simple keywords like "fit", "broken", "easy", or "quality" to find questions that match.
Search filter:
Clear Filter
Your search term must have 3 or more characters.
Sort by:
Prev
1
2
Next
Sorry, we couldn't find any existing answers that matched.Try using some different or simpler keywords, or submit your new question by using the "Ask a Question" button above!
Steve - For model number MFD2560HES
February 12, 2024
When the refrigerator starts getting warmer, I have to open the freezer and get a hairdryer and melt the ice behind the vents in the back of the freezer and then it works again. What part do I need to make this work better?
Hi Steve, thank you for contacting us. Based on the description, the issue is with the defrost thermostat, part number PS11743535. You may need to replace the thermostat to fix the issue. We hope this solves your problem!
Hello, Our 18-year-old Maytag refrigerator quit cooling the other day. The unit still runs, but the fridge and freezer are not cold at all. This is a second fridge (we keep it in our garage) so it isn't a rush situation. It's worked well for us and still looks great, so if we can replace a part and fix it, we'd like to go that route. Any suggestions on what it might need to get it to freezing and chilling again would be appreciated!
Hi Liza, thank you for contacting us. Based on our understanding of the issue, we would recommend checking the thermistor, part number PS2003772, to fix the issue. We hope this helps!
my freezer is working and is clear of frost but no cold air is getting to refridgerator compartment.
Hello Sean, thank you for getting in touch. Based on the description that you have provided, we would recommend checking the damper control assembly, part number PS11743564, to fix the issue. It controls the cold airflow from the freezer compartment into the refrigerator compartment. We hope this helps.
Donde se encuentra el termostato de de este refrigerador maytag modelo mfd2560hes
Hola Mariano, gracias por preguntar. El termostato de descongelación está en la parte posterior del aparato con el calentador de descongelación. Hemos vinculado un vídeo instructivo para obtener ayuda. ¡Buena suerte con la reparación!
The refrigerator and freezer are not getting cold, it worked when put in storage 16 months ago. It turns of but will not get colb
Hello Renee, thank you for asking. To fix the issue, you may need to check the compressor start relay and capacitor, part number PS8746522. The capacitor helps the compressor kick on and off while maintaining a constant temperature to keep things frozen in your freezer. The start relay boosts the compressor and then shuts off as soon as the motor gets up to speed. We hope this helps, good luck with this repair!
See how others fixed this model. Time, tools, difficulty, and steps that lead to victory!View More
Search repair tips from other customers using simple keywords like "replace", "fit", "remove", "inspect". DIY doesn't mean you have to do it alone!
Search filter:
Clear Filter
Your search term must have 3 or more characters.
light on to order water filter
916 of 1059 peoplefound this instruction helpful.
Douglas from Byron, NY
Really Easy
Less than 15 mins
Pressed in the end of the filter cover, lowered it down part way. Twisted the old filter 1/4 turn and removed it. Set in the sink to drain. Inserted new filter and twisted it to lock. closed cover. Done. Total time @ 1 Minute.
Was this helpful?
Thank you for voting!
Icemaker producing few or no cubes and often leaving "kling-ons" on ice tray
816 of 915 peoplefound this instruction helpful.
Bernie from Diamond Bar, CA
Easy
30 - 60 mins
Nutdriver
Interior surface of ice tray felt rough & flaky (coating deteriorated) so cubes would not release. Unplug appliance. Remove timer cover by hand pressure @ edge. Remove single attachment screw & bracket at lower front of icemaker. Disconnect wiring harness from socket @ rear of compartment. Tricky part was determin
... Read moreing what type of connection held the other two attachment points along the long edge of the icemaker. I did not have repair manual or useful drawing but looked @ PartsDirect pic of side brackets & used a small mirror to confirm that mine were also some sort of "snap in" attachment. Remove icemaker unit by pushing upward and outward on the unit. I takes a good bit of pressure and will pop loose, but be careful not to break attachment bracket from freezer wall. Scavenge shut off bar and wiring harness from old icemaker once you have it out & attach to new one before installing it back in freezer. Again, you might find a mirror useful to align those pesky snap-in brackets with the new unit. Since you probably kept your freezer running while waiting for the part, the plastic snap-ins will be cold and brittle. I warmed them up first by applying a dampened cloth heated in the microwave to make them a little more pliable. A good push of the new unit towards the snap-ins along with some upward force will get it stable. Reattach the metal screw in bracket & connect the wiring harness to rear plug... and don't forget to plug the whole thing back in. It will take awhile for the first batch of cubes dump as the timer may need to cycle completely around to get to the fill cycle... be patient. Dump the first couple of batches of cubes just to make sure you're free of any residue.
Read less
Was this helpful?
Thank you for voting!
Ice maker leaking at first then quit making ice all together
433 of 497 peoplefound this instruction helpful.
Hootie from Joshua, TX
Really Easy
15 - 30 mins
Nutdriver
unplugged refrigerator and shut off water, removed one screw and loosened two more, after removing one side of the ice bucket rail, unplugged electrical from old ice maker. Then I removed the bail and out on new one, reinstalled ice maker in reverse order from taking it out.



 My Orders





.gif "SUPPLEMENTAL INFORMATION Diagram and Parts List for Maytag Refrigerator")