



 My Orders




ME11A7710DG (AC) Samsung Microwave - Overview

Enter a part description. DIY Heroes keep it simple, eg. "belt" or "pump".
Search filter:
Clear Filter
Your search term must have 3 or more characters.

$17.95
In Stock
Micro Door Switch
Part #3405-001034
This door switch, also known as a safety switch, is a genuine OEM replacement part for microwaves. It is a safety mechanism that sends signals to the microwaves control system, telling it when the door is open/closed. This ensures that the microwave only operates when the door is securely shut and switches off as soon as the door is open....Read more Over time, this switch can become worn out or damaged. A faulty door switch can result in failure to switch the microwave on/off, lack of heat, and running with the door open. To confirm that the door switch is faulty, use a multimeter to test for electrical failure. To remove the faulty switch, disconnect the wiring connectors and take note of where they are positioned. Place the new switch in position and reattach the wiring connectors to the appropriate terminals and close the microwave door to check that the switch engages appropriately.
Read less

$28.26
In Stock
High-Voltage Diode
Part #DE91-70063D
This high-voltage diode is designed for use within various makes and models of microwaves and is a genuine OEM part that converts alternating current (AC) into direct current (DC). If you notice your microwave turns on and starts but does not heat anything, this diode is likely responsible. You can check the continuity of the diode with a...Read more multimeter before outright replacing it, but it is important to remember that doing any repairs on a microwave and dealing with sensitive electrical components should be done carefully and with the appropriate precautions to avoid any hazards. To replace the high-voltage diode in your microwave, disconnect it from power and allow it to discharge. Using the appropriate screwdrivers, gain access to the control panel of the microwave. Using an insulated screwdriver, release any electrical charge in the capacitor by touching it across the terminals. Then you can remove any hardware securing the diode, including the harness connecting it to the capacitor, which may be easiest done with pliers. Connect the new diode to the capacitor terminal and the securing bracket, and then reassemble your microwave before connecting it to power again.
Read less

$29.56
In Stock
Thermostat
Part #DE47-20034A
This is a high limit thermostat designed for use within various models of microwaves. The purpose of a high limit thermostat is to open the circuit of the appliance when the internal temperature reaches a certain threshold, to avoid becoming a safety hazard. If this thermostat fails or is damaged, it will cause your microwave to stop oper...Read moreating entirely. This is not to be confused with a thermal fuse, which is a one-time use component, whereas this high-limit thermostat resets once it drops back below operating temperatures. But if your microwave has repeatedly shut off, it is defective, or if the manufacturer recommends you replace it after it is triggered, it needs to be replaced immediately for safe operation. Consider inspecting your microwave for other component damage or factors that could lead to your microwave overheating, because that is what is causing this thermostat to be triggered. Replacing the high-limit thermostat will require a flathead and/or Philips-head screwdriver to remove the cover for the electronics of the microwave. First, you will want to unplug your microwave from the wall outlet and use your screwdriver to remove the side/top cover to give you access within it. Using your user manual, locate the thermostat within the main panel assembly and disconnect it from the wire harnesses, which may require a set of pliers. Here you can inspect it and any other components for visible burn damage. You can also test this thermostat for continuity with a multimeter, to see whether it is burnt out or perhaps defective. Install the new thermostat in place and reassemble your microwave, and you can now microwave safely.
Read less

$6.55
In Stock
Key Spring
Part #DE61-00048A

$79.95
In Stock
Tray
Part #DE63-00624A
This microwave cooking tray is a durable and functional replacement designed to enhance the performance of your Samsung or Kenmore microwave. Engineered for even heat distribution, it ensures consistent cooking results across a variety of dishes. The tray fits securely within compatible Samsung microwave ovens, microwave oven combos, and ...Read moreKenmore models, helping maintain optimal appliance performance. Its robust construction offers long-lasting reliability, while the smooth surface makes it easy to clean. Sold individually, this tray is an ideal upgrade or replacement for worn or damaged components, contributing to a more efficient and enjoyable cooking experience.
Read less

$22.95
In Stock

$28.82
On Order
Damper
Part #DE72-40022A
This vent damper is a genuine OEM replacement part that is compatible with various models of Samsung over-the-range microwaves with ventilation systems. It is responsible for regulating the airflow in the microwave venting system. When the microwave is not in use, the damper remains closed to prevent outside air from entering the microwav...Read moree cavity. However, when you are using the microwave, the damper opens to allow air and steam from the cooking area to be vented out. This helps to remove cooking odors, steam, and excess heat from the kitchen. If the damper is damaged, corroded, or worn down, it will need to be replaced to ensure efficient ventilation and maintain the air quality in your kitchen.
Read less

$7.65
In Stock

$28.82
In Stock
Holder Assembly
Part #DE92-90508A

$72.95
In Stock

$6.55
In Stock
Lever Switch (Lower)
Part #DE66-90106B

$46.74
In Stock
Roller Guide Assembly
Part #DE92-90495C
This roller guide assembly supports smooth and stable movement of sliding components within the appliance. By reducing friction and maintaining proper alignment, it helps prevent binding and uneven motion, making it an ideal replacement when movement becomes rough, noisy, or unstable.
Common Symptoms of the ME11A7710DG
How this model fails, and the parts that fix it.
No heat
Fixed by
these parts
these parts


Show All
Door not closing properly
Fixed by
these parts
these parts


Show All
Won’t turn on
Fixed by
these parts
these parts

Show All
Doesn’t shut off
Fixed by
these parts
these parts
Show All
Tray won’t turn
Fixed by
these parts
these parts

Show All
Watch our pros, then fix it yourself.
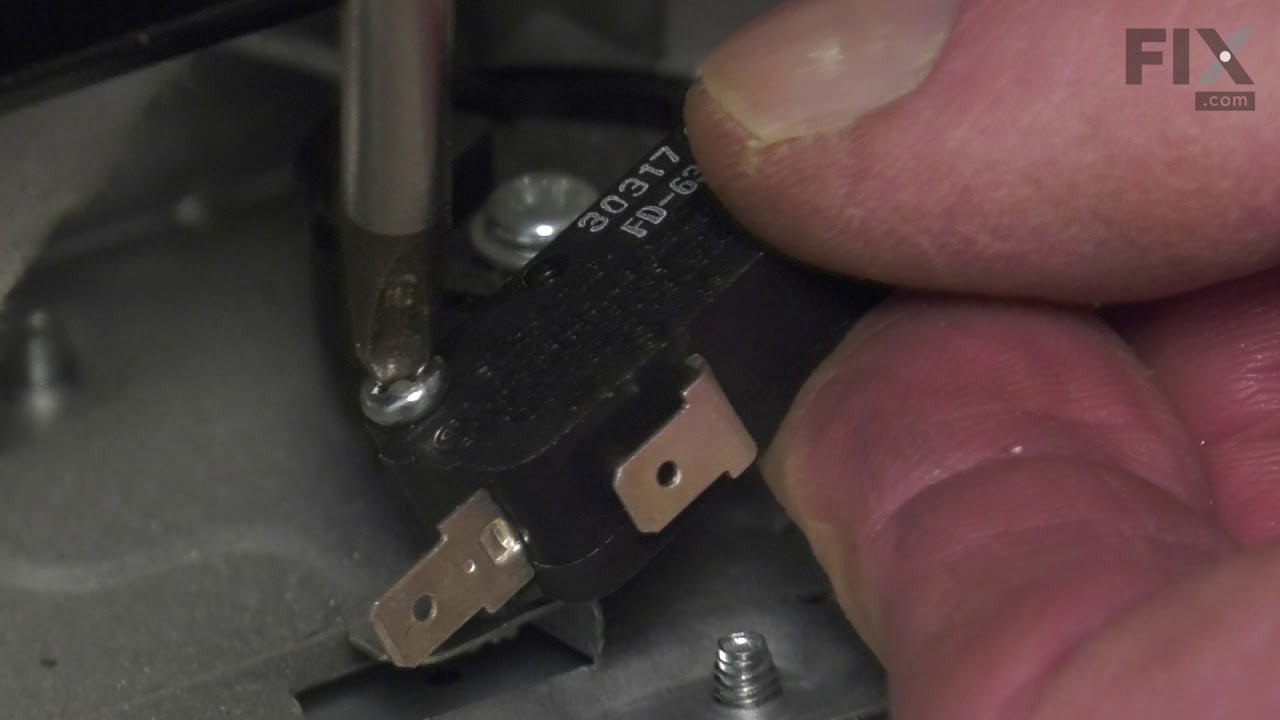
See how others fixed this model. Time, tools, difficulty, and steps that lead to victory!
View More
Search repair tips from other customers using simple keywords like "replace", "fit", "remove", "inspect". DIY doesn't mean you have to do it alone!
Search filter:
Clear Filter
Your search term must have 3 or more characters.
microwave ran with the door open
9 of 14 people
found this instruction helpful.
First I read through the customer comments, reviews, questions, etc. at Parts Select, which is always a good bet. Then I put "samsung microwave door switch replacement" into youtube and watched some videos. They don't even have to be for Samsung. From what I can tell, many of the appliance companies use the same design and the same jun
... Read more
k parts, so watching a GE video is almost the same for example. Watch some videos to familiarize yourself with the steps. There are maybe six to disassemble and install the new part. I replaced all three switches. They are not expensive and to replace 3 is only 5% more work than to replace just one; you have to take the microwave apart in either case. UNPLUG THE MICROWAVE FROM THE WALL. Start taking it apart. I use my phone to take a picture of any thing I remove, unscrew or disconnect, especially wires, BEFORE I disconnect them. Thee pictures serve as a reference when I go to reconnect and reassemble. If I am uncertain then I check the picture. Good luck!
Read less
Other Parts Used:


Was this helpful?
Thank you for voting!