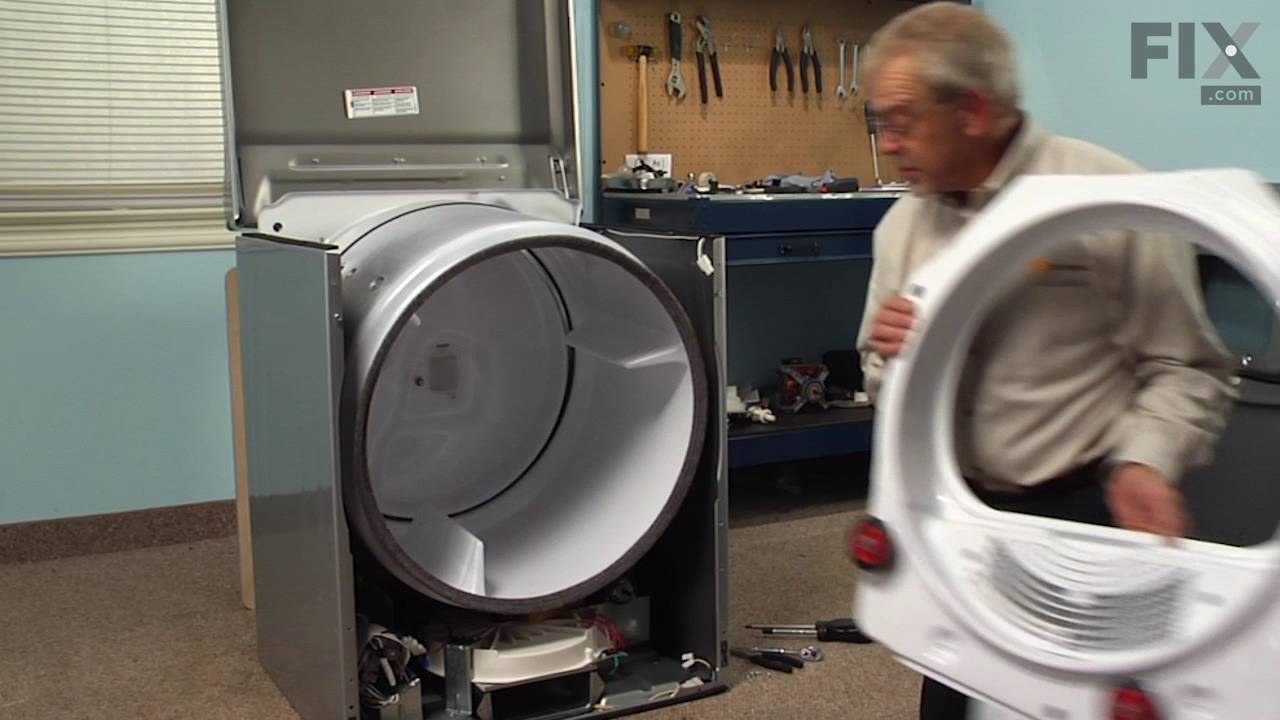
If your gas dryer is not heating up or igniting, then replacing the flame sensor, located in the burner assembly, could solve it. This part senses heat from the igniter to monitor if it is hot enough to ignite gas to light the burner. Once the igniter is hot enough it will open the valve and allow gas to flow. This is a safety mechanism t...Read moreo prevent dangerous levels of gas from building up. To repair, the main top of the dryer should be lifted, as well as the front panel to access the component. This flame sensor assembly is made of both plastic and metal.
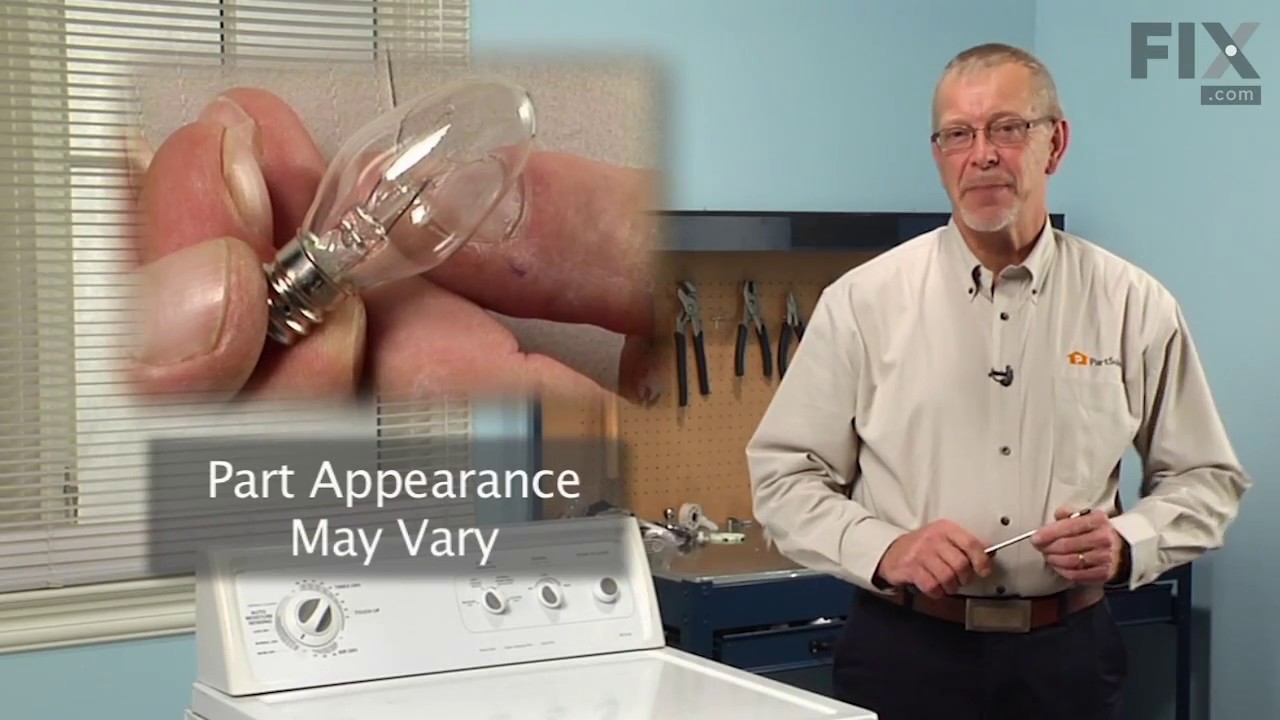
This 10-watt clear incandescent light bulb is designed to provide reliable interior illumination for household appliances such as dryers and refrigerators. Measuring approximately 2 inches in length, it fits securely into standard appliance sockets and activates when the appliance door is opened, offering clear visibility inside the drum ...Read moreor compartment. The bulb is suitable for use in a wide range of models across multiple appliance brands and is engineered to deliver consistent performance and durability. Installation is straightforward—simply screw the bulb into the designated socket within the appliance. Ensure the appliance is powered off before installation to maintain safety.
This is a multi-use and multi-appliance screw. It can be used on a microwave, refrigerator, range/oven, air conditioner, dehumidifier, washer, or dryer. The measurements of this screw are 8 x 1/2 inch. It has 6 threads. Refer to the manual provided by the manufacturer for further information on repair and accurate guidance. Remember to wear work gloves as a safety precaution.
This idler pulley assembly is sourced from the original manufacturer for use in dryers. The assembly includes the pulley wheel and bracket. It is found near the motor where it provides tension to the dryer belt, allowing it to rotate the drum during the drying cycle. Over time, the pulley wheel and its bearings can wear out leading to squ...Read moreeaking and grinding noises when the drum rotates. The bracket or pulley wheel can also fall out of alignment which can damage the belt and cause it to slip off. Eventually, a faulty idler pulley assembly will prevent the drum from rotating altogether. Depending on your dryer model, you may need to disassemble the dryer to access the pulley assembly. Remove the dryer belt from the idler pulley wheel and detach the assembly from the dryer frame. Position the new assembly in its place and secure it in position. Thread the belt over the pulley and around the dryer drum, ensuring that the grooved side lays flat against the drum. Manually spin the drum to check that the belt is properly tensioned and reassemble your appliance.
This conversion kit contains all parts needed to convert your gas dryer from natural gas (NG) to liquid propane (LP). This kit will work with some Samsung dryers as well. Use model # to ensure you are getting the correct part.
This part is the replacement thermal fuse for your dryer. When you order this part, you will receive the fuse itself, as well as the bracket that mounts it to the dryer. The thermal fuse is approximately 2 inches wide from end to end. It is a safety device inside the dryer that shorts out if the dryer overheats. When the fuse shorts out, ...Read morethe dryer will function properly. You can test your thermal fuse for continuity using a multimeter. Be sure to disconnect your dryer from the power source before you begin this repair. This part is sold individually and is an OEM part sourced directly from the manufacturer.
Ask our experts a question about this model and we'll get back to you as soon as possible!
We may have answered a similar question already! Search questions and answers left by others using simple keywords like "fit", "broken", "easy", or "quality" to find questions that match.
Search filter:
Clear Filter
Your search term must have 3 or more characters.
Sort by:
Prev
1
2
Next
Sorry, we couldn't find any existing answers that matched.Try using some different or simpler keywords, or submit your new question by using the "Ask a Question" button above!
Stephen - For model number MDE9700AYW
January 7, 2020
Dryer is not warming up....what are my options
Hello Stephen and thank you for writing.
It certainly sounds like it could be a faulty radiant flame sensor PS11741429 and/or a faulty thermistor PS11741828 , you should check for signs of damage, and replace if necessary. We hope this helps. Please contact us anytime if you require further assistance.
Hello Valerie, Thank you for the question. We suggest testing the Thermistor PartSelect Number PS11741828, Thermal Fuse PartSelect Number PS11741829, Thermostat PartSelect Number PS11741821 and the Igniter PartSelect Number PS11741122 with a multi meter to see if they are defective and will need to be replaced. We hope this helps.
Got front panel off. Belt ok. But original problem was motor runs but drum not turning, and what part goes on motor shaft to keep belt in tension?
Hello David, thank you for your inquiry. The idler pulley, part number PS11771601, creates tension on the drive belt around the drum. You may need to check the idler pulley. If it is faulty, then replace it to fix the issue. We hope this solves your problem!
I cannot find how to take the lint catcher apart. There’s lint underneath and the catcher won’t fit correctly
Hi Sara,
Thank you for your question. Here is a link to one of our YouTube videos that you may reference for information on how to install a dryer lint duct assembly. The dryer in the video may not be the same as yours, but it will give you a general idea on how to dismantle the dryer. We hope this helps!
Was this helpful?
Thank you for voting!
Bob - For model number MDE9700AYW
February 8, 2022
When put on wrinkle dry sensor setting used to go to normal dry now goes to very dry. How do I change
Hello Bob, Thank you for the question. This is normally an indication the Electronic Control Board is not setting the cycles properly and may be faulty and need to be replaced. If you need help placing an order, customer service is open 7 days a week. Please feel free to give us a call. We look forward to hearing from you!
See how others fixed this model. Time, tools, difficulty, and steps that lead to victory!View More
Search repair tips from other customers using simple keywords like "replace", "fit", "remove", "inspect". DIY doesn't mean you have to do it alone!
Search filter:
Clear Filter
Your search term must have 3 or more characters.
Dryer did not turn when power was on.
56 of 68 peoplefound this instruction helpful.
JAMIE from VALLEY STREAM, NY
Really Easy
15 - 30 mins
Screw drivers
Callled the service company to diagnose the problem. Watched him take machine apart. He found the problem. Told me the parts that I needed. Didnt know what they were. Went to partselect.com looked my model up and found parts and ordered. Followed same steps as repair guy: Two screws in back of machine then slide top off. Six screws in
... Read morefront to remove front door ( 4 screws on top 2 on bottom) Changed the thermostat and thermistor. Saved 320 dollars :)
From what I understand, this is a common problem with this Samsung made Maytag Neptune dryer. The dryer was making a sound like it had a shoe in it every time it was drying. The crack was in the seam at the back of the drum behind one of the baffolds so you can't see it when you look inside. I did not see it until I took the top off th
... Read moree dryer, looked inside and saw light through the hole. To take the dryer apart, first unhook it from the wall, gas, electricity, and exhaust. Remove 2 skrews from the top back side and slide the top of the dryer back and remove. The plastic control panel is then removed by taking 2 skrews out from the top, pulling the top of the control panel forward and reaching in with the other hand to pop out the plastic clips of the control panel from the front face of the dryer. Unplug the control panel from the electrical panel inside the dryer. Then you can remove the front door, 2 skrews, remove the front panel, 8 skrews I think, then the front piece the the drum rides on, 1 skrew. Take the belt loose and the drum will come right out. To install just reverse. Pretty easy once I figured out how to remove the control panel. I think the reason for the drum crack is it looks as though the back pressed metal piece that the drum rides on is not perfectly round. Even the new drum makes a very light thump sound and when I watched it go around with the top off the dryer I could see the drum turn slightly oblong. Check your wheels and make sure the axles are not worn, if they are, replace them at this time. Also you might as well replace the belt too.
Read less
Was this helpful?
Thank you for voting!
no heat in the dryer
56 of 84 peoplefound this instruction helpful.
Walter from Lynden, WA
Easy
30 - 60 mins
Pliers, Screw drivers
Remove dryer covers and locate heater assembly. Removed heater assembly and checked visually if the heater coil is opened, I verified this with an ohm meter. Heater Continuity was OK. Next step I checked the heater sensors. Thermal fuse with bracket had no ohm meter reading between two terminals[open circuit]. Order part#35001193 "thermal
... Read more fuse" with bracket from "partsSelect.com." Assemble back in reverse order. Please note that the dryer heater was filled with lint and needed a good cleaning.



 My Orders





.gif "SUPPLEMENTAL INFORMATION Diagram and Parts List for Maytag Dryer")