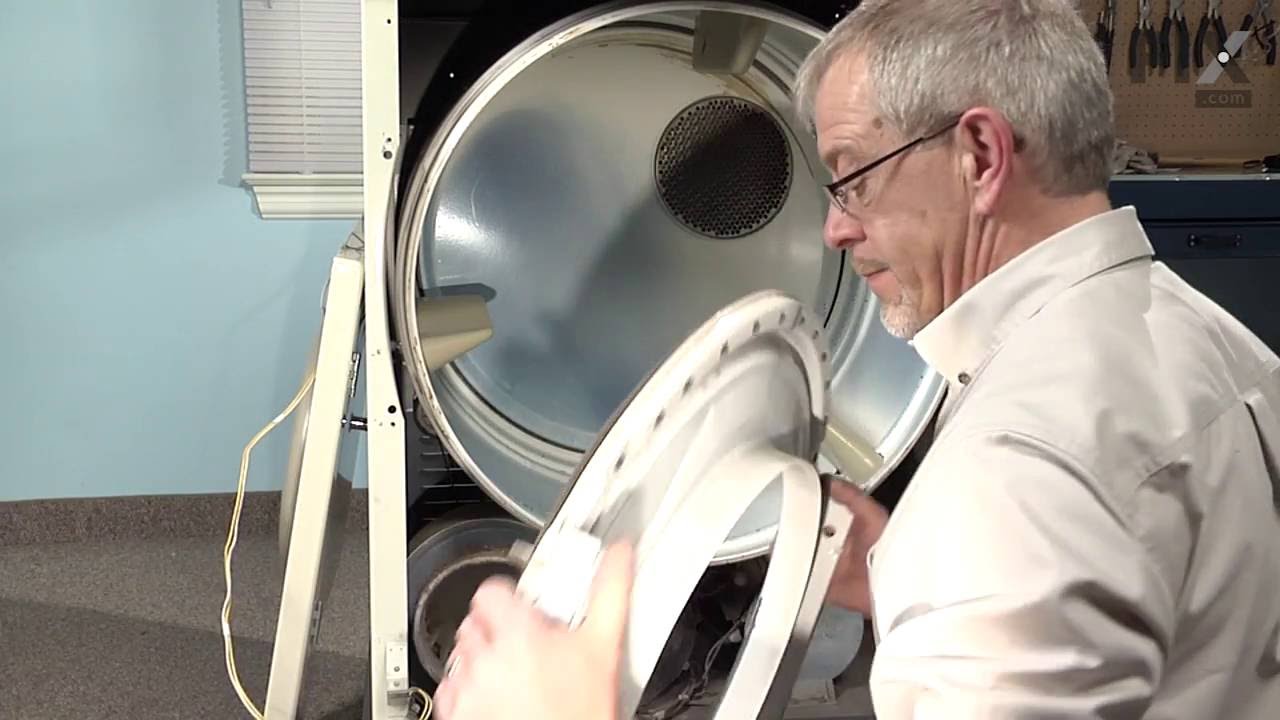
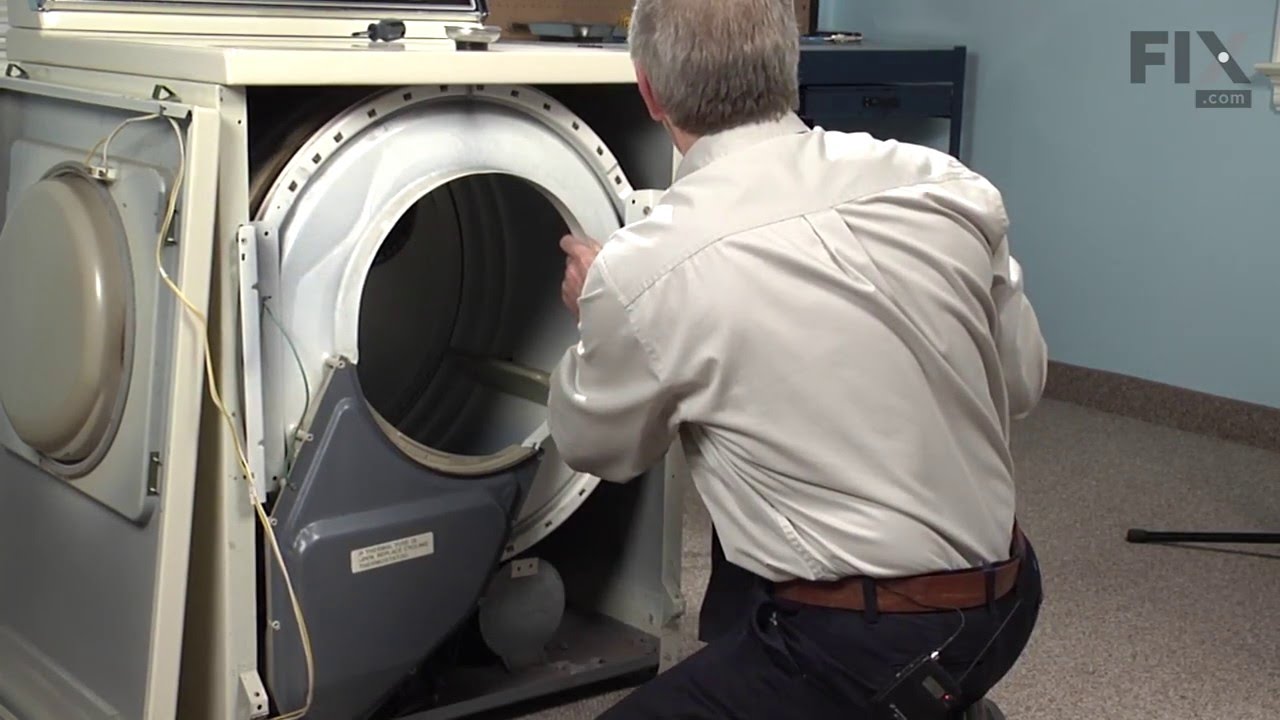
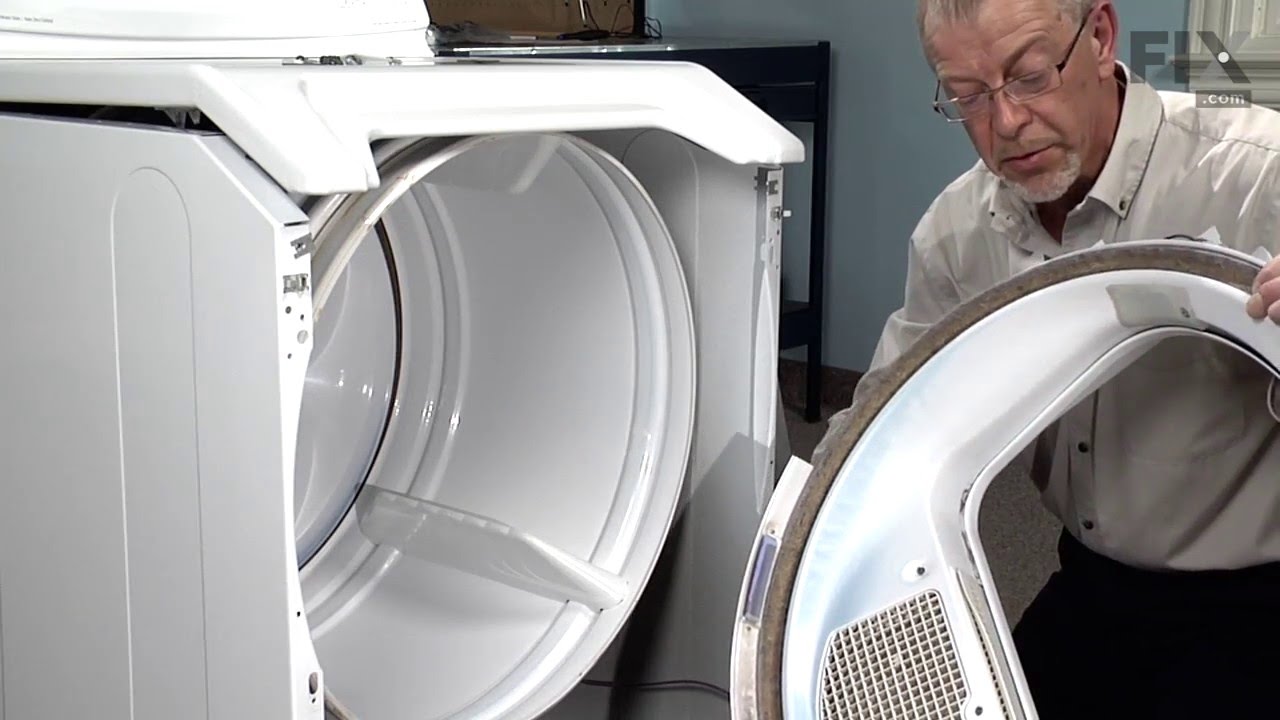
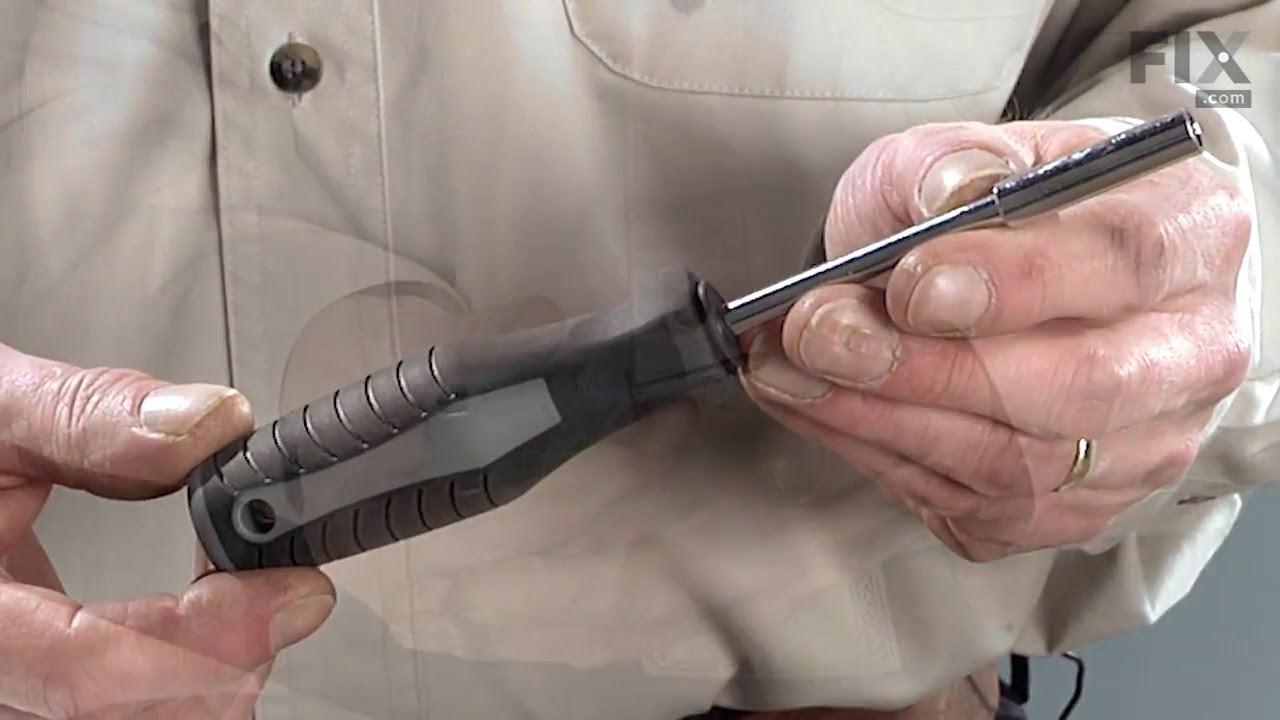
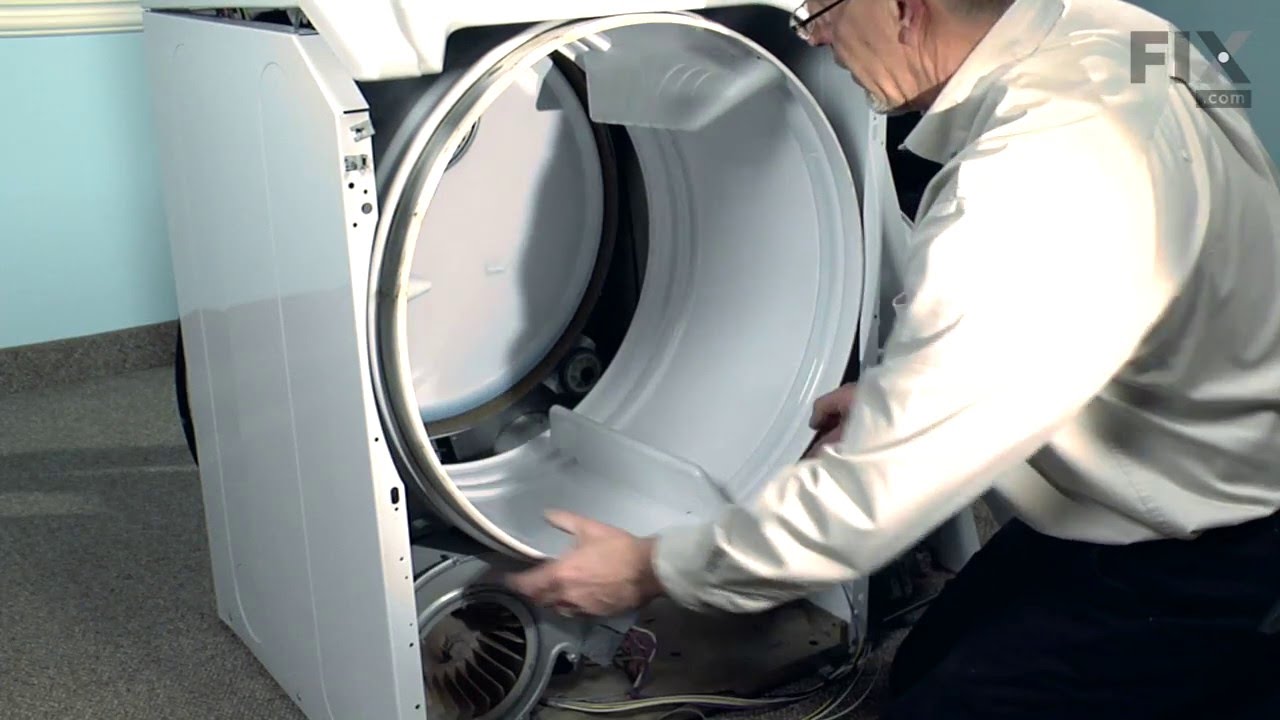
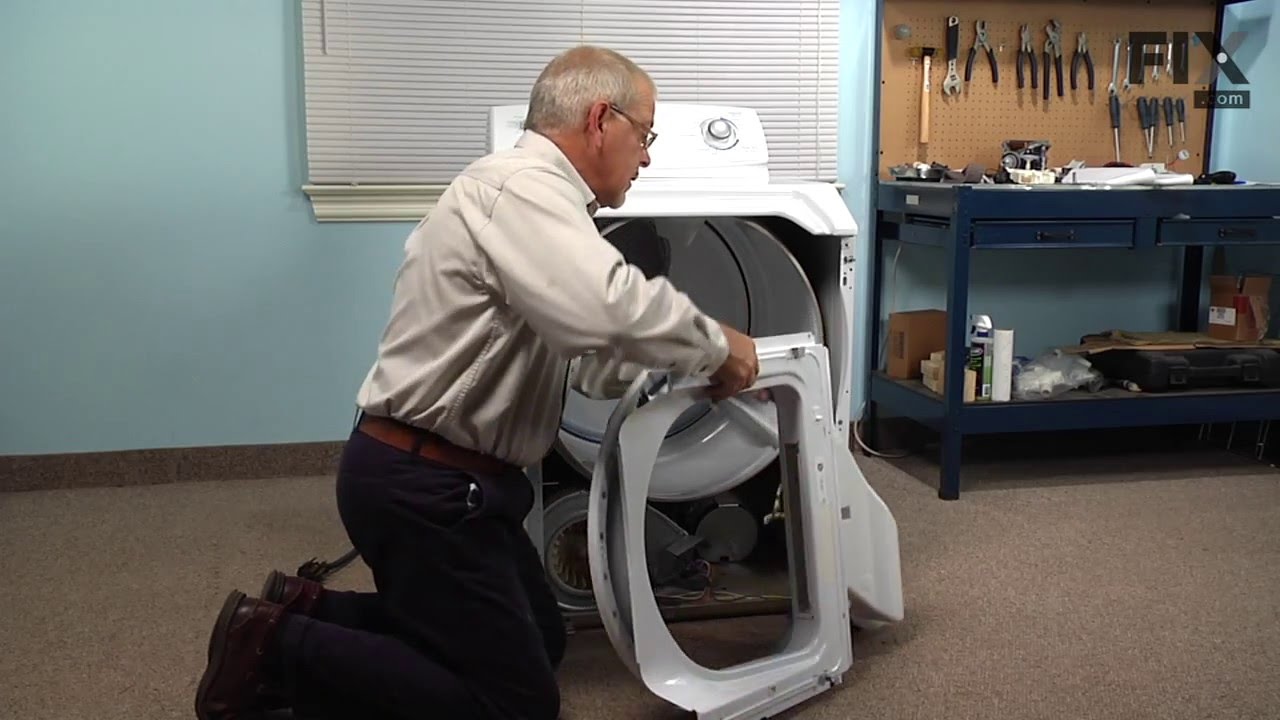
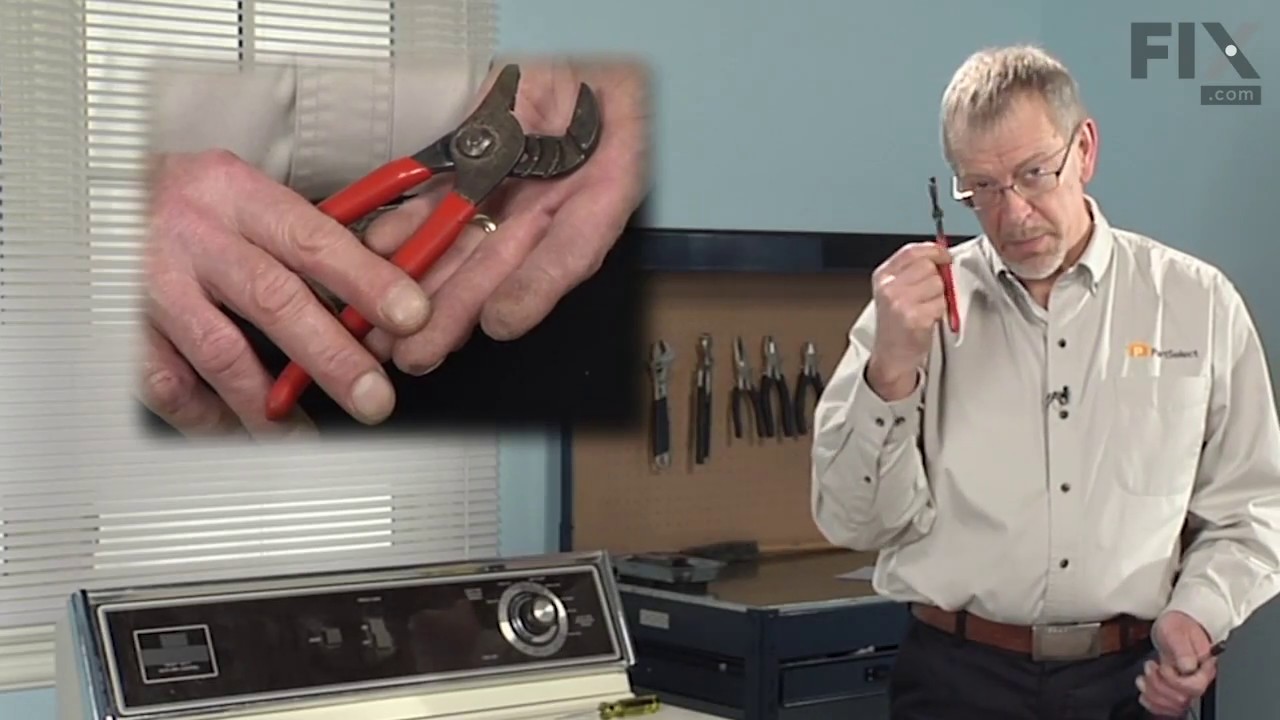
The drum support roller (Dryer Drum Support Roller, Drum Roller and Washer Assembly) holds the drum in the proper position while it spins on the support wheels. This part rotates on the roller shaft which is attached to the rear bulkhead. This part should be replaced whenever it does not rotate easily on the roller shaft. If you’re notici...Read moreng a thump, scrape, or squeal while your drum is spinning, it may be your drum support rollers. Take a look at your existing drum rollers; if one or both of them are worn or broken, you’ll need to replace them. The drum support roller is subject to constant wearing when your dryer is in use, which causes them to break down over time. This part features 1 roller and 2 small washers, and measures approximately 3 inches in diameter. It is constructed with a combination of plastic, metal and rubber. This model comes in black/beige.
The front glide is located at the front of the dryer, the drum rides along it. If you hear a metal-on-metal noise when your dryer is running, your front glide may be worn out and require replacing. This front glide kit comes with a blue plastic glide, a brown cork pad, and two metallic rivets. Two kits are required per appliance. While yo...Read moreu have the front bulkhead removed for this repair, you may want to inspect the felt that lines it. If the felt is damaged, it is recommended that you replace it at the same time. You will need a rivet tool for this installation, as well as a stubby Phillips screwdriver, a 5/16 nut driver, and a drill with a 1/8-inch bit.
This roller shaft is also known as a support roller shaft or a drum roller axle, and is a part for your dryer. The function of this piece is to act as the axle for the drum roller; it provides a place for the roller to spin. The tools required for this repair are a stubby Phillips screwdriver, a 5/16 nut driver, a pair of snap ring pliers...Read more, and a 9/16 wrench. The first step before replacing this part should be to disconnect your dryer from the power source.
This multi rib belt spins the dryer drum during the drying cycle. This belt is 91-5/8 inches in length, 3/8th of an inch wide and has five ridges. It is black in color and made of rubber. You may need to replace the belt if your dryer is noisy or will not tumble.
This is a replacement lint filter for your dryer. The lint filter is approximately 12 1/2 inches in length. Simply remove the existing filter and replace it with the new one. Check for an excess buildup of lint when changing the filter, and clean it after every use.
This part is a retaining ring, sometimes called a retaining clip, that holds the drum support roller onto the shaft of a dryer. It is made entirely of metal and measures less than an inch in diameter. The retaining ring is a genuine OEM part sourced directly from the manufacturer. The ring may vary in appearance due to manufacturer substi...Read moretution, but the function is the same. You may need to replace this part if the dryer is noisy during tumbling, will not tumble, or takes too long to dry. Be sure to check drum support roller kit and shaft before ordering parts.
The idler pulley tightens the drive belt to properly spin the dryer drum. It is attached to an idler bracket. This part comes with the idler pulley and center bearing. To replace this part, you will need a Phillips screwdriver, channellock pliers, a 5/16ths nut driver, and a flat blade screwdriver. Make sure to disconnect power to the dryer before beginning this repair.
This timer dial skirt is just over three inches in diameter. It is white in color and is made entirely of plastic. This skirt has a gray indicator triangle.
If you notice that your dryer is noisy or will not tumble, then you may need to replace the drum roller shaft washer. This drum roller shaft washer is just under an inch in diameter and is sold individually. It is located on the shaft of the drum roller, in the interior of your dryer. To access the drum roller shaft, you will need to remo...Read moreve the front panel of your dryer, and then remove the drum. Before completing this repair, be sure to disconnect the power source from the dryer. Tools required for this repair include a 5/16 nut driver, a stubby Phillips screwdriver, and a pair of snap ring pliers.
This is a drum felt seal for your dryer. It creates an airtight seal between the dryer rear panel and the back of the drum. It is important that this seal be flexible so it does not interfere with the function of the appliance. This model may be used for the front or the rear of your appliance. Take note that the adhesive is not included....Read more The most common reason for needing to repair this part is if your dryer will not tumble, or there is not enough heat to properly dry your clothing.
This door catch kit is designed for use in dryers. This is an authentic OEM replacement part. This catch assembly ensures the door of your appliance will close, and remain closed. It allows your appliance to both start and complete a full drying cycle. There are two pieces included in this kit, one catch, and one strike. You open and clos...Read moree the door on such a regular basis that this mechanism can wear out. It is a fairly common part to replace. You will need to remove the door of your dryer to install the replacement catch assembly.
Ask our experts a question about this model and we'll get back to you as soon as possible!
We may have answered a similar question already! Search questions and answers left by others using simple keywords like "fit", "broken", "easy", or "quality" to find questions that match.
Search filter:
Clear Filter
Your search term must have 3 or more characters.
Sort by:
Prev
1
Next
Sorry, we couldn't find any existing answers that matched.Try using some different or simpler keywords, or submit your new question by using the "Ask a Question" button above!
Charles - For model number MDE6000AYW
February 9, 2024
Dryer squeaks when first starts and stops after a few minutes
Hello Charles, thank you for getting in touch. Based on our understanding of the issue, we would suggest checking the drive belt, part number PS11741110, to solve the problem. We hope this helps.
There is no wiring diagram for MDE600AYW electric diagram. You only have the diagram for a gas model. Specifically the machine connection at the power block.
Hi Ken, Thank you for reaching out. For the wiring diagram we suggest referring to the manual, or checking the wiring diagram that is located inside the control console. We hope this helps!
1 personfound this instruction helpful.
Was this helpful?
Thank you for voting!
Mark - For model number MDE6000AYW
December 14, 2023
My dryer quit working after I had a home main breaker problem. The panel was replaced but I fear a surge damaged the dryer. The dryer will tumble but will not get hot. Do you have any advice on troubleshooting?
Hi Mark, thank you for your question! Based on the description, we concluded that the issue is with the cycling thermostat, part number PS11741406. The cycling thermostat monitors and regulates the temperature inside the dryer. We would recommend checking the thermostat to fix the issue. We hope this solves your problem!
Need a good part number. Replacing belt, rollers and pulley
Hi Keith, thank you for reaching out to PartSelect. The drum support roller kit for your model is part number PS1570070, the belt is part number PS11741110, and the idler pulley is part number PS11743032. We hope this is what you were looking for!
See how others fixed this model. Time, tools, difficulty, and steps that lead to victory!View More
Search repair tips from other customers using simple keywords like "replace", "fit", "remove", "inspect". DIY doesn't mean you have to do it alone!
Search filter:
Clear Filter
Your search term must have 3 or more characters.
noisy rollers, broken latch
673 of 705 peoplefound this instruction helpful.
gerry from west covina,, CA
Really Easy
Less than 15 mins
Wrench (Adjustable), Wrench set
first, I unplug the power supply of the dryer then I removed the two screws at the bottom of the dryer then pulled out the front part of the dryer,unplugged the blue & yellow wire for the on/off switch for the door,at the back of the dryer I unscrew the pannel for the belt,disconect the belt,and I unscrew the four screws on both side of t
... Read morehe front pannel to remove the front cover of the drum. Once I removed the front cover of the drum I can now remove the drum itself to access the drum support roller. I unscrew the rollers then replace it with the new once. It was an easy job. Thank you.




 My Orders