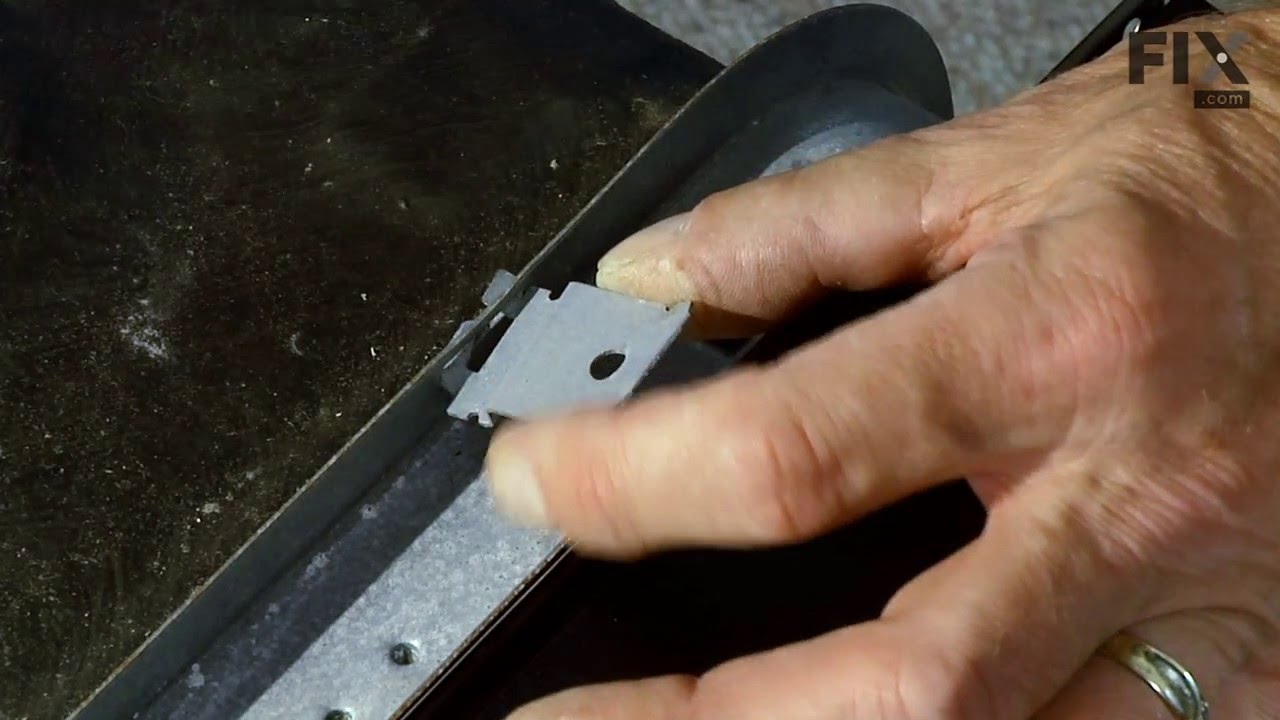
The mounting bracket is sold individually, without screws. This part secures the upper side of the dishwasher to the underside of the counter or cabinet to prevent the dishwasher from moving, shaking, or tilting forward. The bracket is made entirely of metal. It is recommended to check all brackets, if applicable, because they often wear ...Read moreat the same rate and both may need to be replaced. This is an OEM part that is sourced from the authentic manufacturer. Tools needed are a pair of needle nose pliers and a screwdriver.
The hose clamp is used to hold the water hose in place which will prevent the hose from leaking water. Sometimes the clamp may lose its ability to latch on, causing a leaking washer. For the installation, you will need a flat head screw driver to replace the clamp and a drill to access the screws to remove the front of the washer. Be care...Read moreful if you do not have specific clamp pliers as the clamp could fly off. Once the front of the washer has been removed, take a quick look for water damage or any obvious signs of where the leak is coming from. If it is not obvious, run water to test.
This agitator assembly is an authentic OEM part that is compatible with various models of washing machines. It consists of a central shaft with a series of fins attached to it. When the washer is operating, the agitator rotates back and forth, causing the clothes to rub against each other and against the agitator itself, which helps to lo...Read moreosen dirt and stains. If the agitator does not move or moves erratically while the washer is running, then this is a sign that it is faulty. You may also hear unusual noises such as grinding or rattling and notice that your clothes are not distributed evenly around the agitator during the wash cycle.
This part has a swivel gooseneck fitting and that allows it to be installed closer to the wall. This part has a 3/4" hose thread on one side and a 3/8" copper tubing on the other side.
The water inlet valve assembly is a crucial component of dishwashers that controls the flow of water into the unit. This genuine OEM replacement part includes the inlet valve, inlet hose, and hose clamp to ensure the proper water supply for your dishwasher’s operation. Designed for specific models, this part ensures that water is fed into...Read more the dishwasher during the wash cycle, promoting efficient cleaning. Before installation, it is important to unplug the dishwasher and turn off the water supply to avoid any accidents. Wear work gloves for your safety during the installation process. Be sure to verify the compatibility with your dishwasher’s model number, as similar-looking parts may have slight variations in size or design.
This heating element is a genuine OEM replacement sourced directly from the original manufacturer for use in various models of dishwashers. The element is designed to heat water inside the dishwasher during the wash and rinse cycles to enhance the efficiency of the cleaning process. It is positioned at the bottom of the dishwasher tub, be...Read moreneath the lower rack. The heating element includes a bushing, which is a protective covering that prevents water from coming into contact with the electric terminals, and two plastic nuts.
Ask our experts a question about this model and we'll get back to you as soon as possible!
We may have answered a similar question already! Search questions and answers left by others using simple keywords like "fit", "broken", "easy", or "quality" to find questions that match.
Search filter:
Clear Filter
Your search term must have 3 or more characters.
Sort by:
Prev
1
2
3
Next
Sorry, we couldn't find any existing answers that matched.Try using some different or simpler keywords, or submit your new question by using the "Ask a Question" button above!
Gary - For model number MDB4949SKZ0
February 22, 2024
Dishes are coming out with a fishy smell
Hi Gary, thank you for reaching out. Based on our research, this is caused by food particles and bacteria that become trapped in the drain when dirty water cannot properly drain, leading to an unpleasant, fishy odor. Food particles can sometimes become trapped in soap scum and build up inside of a dishwasher when the filter is dirty. To eliminate unwanted smelly fish odors from your dishwasher, make sure to clean your dishwasher regularly. Run a cycle with a dishwasher cleaner or try a combination of white vinegar and baking soda to fight unpleasant smells. If the issue still persists, we would suggest replacing the filter, part number PS16660522, to solve the problem. We hope this helps!
I am looking for side mount brackets into the cabinets instead of under counter
Hi Sue, thank you for reaching out. The only mounting brackets listed under your model are part number PS11745496. They are sold individually. This part secures the upper side of the dishwasher to the underside of the counter. We hope that helps!
To How far is the drain port supposed to stick out. I have buy a new dishwasher I don’t think I can attached the drain hose. The drain port is only 3/8 inches pass the bracket
Hello Stephen, thank you for contacting us. To properly install the drain hose, part number PS12745137, you may follow the instructions below:
1- Place the silver clamp over the elbow end of the drain hose. Then push the hose onto the drain port (be sure to push it all the way on) with the hose facing underneath the dishwasher.
2- Using pliers, squeeze open the drain hose clamp and slide it over the elbow to ensure the hose is attached in place.
3- Route the hose out of the back of the product.
Note that if the hose is installed with the rubber elbow facing out, the drain hose may become kinked, causing slow or incomplete draining in tight cabinet installations. There may also be a plastic plug in the drain port for shipping purposes where you can connect the drain hose. Remove the plug before installing the drain hose, if present. We hope this sorts out your problem!
Was this helpful?
Thank you for voting!
Ken Shafer - For model number MDB4949SKZ0
January 8, 2023
Just bought this dishwasher a couple weeks ago and opened to put dishes away and found bottom spin thing disconnected and plastic part melted into small glob ! Need plastic connector piece !! Which part ?
Hello Ken, Thank you for your inquiry. Researching the model number that you have provided, the lower spray arm and tube insert is part# PS16620353, it goes through the screen, the diffuser and inserts into the sump. Good luck with your repair.
See how others fixed this model. Time, tools, difficulty, and steps that lead to victory!View More
Search repair tips from other customers using simple keywords like "replace", "fit", "remove", "inspect". DIY doesn't mean you have to do it alone!
Search filter:
Clear Filter
Your search term must have 3 or more characters.
Lost dishwasher brackets
78 of 118 peoplefound this instruction helpful.
Judith from Essex, MA
Easy
15 - 30 mins
Screw drivers
I called an experienced plumber, who balanced and installed my new dishwasher properly, using the brackets I ordered from Parts Select, after an INEXPERIENCED plumber had tossed the factory-provided mounting brackets out with the shipping carton. Relief!
Was this helpful?
Thank you for voting!
Leaking Dishwasher
29 of 32 peoplefound this instruction helpful.
Scott from ISLE, MN
Easy
30 - 60 mins
Screw drivers, Wrench (Adjustable)
After pulling the dishwasher out, I was able to determine the leak was occurring around the plastic nuts on the end of the heating element. I removed the heating element and saw that even though there were washers on the ends that protruded through the backside of the machine, they really weren't sealing the holes the element was sticking
... Read more through. Looking at YouTube videos on the installation procedure, I noticed the element being installed had a sort of metal grommet permanently affixed to each end and the rubber washers were between the grommet and the dishwasher body. I ordered the new part and saw this to be when I received the new part. This grommet allowed the washer to seal the hole, once the plastic nuts were installed on the backside of the dishwasher. This seems to have stopped the leak. I don't know how the original part ever worked correctly, since the washers freely sat on the element with nothing to force them up against the body of the dishwasher and seal the holes. It may have been leaking long before I discovered the problem.
Read less
Was this helpful?
Thank you for voting!
Clicking Noise When Agitating
17 of 22 peoplefound this instruction helpful.
Chad from SAINT AMANT, LA
Easy
30 - 60 mins
Socket set
- Shut off power to the washer - Removed cap on top of agitator - First, I tried using a ratchet set to remove the bolt that is inside the agitator at the baseplate. Tub would spin when I tried this method, so I used an air impact with long extensions. One press of the impact and the bolt loosened. - Tied a pair of shoelac
... Read morees together and stuffed them inside the seam around the agitator baseplate. I put the shoelaces half way around the baseplate. Get it in the seam then with two hands, each with an end of the shoelace, pull up on the baseplate. Success!! - Installed the new agitator with base plate and then used the ratchet set to tighten the bolt. Didn’t want to take a chance on stripping the bolt inside the agitator with the air impact when tightening.



 My Orders