



 My Orders




MBC12GAZBB General Electric Range - Overview
Diagrams for MBC12GAZBB
See every part. Know exactly what you need.


Enter a part description. DIY Heroes keep it simple, eg. "belt" or "pump".
Search filter:
Clear Filter
Your search term must have 3 or more characters.

$20.63
In Stock
Single Heating Element Support Clip
Part #WB2X9719
The metallic clip, or also known as a broil element support, is for a oven element on a range. This part holds the broil element in place on top of the oven. If your support clip is broken then this replacement should be the solution. The tools needed for this project are slip joint pliers. For safety precautions, make sure to unplug your...Read more range from the power source, or shut off the house circuit breaker before starting this project. Refer to the installation instructions for best results and accuracy.
Read less

$17.19
In Stock

$56.13
In Stock
Tub Gasket
Part #WD08X10018
This is the tub gasket replacement for your dishwasher. The tub gasket fits around the perimeter of the door and forms a seal that prevents the dishwasher from leaking when it is filled with water. If the tub gasket is loose or damaged, you may notice your dishwasher leaking. The tub gasket can wear over time, or become stretched. In eith...Read moreer case it will need to be replaced to prevent a leak. The gasket is made of black rubber and is sold individually.
Read less

$18.22
In Stock
Spring Plunger
Part #WD03X10026
This is a replacement spring plunger for your dishwasher. The spring is approximately 1 inch in length and is sold individually. The spring plunger helps your door latch correctly, and if the spring is missing or damaged, you can experience a door latch failure, and your dishwasher may not start. This is an OEM part sourced directly from the manufacturer.

$16.47
In Stock
RECEPTACLE PUSH-IN
Part #WB08T10026
This part is the replacement light socket for your oven. The oven light socket provides power to the light, and at the same time holds the light bulb in place.

No Longer Available
Interlock Cover
Part #WD12X10401
This is a replacement interlock cover for your dishwasher. The interlock cover protects the door latch assembly, and prevents some of the smaller more important parts from being damaged or going missing. This part is made of gray plastic and is approximately 3.5 inches by 1.5 inches. To replace the interlock cover, you will have to use a ...Read morePhillips-head screwdriver to separate the inner door panel from the outer door panel. At this point you can access and replace the interlock cover, which simply snaps in and out of place. This part is sold individually.
Read less

$16.05
In Stock
Lens
Part #WB25T10041
This part is a replacement lens for your oven or range. The lens is red in color, and when the elements are turned on, the light behind the lens will turn on to inform the user that the element is, in fact, on. The lens is a little less than half an inch in diameter and is made of plastic. If the light behind the lens still works, you sho...Read moreuld be able to simply remove the front panel and pop the damaged lens out of position, then replace it with the new one. This part is sold individually and is an OEM part sourced directly from the manufacturer.
Read less

$104.33
In Stock
Surface Burner Switch - 8 Inch - 2100W
Part #WB24T10027
This switch controls the large burner on a range/stove top.

$16.76
In Stock

$16.76
In Stock
Drawer Glider - Right Side
Part #WB02K10061
This right-side drawer glider allows smooth and stable drawer movement. Designed for durability and precise alignment, it supports effortless opening and closing.

$100.27
In Stock
Short Bottom Door Seal
Part #WD08X10059
This part is located at the bottom of the door. It prevents water from leaking out of the dishwasher.

$103.63
In Stock
Common Symptoms of the MBC12GAZBB
How this model fails, and the parts that fix it.
Leaking
Fixed by
these parts
these parts


Show All
Will Not Start
Fixed by
these parts
these parts


Show All
Element will not heat
Fixed by
these parts
these parts


Show All
Door latch failure
Fixed by
these parts
these parts
Show All
Door won’t close
Fixed by
these parts
these parts


Show All
Touchpad does not respond
Fixed by
these parts
these parts

Show All
Timer will not advance
Fixed by
these parts
these parts
Show All
Watch our pros, then fix it yourself.
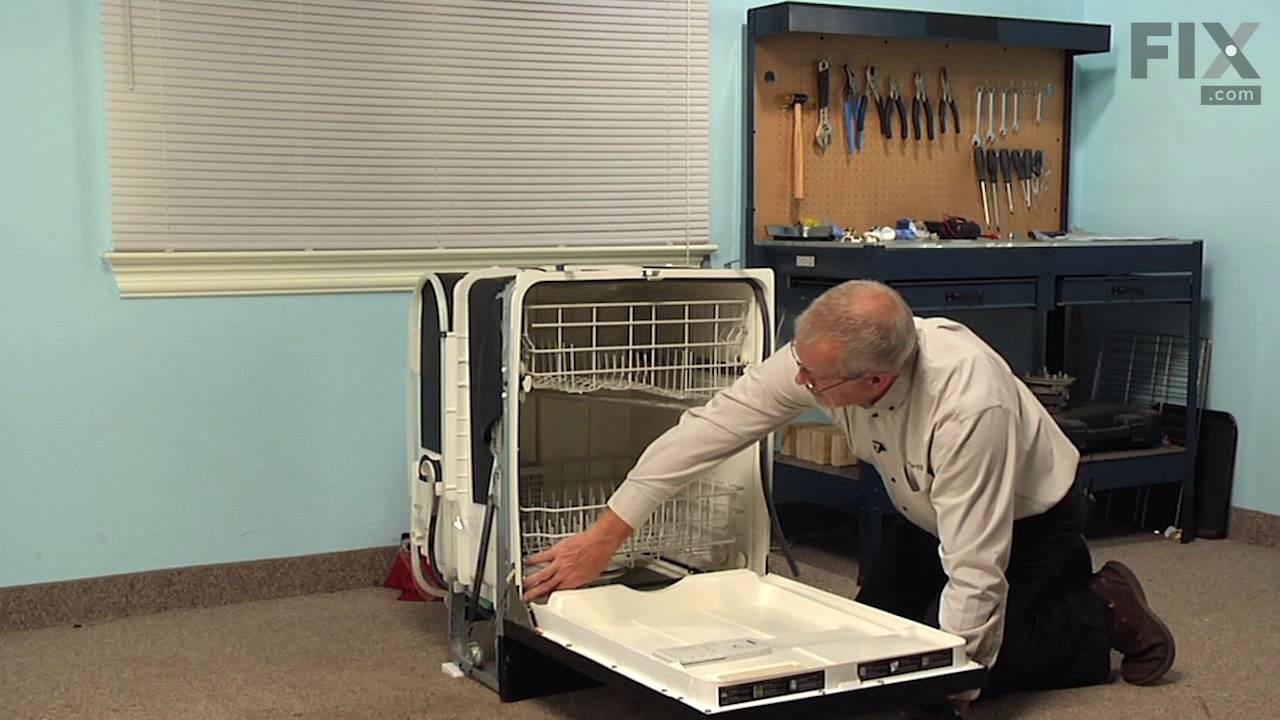

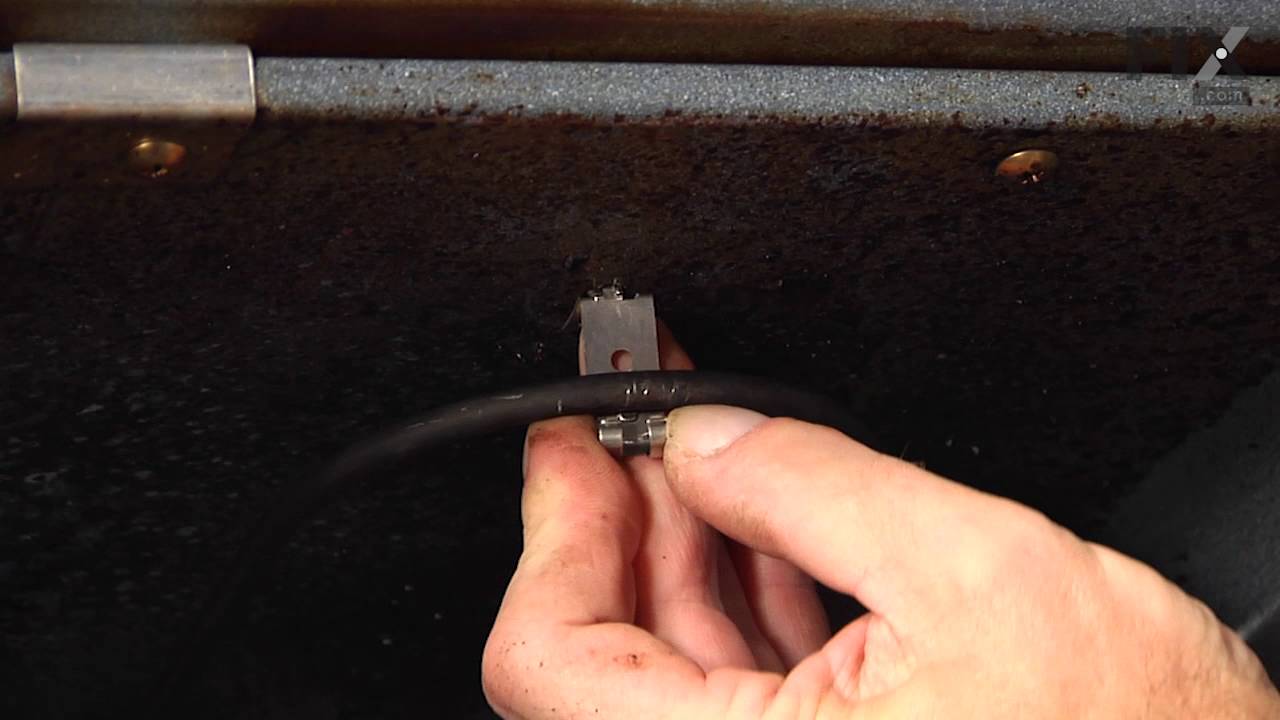

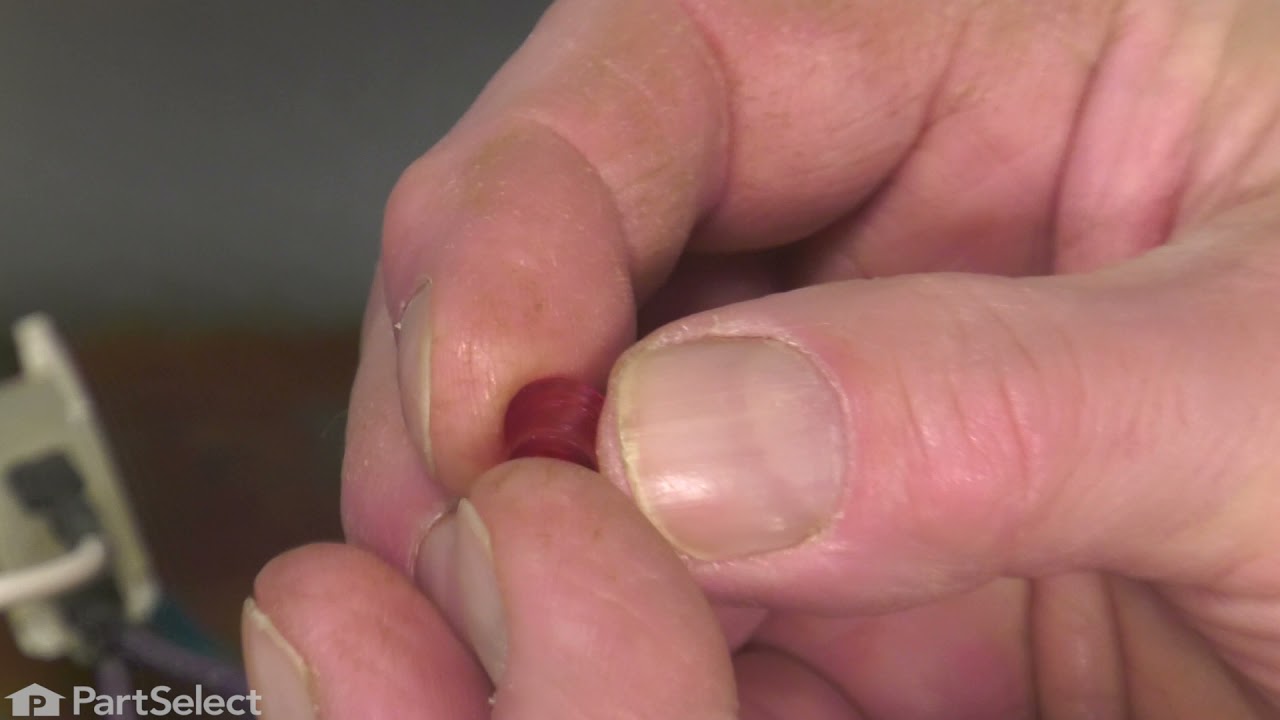

See how others fixed this model. Time, tools, difficulty, and steps that lead to victory!
View More