



 My Orders




LSMX211ST (00) LG Refrigerator - Overview

Enter a part description. DIY Heroes keep it simple, eg. "belt" or "pump".
Search filter:
Clear Filter
Your search term must have 3 or more characters.

$24.67
In Stock
Refrigerator Door Switch
Part #6600JB1010A
The interior light in your refrigerator is controlled by a switch that is activated when the door is opened and closed. If your refrigerator light will not turn on, or stays on when the door is closed, you could have a faulty switch. The switch is spring-loaded and is a generally closed type of switch meaning there should be no continuity...Read more when the button is pushed, and continuity through the switch when it is no longer engaged. This plastic, white, OEM switch is sourced directly from the manufacturer, is sold individually and is easy to replace. The repair usually takes less than 15 minutes and requires a flat-blade screwdriver and needle-nose pliers.
Read less

$72.73
In Stock
Refrigerator Water Filter LT700P
Part #AGF80300702
This refrigerator water filter replacement is for 2010 LG refrigerators that have either forward French doors or are the four-door dispensing models. This filter is designed to minimize impurities that can cause ill-tasting water or an unpleasant smell. It reduces sediment, dirt, rust, limescale, sand, and many other contaminants that can...Read more be harmful to your health and the life of your appliance. This filter should be replaced every 6 months or 200 gallons to ensure top quality performance.
To remove your unwanted filter, press the push button to open the filter cover (water may spill from the hole), pull out the old cartridge in a downward motion. To install the new filter, make it so the ears are in the horizontal position and push the new cartridge into the housing until it stops. Push the filter upward until it is secure. Click the cover to lock it in place. Run water for approximately 5 minutes to prep the filter for use, and discard water. Reset the “filter reset” button if applicable.
Read less

$15.00
Special Order
Mullion Spring
Part #MHY62044103
This spring is located on the mullion, or door flap, of your fridge. This spring is sourced from the genuine OEM manufacturer for various refrigerator models. It measures about 1.5 inches in total length, and is made entirely out of metal.

$15.00
In Stock
Handle Screw
Part #MJB63190001
This handle screw, also known as a mounting bolt, is a mounting screw to help secure the door handle to your refrigerator door. If your handle is loose, you may just need to tighten the screw. If your screw is missing or broken, it may need to be replaced. There are multiple handle screws on your fridge, please consider ordering extra as ...Read morethey commonly wear at the same rate. This is about 1 inch long and metallic in color.
Read less

$56.33
In Stock
Door Gasket - Gray - Right Side
Part #ADX73550624
This door gasket is used to make an air-tight seal for the cabinet when the door is closed

$122.57
Special Order
Water Inlet Valve Assembly
Part #AJU72992601
This includes the primary and secondary valves along with the wire harness.

$23.60
In Stock
Door Holder
Part #MEG61899901
This is a manufacturer-approved refrigerator door closure for your refrigerator. It is made of white plastic and measures approximately 3 inches by 2 inches. If your old closure is damaged, your refrigerator door may not open and shut properly, and therefore it should be replaced.

No Longer Available
Ice Bin Assembly
Part #AKC72949319
This genuine refrigerator ice storage container holds and stores ice produced by the ice maker until it is ready to be dispensed. Featuring an integrated auger and dispensing mechanism, it helps deliver ice smoothly through the refrigerator door while keeping ice organized and readily available. Designed as a direct replacement for a dama...Read moreged or worn ice bucket, it can help restore proper ice dispensing performance. The container measures approximately 15 inches long, 8 inches wide, and 7 inches high.
Read less

$109.40
In Stock
Evaporator Fan Motor
Part #4681JB1027C
This is a genuine OEM evaporator motor that directly powers the evaporator mechanism within your refrigerator. This mechanism is responsible for pulling air over the evaporator coils, which are cold, and circulating that cold air back throughout the appliance. Without this motor, the interior of your refrigerator would build up frost, str...Read moreain the compressor, and simply not cool your fridge enough. A warm fridge, frost buildup or unusual noises are all signs that this fan needs replacing, and over time or through excessive dust building up, motor issues will arise and can cause it to fail. This fan motor is sold as an individual part, so it does not come with any securing screws or the fan blade itself. Replacing the evaporator fan motor will require your user manual and Philips-head and flathead screwdrivers. You need to gain access to the evaporator cover, which you will need to locate using your user manual schematics. Once the cover is removed and you disconnect the wire harnesses within it, you can disassemble the fan mechanism on its inside portion. With the fan mechanism disassembled, remove the old mechanism and install the new one, with the securing screws and wire harnesses.
Read less

$15.00
In Stock

No Longer Available

$101.29
In Stock
GASKET ASSEMBLY,DOOR
Part #ADX72930460
This fridge gasket, also known as a door seal, is an authentic OEM part supplied by LG for use with various models of LG refrigerators. It is a flexible strip of rubber that sits along the perimeter of the refrigerator. It creates an airtight seal between the door and fridge body to prevent cold air from escaping and warm air from enterin...Read moreg. This helps to keep your fridge cool and energy efficient. If the gasket is worn out, torn, or can no longer maintain a tight seal, your fridge will have to work harder to maintain the correct temperature inside the fridge. You may also notice that the door may not be able to close properly.
Read less
Common Symptoms of the LSMX211ST
How this model fails, and the parts that fix it.
Light not working
Fixed by
these parts
these parts

Show All
Door won’t open or close
Fixed by
these parts
these parts


Show All
Leaking
Fixed by
these parts
these parts


Show All
Door Sweating
Fixed by
these parts
these parts

Show All
Not dispensing water
Fixed by
these parts
these parts

Show All
Noisy
Fixed by
these parts
these parts


Show All
Ice maker won’t dispense ice
Fixed by
these parts
these parts

Show All
Ice maker not making ice
Fixed by
these parts
these parts

Show All
Fridge too warm
Fixed by
these parts
these parts
Show All
Fridge and Freezer are too warm
Fixed by
these parts
these parts
Show All
Watch our pros, then fix it yourself.
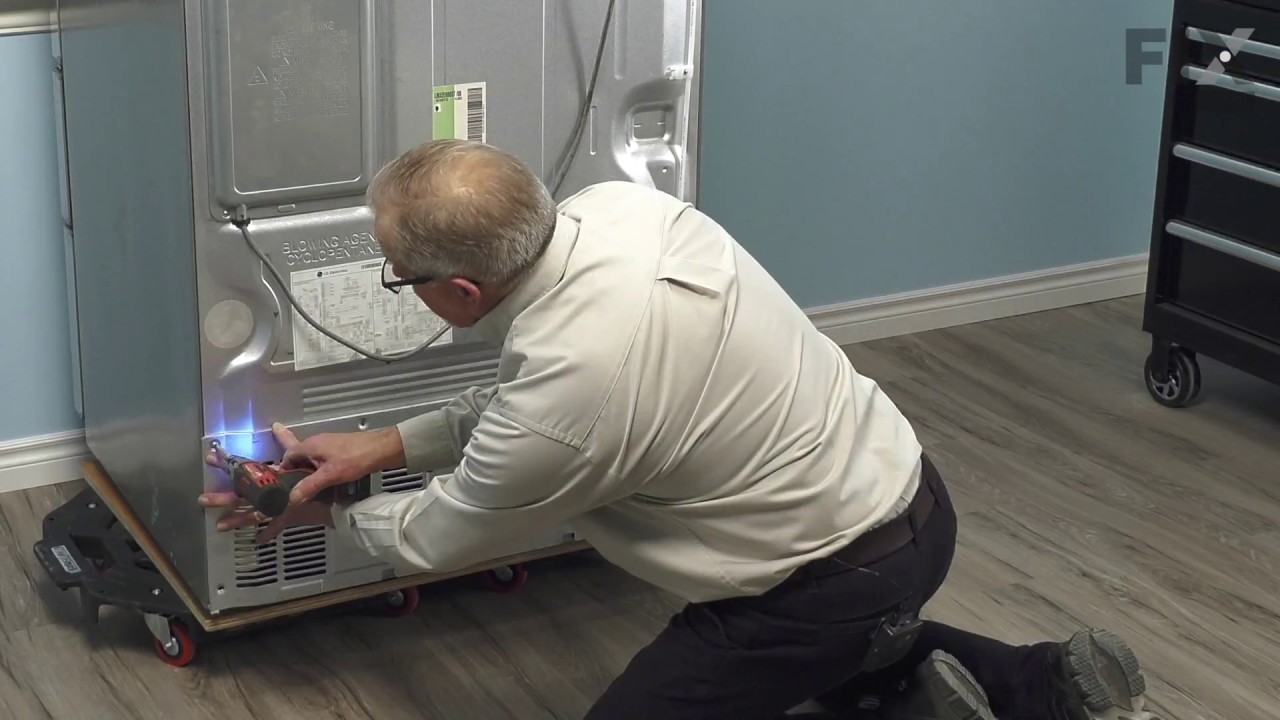
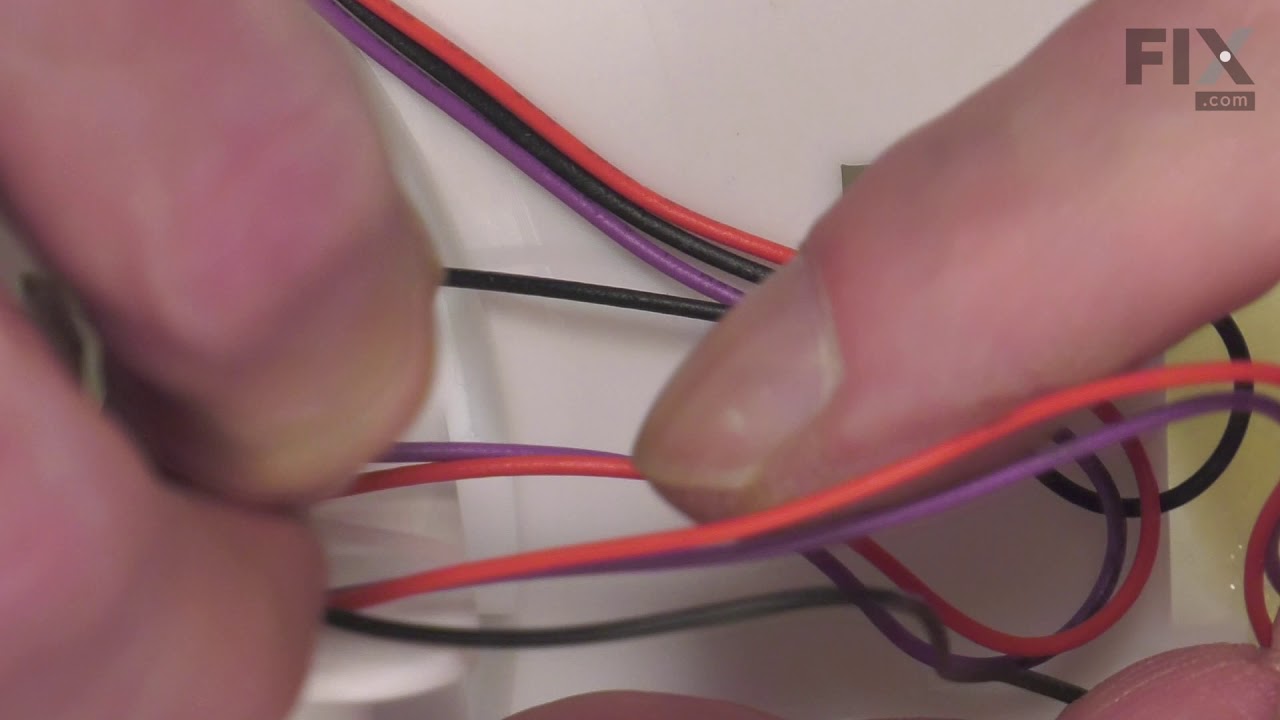
See how others fixed this model. Time, tools, difficulty, and steps that lead to victory!
View More