



 My Orders




LMXS28596M (AMTCNA1) LG Refrigerator - Overview
Diagrams for LMXS28596M
See every part. Know exactly what you need.


Enter a part description. DIY Heroes keep it simple, eg. "belt" or "pump".
Search filter:
Clear Filter
Your search term must have 3 or more characters.

$122.57
Special Order
Water Inlet Valve Assembly
Part #AJU72992601
This includes the primary and secondary valves along with the wire harness.

$63.64
In Stock
Refrigerator Water Reservoir
Part #AJL72911502
The water reservoir holds the water for the water dispenser as the water chills.

$15.00
In Stock
STOPPER,DOOR
Part #MJB62830601
This is a door stopper designed for LG refrigerators. This white plastic stopper is made to ensure the refrigerator door closes properly. If your fridge door is not closing entirely, or if this closer is damaged, it needs to be replaced to fully keep your door closed. This closer is located on the bottom of the right refrigerator door and...Read more requires a screwdriver to replace it. This closer is a genuine OEM part and is sold individually.
Read less

$15.00
In Stock

$15.00
In Stock
Ring
Part #4350JA3005B

$34.74
On Order
Temperature Sensor
Part #6500JB2002X
This is a temperature sensor for various models of LG refrigerators. Temperature sensors are used to adjust the level of cooling depending on the internal temperature of the refrigerator. If your refrigerator is warm or not cooling consistently, ensure your evaporator fan is not blocked, before replacing this sensor. To replace this senso...Read morer, you will need a screwdriver and a set of pliers, and simply need to unplug the old sensor, and plug in the new one. This temperature sensor is a genuine OEM part that is sold individually and does not come with any other parts or accessories.
Read less

$51.61
In Stock
BASKET,DOOR
Part #MAN64308302

$31.58
In Stock

No Longer Available
COVER,FRONT
Part #MCK67107201

$23.60
In Stock

$23.60
Special Order
ROLLER
Part #MHA62513601

$13.92
Special Order
Screw,Customized
Part #4000W4A003A
Common Symptoms of the LMXS28596M
How this model fails, and the parts that fix it.
Leaking
Fixed by
these parts
these parts


Show All
Not dispensing water
Fixed by
these parts
these parts
Show All
Door won’t open or close
Fixed by
these parts
these parts

Show All
Ice maker not making ice
Fixed by
these parts
these parts
Show All
Watch our pros, then fix it yourself.
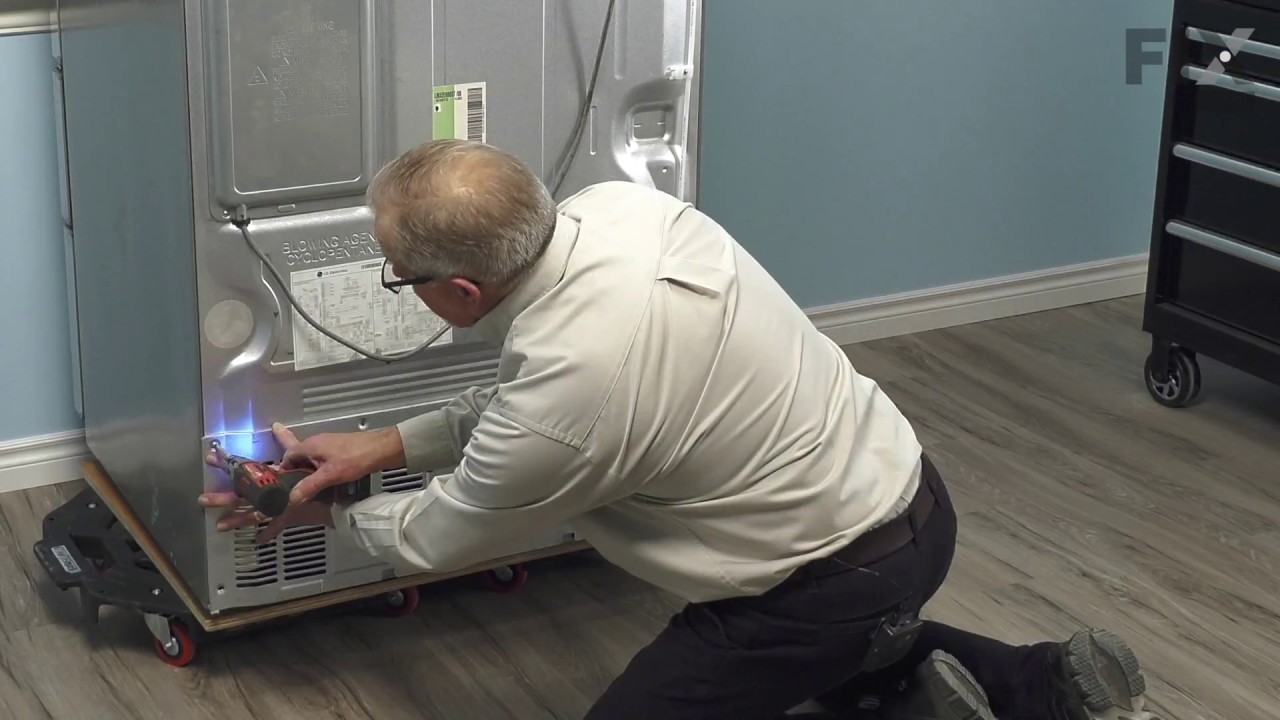
See how others fixed this model. Time, tools, difficulty, and steps that lead to victory!
View More