Your coupon for will be reflected when you check out!
✖
Your coupon for
✖
Hello!
You're visiting the PartSelect site in U.S.
Would you like to shop on the Canadian site?
Stay on this site
Go to Canadian site
✖
Model Number Locations
1Select Category Type
Select Category Type
2Select Product Type
Select Product Type
3Select {MODEL} Type
Select {MODEL} Type
Sample Model Number Tags
Model numbers can be made up of numbers (1005400, for example) or a combination of letters and numbers (LAT1000AAE). The model number will most likely appear on either a paper sticker or a metal plate. Your appliance's model number tag may look similar to the sample model number tags shown here (model number highlighted in yellow):
Model has been saved to My Models. If you're not signed in, your lists are available on this device and will expire within 30 days.
Model has been saved to My Models.
This crisper cover front support is used to keep the crisper shelf in place and may need replacing if the door will not open or close. This white, OEM part measures roughly 1 inch in diameter and can ...
This manufacturer-certified Refrigerator Door Shelf Bin, also known as a crisper bin or door shelf bin, is made of clear plastic, and is easy to install. It is used to hold items in the fridge, like j...
This authentic rear crisper support is a white, plastic part which is rated as "easy" to install by our customers. This OEM part replaces the rear crisper cover support in your fridge and mounts to th...
The function of the Refrigerator Water Inlet Valve (Triple Solenoid Water-Valve, Water Valve, Water Inlet Valve, Refrigerator Water Inlet Valve Assembly) is to release water from the supply line when ...
This genuine refrigerator door bin is perfect for storing items on your fridge door. Made from clear plastic, it’s easy to install with no tools required—just snap it into place. Ideal for replacing c...
This refrigerator shelf frame is an OEM part that serves to support the glass above your meat pan or chill drawer in your refrigerator. White to off-white in color, this part does NOT include the glas...
This manufacturer-approved air filter system for refrigerators eliminates odors and any impurities. It does this by neutralizing and removing odor-causing molecules. For best results, it is important ...
This OEM refrigerator filter is for french door and side-by-side door types and is located in the back, top-right of your appliance. By absorbing heavy metals, pharmaceuticals, pesticides, chlorine, a...
This clear plastic crisper drawer is for side-by-side refrigerators. It is sold individually and sourced right from the original manufacturer. Please note that the new pan does not have the humidity c...
Cracked crisper glass? This replacement insert is just what you need. It’s about 17.12" by 15.40" and fits right into the frame above your crisper drawers, giving you extra shelf space and keeping thi...
This refrigerator shelf frame is designed to sit directly above the bottom crisper drawer, helping to regulate humidity and maintain optimal conditions for storing fresh produce. Built for durability ...
Ask our experts a question about this model and we'll get back to you as soon as possible!
8 questions answered by our experts.
Sort by:
< Prev
1
2
Next >
Search filter:
Clear Filter
Your search term must have 3 or more characters.
Keep searches simple. Use keywords, e.g. "leaking", "pump", "broken" or "fit".
Sorry, we couldn't find any existing answers that matched.Try using some different or simpler keywords, or submit your new question by using the "Ask a Question" button above!
Clarence
April 11, 2022
What is the warranty time on the compressor?
For model number LGHX2636TF0
Hello Clarence, thank you for writing. If you purchased a Compressor part PS11773263 from us, the part has with a one-year warranty (some conditions apply, see more details.) If a part you order from PartSelect fails or breaks down in the first year, you can send the part back and receive a free replacement part. If you need help placing an order, customer service is open 7 days a week. Please feel free to give us a call. We look forward to hearing from you.
My fridge is making ice but it is not dispensing the ice when you push the key to select ice
For model number LGHX2636TF0
Hello Jeffrey, thank you for writing. Check for ice in dispenser chute. Check the delivery chute in the door to see if it is clogged with frost or ice fragments. Pull out the ice bin and check to see if the small motor that turns the augur in the ice bin has ice jammed or clumped. If all of that is ok, then it may be the Ice Dispenser Solenoid PS8691994 . We hope this helps.
My side by side is not freezing or cooling. The control board says 0 refrigerator 37
Coil clean fan over the coil works the compressor comes on .
For model number LGHX2636TF0
Hello Mark, thank you for your question. Not cooling or freezing? There are several causes for a refrigerator that doesn't cool, including poor ventilation, improper installation, faulty gasket seals Freezer PS3408466 or Fresh Food PS2581497, unorganized food storage, appliance location including Temperature Sensor PS1765215. We are pleased to have been able to help.
DIAGRAM OF PART FOR THE DISCONTINUED REFRIG LISTED ABOVE. LOOKING FOR THE CONNECTION TO THE ICEMAKER FROM THE BACK OF THE FRIG
For model number LGHX2636TF0
Hi Gerry, thank you for getting in touch. We have found that there are two connecters to be connected while replacing the icemaker. The wire harness coming from the back of the refrigerator connects to the wire connector having the same colors of wires coming from the top. The other connector connects to the wire harness coming from the icemaker assembly. We hope this information is useful!
Did this question help you?
Thank you for voting!
Melissa
December 17, 2023
My ice container is cracked, can I buy only the container without the assembly?
For model number LGHX2636TF0
Hello Melissa, thank you for reaching out. The ice container comes as an assembly and it is not available separately. You may need to purchase the ice container assembly, part number PS12731641. Please reach out to customer service if you need help placing an order, anyone will be happy to assist you!
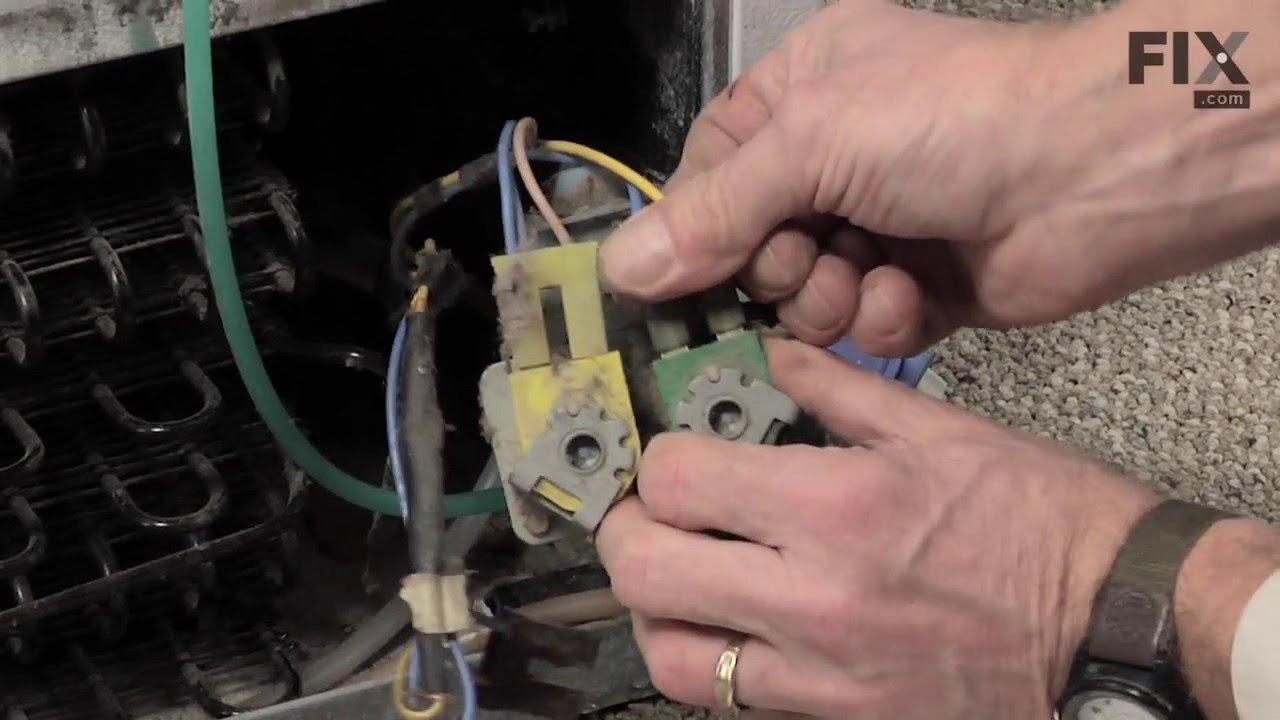
In my specific appliance the water valve is located in the bottom right hand corner looking at it from the back. To get to it I remove the thin layer of cardboard the covers the back of the fridge. I then proceeded to disconnect the 1/4" copper tubing which is the water feed coming out of the wall. Then I removed the screws that hold the
... Read more valve assembly in place. I took the water valve out and removed the electrical connections as well as the plastic tubing which feed the water dispenser and the ice maker. To install the new water valve it was just a matter of reversing steps.
Even though my wife said that our icemaker broke, there was actually nothing wrong with it. It was the valve that let water flow in during the 'harvest' cycle. A real easy way to test the icemaker without voltage and current measurements, is to fill the tray by hand with a little cup of water; wait till the water freezes and see if t
... Read morehe maker dumped the ice into the bin.
Used pliers to remove the residual broken stud that was still attached to the wall of the refrigerator, and then just pushed the new part in place. The longest time was spent in removing the food and crisper drawers.