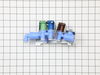
This genuine PureSource Ultra water filter will fit most Frigidaire french door and side by side refrigerators. You will find this filter located in the back, top right of the appliance. It is white in color and the filter has a polypropylene plastic housing and extruded carbon block filter media. Certified by NSF/ANSI to reduce contamina...Read morents that may be in your household water supply by 99.8 percent. The operating temperature for this filter is 33-100 degrees Fahrenheit, the flow rate is 0.5 GPM, the working pressure is 30-100 PSI, and it has a micron rating of 1. This filter should be replaced every six months or when the indicator lights up red. Installation is quick and easy. Push on the end face of the older filter to allow it to release. Remove and discard the old filter. Slide the new filter into the housing and press it down until it locks into place. Be sure to run water through the dispenser for about three minutes to prime the filter before use. Discard this water or use it to water plants. Do not forget to reset the indicator by pressing it down for 3-10 seconds. Review the use and care guide before you install for more detailed instructions.
This manufacturer-approved air filter system for refrigerators eliminates odors and any impurities. It does this by neutralizing and removing odor-causing molecules. For best results, it is important to change the filter every 6 months to ensure that food is kept fresh, and the humidity is controlled. This part measures about 7 inches wid...Read moree and 5 inches deep. Follow installation instructions provided by the manufacturer when installing this part to ensure accurate results and further guidance. Remember to unplug the refrigerator from the power source before starting this project. The air filter may be located in different places depending on your appliance, but is usually on the inner right or left side. See your manual for exact location. Our customers rated this as a very easy repair that takes only a few minutes; just locate and remove the old air filter and insert the new one to complete the repair, which requires no tools.
This mullion hinge pin is a genuine OEM replacement part, measuring 1.5 inches by 1.25 inches by 0.85 inches. It is specially designed to secure the mullion in refrigerators, allowing it to pivot and ensure smooth door movement. The mullion acts as a barrier between the refrigerator and freezer to maintain the desired temperatures for eac...Read moreh section. A damaged or loose hinge pin will result in temperature fluctuations, frost buildup along the door edges, and difficulties opening and closing the door. Therefore, it is important that you replace the pin as soon as it is no longer functioning. Note that your appliance may require two hinge pins, one near the top of the mullion and one near the bottom. Remove the mullion cover, detach the hinge pin, and install a the new one into the hinge assembly. Place the cover back on and verify that the hinge assembly is working by carefully opening and closing the refrigerator doors to check that they are moving smoothly. Each sold individually.
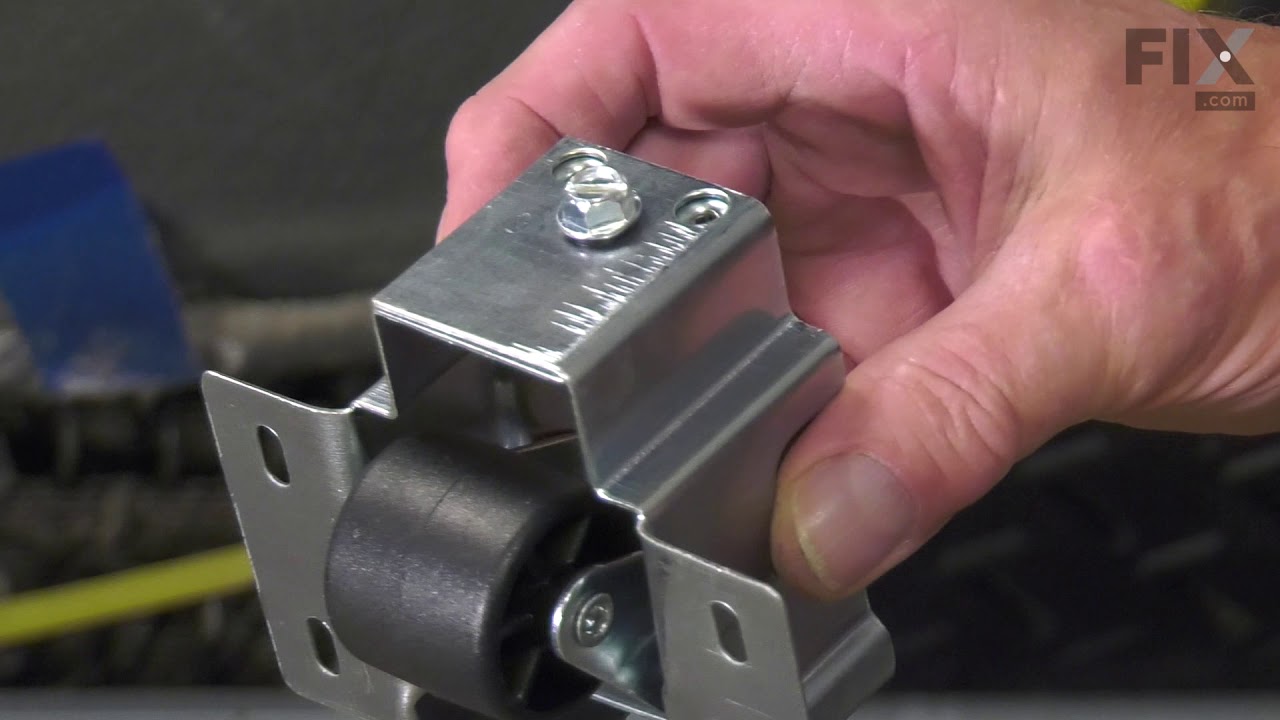
This crisper pan roller is sourced directly from the manufacturer for use in your refrigerator. It is a genuine OEM part that is designed to fit just like the original for your convenience. The roller is a plastic wheel-like component that attached to the sides of the crisper pan and allows it slide in and out of the refrigerator smoothly...Read more. The rollers allow users to easily and conveniently access the contents of the drawers. Over time, the roller may wear down, break, or fall off. If the roller is faulty, you may notice difficulty sliding the drawer in and out, or the drawer may feel loose and unstable when you pull it out. Each crisper pan roller is sold individually. Ensure that you order the correct number of rollers for your refrigerator.
This refrigerator ice maker assembly includes the ice mold and integrated control mechanism responsible for freezing water and dispensing ice automatically. Designed for compatibility with select models from Frigidaire, Kenmore, Electrolux, Crosley, and others, it replaces older assemblies and restores reliable ice production. Common symp...Read moretoms indicating the need for replacement include leaking, failure to produce ice, or inconsistent performance. Before installation, disconnect the refrigerator from its power source and verify compatibility using your appliance’s service manual. This assembly offers a dependable solution for restoring full ice-making functionality.
This GREY magnetic door gasket is designed for 36-inch French-door refrigerators and helps maintain a tight seal between the doors and the cabinet. Made from durable white material, it plays a critical role in keeping cold air inside and warm air out, helping preserve food freshness and improve energy efficiency. Over time, a worn or dama...Read moreged gasket can lead to temperature fluctuations and increased energy use. This replacement part is compatible with select refrigerator models and installs easily to restore proper sealing performance.
This refrigerator crisper drawer cover assembly is a genuine replacement part designed to support and enclose the crisper drawers in select Frigidaire models. It includes a durable plastic frame and a glass insert that serves as the shelf surface above the drawers. Together, these components help maintain optimal humidity and temperature ...Read morelevels, preserving the freshness of fruits and vegetables. The assembly installs easily without tools—simply remove the old part and slide the new one into place. Sold individually, this OEM part ensures a precise fit and reliable performance. This cover does not come with the wheel. The wheel attaches to the shelf (roller 5304508016).
This evaporator fan blade is a genuine OEM part that is sourced directly from the manufacturer. The evaporator fan blade circulates air through the refrigerator to control the amount of cold air goes that goes to internal compartments of the unit. It may need to be replaced if the fridge is noisy or not cold enough. This part is made of p...Read morelastic and is sold individually. It will be necessary to disconnect power to the refrigerator and empty the freezer compartment of the refrigerator. The tools needed to complete this repair are a 1/4 inch nut driver and a pair of needle nose pliers.
Sold individually.
This is a genuine part. The handle mounting shoulder screw (no.10 ab) is made for use with many refrigerators. The metal screw helps to fasten the handle assembly to the outer door panel. The handle mounting shoulder screw is sold individually. For the repair, you will need a pair of pliers.
This light gray freezer drawer gasket is designed to create a secure, airtight seal around the freezer drawer, helping to maintain consistent internal temperatures and prevent warm air from entering. Compatible with select refrigerator models, it plays a vital role in preserving food quality and improving energy efficiency. If the origina...Read morel gasket is cracked, worn, or has lost its flexibility, replacement is recommended. Common signs of a faulty gasket include frost buildup, excess condensation, and increased appliance run time.
This part could be found underneath a fridge, dryer, or freezer. The original foot may be cracked, broken, or perhaps missing altogether. If you notice the appliance is uneven to the floor or wobbling, it may indicate that the levelling foot needs to be replaced. You will need pliers and a block of wood to perform this task. There will be...Read more one adjustable foot found in the package. Lift the dryer and place the wood to keep it propped up. You may need to use the pliers to remove the old foot. Screw the new foot into place using your hand. Once the new leveling foot is in place, lift the appliance and remove the block. Test the machine out to ensure it is now sitting level.
Ask our experts a question about this model and we'll get back to you as soon as possible!
We may have answered a similar question already! Search questions and answers left by others using simple keywords like "fit", "broken", "easy", or "quality" to find questions that match.
Search filter:
Clear Filter
Your search term must have 3 or more characters.
Sort by:
Prev
1
2
Next
Sorry, we couldn't find any existing answers that matched.Try using some different or simpler keywords, or submit your new question by using the "Ask a Question" button above!
David - For model number LGHB2867PFLA
November 15, 2023
Freezer Ice Maker ( bottom ice maker in the bottom drawer) stops making ice. The lever is down and no ice. Why is that? Thank you!
Hello David, thank you for the question. Based on our understanding of the issue, we would suggest checking the water filter for any clogging. If the issue still persists, we would recommend replacing the water inlet valve, part number PS7321353, to solve the problem. We hope that helps!
It stopped crushing ice. Whether you select cube or crush it only dispenses cube. How is this fixed? What part needs to be replaced?
Hi Max, thank you for reaching out. Based on our understanding, it seems that there is a problem with the solenoid assembly, part number PS8691994. It shifts the ice container deflector to dispense crushed ice or cubed ice. You may need to replace it to fix the issue. We hope that helps!
Upper ice maker unit not making ice, freezer ice maker works great
Hello Linda, thank you for your inquiry. According to our research, we would recommend checking the water inlet valve and water tube for any clogging. If this is not the issue, then the fresh food section ice maker assembly, part number PS16221322, is most probably faulty and needs to be replaced. We hope this solves your problem!
Changed the water filer with OEM filter. Made sure little black gaskets are all in place. We have water build up on bottom of Frig, which freezes. This amount is not condensation, turned water supply off, leak stopped please help..
Andy
Hello Andrew, thank you for getting in touch. Check the water inlet valve, part number PS7321353. The water valve behind the refrigerator might be faulty, or damaged, or cracked, causing the leak. Also, check the water inlet tube, part number PS10057230. Inspect the water supply line for any signs of damage, kinking, or blockages. If you find any issues, consider replacing the line. Double-check the connections between the water supply line and the refrigerator to ensure they are secure and not loose. We hope this helps.
The water fill keeps dripping water even though it is not in use.
Hello John, Thank you for the question. Air Pockets inside the water line cause the dispenser to drip when not in use. We suggest trying to run the dispenser into a large container for about 3 minutes so that any trapped air can escape. We hope this helps!
Was this helpful?
Thank you for voting!
Prev
1
2
Next
✖
Ask a Question
Ask our experts a question on this model and we'll respond as soon as we can.
See how others fixed this model. Time, tools, difficulty, and steps that lead to victory!View More
Search repair tips from other customers using simple keywords like "replace", "fit", "remove", "inspect". DIY doesn't mean you have to do it alone!
Search filter:
Clear Filter
Your search term must have 3 or more characters.
Ice maker wouldn't change from crushed to cubed ice
63 of 97 peoplefound this instruction helpful.
robert from sioux falls, SD
Easy
30 - 60 mins
Nutdriver, Screw drivers
First I pulled the ice tray out so I could see the solenoid housing/ice tray support(1 unit). Below the ice tray there are 2 screws that hold the solenoid housing/ice tray support. After removing those the assembly lifts up so you can see the wiring harness to disconnect. I pulled it out and removed the 2 screws to open it up. There i
... Read mores 2 screws holding the solenoid in place and one ground wire. This was an easy fix and I know I saved a lot of money.
Read less
Was this helpful?
Thank you for voting!
My fridge temp was warm. Freezer temp was ok, but fluctuated some.
58 of 92 peoplefound this instruction helpful.
Cindy from AMARILLO, TX
Really Easy
Less than 15 mins
Screw drivers
I checked the dampener, it worked. The compressor and fan worked. I knew because my freezer was still hovering around 10 degrees. Coils were clean. Thermistor was the only thing it could be. Took all my shelves out. Removed four screws. Took the back panel off. The thermistor sits tucked in on the side. I piped it out, in clipped it. Used
... Read more my multimeter to test the numbers. Numbers were off just a bit. Ordered the part. Crossed my fingers.,took less then 5 minutes to put the part in. Plugged in the fridge. It was sitting at 33 degrees in about an hour and a half. I can’t believe I fixed it. I knew NOTHING about refrigerators. For how big my fridge is, it would have cost 3,000 and up to get a new one with the same cu ft size. Instead, it cost me $44. That includes shipping. Thank you Parts Select!! Made it so easy to pick the correct part for my model fridge!
Read less
Was this helpful?
Thank you for voting!
Ice maker was not working
52 of 80 peoplefound this instruction helpful.
Richard from N CALDWELL, NJ
Really Easy
Less than 15 mins
Nutdriver, Screw drivers
Simple three steps... 1) There's an front section to the ice-maker to take off. One Phillips screw is on the side, one screw is underneath near the inside of the refrigerator wall. Just unscrew and store. 2) There's a small plastic unit just inside the ice maker to take out. It's held in by a small nut that requires about a 4" extension
... Read more to reach. (You may be able to unscrew the nut with small needle-nose pliers). Just unscrew and take out the unit - the unit functions just to keep the ice maker wiring in place. 3) The wiring looks a mess, but there's just one wiring connector to the ice maker assembly. Unsnap it. The ice maker is not screwed in, it just slides in -- reach in and pull the assembly straight out; when it stops, lower it a bit and it will come free. Reverse the instructions to install the new unit.



 My Orders