


 My Orders




LFXS28968S (ASTCNA3) LG Refrigerator - Overview
Diagrams for LFXS28968S
See every part. Know exactly what you need.


Enter a part description. DIY Heroes keep it simple, eg. "belt" or "pump".
Search filter:
Clear Filter
Your search term must have 3 or more characters.

$15.00
In Stock
Handle Screw
Part #MJB63190001
This handle screw, also known as a mounting bolt, is a mounting screw to help secure the door handle to your refrigerator door. If your handle is loose, you may just need to tighten the screw. If your screw is missing or broken, it may need to be replaced. There are multiple handle screws on your fridge, please consider ordering extra as ...Read morethey commonly wear at the same rate. This is about 1 inch long and metallic in color.
Read less

$122.57
In Stock
Water Inlet Valve Assembly
Part #AJU72992601
This includes the primary and secondary valves along with the wire harness.

$23.60
On Order
Door Holder
Part #MEG61899901
This is a manufacturer-approved refrigerator door closure for your refrigerator. It is made of white plastic and measures approximately 3 inches by 2 inches. If your old closure is damaged, your refrigerator door may not open and shut properly, and therefore it should be replaced.

$31.58
In Stock
Micro Switch
Part #6600JB3001C
This is a micro switch for various models of LG refrigerators. This switch is responsible for turning the ice dispenser on and off within the freezer compartment of the fridge. If this switch is damaged or shorted, it will cause the ice maker to work inconsistently, or not at all. This switch is different from the water dispenser switch, ...Read morewhich has an entirely different shape all together. Replacing this switch is simple and only requires a Philips-head screwdriver to disconnect the old switch and install the new one. This switch is a genuine OEM LG part and does not come with any other parts or accessories.
Read less

$15.00
On Order
ROLLER ASSEMBLY
Part #AHJ73329901
This roller assembly supports smooth movement of racks, drawers, or drums during operation. Reduced friction improves ease of use and reduces wear. Replacing a worn roller restores quiet, smooth movement.

$34.74
On Order
Temperature Sensor
Part #6500JB2002X
This is a temperature sensor for various models of LG refrigerators. Temperature sensors are used to adjust the level of cooling depending on the internal temperature of the refrigerator. If your refrigerator is warm or not cooling consistently, ensure your evaporator fan is not blocked, before replacing this sensor. To replace this senso...Read morer, you will need a screwdriver and a set of pliers, and simply need to unplug the old sensor, and plug in the new one. This temperature sensor is a genuine OEM part that is sold individually and does not come with any other parts or accessories.
Read less

$79.80
In Stock
Door Gasket - Right Side
Part #ADX73550627
This refrigerator door gasket assembly is a critical component designed to maintain the internal temperature and energy efficiency of compatible refrigerators. Engineered to form a tight, reliable seal around the door frame, it prevents warm air from entering and cold air from escaping, thereby supporting optimal cooling performance and f...Read moreood preservation. Constructed from durable, flexible materials, this OEM replacement is built to withstand repeated door openings and temperature fluctuations. Over time, gaskets can wear out, leading to poor sealing, increased condensation, frost buildup, or higher energy consumption. Replacing a worn or damaged gasket with this high-quality assembly helps restore proper door function, enhances energy efficiency, and extends the life of the appliance.
Read less

$12.85
In Stock
ROLLER ASSEMBLY
Part #AHJ73349901
This roller assembly supports smooth movement of drawers or sliding components, reducing friction and maintaining proper alignment. Designed for durability and consistent performance, it is replaced when items bind, drag, or no longer glide easily.

$75.13
In Stock
HANDLE ASSEMBLY,REFRIGER
Part #AED73593202
This refrigerator door handle is a genuine OEM replacement handle supplied directly by LG. OEM parts are guaranteed to fit just like the original part. This handle is made for the freezer portion of the fridge. It has a sleek, ergonomic design that is made to enhance the aesthetics of your fridge while allowing you to comfortably open and...Read more close the door. You will need to replace the handle if it is visibly damaged or can no longer stay attached to the door panel. A prompt repair will prevent damage to the refrigerator and allow you to continue enjoying easy access to your fridge. Mounting hardware is sold separately.
Read less

$12.85
In Stock

No Longer Available
COVER,FRONT
Part #MCK67107201

$23.60
In Stock
Common Symptoms of the LFXS28968S
How this model fails, and the parts that fix it.
Leaking
Fixed by
these parts
these parts

Show All
Not dispensing water
Fixed by
these parts
these parts

Show All
Door won’t open or close
Fixed by
these parts
these parts

Show All
Ice maker won’t dispense ice
Fixed by
these parts
these parts
Show All
Ice maker not making ice
Fixed by
these parts
these parts
Show All
Ice maker dispenses too much ice
Fixed by
these parts
these parts
Show All
Noisy
Fixed by
these parts
these parts

Show All
Watch our pros, then fix it yourself.
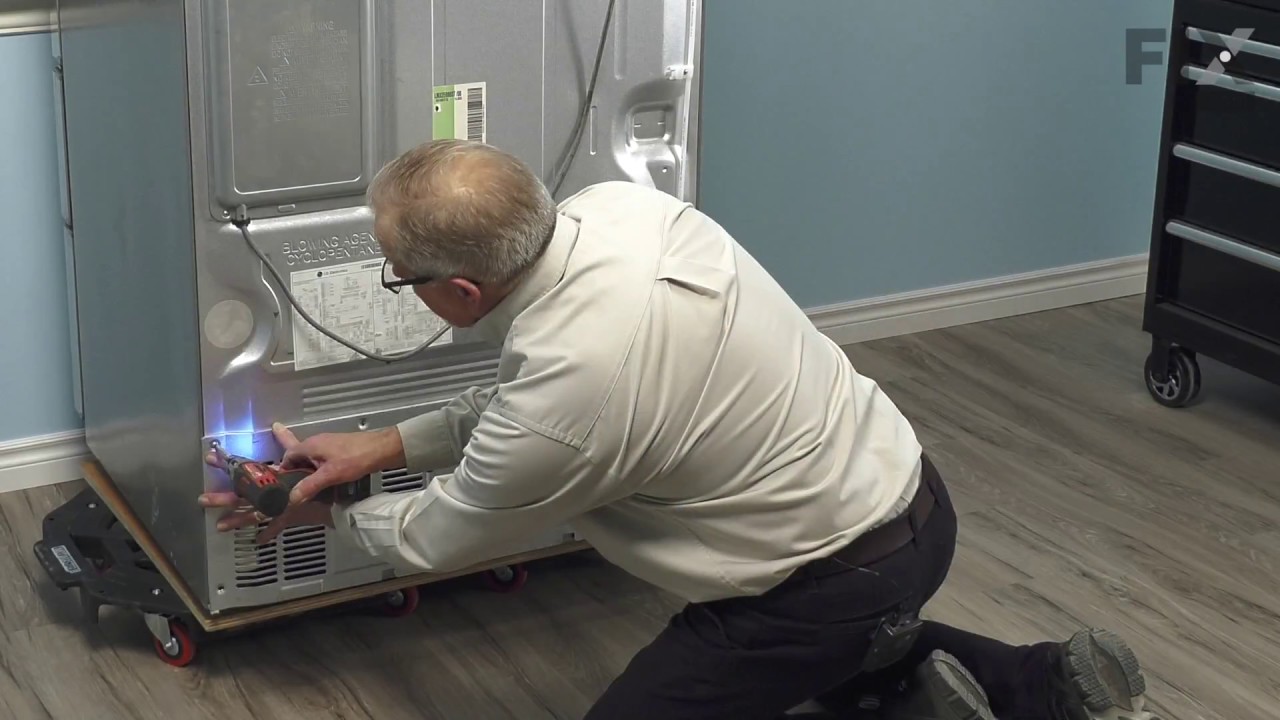
See how others fixed this model. Time, tools, difficulty, and steps that lead to victory!
View More