


 My Orders




LFXS28968D (ASBCNA4) LG Refrigerator - Overview
Diagrams for LFXS28968D
See every part. Know exactly what you need.


Enter a part description. DIY Heroes keep it simple, eg. "belt" or "pump".
Search filter:
Clear Filter
Your search term must have 3 or more characters.

$47.40
Special Order
Air Filter
Part #ADQ73214404
Refrigerator Air Filters are a key component for neutralizing odors and ensuring a fresh stream of air into your refrigerator. Swapping your old filter out for a fresh one isn’t difficult and should take less than five minutes. This OEM filter measures approximately 3 inches (length) x 3 inches (height) x 5 inches (Depth). Air filters should be changed every 6 months depending on usage.

$23.60
In Stock
Roller Assembly
Part #AHJ72909001
This is a drawer roller for the freezer compartment of your LG refrigerator. This roller is made of white plastic, and acts as a wheel to allow the drawer to glide smoothly back and forth when you open and close the freezer compartment. Over time and with further frequent use, this roller can crack, break, or stop rolling smoothly, at whi...Read morech point it will need replacing. Your refrigerator comes with two rollers, and this roller is sold individually, so consider how many rollers you require before ordering.
Read less

$122.57
In Stock
Water Inlet Valve Assembly
Part #AJU72992601
This includes the primary and secondary valves along with the wire harness.

$31.58
In Stock
Micro Switch
Part #6600JB3001C
This is a micro switch for various models of LG refrigerators. This switch is responsible for turning the ice dispenser on and off within the freezer compartment of the fridge. If this switch is damaged or shorted, it will cause the ice maker to work inconsistently, or not at all. This switch is different from the water dispenser switch, ...Read morewhich has an entirely different shape all together. Replacing this switch is simple and only requires a Philips-head screwdriver to disconnect the old switch and install the new one. This switch is a genuine OEM LG part and does not come with any other parts or accessories.
Read less

$178.20
Special Order

$63.64
In Stock
Refrigerator Water Reservoir
Part #AJL72911502
The water reservoir holds the water for the water dispenser as the water chills.

$184.05
In Stock
Ice Maker Assembly Kit
Part #AEQ73110219
This genuine OEM ice maker assembly is compatible with various models of LG refrigerators. The assembly includes the icemaker unit, ice mold, water inlet valve, ice bin, thermostat, and wiring harness. It has a length of approximately 12 inches, and it is located within the freezer compartment. The ice maker receives water from the water ...Read moreinlet valve, where it is frozen into ice cubes. The ice cubes are then ejected from the mold into the ice bucket where you can easily collect the ice cubes at your convenience. If any one of the parts in the unit is faulty, you will need to replace the entire ice maker assembly. The signs of a faulty assembly include difficulties making ice, sudden unusual noises, and large blocks of ice in the ice mold or tray.
Read less

$23.60
In Stock
Roller Assembly
Part #AHJ72909101
This roller assembly supports smooth movement of drawers or sliding components, reducing friction and maintaining alignment. It is replaced when items bind, drag, or no longer glide easily during use.

$15.00
In Stock

$34.74
On Order
Temperature Sensor
Part #6500JB2002X
This is a temperature sensor for various models of LG refrigerators. Temperature sensors are used to adjust the level of cooling depending on the internal temperature of the refrigerator. If your refrigerator is warm or not cooling consistently, ensure your evaporator fan is not blocked, before replacing this sensor. To replace this senso...Read morer, you will need a screwdriver and a set of pliers, and simply need to unplug the old sensor, and plug in the new one. This temperature sensor is a genuine OEM part that is sold individually and does not come with any other parts or accessories.
Read less

$79.80
In Stock

$31.58
In Stock
Common Symptoms of the LFXS28968D
How this model fails, and the parts that fix it.
Leaking
Fixed by
these parts
these parts


Show All
Not dispensing water
Fixed by
these parts
these parts

Show All
Ice maker not making ice
Fixed by
these parts
these parts

Show All
Ice maker won’t dispense ice
Fixed by
these parts
these parts
Show All
Door won’t open or close
Fixed by
these parts
these parts

Show All
Ice maker dispenses too much ice
Fixed by
these parts
these parts
Show All
Noisy
Fixed by
these parts
these parts

Show All
Watch our pros, then fix it yourself.
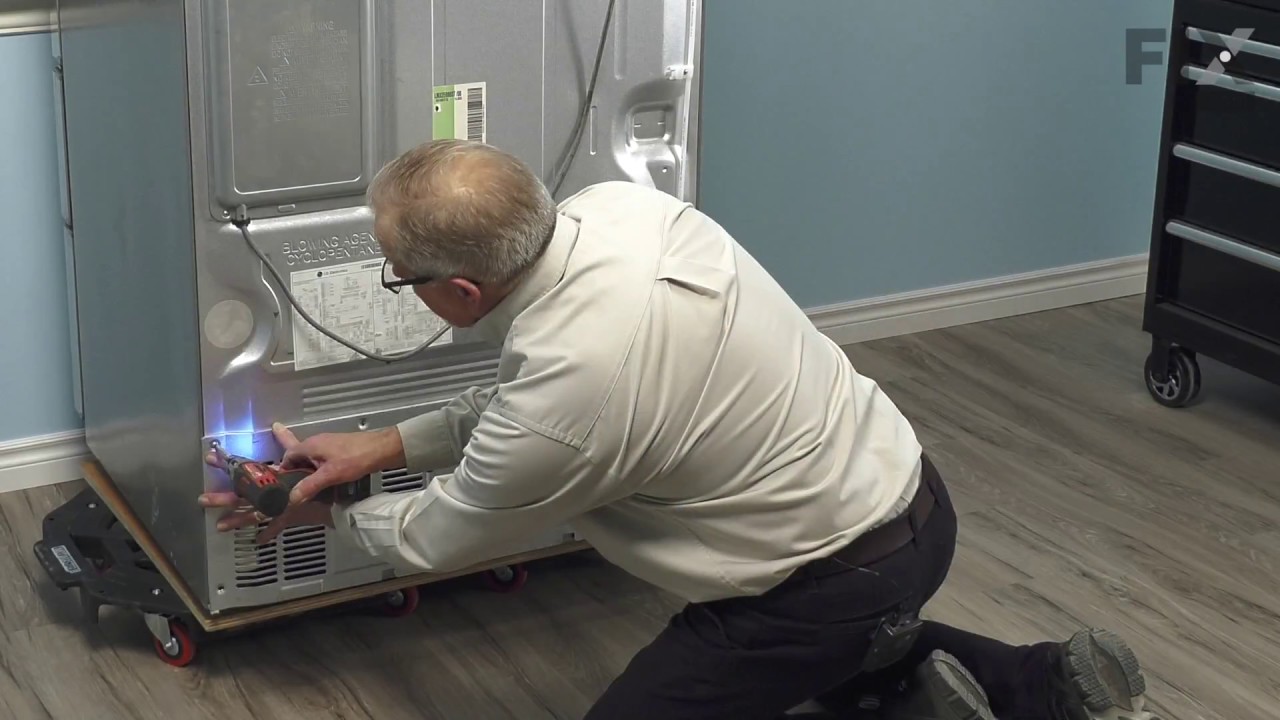
See how others fixed this model. Time, tools, difficulty, and steps that lead to victory!
View More