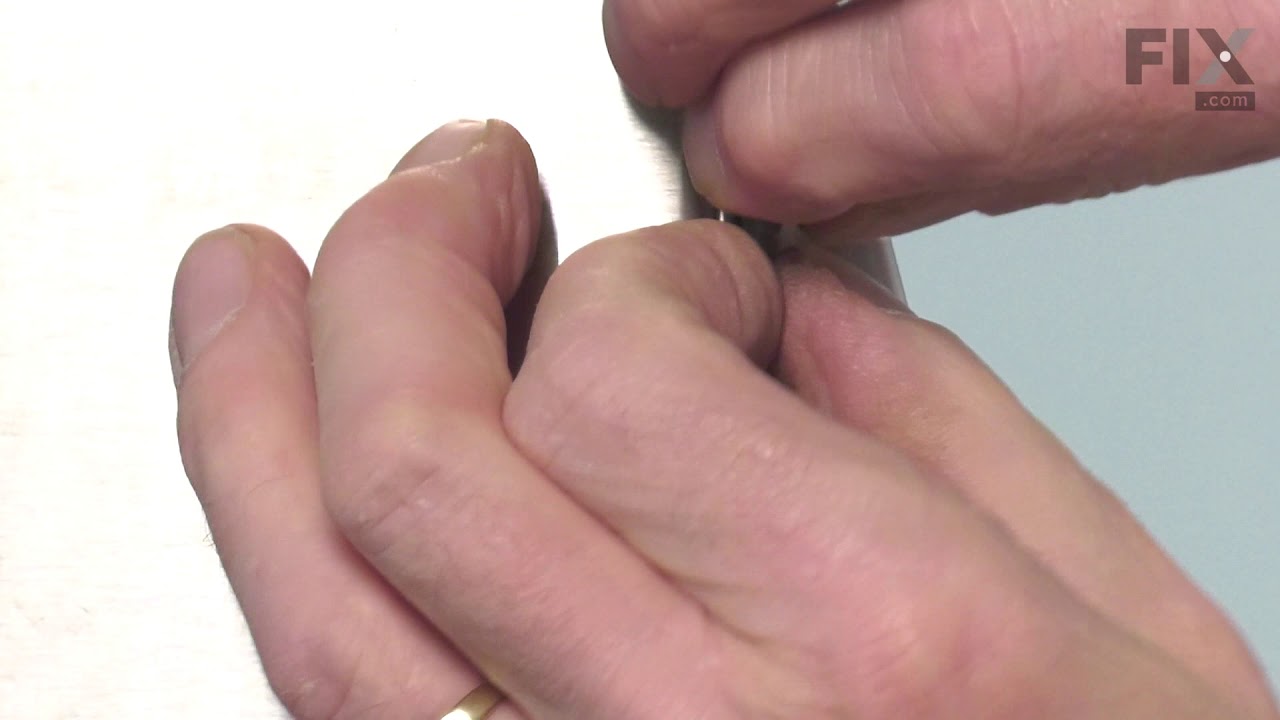
This handle screw, also known as a mounting bolt, is a mounting screw to help secure the door handle to your refrigerator door. If your handle is loose, you may just need to tighten the screw. If your screw is missing or broken, it may need to be replaced. There are multiple handle screws on your fridge, please consider ordering extra as ...Read morethey commonly wear at the same rate. This is about 1 inch long and metallic in color.
This door basket assembly is supplied by the original manufacturer to provide storage for various food items in refrigerators. It consists of a white plastic base and a transparent shield, measuring 14.5 inches in length and 4 inches in width. The basket is securely attached to the right side of the refrigerator and offers a compartment f...Read moreor organizing items such as bottles, jars, and condiments. The door basket assembly helps maximize storage space and allows you to easily access frequently used items. However, the door basket will need to be replaced if the plastic becomes cracked, deformed, or broken. Using a faulty door basket may result in items falling out, and potential damage to the door frame. Detach the old basket assembly from the refrigerator and snap the new one in place. Ensure that the new assembly is securely fitted before placing items in it.
This air filter assembly is a genuine replacement part designed to improve air quality inside select LG and Kenmore Elite refrigerators. Using activated carbon, it effectively traps and neutralizes odors and airborne impurities, helping maintain a clean environment that supports longer food freshness. The filter is housed within a dedicat...Read moreed compartment and should be replaced approximately every six months or when indicated by the refrigerator’s filter light. Installation involves locating the filter housing, powering off the appliance, removing the old filter, and inserting the new one with proper alignment. After installation, reassemble the housing, restore power, and reset the filter indicator to ensure accurate tracking. This OEM component ensures a precise fit and optimal performance for compatible models.
Refrigerator Air Filters are a key component for neutralizing odors and ensuring a fresh stream of air into your refrigerator. Swapping your old filter out for a fresh one isn’t difficult and should take less than five minutes. This OEM filter measures approximately 3 inches (length) x 3 inches (height) x 5 inches (Depth). Air filters should be changed every 6 months depending on usage.
This is a manufacturer-approved refrigerator door closure for your refrigerator. It is made of white plastic and measures approximately 3 inches by 2 inches. If your old closure is damaged, your refrigerator door may not open and shut properly, and therefore it should be replaced.
Frost near the door or a freezer that runs often may have a damaged door seal. The flexible gasket blocks room air and moisture from entering the cold compartment. First clean the seal and contact surface, then check the hinges and door fit. Match the replacement to the complete freezer model and door position. If shipping leaves folds, s...Read moreoak the gasket in warm water for 5 to 10 minutes or use a hair dryer on low. Do not overheat the rubber. Smooth each side, close the door, and test the seal with a strip of paper.
This is the left crisper drawer, designed for use within LG refrigerators. This drawer is an OEM part that is made of clear plastic and features a pair of roller wheels on its rear to easily slide in and out of its slot in the refrigerator. If your crisper drawer has a crack, chip, or any damage at all, it must be replaced immediately to ...Read morecontinue to store your food items efficiently. This drawer is sold individually and does not come with any other parts or drawers, so consider ordering the right crisper drawer as well if necessary.
This is a vegetable crisper drawer designed for use with LG refrigerators. Crisper drawers are used to hold and store vegetables at a specific humidity level than the rest of the fridge, to prolong their freshness. This is just the crisper drawer itself and does not come with the tray that would normally be positioned over it. If your cur...Read morerent crisper drawer is cracked, chipped, or damaged in any way, it needs to be replaced immediately to preserve your food items properly. This drawer is a genuine OEM part that is made mostly of clear plastic, and features two wheels on its rear to slide in and out of your refrigerator smoothly.
This water dispenser button is a genuine OEM part designed for LG refrigerators. When you push the button, a valve is activated inside the refrigerator, which releases water from the internal water supply. If the button is faulty, you will also likely notice that the dispenser can not release any water, or that it does so inconsistently. ...Read moreOver time the button may fail due to aging or due to accidental damage. You will need to replace the button if it is unresponsive when you push it, or if it seems stuck.
This is a door seal, also known as a door gasket, for LG refrigerators. This door gasket is used to seal the warmer room temperature from the cooler fridge interior. If the gasket for your refrigerator is warped, moldy, or damaged in any way, it needs to be replaced immediately. To replace this gasket, simply pull off the old gasket to re...Read moremove it, and carefully wrap the new gasket around the door perimeter. This gasket is sold individually and does not include any other parts.
This is a micro switch for various models of LG refrigerators. This switch is responsible for turning the ice dispenser on and off within the freezer compartment of the fridge. If this switch is damaged or shorted, it will cause the ice maker to work inconsistently, or not at all. This switch is different from the water dispenser switch, ...Read morewhich has an entirely different shape all together. Replacing this switch is simple and only requires a Philips-head screwdriver to disconnect the old switch and install the new one. This switch is a genuine OEM LG part and does not come with any other parts or accessories.
This part must be installed by a licensed and trained LG technician that is able to perform a software update, which is required for the installation of this compressor. Part number CJT30000002 is needed to perform the update.
Also, the three pins on the side of the new compressor may be oriented differently than the original. If diff...Read moreerent, when installing the new compressor the compressor electrical connector must be rotated 45 degrees counter-clockwise.
Ask our experts a question about this model and we'll get back to you as soon as possible!
We may have answered a similar question already! Search questions and answers left by others using simple keywords like "fit", "broken", "easy", or "quality" to find questions that match.
Search filter:
Clear Filter
Your search term must have 3 or more characters.
Sort by:
Prev
1
Next
Sorry, we couldn't find any existing answers that matched.Try using some different or simpler keywords, or submit your new question by using the "Ask a Question" button above!
Melvin - For model number LFXC24796S
September 17, 2025
I have this lf ref that stopped working so I tried to resetting the pcb but I don't hear beep and no blinking light. What can I do to fix it? Please help thank you.
Hello Melvin, thank you for getting in touch. Based on the issue description, the main control board, part number PS12730328, is faulty. You will need to replace it to fix the issue. We hope this helps.
See how others fixed this model. Time, tools, difficulty, and steps that lead to victory!View More
Search repair tips from other customers using simple keywords like "replace", "fit", "remove", "inspect". DIY doesn't mean you have to do it alone!
Search filter:
Clear Filter
Your search term must have 3 or more characters.
The water dispenser lever came off, due to broken tabs in the door panel.
12 of 17 peoplefound this instruction helpful.
MARK from CLAREMORE, OK
A Bit Difficult
30 - 60 mins
Screw drivers
Before you begin, I'd recommend unplugging the refrigerator. You have to slip the putty knife in around the edge of the dispenser panel and carefully release the tabs all the way around and the entire panel pulls straight out. There are three wiring harnesses to unplug. You'll have to remove several screws and release the tabs around the
... Read moreelectronic panel and remove it from the main panel. It's a good idea to take note or even pictures of how the ice and water actuators are positioned on the panel, so you get them situated properly on the new panel. If the ice actuator is not fit correctly on a knob that sticks up it may dispense ice all the time (happened to me). After you transfer the actuators to the new panel and the ice and water dispensing levers, you can re-attach the electronic panel on the left side. make sure all of the wiring harnesses are plugged in and the wires situated out of the way, then re-install the panel by pushing it straight back in. Plug the refrigerator in and test it out.
Read less
Was this helpful?
Thank you for voting!
Replaced Old Molded Gasket with new one
8 of 8 peoplefound this instruction helpful.
Megan from Elk Grove, CA
Very Easy
Less than 15 mins
Screw drivers
For the right side of the refrigerator door, just pulled off the old gasket and replaced it with the new one. Old gasket came off easily. Just had to pull it off. No screws on the right side. Just pushed the new one in place in the groove on the door.
For the left side, needed a Phillip’s screwdriver to remove the flap first. H
... Read moreelps to have a second person hold the door from moving. Once flap was off, pulled the old gasket off and installed the new one just like the right side. Then screwed the flap back on once the gasket was in the groove properly.
Initially after install, it seemed like the magnet on the door was not strong enough but after a couple of days, the magnet seems a lot stronger, sealing the air out. Very happy I replaced it. It was a lot simpler to replace than I thought it would be.
For this model the ice maker is very easy to replace. All it takes is a phillips head screwdriver. There are two wire connections you have to unplug. Easy out easy in. You do not have to disconnect the water line, just make sure the line is lined up correctly when you reinstall the new icemaker. It seems to take approximately 8 hours befo
... Read morere you start getting ice again. If you have this same model, you already know this ice maker is very slow in making ice and is not able to keep up with daily usage of ice for a household of 3.



 My Orders