


 My Orders




LFX31925ST (03) LG Refrigerator - Overview
Diagrams for LFX31925ST
See every part. Know exactly what you need.


Enter a part description. DIY Heroes keep it simple, eg. "belt" or "pump".
Search filter:
Clear Filter
Your search term must have 3 or more characters.

$24.67
In Stock
Refrigerator Door Switch
Part #6600JB1010A
The interior light in your refrigerator is controlled by a switch that is activated when the door is opened and closed. If your refrigerator light will not turn on, or stays on when the door is closed, you could have a faulty switch. The switch is spring-loaded and is a generally closed type of switch meaning there should be no continuity...Read more when the button is pushed, and continuity through the switch when it is no longer engaged. This plastic, white, OEM switch is sourced directly from the manufacturer, is sold individually and is easy to replace. The repair usually takes less than 15 minutes and requires a flat-blade screwdriver and needle-nose pliers.
Read less

$72.73
In Stock
Refrigerator Water Filter LT700P
Part #AGF80300702
This refrigerator water filter replacement is for 2010 LG refrigerators that have either forward French doors or are the four-door dispensing models. This filter is designed to minimize impurities that can cause ill-tasting water or an unpleasant smell. It reduces sediment, dirt, rust, limescale, sand, and many other contaminants that can...Read more be harmful to your health and the life of your appliance. This filter should be replaced every 6 months or 200 gallons to ensure top quality performance.
To remove your unwanted filter, press the push button to open the filter cover (water may spill from the hole), pull out the old cartridge in a downward motion. To install the new filter, make it so the ears are in the horizontal position and push the new cartridge into the housing until it stops. Push the filter upward until it is secure. Click the cover to lock it in place. Run water for approximately 5 minutes to prep the filter for use, and discard water. Reset the “filter reset” button if applicable.
Read less

$18.22
In Stock
Plastic Tube - 5/16 Inch
Part #MJU62070602
This water tube, or plastic tube, is used in refrigerators and freezers. The tube ensures water is directed to parts of the refrigerator that need it, such as the water dispenser and ice maker. If you find that your current one is leaking or broken in any way, replacing the tube can fix this problem. Make sure to unplug the appliance from...Read more the power source before you start this installation project. Refer to the diagram provided by the manufacturer for further instruction and accurate guidance.
Read less

$74.08
In Stock
Door Bin
Part #AAP73252202
Add useful storage space inside a refrigerator door with this clear plastic door bin. It holds bottles, jars, drinks, and condiments where they are easy to see and reach. The bin measures about 13-1/2 inches wide and 4-1/4 inches high. Its shaped base is about 9-1/2 inches deep on one side and 10-1/8 inches deep on the other. Installation...Read more requires no tools. Place the bin slightly above the mounting points, then slide it down until it locks into place. Compare the size, shape, and side mounts with the original bin before ordering.
Read less

$15.00
In Stock
Handle Screw
Part #MJB63190001
This handle screw, also known as a mounting bolt, is a mounting screw to help secure the door handle to your refrigerator door. If your handle is loose, you may just need to tighten the screw. If your screw is missing or broken, it may need to be replaced. There are multiple handle screws on your fridge, please consider ordering extra as ...Read morethey commonly wear at the same rate. This is about 1 inch long and metallic in color.
Read less

$65.73
In Stock
Door Shelf Bin Assembly
Part #AAP73252302
This door basket assembly is supplied by the original manufacturer to provide storage for various food items in refrigerators. It consists of a white plastic base and a transparent shield, measuring 14.5 inches in length and 4 inches in width. The basket is securely attached to the right side of the refrigerator and offers a compartment f...Read moreor organizing items such as bottles, jars, and condiments. The door basket assembly helps maximize storage space and allows you to easily access frequently used items. However, the door basket will need to be replaced if the plastic becomes cracked, deformed, or broken. Using a faulty door basket may result in items falling out, and potential damage to the door frame. Detach the old basket assembly from the refrigerator and snap the new one in place. Ensure that the new assembly is securely fitted before placing items in it.
Read less

$47.40
In Stock
Air Cleaner Filter Assembly
Part #ADQ73214408
This air filter assembly is a genuine replacement part designed to improve air quality inside select LG and Kenmore Elite refrigerators. Using activated carbon, it effectively traps and neutralizes odors and airborne impurities, helping maintain a clean environment that supports longer food freshness. The filter is housed within a dedicat...Read moreed compartment and should be replaced approximately every six months or when indicated by the refrigerator’s filter light. Installation involves locating the filter housing, powering off the appliance, removing the old filter, and inserting the new one with proper alignment. After installation, reassemble the housing, restore power, and reset the filter indicator to ensure accurate tracking. This OEM component ensures a precise fit and optimal performance for compatible models.
Read less

$122.57
Special Order
Water Inlet Valve Assembly
Part #AJU72992601
This includes the primary and secondary valves along with the wire harness.

$23.60
In Stock
Door Holder
Part #MEG61899901
This is a manufacturer-approved refrigerator door closure for your refrigerator. It is made of white plastic and measures approximately 3 inches by 2 inches. If your old closure is damaged, your refrigerator door may not open and shut properly, and therefore it should be replaced.

$48.45
In Stock
Glass Shelf
Part #MHL42613220
This glass shelf provides storage space in your refrigerator above the crisper. Shelves can crack and chip due to frequent use, and should be replaced immediately if cracks start to appear. This shelf measures approximately 30.5 inches wide by 15 inches deep and is for LG refrigerators. Replacing a damaged shelf is easy, carefully remove ...Read morethe faulty shelf and install the new one. Be sure to wear protective gloves if the existing shelf is cracked or broken.
Read less

$80.82
In Stock
Freezer Door Gasket
Part #MDS38201426
Frost near the door or a freezer that runs often may have a damaged door seal. The flexible gasket blocks room air and moisture from entering the cold compartment. First clean the seal and contact surface, then check the hinges and door fit. Match the replacement to the complete freezer model and door position. If shipping leaves folds, s...Read moreoak the gasket in warm water for 5 to 10 minutes or use a hair dryer on low. Do not overheat the rubber. Smooth each side, close the door, and test the seal with a strip of paper.
Read less

$23.60
In Stock
Common Symptoms of the LFX31925ST
How this model fails, and the parts that fix it.
Leaking
Fixed by
these parts
these parts


Show All
Light not working
Fixed by
these parts
these parts

Show All
Not dispensing water
Fixed by
these parts
these parts


Show All
Door won’t open or close
Fixed by
these parts
these parts


Show All
Ice maker not making ice
Fixed by
these parts
these parts

Show All
Door Sweating
Fixed by
these parts
these parts

Show All
Ice maker won’t dispense ice
Fixed by
these parts
these parts

Show All
Frost buildup
Fixed by
these parts
these parts

Show All
Fridge and Freezer are too warm
Fixed by
these parts
these parts


Show All
Noisy
Fixed by
these parts
these parts


Show All
Ice maker dispenses too much ice
Fixed by
these parts
these parts
Show All
Freezer section too warm
Fixed by
these parts
these parts
Show All
Fridge too warm
Fixed by
these parts
these parts
Show All
Watch our pros, then fix it yourself.
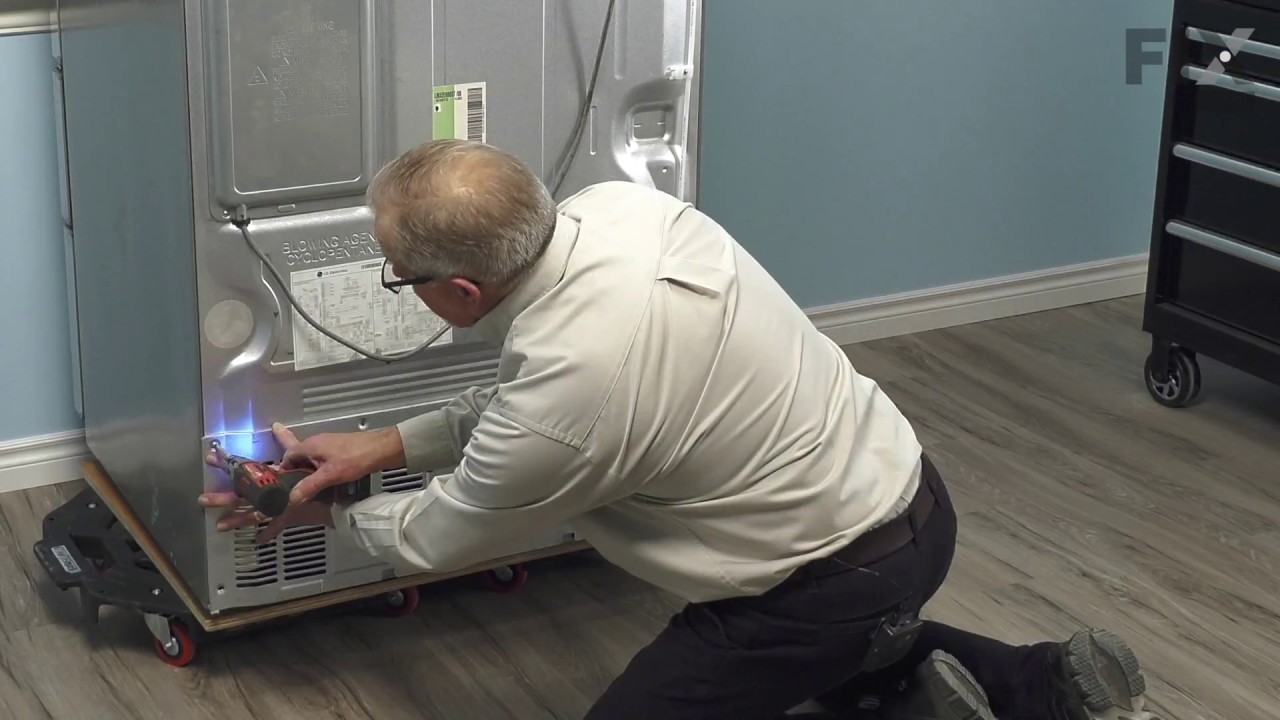
See how others fixed this model. Time, tools, difficulty, and steps that lead to victory!
View More