EasyApplianceParts is now PartSelect! We've merged our sites to provide a better shopping experience for you.   Full Details
✖

Find Parts

Parts Departments

Top Model Types

Top Brands

Repair Help

Expert Repair Videos

Keep typing for more specific results...

LE8367L2 Whirlpool Washer - Overview

Enter a part description. DIY Heroes keep it simple, eg. "belt" or "pump".

Search filter:
Clear Filter
Your search term must have 3 or more characters.
Single Drum Glide Felt Pad – Part Number: WP500121
No Longer Available
Single Drum Glide Felt Pad
★★★★★
★★★★★
(3)
Part #WP500121
This dryer drum glide pad is an inch long. It is made of a felt material and is used for gas and electric clothes dryers. The dryer drum glide provides a soft surface for the front of the drum glide and allows the drum to move effortlessly. If you notice that your dryer is making loud squeaking noises, it might be due to the drum glide pad being worn down or torn apart. Make sure to unplug your dryer before performing this repair. To access this part, you will need to open up the top of the dryer. The front panel and the bulk head will also need to come off.
Blower Wheel – Part Number: 56000
$68.86
In Stock
Blower Wheel
★★★★★
★★★★★
(12)
Part #56000
If your dryer is noisy, will not tumble, or is not producing enough heat, you may need to replace the blower wheel. This part is white in color, and is made of plastic. This part is approximately 8 inches in diameter. The blower wheel is located near the bottom of your dryer cabinet. To access it for this repair, you will need to remove both the front panel and the front bulkhead assembly. Before you begin this repair, be sure to disconnect the power source to the dryer. To complete this repair, you will need a 5/16 inch nut driver, a 1/4 inch nut driver, a pair of locking pliers and a 7/8 socket with a short extension and a ratchet.
Idler Pulley Shaft – Part Number: WP56461
$74.08
Special Order
Idler Pulley Shaft
Part #WP56461
This shaft is made to fit the center of the idler pulley wheel of many clothes dryers. It is less than two inches long, and is made of metal.
Heating Element Kit - Red Dot – Part Number: 61927
$95.83
On Order
Heating Element Kit - Red Dot
★★★★★
★★★★★
(2)
Part #61927
This 5,000-watt, 240-volt heating assembly makes the heat used to dry clothes. It includes the heating coil, insulators, and rear housing. Replace it if testing shows that the coil is broken or shorted. No heat can also be caused by a tripped breaker, bad thermostat, blown thermal fuse, or blocked vent. Use the complete dryer model number to guarantee the proper fit. Kit contents can vary, so check whether thermostats, fuses, wires, and screws are included. Disconnect all power before repair.
Washer Screw Ground – Part Number: WP3351614
$7.47
In Stock
Washer Screw Ground
Part #WP3351614
Dryer Screw – Part Number: WP3400094
$7.47
In Stock
Dryer Screw
Part #WP3400094
Sold individually. (10-32 X 3/8)

Common Symptoms of the LE8367L2

How this model fails, and the parts that fix it.

Watch our pros, then fix it yourself.
See how others fixed this model. Time, tools, difficulty, and steps that lead to victory! View More

Search repair tips from other customers using simple keywords like "replace", "fit", "remove", "inspect". DIY doesn't mean you have to do it alone!

Search filter:
Clear Filter
Your search term must have 3 or more characters.
Blower fan cracked
44 of 54 people found this instruction helpful.
  • Rick from Birch Run, MI
  • A Bit Difficult
  • 30 - 60 mins
  • Nutdriver, Socket set
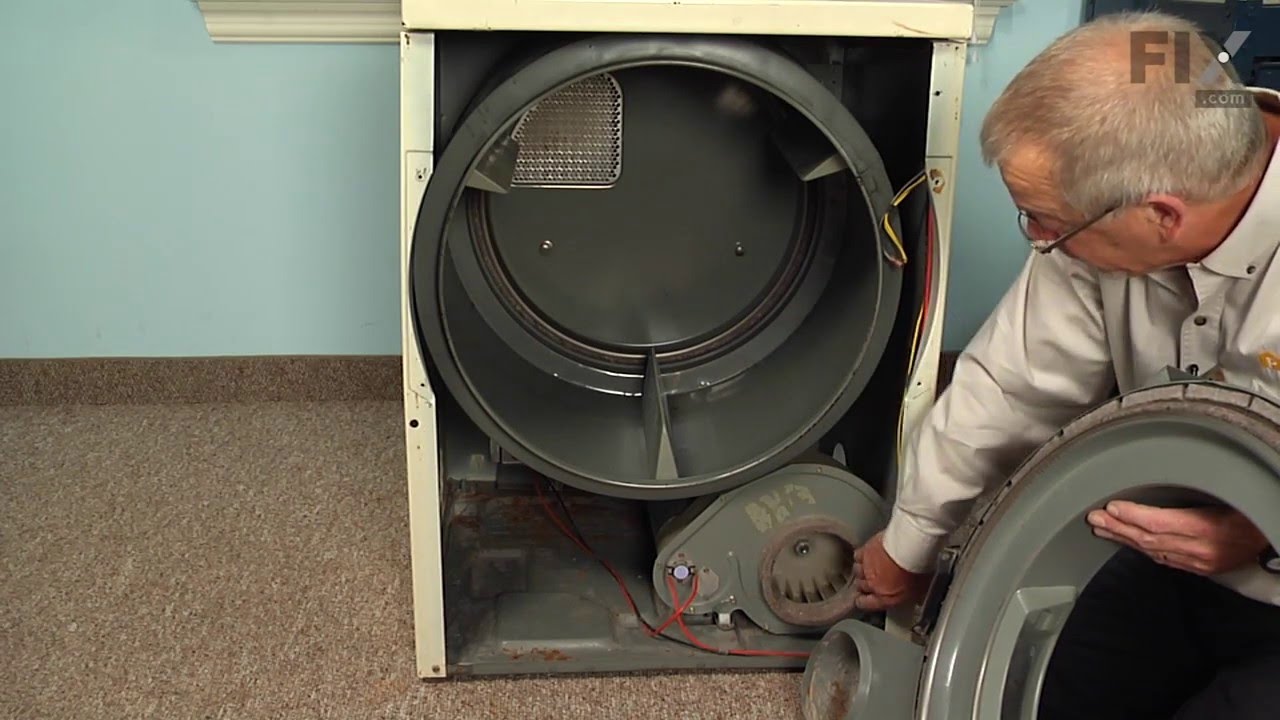
Unplug the power cord from the unit. Remove the lower front panel; then the upper front panel including the door (unplug wire to door switch). Then remove the cover on the fan housing. Need to block the motor from turning; I used a stick to jamb the front of the motor; then unscrew the old blower fan and screw on the new one. Then repla ce the cover and put front panels back on.
Was this helpful?
Thank you for voting!
Heating element went bad
29 of 32 people found this instruction helpful.
  • Jeff from Conyers, GA
  • A Bit Difficult
  • 30 - 60 mins
  • Nutdriver, Screw drivers
I couldn't find any information on the internet on how to fix my dryer, so I took every screw out of it, which I later found was not needed - just 2 in the front. Then I had to figure out WHERE the element was. Turns out, against the back panel with 2 screws. I had to crawl on my belly to get in there with little room to work. Installing the new one didn't take long at all though. I also vacuumed out the inside and cleaned it well, then put all the screws back in it.

I'm glad I re-did all the screws because now it sounds brand new. It's 3 times quieter than it ever was (it was donated to me), and it feels great that I was able to fix it on my own for about $50.
Was this helpful?
Thank you for voting!
Taking too long for clothes to dry.
24 of 28 people found this instruction helpful.
  • James from Eagle, ID
  • Easy
  • 15 - 30 mins
  • Nutdriver
I first unplugged the dryer (don't want to get nailed with 240 volts). I then removed the two screws on the bottom section of the dryer just below the door. I then removed the two screws on the front door assembly and removed the door (make sure you don't break the wires and/or door switch. The wires need to be removed from the door sw itch prior to removing the door panel completely). I then took a flash light and look inside the dryer towards the back. I could see the heating element in the back. I then removed the two screws holding the heat element and removed the heating element (taking note on the orientation of the element). I then removed the black and orange wires making note which wire fit on which terminal. I then compared the old unit with the new unit to make sure I had the right one. I then assembled the new heating element (heat sensors etc.). I then hooked the black and orange wire to the new element. I then reassembled everything in the reverse order.

Note: I very CAREFULLY used the heating elements support connectors to hold the element in place while I started my screws. Once they were started then I could release the element and fit it properly into the housing as I tightened the screws.

The other thing that you need to check is to make sure that the air-duct is not blocked. If you have a lot of lent on the bottom of the dyer (inside) then you could have a blocked air-duct. This happened to me. I went outside and noticed that we have a door on our vent that flips up to keep mice etc. from coming in. Some of the lint that was blown out got wet from the sprinklers and calcified underneath the vent. This was preventing the vent from opening. This could of been our problem all along but I had already replaced the heating element so I keep it as is.

PartSelect was wonderful. I was able to find my parts quickly and the turn around time was tremendous. I would buy from PartSelect again.
Was this helpful?
Thank you for voting!