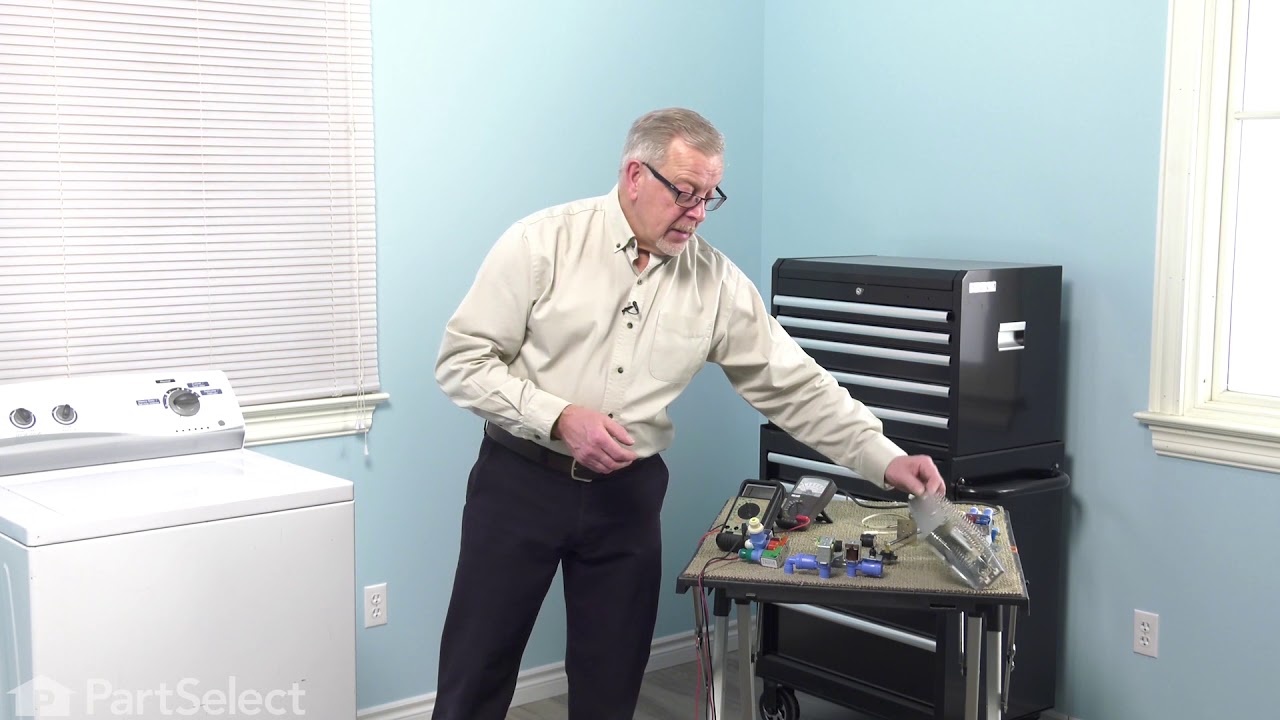
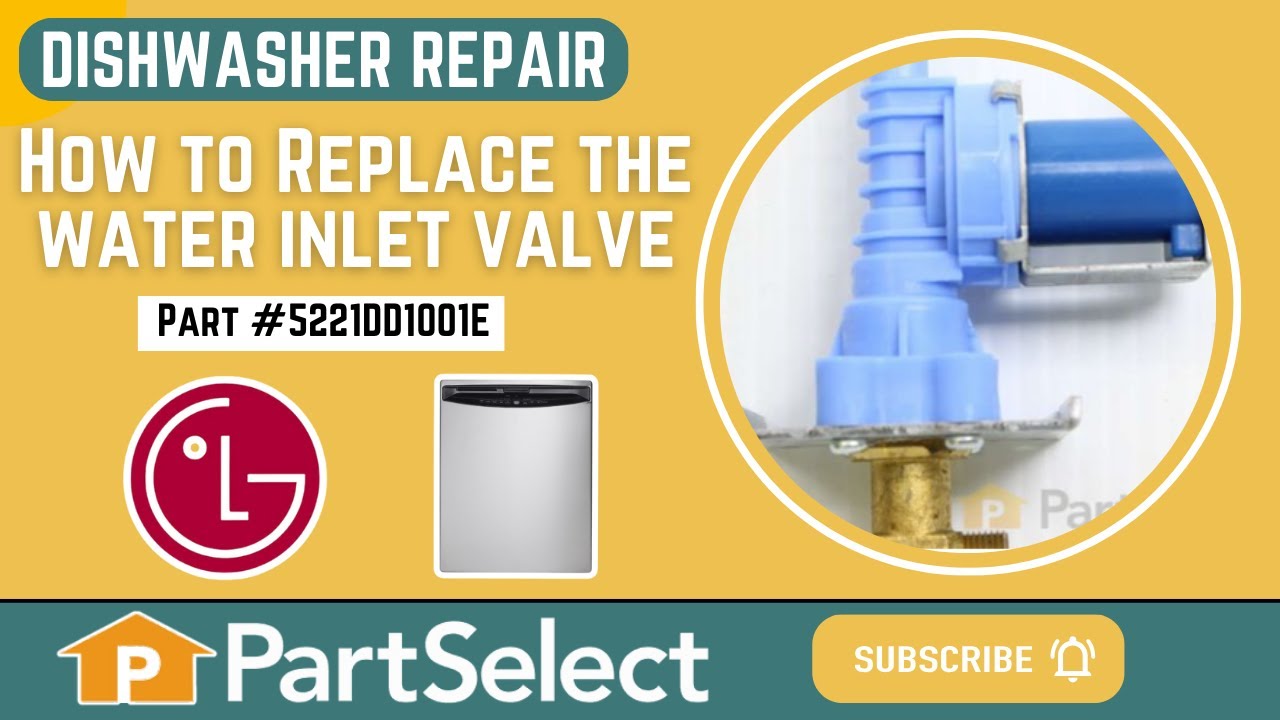
The dishwasher roller assembly connects to the dishrack, and is located in the lower level of the dishwasher. It allows the dishrack to easily slide in and out. If the lower rack keeps falling off the track in your dishwasher, makes noises, the door will not close, or the dishes are not getting clean, then it is best to replace it for mor...Read moree security. A flat blade screw driver is the only tool needed for this installation. Open the lower dishwasher rack and remove retaining tabs from both ends of the rack and slide it out. Locate the older roll assembly, remove it and replace the rollers. Remember to put the tabs on each side back before sliding it back in. Make sure the dishwasher is off before starting this installation project.
This holder, also known as a mounting bracket, is responsible for securing the dish rack in place inside your dishwasher during cleaning. It is a genuine OEM replacement part sourced directly from LG to ensure a perfect fit for your dishwasher. It is gray in color and measures 1 inch by 1 inch. If the holder is lost or broken, your dish r...Read moreacks may become dislodged or unstable and cause damage inside the dishwasher. Each holder is sold individually.
This is a dishrack holder designed for various models of LG dishwashers. The purpose of this holder is to secure various parts within the dishwasher, such as the cutlery basket. This holder measures approximately 1 inch long and 0.4 inches wide, is made of plastic, and features two hooks that attach themselves to the frame of the rack. Th...Read moreis genuine OEM holder comes as an individual part, so if you require multiple holders, consider that before ordering.
This dishwasher door gasket is designed to form a secure, watertight seal around the tub, preventing leaks and enhancing overall wash efficiency. Constructed from flexible, heat-resistant black rubber, it withstands temperatures up to 150°F and resists wear over time. By maintaining a tight seal, the gasket ensures that water and steam re...Read moremain contained within the dishwasher during operation, contributing to more effective cleaning cycles and reduced energy waste. A worn or damaged gasket can lead to water pooling, inefficient washing, and potential damage to surrounding cabinetry. Replacing it restores proper function and helps extend the appliance’s lifespan. Installation is straightforward, requiring the gasket to be pressed into the door channel for a snug fit.
This diverter motor, or stepper motor, controls the movement of the spray arms in your dishwasher. It directs water between the drain pump and the spray arms by turning a check valve inside the pump, managing the flow of water to these spray arms. This diverter motor runs on 120 volts and 60 Hz. When this motor fails, the dishwasher will ...Read morenot wash or drain properly. Please keep in mind that this genuine OEM replacement part is sold separately from the spray arms.
This LG drain hose assembly is a genuine OEM replacement that is compatible with various LG washers. The assembly includes the hose and plastic connectors. The flexible rubber hose transports used water from the washer tub out into a dedicated drainage system such as a laundry sink or standpipe. The drain hose may become clogged, dislodge...Read mored, or damaged by loose items like coins in the laundry or by hard impacts from outside. If the hose is faulty, you will likely notice standing water in the washer tub after a cycle, mold growth, leaking, or water overflow. It is recommended to replace the drain hose promptly if it is faulty to ensure the proper functioning of your washer.
This part is the replacement inlet valve for your dishwasher. It is approximately 4-1/2 inches by 3-1/2 inches. The water inlet valve in your dishwasher connects to the water source and solenoid wires, and ensures the tub has the right amount of water entering it. If your dishwasher continues to fill after it is full, or if it fills slow...Read morely, you may need to replace this valve. Another indication that your valve is damaged and will need to be replaced, is if you notice it is leaking when the dishwasher fills up. Before you begin this repair, be sure to disconnect the water and power sources from your washer. This part is sold individually and is an authentic OEM part.
This genuine OEM Control Panel Assembly fits select LG dishwashers, housing the buttons and display for managing cycles. Verify compatibility and unplug the appliance before installation.
This pump casing assembly is compatible with various models of LG dishwashers. This assembly contains various components of the dishwasher pump. The pump is responsible for circulating water through the dishwasher during different cycles, such as washing and draining. The components included are the motor which provides the power that mov...Read morees the water; the impeller, which helps to expel the water through the spray arms; the seals, which help to prevent water from leaking out, and the inlet and outlet ports which are responsible for pulling water from the tub and directing it outwards as needed; and finally, the outer housing. If any of these components fail, your dishwasher will have difficulties draining, dishes will not be cleaned thoroughly, and there will be grinding and buzzing noises during use.
This grey tine row retainer is designed to securely hold the horizontal tine rows on your dishwasher rack, keeping them in place so dishes stay organized and stable throughout each wash cycle. It clips directly onto the rack to prevent tines from loosening or shifting, helping maintain proper spacing for plates, bowls, and cookware. A wor...Read moren or broken retainer may cause the rack to feel loose or rattle during operation, making replacement necessary for smooth performance. Installation is quick and simply involves attaching the clip to the designated spot on the rack to restore proper support.
Ask our experts a question about this model and we'll get back to you as soon as possible!
We may have answered a similar question already! Search questions and answers left by others using simple keywords like "fit", "broken", "easy", or "quality" to find questions that match.
Search filter:
Clear Filter
Your search term must have 3 or more characters.
Sort by:
Prev
1
2
3
Next
Sorry, we couldn't find any existing answers that matched.Try using some different or simpler keywords, or submit your new question by using the "Ask a Question" button above!
Jim Kemp - For model number LDF5545ST
November 25, 2019
LG dishwasher, control touch panel blinks on and off and sometimes completes the cycle and sometimes shuts off prematurely.
Hello Jim, thank you for writing. You will want to replace the Control Panel Assembly, part number PS12374319 for your model dishwasher to fix this. Good luck with your repair!
16 peoplefound this instruction helpful.
Was this helpful?
Thank you for voting!
Joe - For model number LDF5545ST
December 15, 2019
The control buttons are unresponsive. I tried turning off the breaker, letting it sit and then turning the breaker back on. When the breaker is turned back on i see - - - on the control display and then nothing again.
Hello Joe, thank you for your inquiry. First, confirm that the dishwasher display is working. If the display is still working, try pressing some of the touch-pad buttons. If some of the buttons respond correctly but others don’t, it is likely that the touch-pad is at fault. The other option is the main control board. This regulates nearly every function in the dishwasher. If there is a problem with the main control board, it might not send voltage to the dishwasher touch-pad, causing the touch-pad buttons not to work. I hope this information helps!
2 peoplefound this instruction helpful.
Was this helpful?
Thank you for voting!
Larry - For model number LDF5545ST
January 16, 2020
The dishwasher will not start. When start is pushed it just beeps 2 times. I was told the latch was at fault and that was replaced. No luck did the same thing. The touch controls will not change no matter what you push.
Hi Larry,
Thank you for your question. If the dishwasher will not start and you already replaced the door latch, you will need to check both the control panel and the electronic control board as well as the wiring connections between the parts. You will need to test the parts with a multi-meter. Here is a link to one of our videos on YouTube that you may use as a general reference on how to use one, https://www.youtube.com/watch?v=bWC44fHn0As. For the electronic control board, you will need to check it visually. Check for signs of damage or burn marks and if it shows any of these signs, you will need to replace it. We hope this helps. Thank you and have a great day.
1 personfound this instruction helpful.
Was this helpful?
Thank you for voting!
Tom - For model number LDF5545ST
January 26, 2020
Burning smell coming from dishwasher. I'm assuming it's the electronic control board. All the videos i've seen show this board in the door assembly. I took the door cover off and no board. Where is the board located?
Hi Tom, thank you for your question. Here is that part number: PS11761230. It is on the right hand side directly behind your panel with the LG symbol on it. Good luck with your repair.
1 personfound this instruction helpful.
Was this helpful?
Thank you for voting!
Bob - For model number LDF5545ST
March 23, 2024
AT TIMES THE NUMBERS 4321 COME UP
Hello Bob, thank you for your inquiry. This error code indicates that there may be a problem with the door latch, part number PS12580257. You may need to replace it to solve the problem. We hope this helps.
See how others fixed this model. Time, tools, difficulty, and steps that lead to victory!View More
Search repair tips from other customers using simple keywords like "replace", "fit", "remove", "inspect". DIY doesn't mean you have to do it alone!
Search filter:
Clear Filter
Your search term must have 3 or more characters.
Loud noise when running - the infamous bad drive motor
34 of 39 peoplefound this instruction helpful.
Mark from TEHACHAPI, CA
Very Easy
30 - 60 mins
Pliers, Screw drivers
Replacing this pump is pretty easy. Disconnect the power and drain hose, and pull your dishwasher out from the counter. Lay it on its side on a towel. There WILL be spillage. Disconnecting the pump is simple. There are a couple hoses, one single wire connection (the thermistor) and one multi-wire plug. The pump is held in place by a
... Read morepair of thick rubber holders which can be pulled off by hand. That's it!
After removing the pump, I disassembled it to find out why these fail so soon. It's a very poor design. I found that the nose of the electric motor, where the bearings are located, sits in a plastic cup formed by the top of the pump body. Any leakage from the pump around the motor shaft will be held in place against the motor bearing. It has no place to go. This causes rusting of the bearing. I expect I'll be replacing this one in a few years. :(
But kudos to PartsSelect for getting the right pump assembly for me, after getting the wrong one from another supplier!
Read less
Was this helpful?
Thank you for voting!
Control Panel lights started flashing like a lightswitch rave, dishwasher stopped working
16 of 18 peoplefound this instruction helpful.
Mike from GAHANNA, OH
Very Easy
Less than 15 mins
Screw drivers
This is apparently a widely known issue for LG, and since their call center was closed due to Coronavirus, I had no luck getting them to cover the repair. Not wanting to wait weeks of months for them to get off their duffs, I ordered the part and unscrewed the six screws holding the control panel on and unplugged the old part, plugged in
... Read more the new part, and replaced the screws.
Works great now.
Read less
Was this helpful?
Thank you for voting!
Dishwasher leaking; got AE error almost every other wash
12 of 20 peoplefound this instruction helpful.
Bruce from Katy, TX
Really Easy
30 - 60 mins
The inside gasket deteriorates over time - However replacement is easy. the main thing you have to remember is after you remove the old gasket, install the new one starting at the middle top of the tub and work your way down both sides. Also, don't push the gasket all the way in...only enough to hold in place. When you close the door the
... Read moregasket will form a better seal around the door.




 My Orders