


 My Orders




LAT7334ABL Maytag Washer - Overview
Diagrams for LAT7334ABL
See every part. Know exactly what you need.


Enter a part description. DIY Heroes keep it simple, eg. "belt" or "pump".
Search filter:
Clear Filter
Your search term must have 3 or more characters.

$21.45
On Order
Screw
Part #W11233072
This is a multi-use and multi-appliance screw. It can be used on a microwave, refrigerator, range/oven, air conditioner, dehumidifier, washer, or dryer. The measurements of this screw are 8 x 1/2 inch. It has 6 threads. Refer to the manual provided by the manufacturer for further information on repair and accurate guidance. Remember to wear work gloves as a safety precaution.

$22.52
In Stock
Lid Switch
Part #W10820036
This washer/dryer lid or door switch kit serves as a critical safety component, designed to prevent the appliance from operating when the lid or door is open. It ensures that the washer does not fill or spin and the dryer does not start unless the door is securely closed, helping to avoid water spills and potential safety hazards. The kit...Read more includes all necessary components for installation and is compatible with a wide range of top-loading washers and front-loading dryers. Installation typically involves disconnecting power, accessing the control panel or door area, and replacing the switch using standard tools. The switch is compact and designed to fit seamlessly within the appliance’s housing, with dimensions approximately 2.5 inches in length, 1 inch in width, and 1 inch in height. It features a neutral color finish that blends with most appliance interiors.
Read less

$9.62
In Stock
Washing Machine Lid Hinge Ball
Part #WP211726
This washing machine lid hinge ball is well under an inch in diameter. These hinge balls are sold separately, though two are required per lid. This lid hinge ball is made of plastic and is used for Maytag brand washing machines.

$45.29
In Stock
Lid Check Switch
Part #WP207166
This lid switch check is used in washers to detect if the washer lid is open or closed. This prevents a cycle from spinning when the lid is still open and is also used to start your washer once a certain water level is reached. If your washer will not start, agitate, drain, or fill with water, replacing the switch can be a solution to the...Read more problem. As a safety precaution, remember to unplug your washer from the power source before beginning this installation project. Refer to the manual provided by the manufacturer for further installation instructions and accurate guidance.
Read less

No Longer Available
Lid Switch Assembly
Part #WP22001682
This black lid switch assembly comes complete with a bracket, two switches, and a fuse. An open fuse might indicate that the lid switch is bad. The point of the lid switch is for the tub to stop spinning when the washer lid is opened. It is a safety precaution just in case someone decides to stick their hand inside the washer while the tub is spinning.

$7.47
In Stock
Washer Lid Bumper
Part #WP212716
This washing machine lid bumper is just under an inch long. It is all gray in color and is made entirely of rubber.

$11.77
In Stock

$9.62
In Stock
Lid Switch Actuator Spring
Part #WP213720
This lid switch actuator spring is exactly one inch long. It is made of metal.

No Longer Available
Unbalanced Plunger
Part #WP216255
When this part is used along with the lid switch, it can tell the motor of the washer to stop when a load is uneven. The washer will not start up until the lid is opened and then closed again.

No Longer Available

No Longer Available
Screw & Fastener Kit
Part #204445

$6.40
Special Order
Common Symptoms of the LAT7334ABL
How this model fails, and the parts that fix it.
Will Not Start
Fixed by
these parts
these parts


Show All
Will not agitate
Fixed by
these parts
these parts
Show All
Will not drain
Fixed by
these parts
these parts
Show All
Won’t Start
Fixed by
these parts
these parts
Show All
Lid or door won’t close
Fixed by
these parts
these parts

Show All
Watch our pros, then fix it yourself.
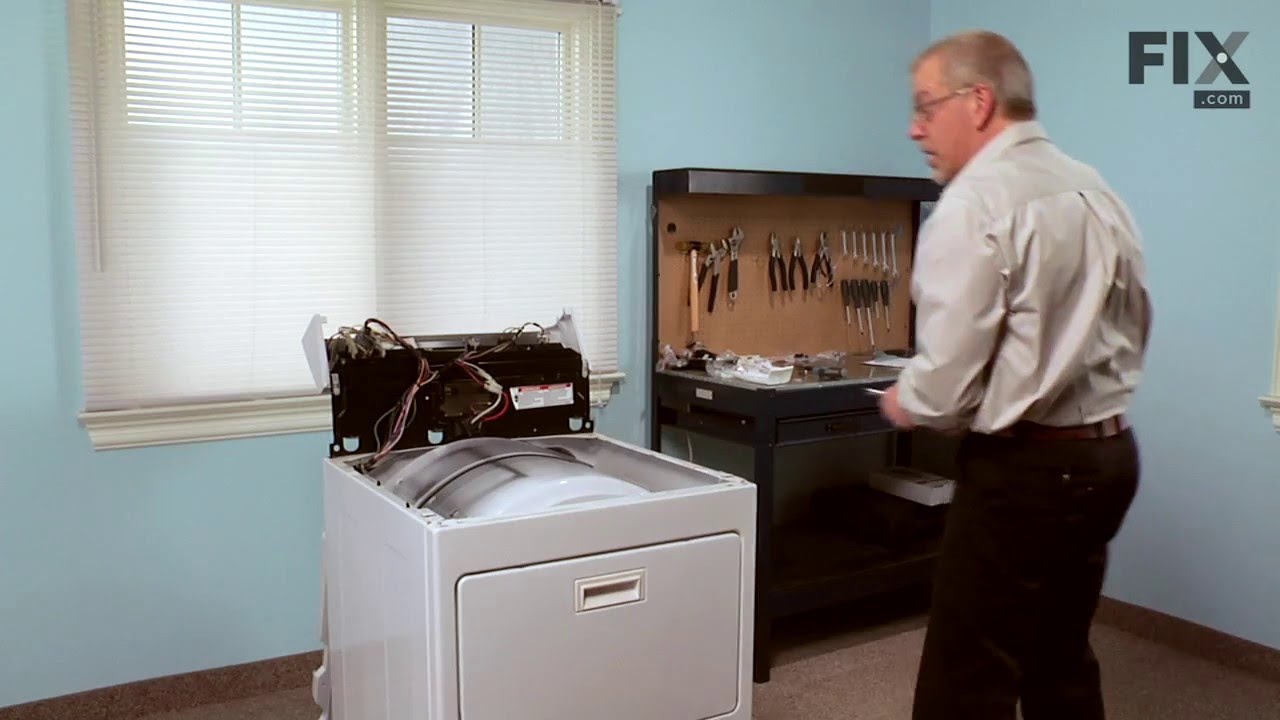
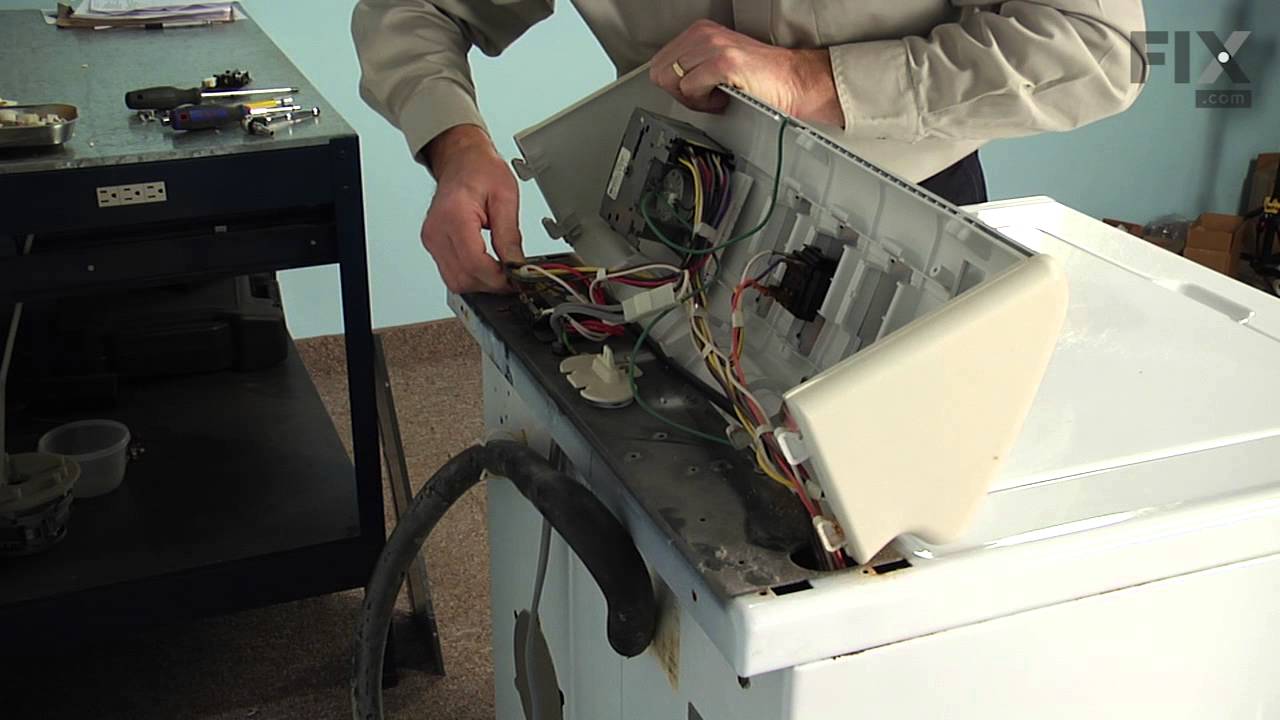
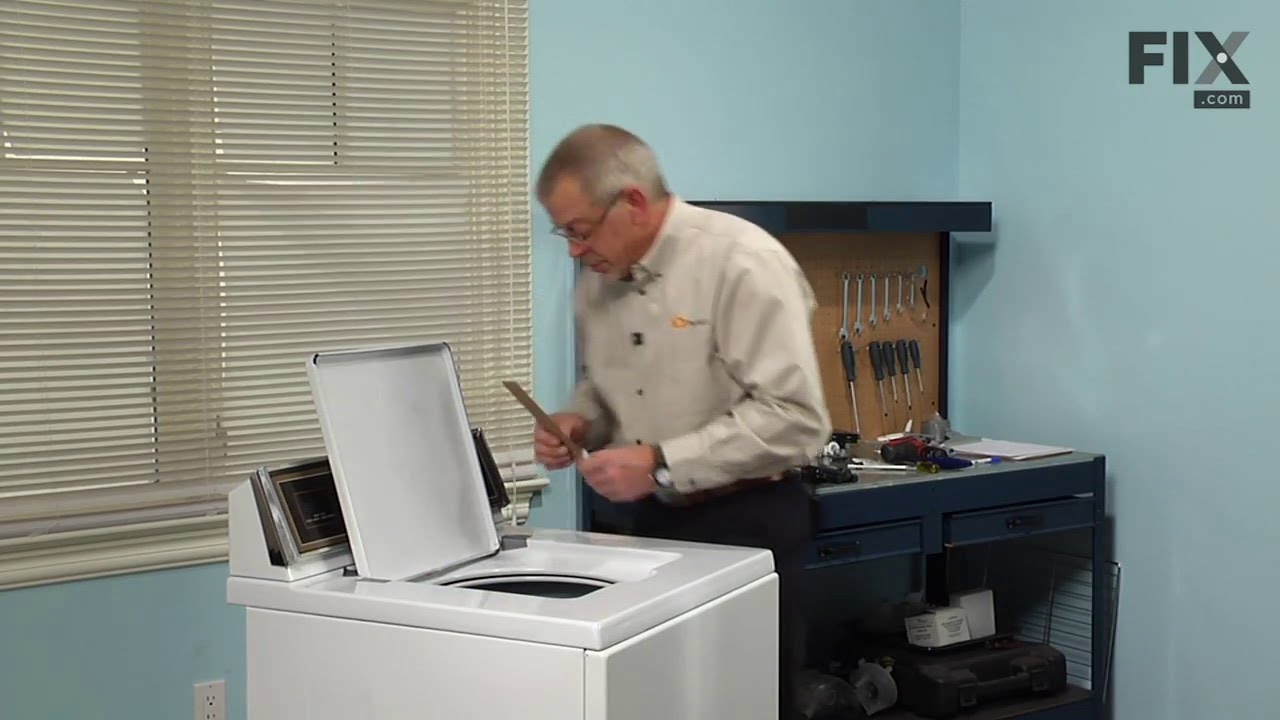
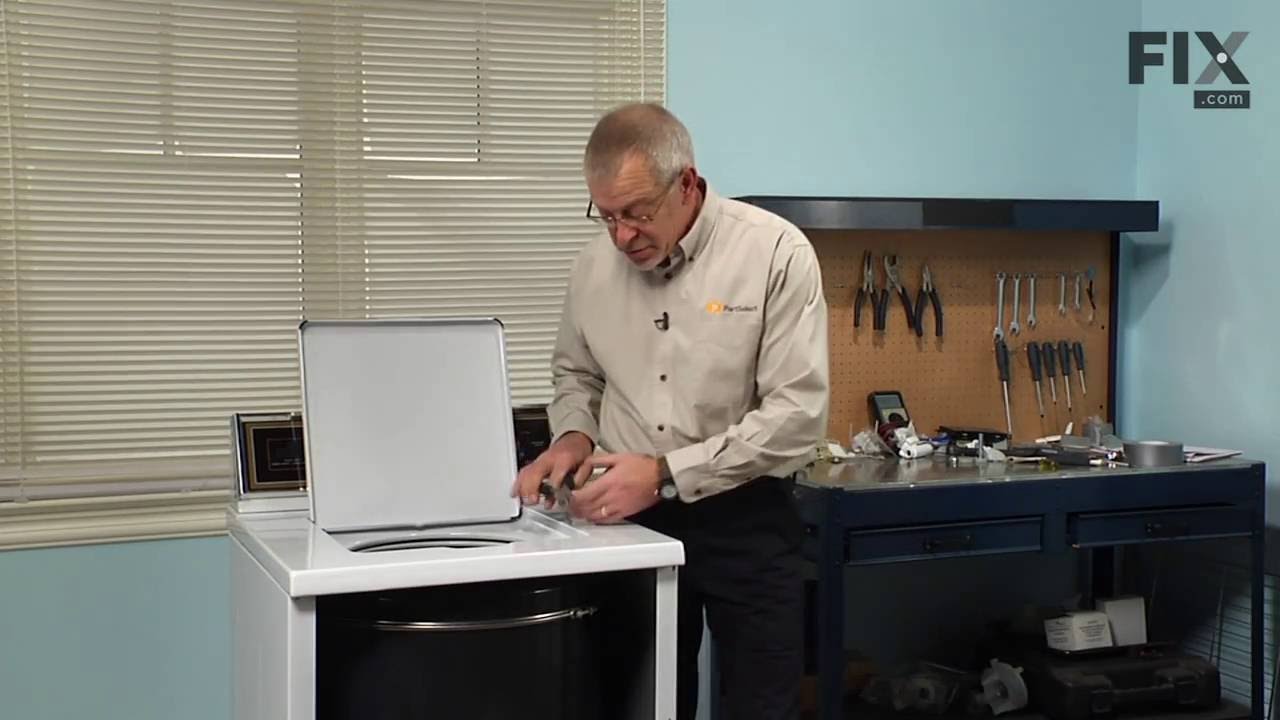
See how others fixed this model. Time, tools, difficulty, and steps that lead to victory!
View More