


 My Orders




LAT7304ABM International Washer - Overview
Diagrams for LAT7304ABM
See every part. Know exactly what you need.


Enter a part description. DIY Heroes keep it simple, eg. "belt" or "pump".
Search filter:
Clear Filter
Your search term must have 3 or more characters.

$32.63
In Stock
Belt Kit
Part #12112425
This kit includes both the drive belt and the pump belt which are both V-shaped. If your washer does not toss, spin, or drain water properly, this might be because one of these belts has worn or stretched out. This results in the belt losing its grip and no longer driving the pump. The pump belt is black and made of rubber. The pump belt ...Read moreis located between the motor and pump underneath the washer. Simply remove the belt and hook the new one around the pulley. You may need to loosen or tighten the belt to ensure it is set in place properly.
Read less

No Longer Available
Mounting Stem/Tub Seal Kit
Part #6-2095720
This kit comes with a hub assembly, agitator seal, and spanner nut. If your washer leaks once it is full (with or without clothes in it) or leaks during agitation, then you should replace the seal. This part will also fix symptoms such as loud noises or the washer not agitating. The seal may become damaged or deteriorate over time and wil...Read morel need to be replaced. The mounting stem goes between the two tubs and seals the water into the tubs. When the water leaks, it goes into the bearing, which will cause it to also go bad, which is why you will likely change these at the same time.
Read less

$21.45
In Stock
Screw
Part #W11233072
This is a multi-use and multi-appliance screw. It can be used on a microwave, refrigerator, range/oven, air conditioner, dehumidifier, washer, or dryer. The measurements of this screw are 8 x 1/2 inch. It has 6 threads. Refer to the manual provided by the manufacturer for further information on repair and accurate guidance. Remember to wear work gloves as a safety precaution.

$7.47
In Stock

$22.52
In Stock
Lid Switch
Part #W10820036
This washer/dryer lid or door switch kit serves as a critical safety component, designed to prevent the appliance from operating when the lid or door is open. It ensures that the washer does not fill or spin and the dryer does not start unless the door is securely closed, helping to avoid water spills and potential safety hazards. The kit...Read more includes all necessary components for installation and is compatible with a wide range of top-loading washers and front-loading dryers. Installation typically involves disconnecting power, accessing the control panel or door area, and replacing the switch using standard tools. The switch is compact and designed to fit seamlessly within the appliance’s housing, with dimensions approximately 2.5 inches in length, 1 inch in width, and 1 inch in height. It features a neutral color finish that blends with most appliance interiors.
Read less

$7.47
In Stock
Washer Hose Clamp
Part #WP596669
This hose clamp is used in a wide variety of household appliances. Most often it is found in washers, dishwashers, refrigerators, freezers, dehumidifiers, garbage disposals, or air conditioners. This clamp is used to securely attach a hose to another part of your appliance, which helps prevent leaks from those connections. Depending on th...Read moree appliance, it can attach hoses to drain pumps, water inlet valves, pressure switches, and injector nozzles. We recommend you refer to model-specific diagrams for appropriate uses and exact placement. This hose clamp is made of metal, and is sold individually. To access and replace this part you will need a nut driver, pliers, and screwdrivers. Before you begin any repair work, make sure you have unplugged your appliance, and shut off the water supply if applicable.
Read less

No Longer Available
Drain Pump
Part #WP6-2022030
This washing machine drain pump is intended for use with automatic washers that have been manufactured since 1958. The pump itself is made of plastic, though it does come with a metallic belt pulley.

$11.77
In Stock
Rubber Foot Pad
Part #WP210684
The leveling leg pad or foot pad fits over the leveling leg on your washing machine. The foot pad is designed to protect your floor and keep the washing machine level and in place. This foot pad is just over an inch in diameter. It is made entirely of rubber and is gray in color. This pad is intended for use with washers and some dryers. ...Read moreMany of our customers have rated this repair as very easy. To complete the repair, turn the old leg counter clockwise to remove it. Then, simply remove the old pad and replace it with the new one. Finally, re-attach the leg by turning clockwise. Ensure that the washer is level, and adjust the leg accordingly if it is not.
Read less

$9.62
In Stock
Washing Machine Lid Hinge Ball
Part #WP211726
This washing machine lid hinge ball is well under an inch in diameter. These hinge balls are sold separately, though two are required per lid. This lid hinge ball is made of plastic and is used for Maytag brand washing machines.

$70.95
In Stock
Tub Bearing Kit
Part #6-2040130
This kit is used on 2-belt washers. It is recommended to change the seal kit at the same time. The tub bearing kit fixes issues with leaking, loud noise, excessive shaking/moving or if your pump is not spinning. The tub bearing kit is fastened in the middle of the outer tub of your washer. The tub bearing ensures the inner tub is spinning...Read more effortlessly. If the rub bearing is faulty it might lock up and cause the washer to stop spinning. This is an OEM part that is obtained straight from the manufacturer.
Read less

$45.29
In Stock
Lid Check Switch
Part #WP207166
This lid switch check is used in washers to detect if the washer lid is open or closed. This prevents a cycle from spinning when the lid is still open and is also used to start your washer once a certain water level is reached. If your washer will not start, agitate, drain, or fill with water, replacing the switch can be a solution to the...Read more problem. As a safety precaution, remember to unplug your washer from the power source before beginning this installation project. Refer to the manual provided by the manufacturer for further installation instructions and accurate guidance.
Read less

No Longer Available
Lid Switch Assembly
Part #WP22001682
This black lid switch assembly comes complete with a bracket, two switches, and a fuse. An open fuse might indicate that the lid switch is bad. The point of the lid switch is for the tub to stop spinning when the washer lid is opened. It is a safety precaution just in case someone decides to stick their hand inside the washer while the tub is spinning.
Common Symptoms of the LAT7304ABM
How this model fails, and the parts that fix it.
Leaking
Fixed by
these parts
these parts


Show All
Burning smell
Fixed by
these parts
these parts


Show All
Will not drain
Fixed by
these parts
these parts


Show All
Will not agitate
Fixed by
these parts
these parts


Show All
Will Not Start
Fixed by
these parts
these parts
Show All
Spins slowly
Fixed by
these parts
these parts
Show All
Spinning Issues
Fixed by
these parts
these parts

Show All
No hot or cold water
Fixed by
these parts
these parts

Show All
Noisy
Fixed by
these parts
these parts

Show All
Shaking and Moving
Fixed by
these parts
these parts
Show All
Water Filling Issues
Fixed by
these parts
these parts


Show All
Won’t Start
Fixed by
these parts
these parts
Show All
Lid or door won’t close
Fixed by
these parts
these parts

Show All
Noisy and Marks Left on Clothes
Fixed by
these parts
these parts
Show All
Watch our pros, then fix it yourself.
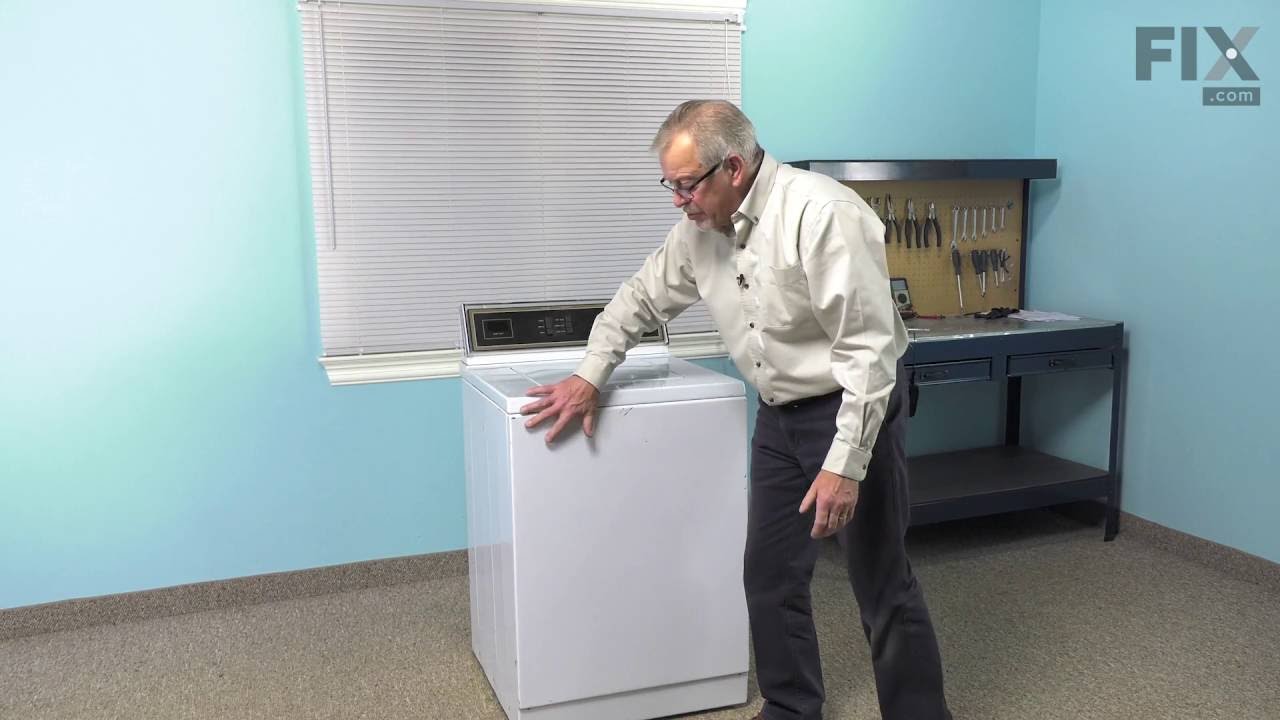
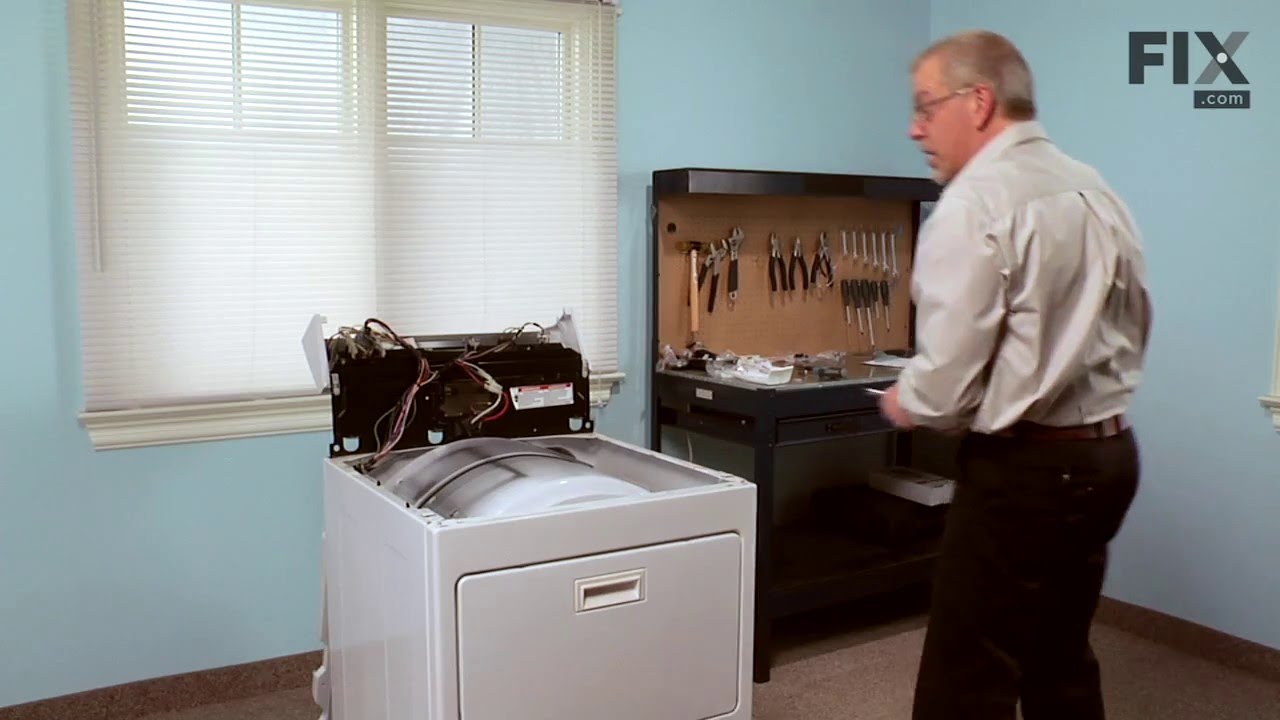
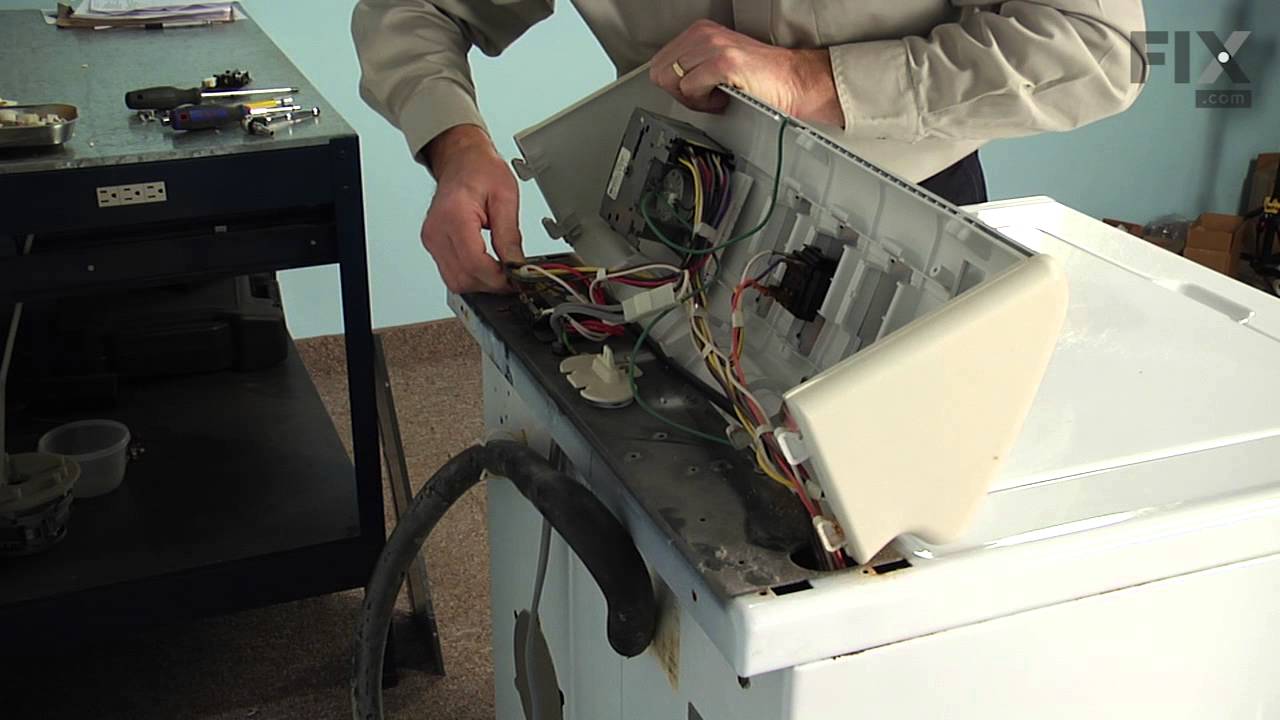

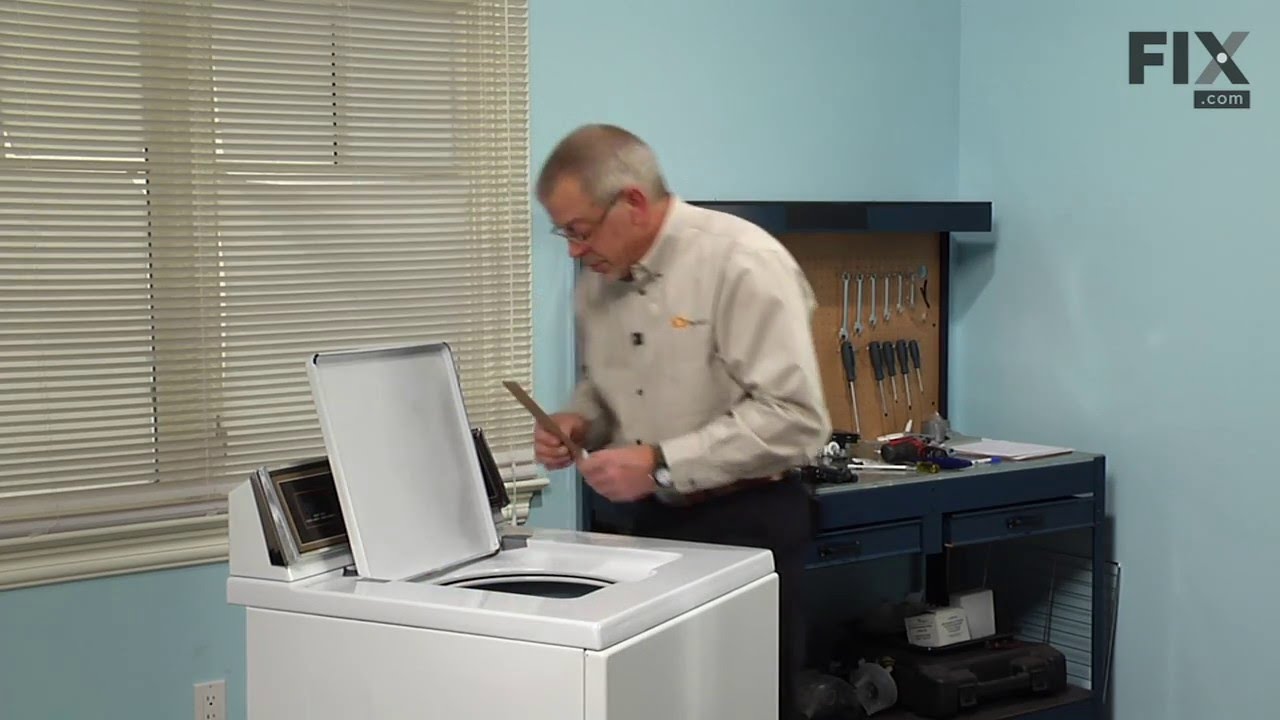
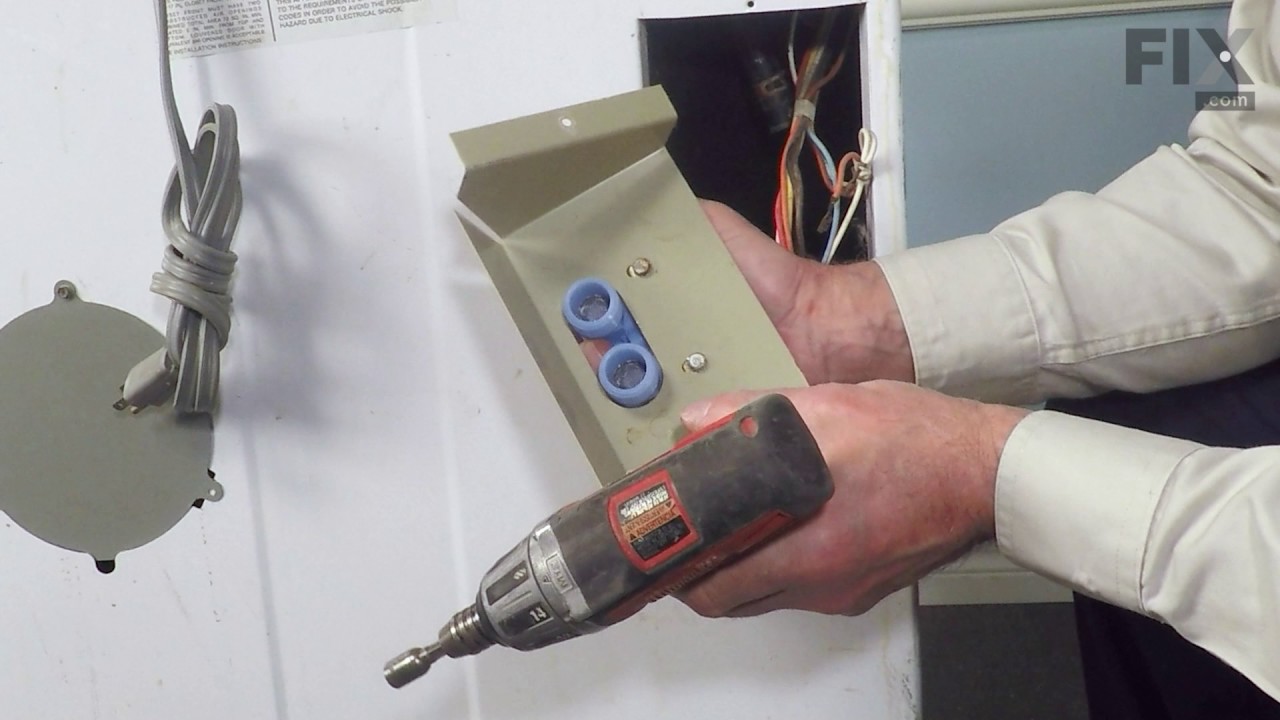
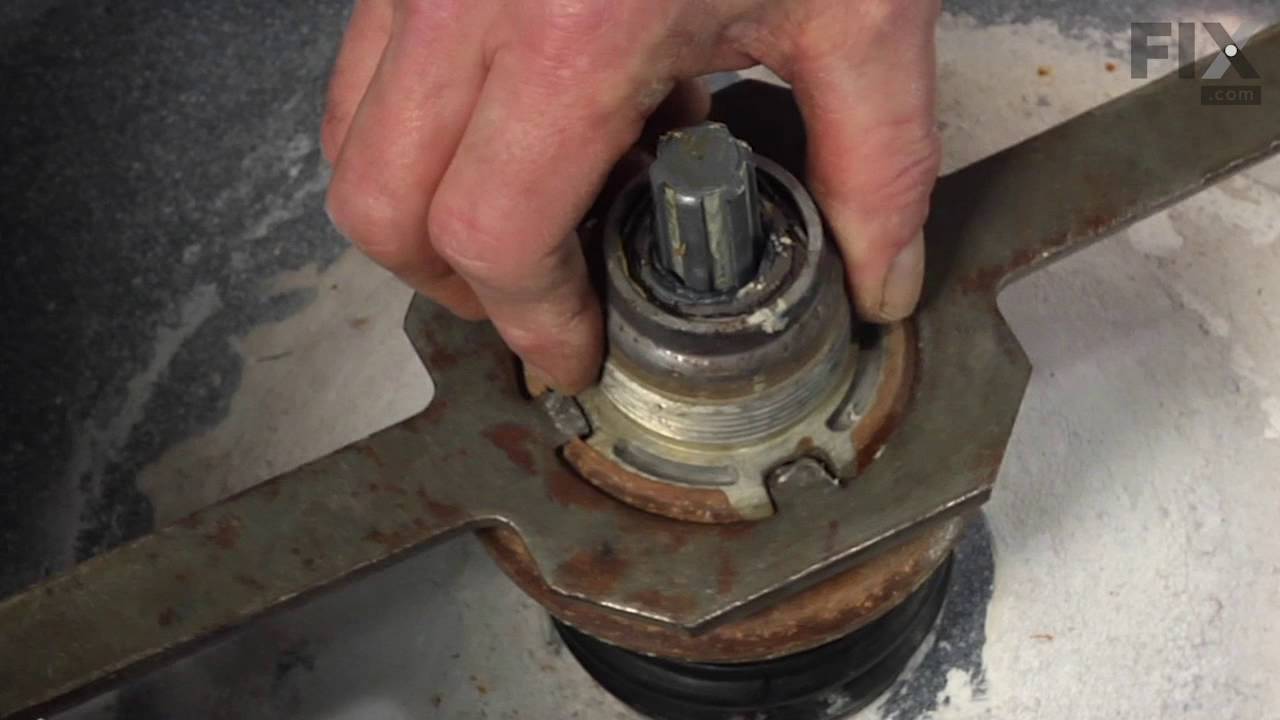

See how others fixed this model. Time, tools, difficulty, and steps that lead to victory!
View More
Search repair tips from other customers using simple keywords like "replace", "fit", "remove", "inspect". DIY doesn't mean you have to do it alone!
Search filter:
Clear Filter
Your search term must have 3 or more characters.
Drum would not drain and there was a banging noise when the drum spun
600 of 658 people
found this instruction helpful.
I removed the 2 phillips screws on the bottom of the front panel. Then checked around to find the belts were actually below the floor panel.
I pulled the washing machine away from the wall and tilted it bacwards and found the pump belt was off the pully and the drive belt was badly damaged. I replaced the 2 belts which took no tools ... Read more and about 3 minutes to accomplish then resecured the front panel, pushed back in place and leveled. Complete repair from diagnosis to back in operation took less than 15 minutes.
I pulled the washing machine away from the wall and tilted it bacwards and found the pump belt was off the pully and the drive belt was badly damaged. I replaced the 2 belts which took no tools ... Read more and about 3 minutes to accomplish then resecured the front panel, pushed back in place and leveled. Complete repair from diagnosis to back in operation took less than 15 minutes.
Read less

Was this helpful?
Thank you for voting!
Damper pads wore-out and had metal to metal contact which caused the washer to spin out of balance.
167 of 189 people
found this instruction helpful.
1: Disconnected all water and electrical connections.
2: Removed front panel.
3: Disconnected all wires leading from the control panel and removed the top of the washer.
4: Removed the springs that holds the drum down on the damper pads.
5: Flipped washer upside-down so the drum would hang from the bottom of the wash. ... Read more This made it easy to clean the area since it was full of dirt and ground metal dust.
6: Glued new pads (per the instructions) to the cone that protrudes up from the bottom of the washer and allowed to dry.
7: Lubricated the pads with the provided grease and added additional silicon grease to insure smooth operation.
8: Replaced drive belt.
9: Flipped the washer back up-right and installed the drum springs.
10: Reconnected all wires and attached the top of the washer.
11: Reconnected all electrical and water lines and tested operation.
12: Replaced the front panel.
Washer now runs as quite and smooth as it did when it was new.
2: Removed front panel.
3: Disconnected all wires leading from the control panel and removed the top of the washer.
4: Removed the springs that holds the drum down on the damper pads.
5: Flipped washer upside-down so the drum would hang from the bottom of the wash. ... Read more This made it easy to clean the area since it was full of dirt and ground metal dust.
6: Glued new pads (per the instructions) to the cone that protrudes up from the bottom of the washer and allowed to dry.
7: Lubricated the pads with the provided grease and added additional silicon grease to insure smooth operation.
8: Replaced drive belt.
9: Flipped the washer back up-right and installed the drum springs.
10: Reconnected all wires and attached the top of the washer.
11: Reconnected all electrical and water lines and tested operation.
12: Replaced the front panel.
Washer now runs as quite and smooth as it did when it was new.
Read less
Other Parts Used:

Was this helpful?
Thank you for voting!