


 My Orders




L3B155L0L RCA Range - Overview

Enter a part description. DIY Heroes keep it simple, eg. "belt" or "pump".
Search filter:
Clear Filter
Your search term must have 3 or more characters.

$47.40
In Stock
Bake Element
Part #WB44K5012
At the floor of your electric oven is the bake element. This partially open-style element comes with push-on terminals. The bake element will likely provide most of the heat for baking. Therefore, if the oven is not heating properly, or if food is burnt on top and undercooked below, your bake element may be at fault. If you can see that t...Read morehe element has been separated or blistered, you should replace the part immediately. If there is no visible damage, turn the oven on and check to see if the element heats evenly. If the element is not heating evenly, or if it is not heating at all, use a multi-meter to test for electrical continuity to see if the element needs replacing.
Read less

$21.45
In Stock
Drip Bowl - 6 Inch
Part #WB32X107
The drip bowl on your range is designed to catch any spills that may occur when cooking. This drip bowl is chrome in color and is 6 inches in diameter. The chrome drip bowl is intended for use with rolled, terminal-style plug-in surface element units. The drip bowl is located beneath the surface element, so you will need to remove the ele...Read morement prior to swapping out the old drip bowl for a new one. Many of our customers have rated this repair as easy, and you will not require any tools to complete it. This part is sold individually.
Read less

$25.75
In Stock
Drip Bowl - 8 Inch
Part #WB32X106
Drip bowls are located under the heating elements and catch grease and spills that come from cooking on your stove top. If your drip bowl is damaged or rusted, it could allow grease to drip inside your range. This 8 inch chrome drip bowl fits most electric ranges. Before you replace your damaged drip bowl, make sure the element is turned ...Read moreoff and cool to the touch. Installation is easy, just remove the element, replace the current drip bowl, and reattach the element. Make sure the small hole on the bowl lines up with the element socket. Drip bowls are sold separately.
Read less

$58.42
Special Order
Surface Burner - 8 Inch - 2100W
Part #WB30X253
This part is the replacement surface burner or element for your range. It is approximately 8 inches in diameter, and 2100 watts. The surface burner connects to the power source and when it is turned on, it heats up to cook your food. If you turn on the burner and the element does not heat up, it will need to be replaced. To complete this ...Read morerepair, first be sure to disconnect the power from your range, and ensure the burner is cool to the touch. Then, gently remove the burner from the terminals and replace it with the new one. This part is sold individually, and is an OEM part sourced directly from the manufacturer.
Read less

$62.51
In Stock
Hinge with Roller - Right Side
Part #WB14X104
This is a hinge with roller for the oven door on your range. The roller allows you to open and close the door with ease and control. If your door is not opening easily, you may need to replace this part. To make this repair you will need a Phillips screwdriver and a pair of pliers. Take note that this model is only for the right-hand side...Read more of your unit, to replace the left-hand side, see the related parts section. We recommend replacing both hinges at the same time.
Read less

$74.79
In Stock
Surface Burner Terminal Block Kit
Part #WB17X210
This is a surface burner terminal block kit, also known as range surface element receptacle, for an oven, range, or stove. The kit comes with the terminal block, mounting clip, and wires. This surface burner terminal block kit connects the wiring harness to the surface elements. It is important to shut off the power to the appliance befor...Read moree starting this repair. You will need to remove all four elements, trim rings, and drip bowls to access the terminal block on your stovetop. This is an OEM replacement part that is sourced from the genuine manufacturer.
Read less

$65.86
In Stock
Hinge with Roller - Left Side
Part #WB14X103
This is known as a hinge with roller and it is for the oven door of your range. The hinge with roller allows you to easily open and close your oven door without much effort. Take note that your appliance requires two hinges, one located on each side of the door. We recommend changing both at the same time. This model is made for the left ...Read moreside of your unit, if you are looking to purchase one for the right side see the related parts section below.
Read less

$60.51
In Stock

$73.04
In Stock
Broil Element - 240V
Part #WB44X232
This broil element is found on the roof of the oven and has push-on terminals.

$43.18
In Stock
Broiler Pan - Large
Part #WB48X10056
This large broiler pan is found in the bottom of your oven and is used to catch drippings from broiling foods. This part includes the grate and bottom pan and is made of porcelain. The grate measures 15-1/2 inches wide by 13 inches deep and the pan is about 17 inches wide by 13 inches deep. No tools are required to replace this item, simp...Read morely pull out the lower drawer of your range, pull down the front of the drawer, slide the pan out and slide the new one into place. This is a genuine part sourced right from the manufacturer.
Read less

$13.92
In Stock

$16.05
In Stock
Common Symptoms of the L3B155L0L
How this model fails, and the parts that fix it.
Little to no heat when baking
Fixed by
these parts
these parts

Show All
Element will not heat
Fixed by
these parts
these parts


Show All
Door won’t close
Fixed by
these parts
these parts


Show All
Oven not heating evenly
Fixed by
these parts
these parts
Show All
Little to no heat when broiling
Fixed by
these parts
these parts

Show All
Oven is too hot
Fixed by
these parts
these parts
Show All
Will Not Start
Fixed by
these parts
these parts
Show All
Door won’t open after self cleaning cycle
Fixed by
these parts
these parts
Show All
Watch our pros, then fix it yourself.
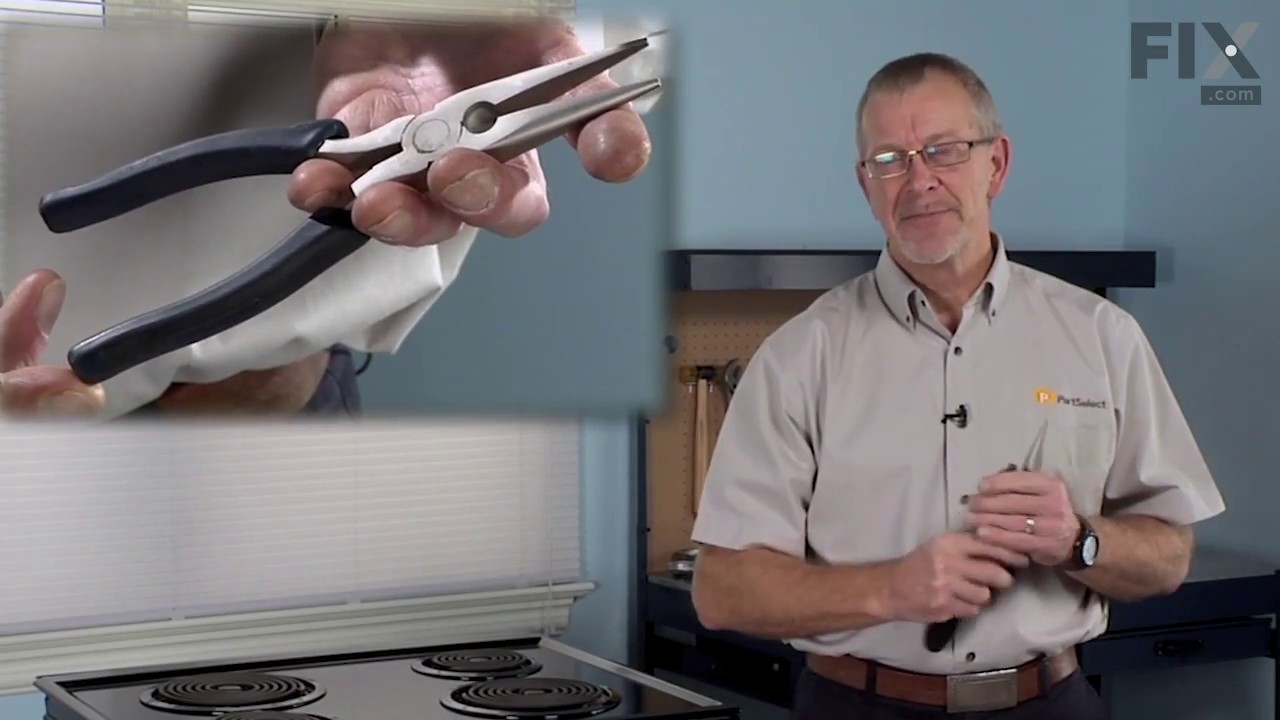
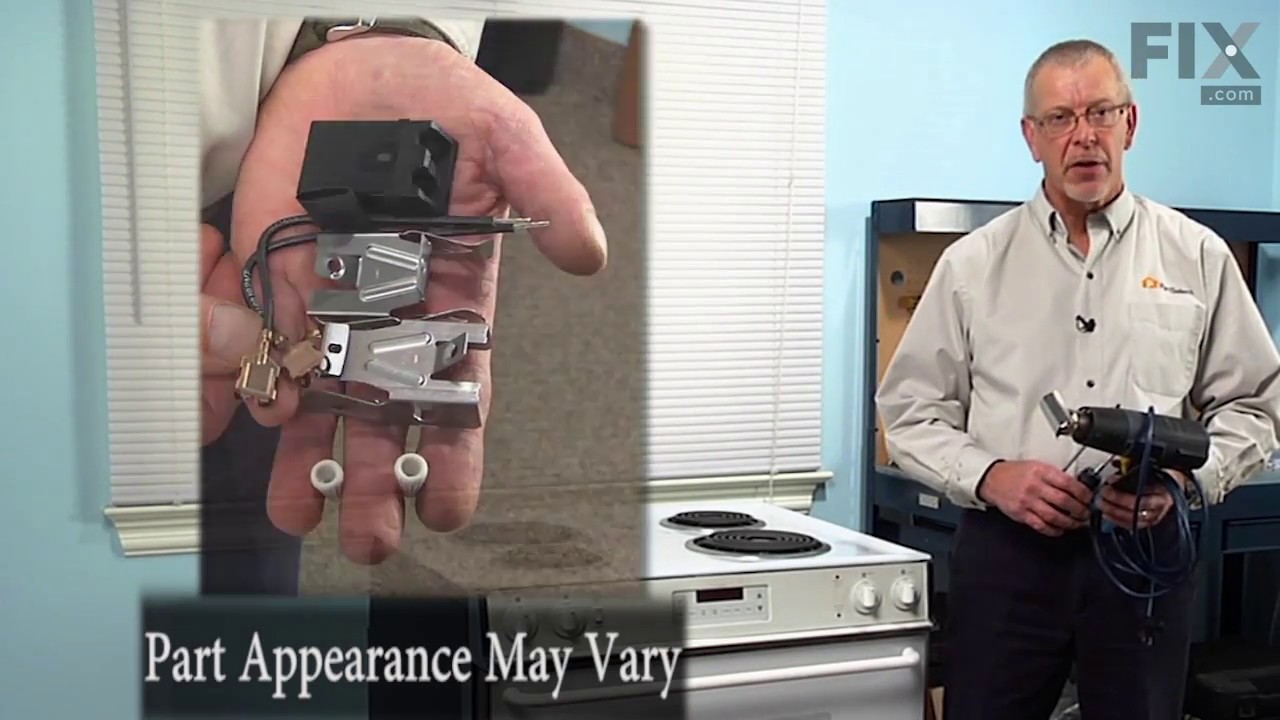
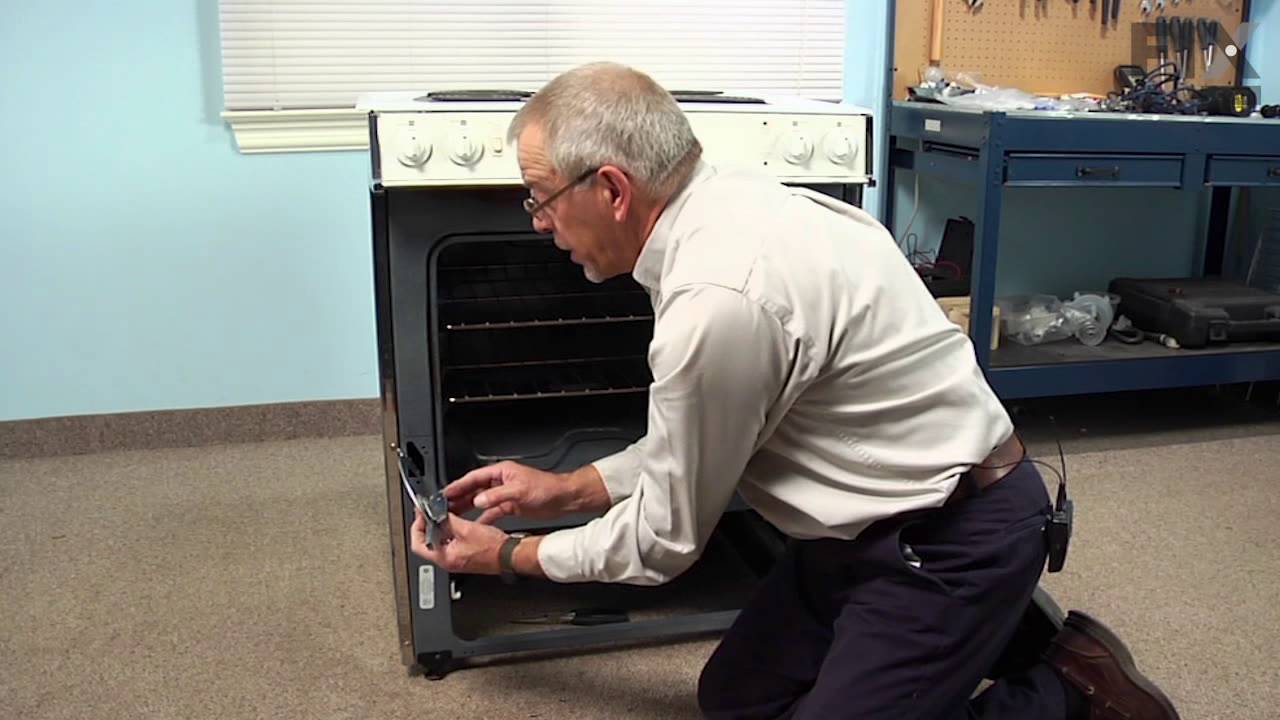
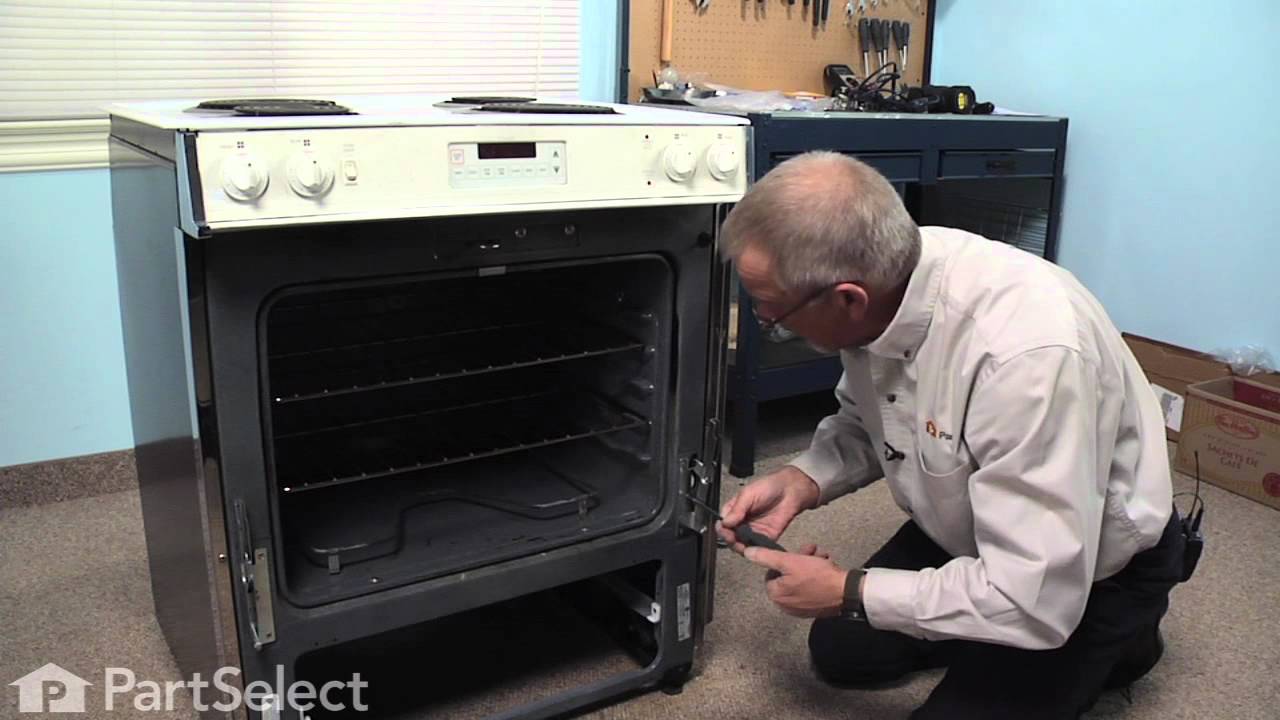
See how others fixed this model. Time, tools, difficulty, and steps that lead to victory!
View More