



EasyApplianceParts is now PartSelect! We've merged our sites to provide a better shopping experience for you.   Full Details
✖

Find Parts

Parts Departments

Top Model Types

Top Brands

Repair Help

Expert Repair Videos

Keep typing for more specific results...

KUWS246EWH00 KitchenAid Wine and Beverage Cooler - Overview

Diagrams for KUWS246EWH00

See every part. Know exactly what you need.

Enter a part description. DIY Heroes keep it simple, eg. "belt" or "pump".

Search filter:
Clear Filter
Your search term must have 3 or more characters.
Refrigerator Light Bulb 10w – Part Number: WP22002263
$19.30
In Stock
Refrigerator Light Bulb 10w
★★★★★
★★★★★
(16)
Part #WP22002263
This 10-watt clear incandescent light bulb is designed to provide reliable interior illumination for household appliances such as dryers and refrigerators. Measuring approximately 2 inches in length, it fits securely into standard appliance sockets and activates when the appliance door is opened, offering clear visibility inside the drum or compartment. The bulb is suitable for use in a wide range of models across multiple appliance brands and is engineered to deliver consistent performance and durability. Installation is straightforward—simply screw the bulb into the designated socket within the appliance. Ensure the appliance is powered off before installation to maintain safety.
Wine Fridge Thermostat Kit – Part Number: WP4344659
$221.21
On Order
Wine Fridge Thermostat Kit
★★★★★
★★★★★
(3)
Part #WP4344659
Used in wine cellar appliance. * Parts included in this kit may differ in appearance, but functions the same as the original part. The temperature control thermostat regulates the temperature inside the refrigerator. It turns on and shuts off the compressor as needed to maintain the set temperature
Light Switch – Part Number: 866294
No Longer Available
Light Switch
Part #866294
This light switch is located in the door of the oven.
RELAY-STRT – Part Number: 4344638
No Longer Available
RELAY-STRT
Part #4344638
MOTOR-COND – Part Number: 4344631
No Longer Available
MOTOR-COND
Part #4344631
SHELF-WINE – Part Number: 4344657
No Longer Available
SHELF-WINE
Part #4344657
NAMEPLATE – Part Number: 2212762
No Longer Available
NAMEPLATE
Part #2212762
CLIP – Part Number: 4344610
No Longer Available
CLIP
Part #4344610
KEY-DOOR – Part Number: 4344637
No Longer Available
KEY-DOOR
Part #4344637
KNOB-THERM – Part Number: 4344609
No Longer Available
KNOB-THERM
Part #4344609
GASKET-DOR – Part Number: 4344639
No Longer Available
GASKET-DOR
Part #4344639
GRILLE – Part Number: 4344604
No Longer Available
GRILLE
Part #4344604

Manuals & Care Guides for KUWS246EWH00

Click to download

Common Symptoms of the KUWS246EWH00

How this model fails, and the parts that fix it.

Watch our pros, then fix it yourself.
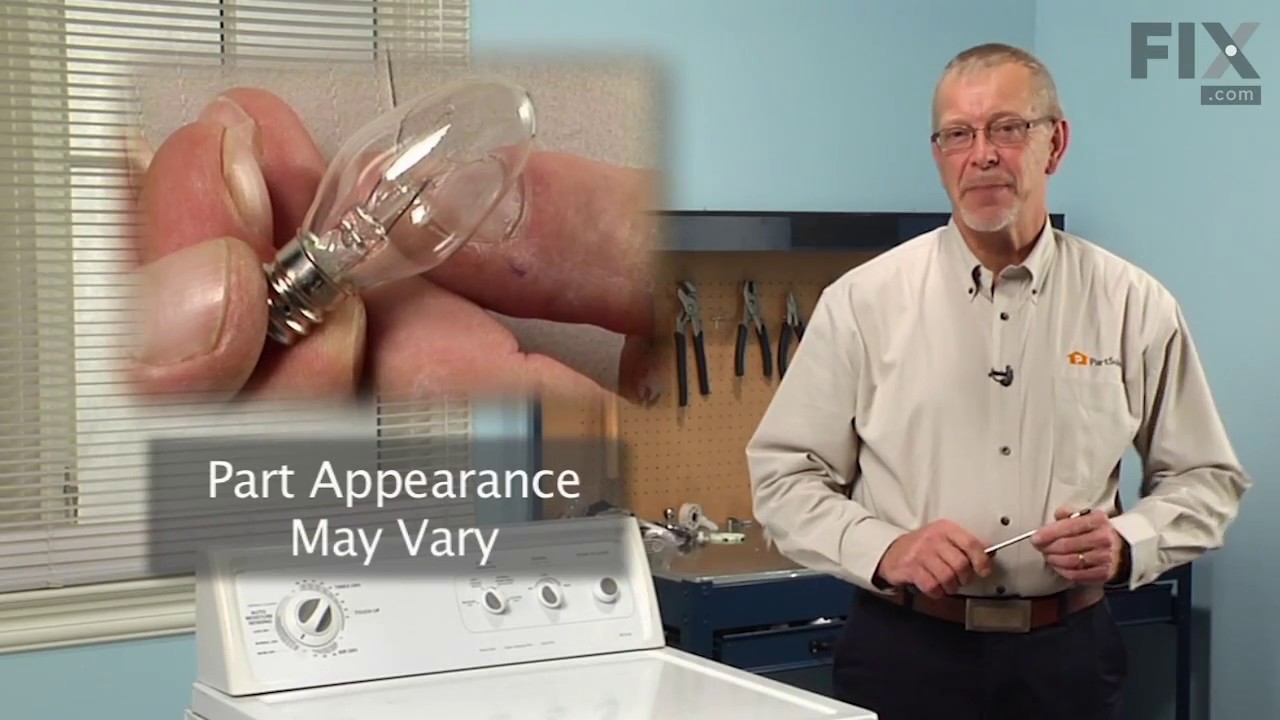
See how others fixed this model. Time, tools, difficulty, and steps that lead to victory! View More

Search repair tips from other customers using simple keywords like "replace", "fit", "remove", "inspect". DIY doesn't mean you have to do it alone!

Search filter:
Clear Filter
Your search term must have 3 or more characters.
Thermostat was bad, unit not cooling
15 of 17 people found this instruction helpful.
  • Chris from Hamilton, VA
  • Easy
  • 30 - 60 mins
  • Nutdriver, Pliers, Screw drivers
Unplug the unit before you do anything. The thermostat control is mounted on the front bottom of the wine cooler. It has the knob that sets the temperature. A solid wire runs from the thermostat, underneath the unit, up the back, through a small hole in the back, and then down behind the cooling panel inside the cooler. Wires are conn ected to the thermostat with connectors that simply slide on and off. Make sure you remember which one goes where on the replacement. The sensor is mounted with a clip at the bottom and behind the cooling panel. It's held in place with two screws and nuts.
First I removed the panel on the very back of the wine cooler. Then I removed the screws holding the thermostat control in place and cut the wire running up the back. The cooling panel inside the unit doesn't appear to come out. I loosened the screws at the bottom of the cooling panel to give me some room to work, and removed the screws on the clip holding the sensor coil. You can't pull the coil back out through the original hole, and you can't insert the new coil through the hole. I took a box cutter and made two half inch cuts running down from the original hole (the lining is plastic), essentially turning the hole into a slot. That gave me room to insert the new coil and push it down. You'll probably have to cut away some foam insulation to get to the hole. When done, shove it back in and put some tape over it.
I was able to seat the new clamp and screws by holding the cooling panel out with one hand. Screw the new thermostat in place, put the knob on, and turn it on. That's all there is to it.
Was this helpful?
Thank you for voting!
Light would come on but unit would not cool
8 of 12 people found this instruction helpful.
  • Mary from East Bethel, MN
  • Easy
  • 30 - 60 mins
  • Screw drivers
Unplug, remove the back and the front grill. Loosen bolts on thermostat in the front, open frig door and loosen bolts holding bracket for other end of thermostat. Chip away insulation so that coil could be pulled from inside frig to outside. Bolt in new thermostat from the front and feed pig tail on other end through the hole so it's i nside the backing in the frig. It's challenging but you need to feed the pigtail into the existing bracket and fasten the bolts again. Put insulation back in where you chipped out and install the back and front grill.
Was this helpful?
Thank you for voting!
Bulb worked for a couple days and has now burned out, filaments dangling
3 of 4 people found this instruction helpful.
  • Amy from JUNCTION, TX
  • Easy
  • Less than 15 mins
  • Screw drivers
To replace the light bulb, I removed the screw and the cover, unscrewed the old bulb, replaced with the new bulb and replaced the cover, securing it with the small screw. It worked appropriately with normal use for a few days and then I noticed the light was not coming on when I opened the door.

I removed the cover and pulled out the bulb to find that the filaments inside are dangling and burned through. I need them replaced, please.
Was this helpful?
Thank you for voting!