


 My Orders




KUWO KitchenAid Wine and Beverage Cooler - Overview
Models starting with KUWO
Click on the best match to narrow your results.
- KUWO244PBL00 KitchenAid Wine and Beverage Cooler
- KUWO24LSBX00 KitchenAid Wine and Beverage Cooler
- KUWO24LSBX01 KitchenAid Wine and Beverage Cooler
- KUWO24LSBX02 KitchenAid Wine and Beverage Cooler
- KUWO24LSBX03 KitchenAid Wine and Beverage Cooler
- KUWO24LSBX14 KitchenAid Wine and Beverage Cooler
- KUWO24RSBX00 KitchenAid Wine and Beverage Cooler
- KUWO24RSBX01 KitchenAid Wine and Beverage Cooler
- KUWO24RSBX02 KitchenAid Wine and Beverage Cooler
- KUWO24RSBX03 KitchenAid Wine and Beverage Cooler
- KUWO24RSBX14 KitchenAid Wine and Beverage Cooler
Enter a part description. DIY Heroes keep it simple, eg. "belt" or "pump".
Search filter:
Clear Filter
Your search term must have 3 or more characters.

$19.30
In Stock
Refrigerator Light Bulb 10w
Part #WP22002263
This 10-watt clear incandescent light bulb is designed to provide reliable interior illumination for household appliances such as dryers and refrigerators. Measuring approximately 2 inches in length, it fits securely into standard appliance sockets and activates when the appliance door is opened, offering clear visibility inside the drum ...Read moreor compartment. The bulb is suitable for use in a wide range of models across multiple appliance brands and is engineered to deliver consistent performance and durability. Installation is straightforward—simply screw the bulb into the designated socket within the appliance. Ensure the appliance is powered off before installation to maintain safety.
Read less

$7.47
In Stock

$8.31
Special Order

$21.45
Special Order

$9.62
In Stock

$11.77
Special Order

$221.21
On Order
Wine Fridge Thermostat Kit
Part #WP4344659
Used in wine cellar appliance. * Parts included in this kit may differ in appearance, but functions the same as the original part.
The temperature control thermostat regulates the temperature inside the refrigerator. It turns on and shuts off the compressor as needed to maintain the set temperature

$148.73
In Stock
GASKET / BLACK
Part #WPW10238068
This door gasket is used to make an air-tight seal for the cabinet when the door is closed.

$7.47
In Stock

No Longer Available

$52.67
In Stock
Refrigerator Terminal Cover
Part #WP2162358
This is a terminal cover for the compressor in a refrigerator. This covers the relay and overload switch on the compressor. Once you have gained access to the terminal cover, you will see that the cover is held on by a tension or retaining clip. Simply pop the cover off and replace with the new cover. The cover is made of plastic and is b...Read morelack in color. It measure less than 3 inches long and less than 3 inches wide. This is a genuine replacement part from the original manufacturer.
Read less

$73.04
In Stock
Defrost Timer
Part #W11609704
This device acts like a clock. It continually advances and alternates between activating the cooling cycle and the defrost heater.
Common Symptoms of models starting with KUWO
How this model fails, and the parts that fix it.
Will Not Start
Fixed by
these parts
these parts

Show All
Fridge too warm
Fixed by
these parts
these parts
Show All
Door not closing properly
Fixed by
these parts
these parts

Show All
Watch our pros, then fix it yourself.
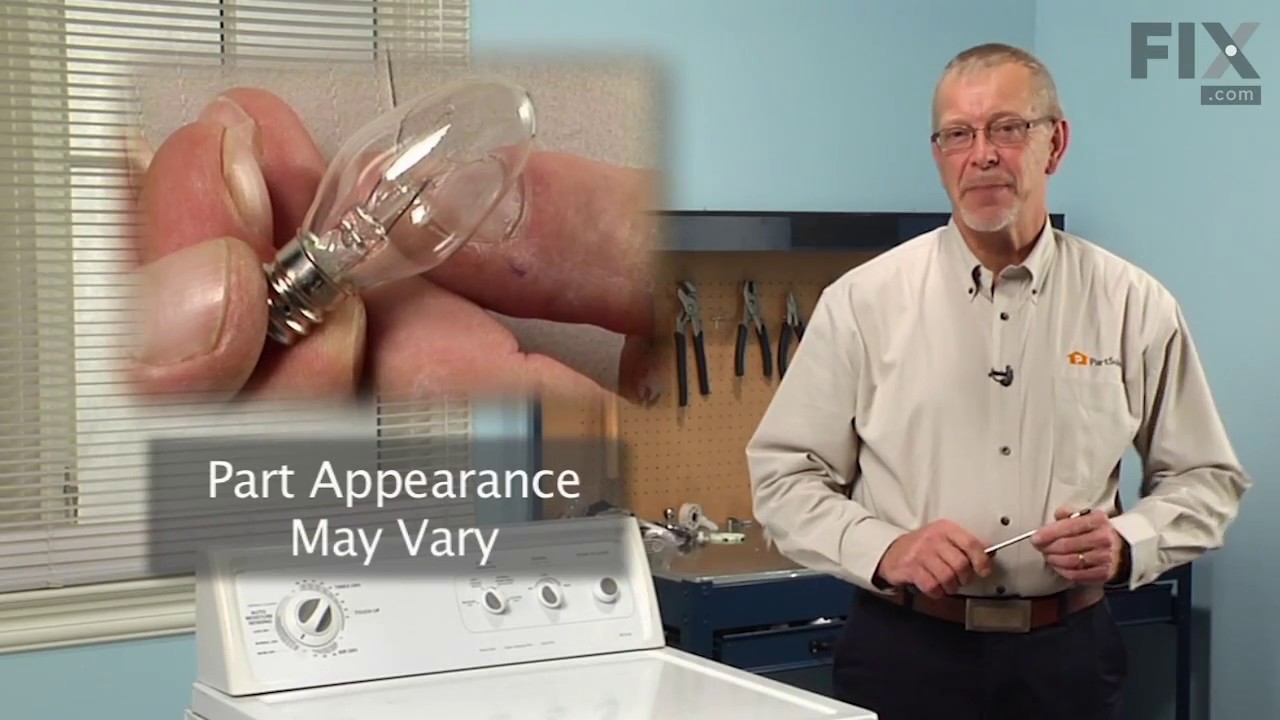
See how others fixed this model. Time, tools, difficulty, and steps that lead to victory!
View More