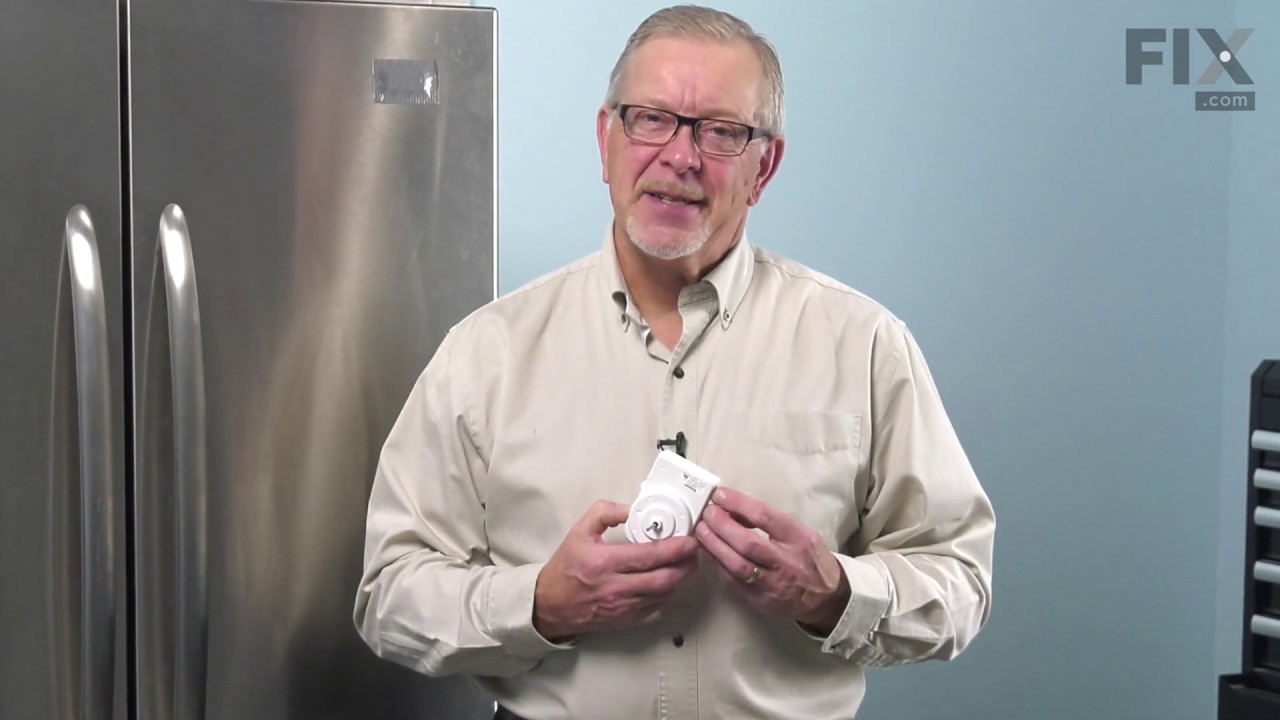
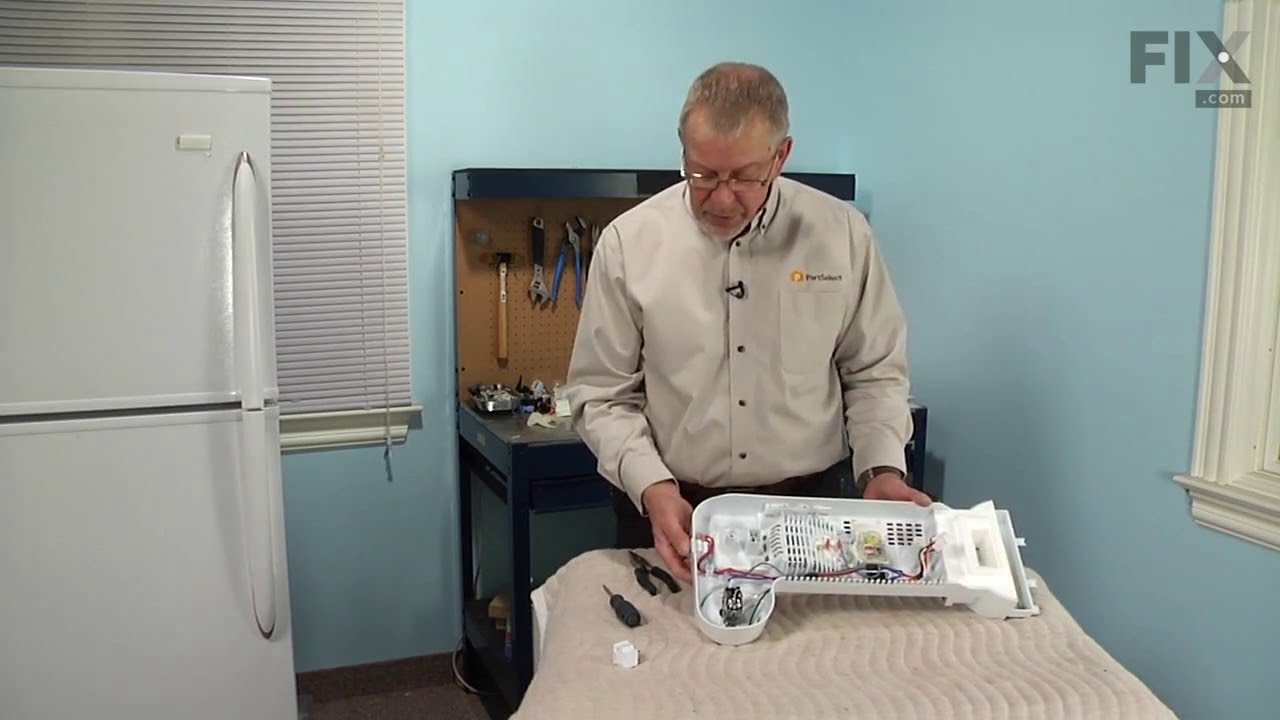
This is a light switch for your refrigerator. It activates when the door of your appliance is opened, and it will turn the light inside on and off. You will need to replace this part is if your light is not working properly. In order to make this repair you will need a Phillips screwdriver, a pair of needle nose pliers, and a small flat b...Read morelade screwdriver. This light switch is almost 2 inches long, 1.5 inches wide, and just over an inch thick.
This touch-up paint can be used on a wide variety of household appliances. It is most often used on washers, dryer, refrigerators, dishwashers, ranges, freezers, trash compactors, or microwaves. It is an 18 ml, or.6 fluid ounces, bottle of touch-up paint. It also features a brush for easy application. This quick-drying, long-lasting paint...Read more is perfect for fixing any nicks, scratches, or chips on the exterior of your appliance. This paint is white in color, and provides a durable finish.
This ice maker bin temperature sensor is a precision component designed to monitor and regulate the temperature within the ice storage compartment of select refrigerators. By continuously detecting temperature levels, it communicates real-time data to the appliance’s electronic control board, helping to optimize ice production and prevent...Read more issues such as excessive melting or overfilling. Constructed for reliability, this genuine OEM part is compatible with a range of models from Whirlpool, KitchenAid, Maytag, and other affiliated brands. Proper installation ensures consistent ice quality and efficient operation—model verification is recommended prior to purchase.
Appliance spray paint is a great way to cover up any chips and scratches that have appeared on your appliances. Instead of replacing the part entirely, this is an easy fix. This is also a great way to give a fresh new look to any handles or areas that have discoloring due to wear. Make sure to clean the area before you begin and wear a pr...Read moreotective mask for safety. Give the can a good shake and spray a few inches away from the surface. Apply the paint until the area is fully covered as desired. Wait until the paint has dried before using the appliance.
This is a condenser fan motor for your refrigerator/freezer. This fan motor is most commonly used with frost-free refrigerators with a condenser coil. It controls the rotation of the condenser fan blade. When the compressor runs, so does this fan, circulating air through the refrigerator grille, cooling the compressor and condenser coils....Read more This fan motor also helps to evaporate excess water in the drain pan. This model is all white in color, and is roughly 4 inches long, 3 inches wide, and 3.5 inches thick.
This water inlet valve supplies water to the ice maker, allowing it to fill the reservoir and produce ice. If your ice maker is not filling correctly or is experiencing water flow issues, replacing this valve may resolve the problem. Always disconnect power and water supply before installation and verify compatibility with your model.
Ask our experts a question about this model and we'll get back to you as soon as possible!
We may have answered a similar question already! Search questions and answers left by others using simple keywords like "fit", "broken", "easy", or "quality" to find questions that match.
Search filter:
Clear Filter
Your search term must have 3 or more characters.
Sort by:
Prev
1
Next
Sorry, we couldn't find any existing answers that matched.Try using some different or simpler keywords, or submit your new question by using the "Ask a Question" button above!
Christopher - For model number KUIX535HPS00
March 29, 2022
My ice maker will start to fill up the ice tray with water but will not stop when full. Water will overflow and start filling the ice bin and then overflow out the front of the ice maker. The pump that pumps the melted ice works but when it is filling the ice trays it will not pump the water spilling into to ice bin. Can you please advise what may be wrong?
Hello Christopher, Thank you for the question. This could be an indication the Water Inlet Valve is not closing properly and allowing too much water through and over filling. We suggest testing the Valve. Set your multitester to the R X 1 ohms setting to test for continuity. Place each of the multitester's leads on a terminal. Your multitester should display a reading between 200 and 500 ohms. Closely examine your water inlet valve. The exact ohm resistance rating you should test for may be marked on the valve. If you need help placing an order, customer service is open 7 days a week. Please feel free to give us a call. We look forward to hearing from you!
Hello Frederick, Thank you for your inquiry. We have researched the model number you have provided and we would recommend checking the following parts to fix your issue: the transformer, the wiring and the control boards. You can test the transformer with a multimeter, and check the boards for any visible damage or loose connections, and check the harness for any visible damage or loose connections. Good luck with your repair.
doesn’t do anything, light on inside when door is open but that’s it
Hello Brandon, thank you for contacting us. We would recommend checking the start relay, part number PS11739742. If this does not help, the issue is most likely related to the electronic control board, part number PS12346592. Customer service is available 7 days a week if you require assistance placing an order. Thanks again for reaching out!
I am looking for a new filter but also the cap that goes on it. Can you help?
Hi Alison,
Thank you for your question. The part number listed under your model number for the water filter is PS8759230. We have a current promotion for our water filters. If you subscribe to receive one every 3, 6 or 12 months, we will provide you with free shipping on all your water filter shipments. The part number for the water filter cap is PS12232005. If you need help placing an order for these parts, customer service is open 7 days a week and anyone will be happy to assist you. Please feel free to give us a call. We look forward to hearing from you!
See how others fixed this model. Time, tools, difficulty, and steps that lead to victory!View More
Search repair tips from other customers using simple keywords like "replace", "fit", "remove", "inspect". DIY doesn't mean you have to do it alone!
Search filter:
Clear Filter
Your search term must have 3 or more characters.
Door switch module wore out
40 of 55 peoplefound this instruction helpful.
Fred from Oceanport, NJ
Easy
Less than 15 mins
Pliers
Pull out old module... Remove 2 wires... Tape to inside wall [don't want them to fall down into side panel]..
Order new switch..
Fed Ex pkg came on 2nd day..
Install wires on switch... Press into opening... Check door light on..[OK] .. Done
Was this helpful?
Thank you for voting!
Water not refilling after initial batch of ice
18 of 19 peoplefound this instruction helpful.
Jonathan from WILLIAMSBURG, VA
A Bit Difficult
30 - 60 mins
Nutdriver, Screw drivers
The water filled on startup (actually over-filled, which was a clue). After that water was used to make ice, no new water came in so the recirculation pump just made whining noises in the mostly empty reservoir. Since water could come in (on start up) I reasoned it wasn't the water inlet valve, and everything else suggested the ice maker
... Read more was getting inaccurate info about how much water was in the reservoir. Turns out, the water recirculation pump has a water level sensor built in. So while the pump itself still functioned, the water level sensor inside had gone bad. Replacing the pump fixed the issue. There are videos online that show how to accomplish that, but it was pretty straight-forward. The dis-assembly was sometimes irritating because it's hard to see and maneuver around inside. It'll help if you put the machine closer to eye level. Pay close attention to videos that show the disassembly because there are a couple of tabs that are hard to find.
Read less
Was this helpful?
Thank you for voting!
Ice bin overfilling
16 of 21 peoplefound this instruction helpful.
Travis from N CHESTERFLD, VA
Very Easy
Less than 15 mins
Nutdriver
I'm an hvac/r technician, and regularly work on ice machines. Begin my pulling the white over beneath the control panel. It snaps in place so pull on the bottom then left out. 1/4 nut driver is all you need, and remove the screw holding the bin thermistor clip to the side. Up to the right , beneath the control panel, behind the plasti
... Read morec panel you previously removed is the mollex connector. Unplug the thermistor and follow instructions in reverse to reinstall.



 My Orders