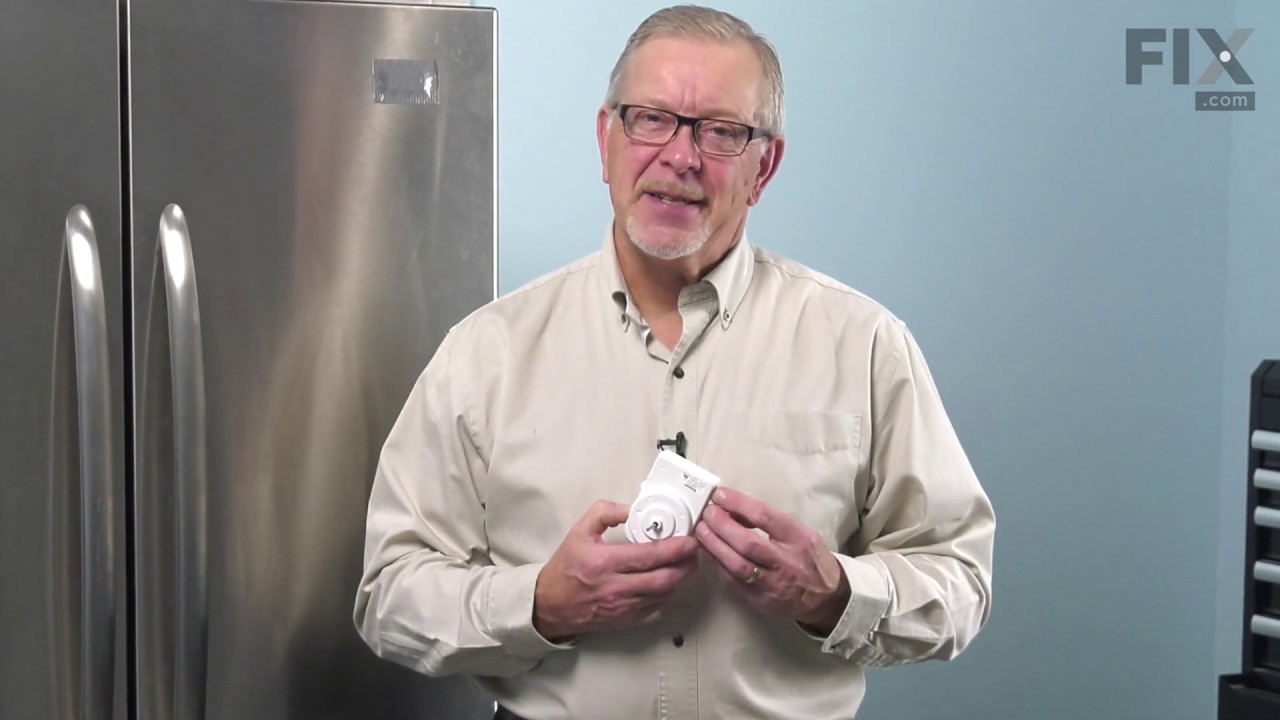
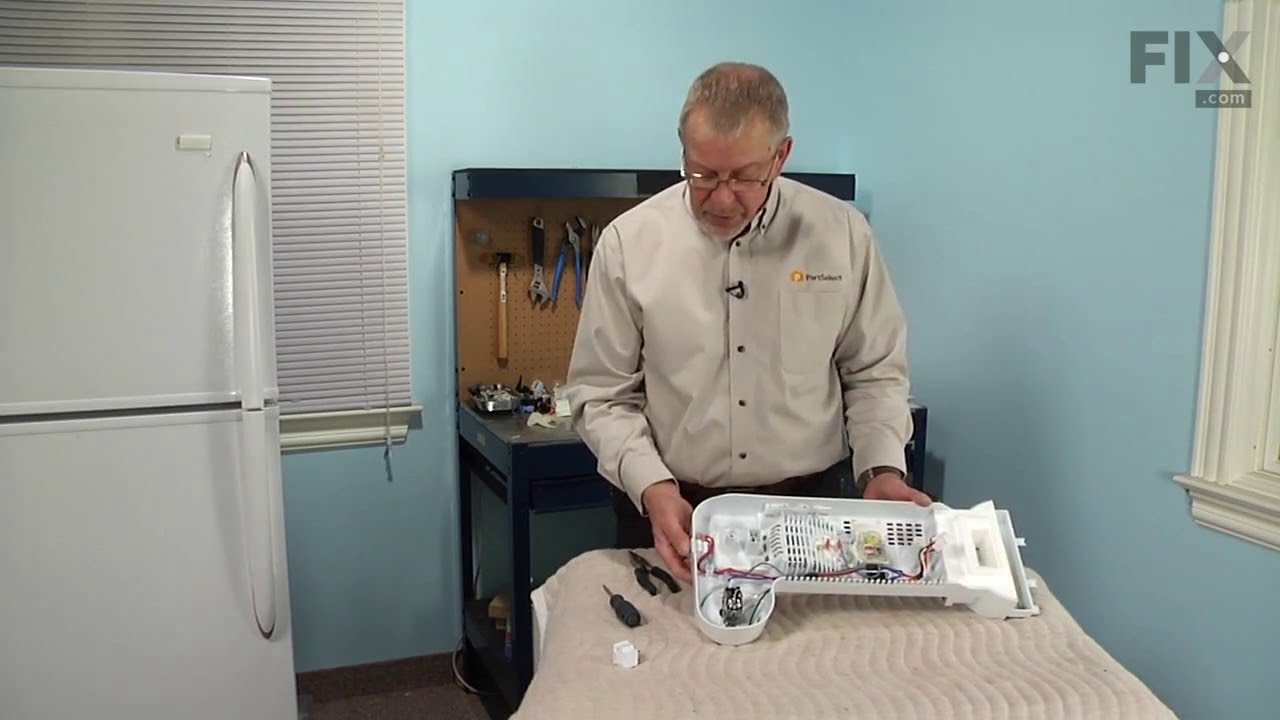
This genuine OEM replacement part is a water filter for your fridge or freestanding ice maker. The filter is used to remove contaminants and particles from the water, to ensure a clean and fresh taste. The filter should be replaced every six to nine months, or after 2000 gallons of water have passed through, whichever occurs first.
This is a light switch for your refrigerator. It activates when the door of your appliance is opened, and it will turn the light inside on and off. You will need to replace this part is if your light is not working properly. In order to make this repair you will need a Phillips screwdriver, a pair of needle nose pliers, and a small flat b...Read morelade screwdriver. This light switch is almost 2 inches long, 1.5 inches wide, and just over an inch thick.
This ice maker bin temperature sensor is a precision component designed to monitor and regulate the temperature within the ice storage compartment of select refrigerators. By continuously detecting temperature levels, it communicates real-time data to the appliance’s electronic control board, helping to optimize ice production and prevent...Read more issues such as excessive melting or overfilling. Constructed for reliability, this genuine OEM part is compatible with a range of models from Whirlpool, KitchenAid, Maytag, and other affiliated brands. Proper installation ensures consistent ice quality and efficient operation—model verification is recommended prior to purchase.
This is a condenser fan motor for your refrigerator/freezer. This fan motor is most commonly used with frost-free refrigerators with a condenser coil. It controls the rotation of the condenser fan blade. When the compressor runs, so does this fan, circulating air through the refrigerator grille, cooling the compressor and condenser coils....Read more This fan motor also helps to evaporate excess water in the drain pan. This model is all white in color, and is roughly 4 inches long, 3 inches wide, and 3.5 inches thick.
This water inlet valve supplies water to the ice maker, allowing it to fill the reservoir and produce ice. If your ice maker is not filling correctly or is experiencing water flow issues, replacing this valve may resolve the problem. Always disconnect power and water supply before installation and verify compatibility with your model.
This ice maker reservoir drain pump assembly is designed to efficiently remove excess water from the reservoir, ensuring proper drainage and preventing leaks or water accumulation. Activated after the defrost cycle or flushing protocol, the pump expels residual water to maintain internal dryness and support optimal cooling performance. It...Read mores role in preventing pooling helps protect the appliance from potential water damage and contributes to consistent ice production. Constructed for reliable operation, this component is essential for maintaining the overall functionality of the ice machine and is suitable for select models. Replacing a faulty pump can restore proper drainage and prevent operational issues caused by excess moisture.
Ask our experts a question about this model and we'll get back to you as soon as possible!
We may have answered a similar question already! Search questions and answers left by others using simple keywords like "fit", "broken", "easy", or "quality" to find questions that match.
Search filter:
Clear Filter
Your search term must have 3 or more characters.
Sort by:
Prev
1
Next
Sorry, we couldn't find any existing answers that matched.Try using some different or simpler keywords, or submit your new question by using the "Ask a Question" button above!
Julia - For model number KUID308HPS02
July 10, 2026
My Ice maker is making thin ice. It states to order cleaner. Where do I find it and how do I clean it?
Hello Julia, thank you for the question. Thin ice is a sign of mineral scale buildup on the evaporator plate, which prevents proper heat transfer during the freezing cycle. Running a clean cycle with the correct cleaner will resolve this. The recommended cleaner for your unit is part number PS12583750. To run the clean cycle, press the On/Off button to turn the ice maker off and wait 5 to 10 minutes for any remaining ice to drop, then scoop all ice out of the bin. Unscrew the drain cap from the bottom of the water reservoir to drain it completely and replace the cap. Pour one full 16 oz bottle of Affresh cleaner into the reservoir, then refill the empty bottle twice with plain tap water and add both to the reservoir. Press the Clean button, the cycle will run automatically for approximately 70 minutes. Once complete the clean light will turn off, drain the reservoir again, replace the cap, and press On/Off to resume normal operation. Discard the first 2 to 3 batches of ice after cleaning to fully flush any remaining solution before use. We hope this is what you were looking for!
See how others fixed this model. Time, tools, difficulty, and steps that lead to victory!View More
Search repair tips from other customers using simple keywords like "replace", "fit", "remove", "inspect". DIY doesn't mean you have to do it alone!
Search filter:
Clear Filter
Your search term must have 3 or more characters.
Door switch module wore out
40 of 55 peoplefound this instruction helpful.
Fred from Oceanport, NJ
Easy
Less than 15 mins
Pliers
Pull out old module... Remove 2 wires... Tape to inside wall [don't want them to fall down into side panel]..
Order new switch..
Fed Ex pkg came on 2nd day..
Install wires on switch... Press into opening... Check door light on..[OK] .. Done
Was this helpful?
Thank you for voting!
Water not refilling after initial batch of ice
18 of 19 peoplefound this instruction helpful.
Jonathan from WILLIAMSBURG, VA
A Bit Difficult
30 - 60 mins
Nutdriver, Screw drivers
The water filled on startup (actually over-filled, which was a clue). After that water was used to make ice, no new water came in so the recirculation pump just made whining noises in the mostly empty reservoir. Since water could come in (on start up) I reasoned it wasn't the water inlet valve, and everything else suggested the ice maker
... Read more was getting inaccurate info about how much water was in the reservoir. Turns out, the water recirculation pump has a water level sensor built in. So while the pump itself still functioned, the water level sensor inside had gone bad. Replacing the pump fixed the issue. There are videos online that show how to accomplish that, but it was pretty straight-forward. The dis-assembly was sometimes irritating because it's hard to see and maneuver around inside. It'll help if you put the machine closer to eye level. Pay close attention to videos that show the disassembly because there are a couple of tabs that are hard to find.
Read less
Was this helpful?
Thank you for voting!
Ice bin overfilling
16 of 21 peoplefound this instruction helpful.
Travis from N CHESTERFLD, VA
Very Easy
Less than 15 mins
Nutdriver
I'm an hvac/r technician, and regularly work on ice machines. Begin my pulling the white over beneath the control panel. It snaps in place so pull on the bottom then left out. 1/4 nut driver is all you need, and remove the screw holding the bin thermistor clip to the side. Up to the right , beneath the control panel, behind the plasti
... Read morec panel you previously removed is the mollex connector. Unplug the thermistor and follow instructions in reverse to reinstall.



 My Orders