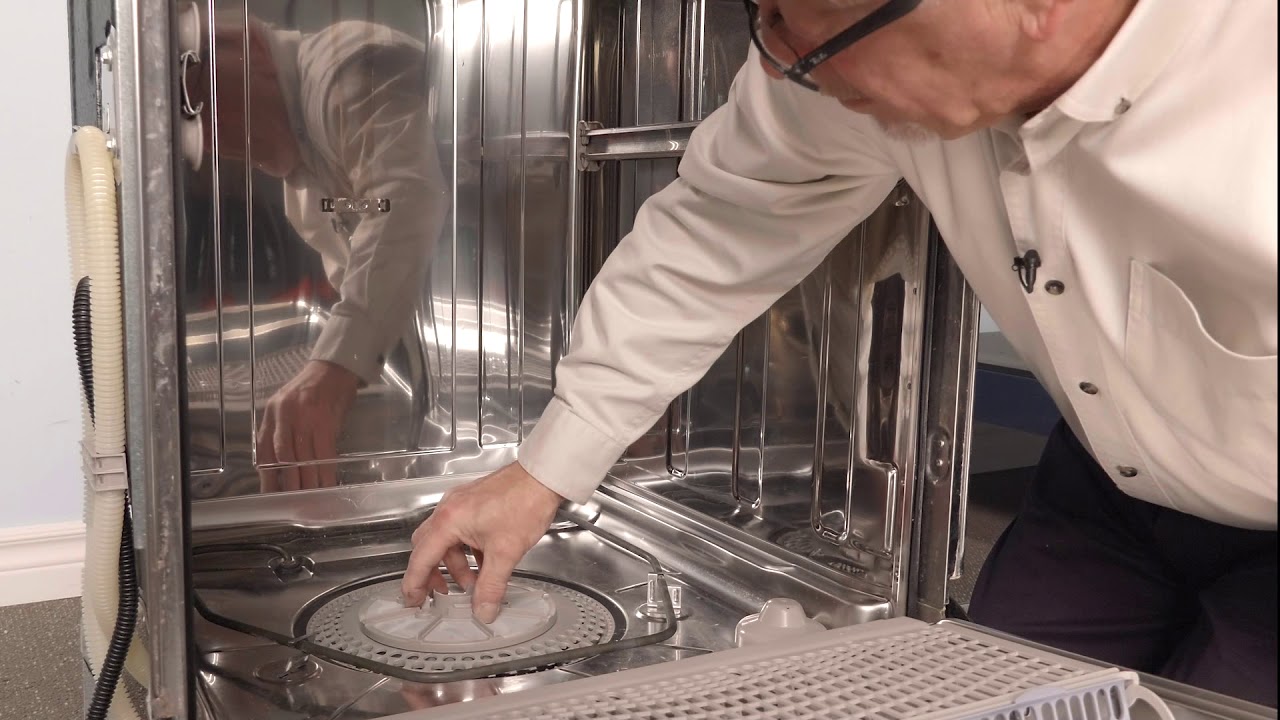
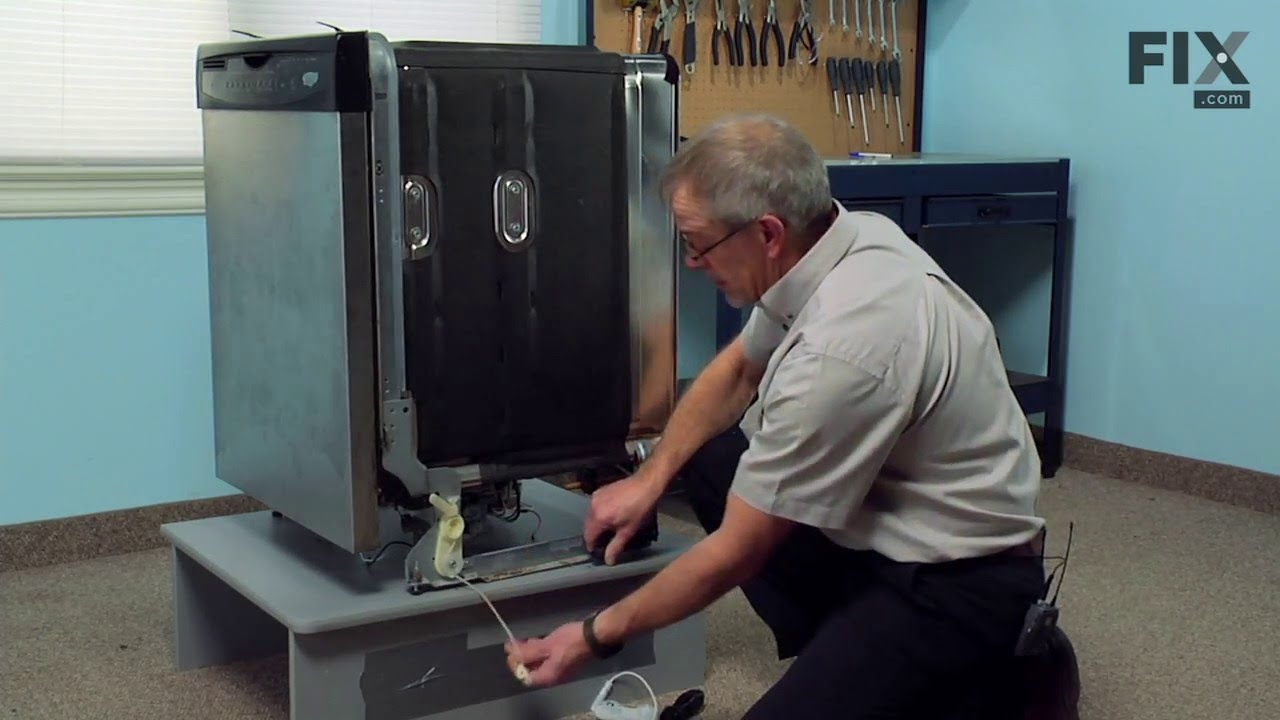
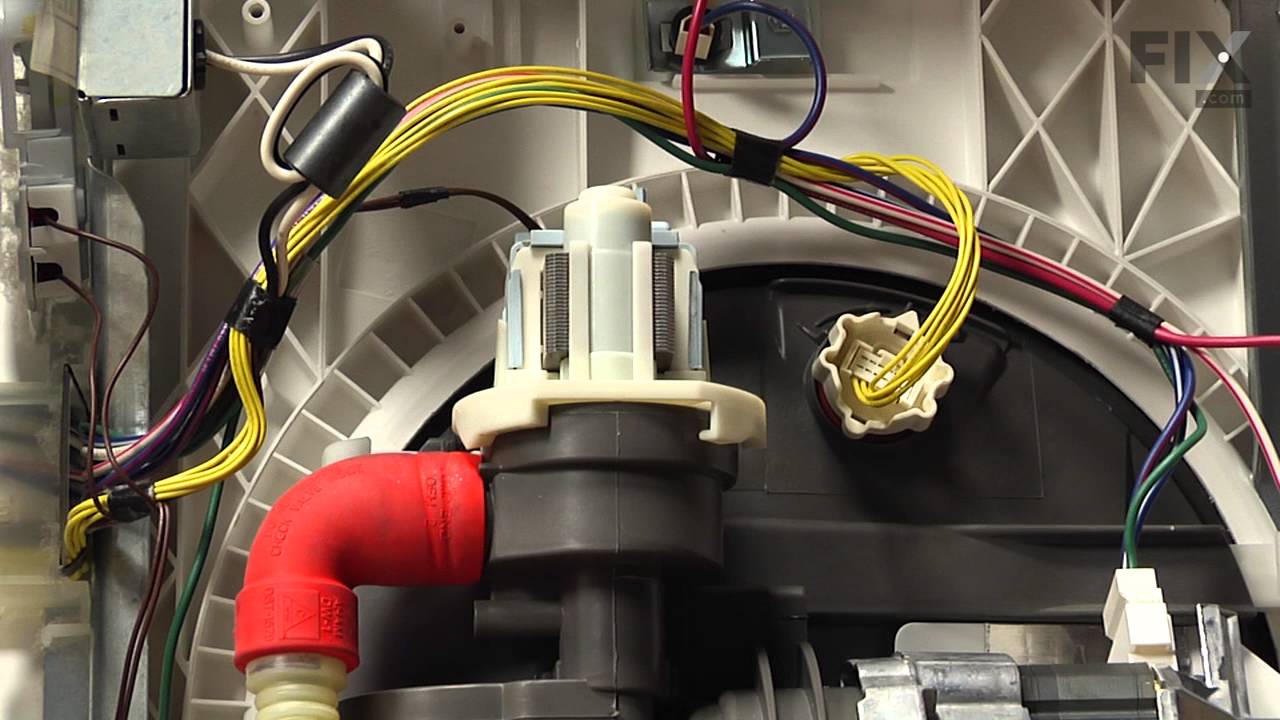
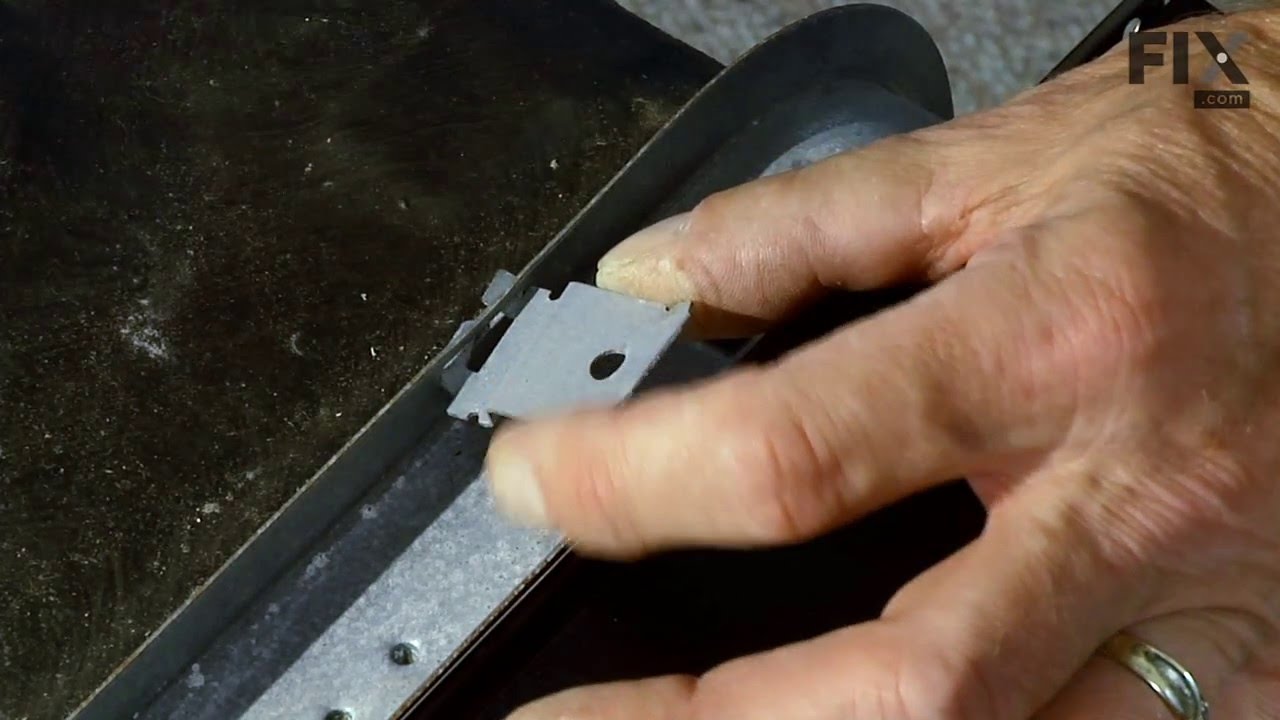
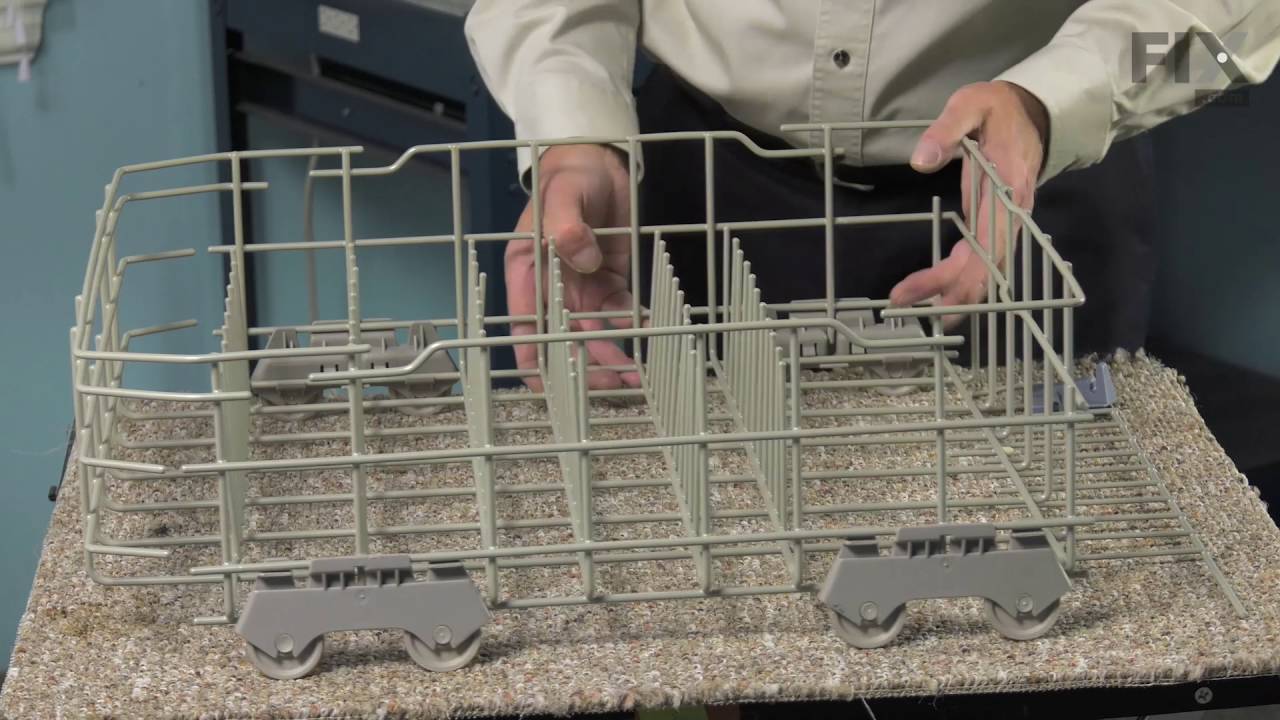
The rack track stop on your dishwasher is designed to stop the dish rack at the appropriate place when opening and closing the rack. If your dishwasher is not cleaning your dishes properly, the rack stop may need to be replaced. The replacement part may differ slightly from the broken part, depending on the model. However, the different s...Read moretyles are interchangeable. This product is sold individually and comes in both a white and grey plastic version. Many of our customers found this repair to be very easy and takes less than 30 minutes to complete. Simply snap the old part out and snap the new part into place. You will not require any tools to complete the job. This is an authentic part approved by the manufacturer.
This part is a door balance link kit, also sometimes known as door cable or door spring cable kit, that helps support the door as it opens and closes by connecting to the dishwasher door hinges. The kit includes two door balance links and two door balance mounts with wheels, which will replace both the left and right sides. The only tool ...Read moreneeded is a 5/16 nut driver. Before removing the existing kit, take note of how the door balance link kit is assembled for a smooth replacement process. It is recommended to check the door springs in case they need to be replaced as well.
The mounting bracket is sold individually, without screws. This part secures the upper side of the dishwasher to the underside of the counter or cabinet to prevent the dishwasher from moving, shaking, or tilting forward. The bracket is made entirely of metal. It is recommended to check all brackets, if applicable, because they often wear ...Read moreat the same rate and both may need to be replaced. This is an OEM part that is sourced from the authentic manufacturer. Tools needed are a pair of needle nose pliers and a screwdriver.
This is a manufacturer-approved replacement silverware basket for your dishwasher. To replace this part simply remove the existing basket from it's locking tabs and fit the new one into place. To keep the basket it good condition, be careful when placing utensils in the basket and removing it to unload.
This is a chopper assembly or drain food chopper, and it is designed for your dishwasher. The chopper chops up/minces the food particles in your dishwasher to prevent them from clogging the pump. You may need to replace this part if your dishes are not being cleaned properly, your appliance is particularly noisy, or you are noticing drain...Read moreing problems. The tools you will need to make this repair include a number 20 and a number 15 torque screwdriver, a small flat blade screwdriver, and a pair of needle nose pliers.
This dishwasher water inlet valve is a single-coil solenoid component responsible for regulating the flow of water into the appliance. It ensures the correct amount of water is delivered during each cycle, supporting optimal cleaning performance and preventing issues such as underfilling, overfilling, or leaks. By electronically opening a...Read morend closing based on the cycle’s requirements, the valve helps maintain proper water pressure and temperature balance. Replacing a faulty valve can resolve symptoms like the dishwasher not filling, leaking, or failing to clean effectively. This component is engineered for durability and consistent operation.
This part is used as a safety device to protect the dishwasher circuit from overload. If the temperature gets to high it will shut off the electrical current to the heating unit in the appliance. Also known as Thermal Fuse.
This drain pump is used in dishwashers to remove water from the dishwasher tub. If the impeller in the dishwasher is damaged or the motor has been shorted out and will not drain, it is possible the body is cracked, causing leakage. To prevent this from happening, replace the drain pump. The tools needed for this installation are: Phillips...Read more screwdriver, 5/16 inch nut driver, 5/8 inch wrench, and a flathead screwdriver. Remember to unplug your dishwasher from the power source before beginning this installation project. Refer to the manual provided by the manufacturer for further installation instructions.
This is a door seal, but you may also know it as a door gasket and it is a part for your dishwasher. It provides a leak proof seal between the tub and the door of your appliance. You will need to replace the door seal if you are experiencing leaking from the front of your dishwasher. Once you have removed your old seal, we recommend inspe...Read morecting the groove to make sure there are no food particles or debris caught inside that will impede the installation process.
Ask our experts a question about this model and we'll get back to you as soon as possible!
We may have answered a similar question already! Search questions and answers left by others using simple keywords like "fit", "broken", "easy", or "quality" to find questions that match.
Search filter:
Clear Filter
Your search term must have 3 or more characters.
Sort by:
Prev
1
Next
Sorry, we couldn't find any existing answers that matched.Try using some different or simpler keywords, or submit your new question by using the "Ask a Question" button above!
Steve - For model number KUDL03IVBL0
December 13, 2019
The indicator light saying "normal wash" and the one saying "heavy duty" flash back and forth. If you hold down the button for "normal wash" you can get it to start but it will only run for a short time and then it shuts off and the light starts blinking again. Any ideas? Thanks
Hello Steve,
Thank you for your question. Our sources suggest replacing the electronic control board for your model under part PS11748221 to fix the issues. Hope this helps!
Start button will not work. Push cancel button runs like pumping out water. Press high temp and dry heat buttons will light all lights then will cylcle to wash and regular wash. Pump runs no water then will shut off. Tested water valve have voltage, tested bi metal fuse had 0.1. Thought would do diagnostics but cant fine anything on a diagnostic codes. Help
Hello Mike, Thank you for your inquiry. We have researched the model you have provided and we would recommend checking the following parts to fix your issue: the door switch, the main control board, the control panel with touchpad, and the circulation pump and motor. You can test the parts with a multimeter, and check the board and wiring for any visible damage. Good luck with your repair.
Does my model have a filter that needs to be cleaned?
Hello Cindy, Thank you for contacting us. We show there is an accumulator and filter on top of the sump assembly, part# PS897295. We have included a link to our video on how to access it. You can clean it with warm soapy water. We hope this helps you.
A utensil rack my silverware fall through the rack
Hello Carol, thank you for getting in touch. When silverware falls through the utensil rack, it's usually because the plastic grid has cracked or the slots are too wide for narrow handles. The easiest fix is to flip narrow utensils so the handles point up and the wide ends rest on the grid. Weave plastic zip-ties across the broken openings to form a tighter mesh, or cut a piece of plastic canvas (the kind used for cross-stitch) to fit the bottom both tolerate dishwasher heat and drain water fine. To fix it permanently, replace the entire utensil basket, part number WP8562043. We hope this helps.
See how others fixed this model. Time, tools, difficulty, and steps that lead to victory!View More
Search repair tips from other customers using simple keywords like "replace", "fit", "remove", "inspect". DIY doesn't mean you have to do it alone!
Search filter:
Clear Filter
Your search term must have 3 or more characters.
Replaced Hinge Link
636 of 690 peoplefound this instruction helpful.
Scott from Fort Lauderdale, FL
Easy
Less than 15 mins
Screw drivers
Pulled dishwasher from under counter, attached link to spring, hooked spring back into frame/chassis, threaded link through pulleys, attached other end of link onto door, reinstalled dishwasher under counter. All's well. Note-I purchased an extra link anticipating that the other one will fail. They're cheap enough.
Was this helpful?
Thank you for voting!
dishwasher not draining after wash cycle
492 of 561 peoplefound this instruction helpful.
Andrew from Alexandria, VA
Easy
Less than 15 mins
Screw drivers
Caviat: The actual repair is less than 15 minutes, but I spent a lot of time playing with it before I figured out it was that easy and fast. You don't need to remove the dishwasher from the counter to do this. And it will probably help to look at the new part closely so you can understand where the retainer clip is to press it and release
... Read more the old pump.
First remove the water from the dishwasher pan that would not drain with a wet/dry vac. Otherwise the water will all drain on the floor when you remove the pump. Then remove the two screws on the kickplate on the front of the unit below the door. Remove the kickplate/maintainence access cover. The drain pump is on the right about 8 inches in. Using two hands you grasp the drain pump with your right hand and use the left hand to push the retaining clip down. Then the drain pump will rotate 1/4 turn counterclockwise and can be removed without pulling the dishwasher out. There is likely to be some water leak out that was traped in the pump housing that you can not reach with the vac. Disconnect the wire. Connect the wire to the new pump, put it in place and 1/4 turn clockwise to install it. Replace the kickplate and you're done.
Read less
Was this helpful?
Thank you for voting!
Dishes on top rack of dishwasher were not being cleaned.
338 of 380 peoplefound this instruction helpful.
Bill from North Richland Hills, TX
Easy
30 - 60 mins
Pliers
1) Remove top and bottom dish baskets from the dishwasher, this will give you room to work. To remove top basket there are clips at the end of the slide rails. 2) Remove lower spray arm by unscrewing plastic screw, it should only be hand tight. 3) In order to remove the strainer cover, you will need to remove the plastic tube th
... Read moreat takes water to the middle and top spray arms. Unclip this tube from the top and middle clips and then work it out of the strainer assembly tube. Now you should be able to remove the tube at the bottom of the dishwasher by unscrewing it 1/4 turn. 4) Remove the strainer cover by unscrewing the 4 Torqs screws. 5) You will now see two smaller torqs screws that hold the hold the Chopper Assembly cover down. Take these two screws out and remove the two piece cover. 6) Pull out the broken Chopper Assembly, make sure you get all the pieces! 7) Install the new Chopper Assembly. Make sure that you install the Assembly with the small part of the screen towards the bottom of the housing. Also make sure you compress the spring as you install the part. I used a small pair of neddle nose pliers to compress the spring behind the screen in order to install the chopper assembly. 8) Put everything back together and make sure it works!



 My Orders