


 My Orders




KUDE60F KitchenAid Dishwasher - Overview
Models starting with KUDE60F
Click on the best match to narrow your results.
- KUDE60FVBL0 KitchenAid Dishwasher
- KUDE60FVBL1 KitchenAid Dishwasher
- KUDE60FVBL2 KitchenAid Dishwasher
- KUDE60FVBL3 KitchenAid Dishwasher
- KUDE60FVPA0 KitchenAid Dishwasher
- KUDE60FVPA1 KitchenAid Dishwasher
- KUDE60FVPA2 KitchenAid Dishwasher
- KUDE60FVPA3 KitchenAid Dishwasher
- KUDE60FVPA4 KitchenAid Dishwasher
- KUDE60FVSS0 KitchenAid Dishwasher
- KUDE60FVSS1 KitchenAid Dishwasher
- KUDE60FVSS2 KitchenAid Dishwasher
- KUDE60FVSS3 KitchenAid Dishwasher
- KUDE60FVWH0 KitchenAid Dishwasher
- KUDE60FVWH1 KitchenAid Dishwasher
- KUDE60FVWH2 KitchenAid Dishwasher
- KUDE60FVWH3 KitchenAid Dishwasher
- KUDE60FXBL0 KitchenAid Dishwasher
- KUDE60FXBL1 KitchenAid Dishwasher
- KUDE60FXBL2 KitchenAid Dishwasher
- KUDE60FXBL3 KitchenAid Dishwasher
- KUDE60FXBL4 KitchenAid Dishwasher
- KUDE60FXBL5 KitchenAid Dishwasher
- KUDE60FXPA0 KitchenAid Dishwasher
- KUDE60FXPA1 KitchenAid Dishwasher
- KUDE60FXPA2 KitchenAid Dishwasher
- KUDE60FXPA3 KitchenAid Dishwasher
- KUDE60FXSS0 KitchenAid Dishwasher
- KUDE60FXSS1 KitchenAid Dishwasher
- KUDE60FXSS2 KitchenAid Dishwasher
- KUDE60FXSS3 KitchenAid Dishwasher
- KUDE60FXSS4 KitchenAid Dishwasher
- KUDE60FXSS5 KitchenAid Dishwasher
- KUDE60FXWH0 KitchenAid Dishwasher
- KUDE60FXWH1 KitchenAid Dishwasher
- KUDE60FXWH2 KitchenAid Dishwasher
- KUDE60FXWH3 KitchenAid Dishwasher
- KUDE60FXWH4 KitchenAid Dishwasher
- KUDE60FXWH5 KitchenAid Dishwasher
Enter a part description. DIY Heroes keep it simple, eg. "belt" or "pump".
Search filter:
Clear Filter
Your search term must have 3 or more characters.

$33.95
In Stock
Lower Dishrack Wheel
Part #W10195416
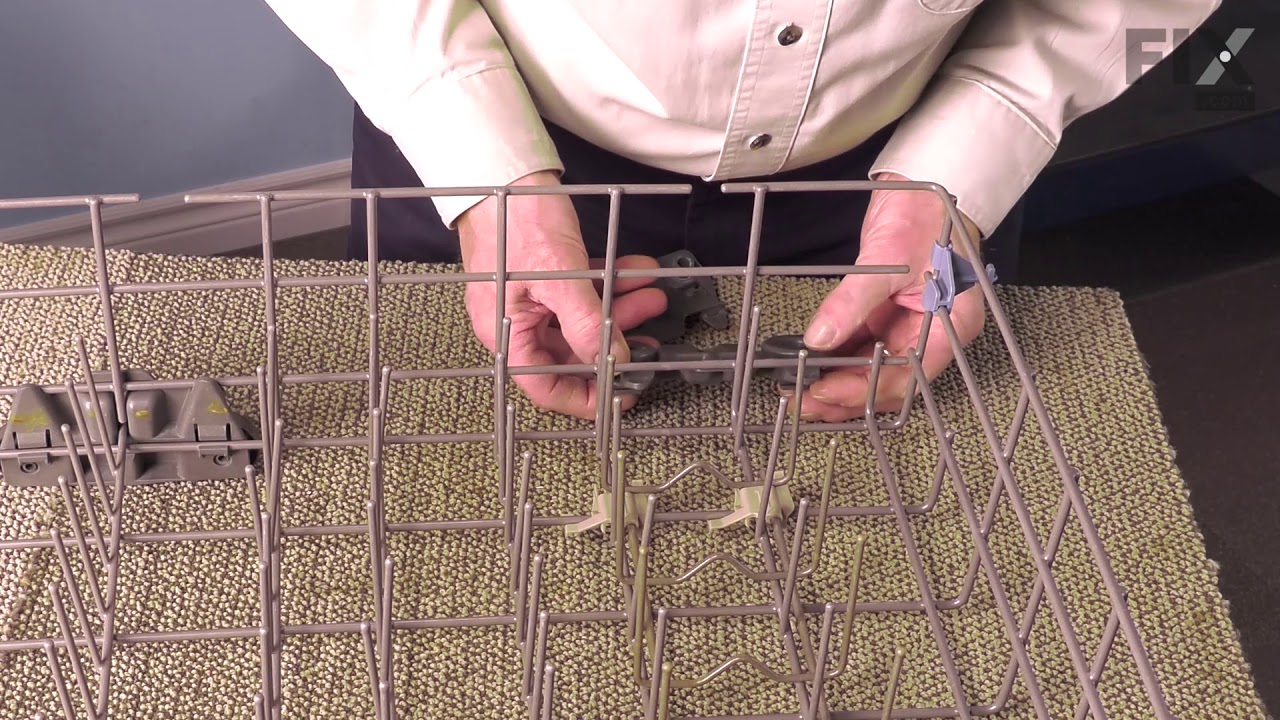
This OEM gray Dishwasher Lower Dishrack Wheel Assembly is a plastic kit that allows the rack to slide in and out of the dishwasher easily. If it breaks or becomes damaged. sliding will feel difficult. This can happen due to normal wear and tear, and the part should be replaced if this occurs. Check your model number and user manual to mak...Read moree sure this part is correct. It attaches directly to the dishrack. To repair, open the dishwasher door and pull out the lower dishrack. Next, push the tab from both sides and it should pop out. To install the new wheel assembly, place it on the rack and make sure the caps overlap the wire from the inside before you clip it in place by pushing the wheel. It measures roughly 3x6 inches.
Read less

$29.47
In Stock
Door Balance Link Kit
Part #8194001
This part is a door balance link kit, also sometimes known as door cable or door spring cable kit, that helps support the door as it opens and closes by connecting to the dishwasher door hinges. The kit includes two door balance links and two door balance mounts with wheels, which will replace both the left and right sides. The only tool ...Read moreneeded is a 5/16 nut driver. Before removing the existing kit, take note of how the door balance link kit is assembled for a smooth replacement process. It is recommended to check the door springs in case they need to be replaced as well.
Read less

$33.69
In Stock
Dishwasher Upper Rack Adjuster
Part #WPW10546503
This OEM Dishwasher Upper Rack Adjuster is a grayish-black, plastic part which will require a screwdriver to install. It fits onto the dishwasher rack and connects it to the track allowing it to slide in and out. If broken then the rack will no longer slide properly, and the part must be replaced. The installation has been rated as "easy...Read more" by customers. Before beginning any repair, you should unplug the dishwasher and wear gloves to protect your hands. Check your model number and user manual to see if this part is right for you! Your dishwasher should have a left and right upper rack adjuster, and both are the same part. These parts are sold individually, so if you are looking to replace both, you will need to order two parts.
Read less

$15.00
In Stock
Dishwasher Mounting Bracket
Part #WP8269145
The mounting bracket is sold individually, without screws. This part secures the upper side of the dishwasher to the underside of the counter or cabinet to prevent the dishwasher from moving, shaking, or tilting forward. The bracket is made entirely of metal. It is recommended to check all brackets, if applicable, because they often wear ...Read moreat the same rate and both may need to be replaced. This is an OEM part that is sourced from the authentic manufacturer. Tools needed are a pair of needle nose pliers and a screwdriver.
Read less

$9.62
In Stock
Dishwasher Tine Pivot
Part #WPW10082853
The tine pivot clip, also known as the tine row pivot, is used in dishwashers and is located in the upper dishrack. At around 3 inches in length, the clip is used to keep the tine row in place in the dishrack. If your clip is cracked or damaged, it is best to replace this part. To repair, first lift the release tab and hold the other side...Read more to prevent it from falling off. After lifting it off, you can set the new clip on the tine row and lock it up. Refer to the manual provided by the manufacturer for further installation instructions and guidance. Remember to wear work gloves as a safety precaution. This repair was rated as very easy by our customers and should be done in 15 minutes or less.
Read less

$78.33
In Stock
Dishwasher Silverware Basket Gray
Part #WPW10190415
The silverware basket is a holder for washing flatware or silverware in your dishwasher. Note: This part has been updated by the manufacturer, it may appear different but will still function the same. This basket is gray in color. To do this repair, open the dishwasher door and slide the bottom rack out. The new basket hooks onto the back...Read more rail of the dish rack. Tip: to prolong the life of your basket, keep the sharp end of your cutlery pointed up to prevent cutting through the bottom, and gently place them instead of dropping.
Read less

$48.45
In Stock
Dishwasher Positioner
Part #WPW10195840
Also known as rack adjuster. Sold individually.
This is an original part from KitchenAid, Kenmore, Whirlpool, Jenn-Air, and Maytag for use with Dishwashers. The dishrack adjuster arm positioner clip holds the adjuster arm in the right position on the dishrack. The most common reason for replacing the strap is if the rack will not stay i...Read moren its desired position. This part is sold individually. There are no tools needed to replace the positioner.
Read less

$78.26
In Stock
Dishwasher Silverware Basket
Part #WP8531288
This is a basket for washing flatware or silverware in your dishwasher. Basket only. Lids are not included.

$54.24
In Stock
Dishwasher Water Inlet Valve
Part #WPW10158389
This dishwasher water inlet valve is a single-coil solenoid component responsible for regulating the flow of water into the appliance. It ensures the correct amount of water is delivered during each cycle, supporting optimal cleaning performance and preventing issues such as underfilling, overfilling, or leaks. By electronically opening a...Read morend closing based on the cycle’s requirements, the valve helps maintain proper water pressure and temperature balance. Replacing a faulty valve can resolve symptoms like the dishwasher not filling, leaking, or failing to clean effectively. This component is engineered for durability and consistent operation.
Read less

$32.63
In Stock
Bi-Metal Fuse
Part #W10258275
This part is used as a safety device to protect the dishwasher circuit from overload. If the temperature gets to high it will shut off the electrical current to the heating unit in the appliance. Also known as Thermal Fuse.

$57.38
In Stock
Dishwasher Door Seal
Part #W11177741
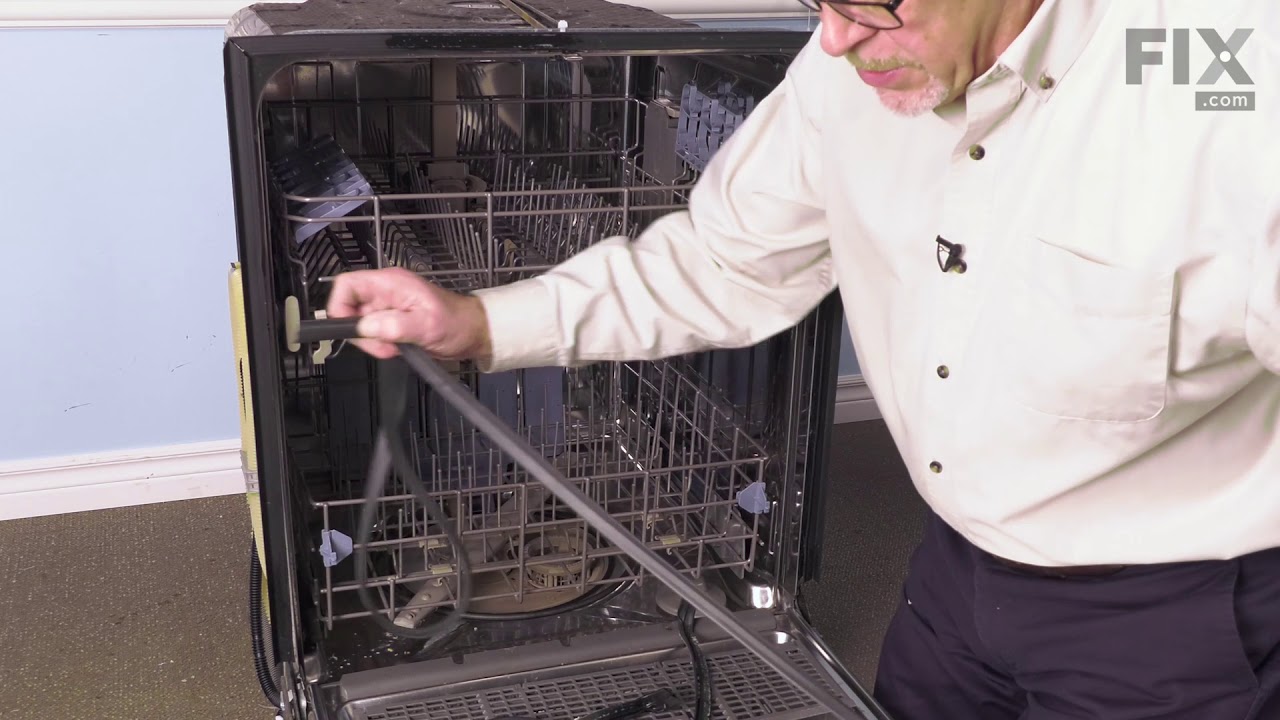
Prevent leaks and maintain optimal cleaning performance with this durable dishwasher door seal. It creates a secure barrier to keep water contained during wash cycles, ensuring reliable operation. Replace by removing the old seal and fitting the new one snugly around the door frame.

$48.45
In Stock
Dishwasher Drawer Track
Part #WPW10195623
This dishwasher drawer track, also known as a rack slider bar, is a genuine replacement component designed to support the upper dish rack and allow smooth sliding in and out of the dishwasher cavity. Constructed from durable materials, it ensures proper alignment and stability of the rack during loading and unloading. Over time, the track...Read more may become warped or damaged, leading to issues such as rack misalignment, jamming, or wheel detachment. Replacement is recommended when the rack no longer slides smoothly or shows signs of wear. Installation requires a flat blade screwdriver to remove the rear stop and access the track. Always disconnect power before servicing and verify model compatibility prior to purchase.
Read less
Common Symptoms of models starting with KUDE60F
How this model fails, and the parts that fix it.
Leaking
Fixed by
these parts
these parts


Show All
Door latch failure
Fixed by
these parts
these parts


Show All
Not cleaning dishes properly
Fixed by
these parts
these parts


Show All
Will Not Start
Fixed by
these parts
these parts


Show All
Not draining
Fixed by
these parts
these parts


Show All
Door won’t close
Fixed by
these parts
these parts


Show All
Not drying dishes properly
Fixed by
these parts
these parts


Show All
Will not fill with water
Fixed by
these parts
these parts


Show All
Will not dispense detergent
Fixed by
these parts
these parts


Show All
Noisy
Fixed by
these parts
these parts
Show All
Will not drain
Fixed by
these parts
these parts

Show All
Watch our pros, then fix it yourself.
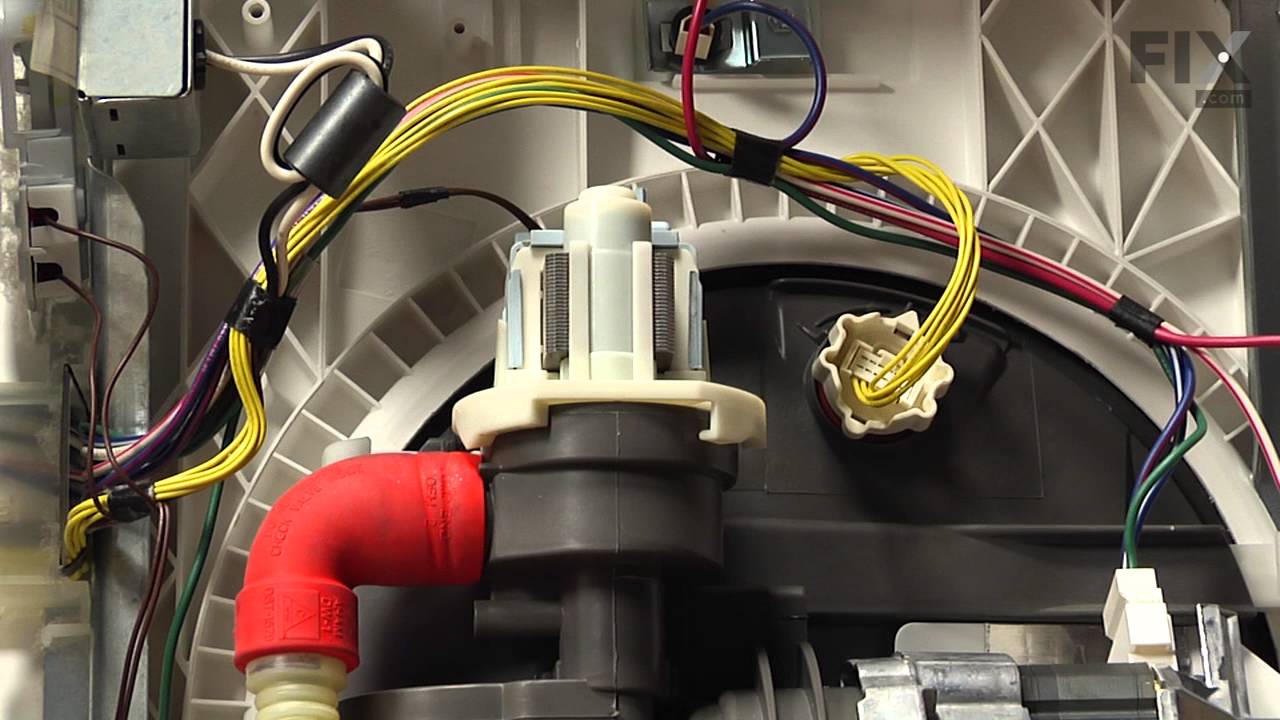
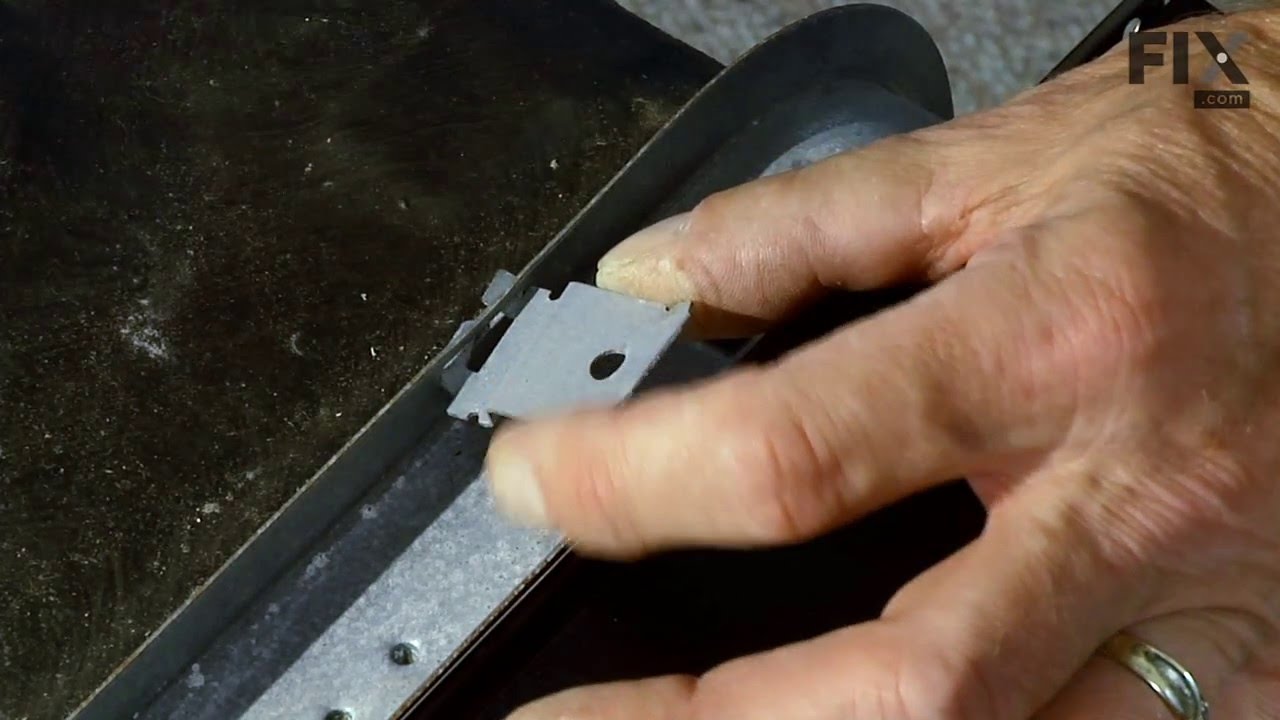
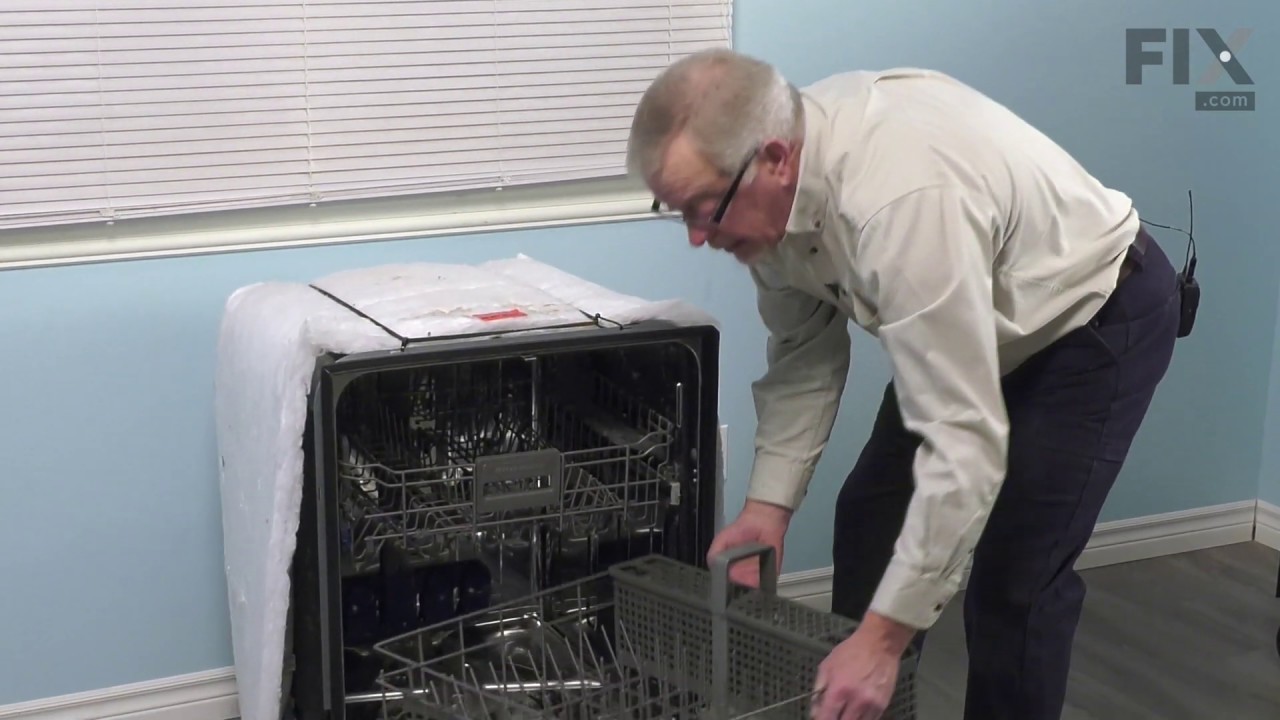

See how others fixed this model. Time, tools, difficulty, and steps that lead to victory!
View More