


 My Orders




KTM4829A Frigidaire Range - Overview

Enter a part description. DIY Heroes keep it simple, eg. "belt" or "pump".
Search filter:
Clear Filter
Your search term must have 3 or more characters.

$14.25
In Stock
Drip Bowl - 8"
Part #316048413
This chrome drip bowl is designed for use with electric cooktops and ranges. This drip bowl is sold individually. At the widest point this part has a diameter of approximately 10 inches. It sits beneath the surface burner element. It catches any drips or spills coming from the cookware on your burner. Because the cooktop is a high-traffic...Read more area of the kitchen, these bowls often get damaged, or get so dirty they can no longer be adequately cleaned. When replacing this part you need to remove the burner element. While you have it out we recommend inspecting the terminals and the element for any corrosion, arcing, or discoloration. Any of those things could be a sign of a bigger problem, and it indicates that the element and terminal block should be replaced.
Read less

$13.15
In Stock
Chrome Drip Bowl - 6"
Part #316048414
The drip bowl catches grease and spills that come from cooking on your stove top. They are located under the heating elements. Drip bowls are often neglected and can become rusted and cracked. If your drip bowl is damaged, it could allow grease, food, or other spills to drip inside your range. This could become a fire hazard. This 6 inch ...Read morechrome drip bowl fits most electric ranges. Before you replace your damaged drip bowl, make sure the element is turned off and cool to the touch. To replace the drip bowl, remove the element, replace the current drip bowl, and reattach the element. This part is sold individually.
Read less

$9.14
In Stock
Rear Drawer Glide
Part #3051163
If you are having trouble opening your drawer easily or it has been damaged/broken, replacing the rear drawer glide could be the solution. The glide attaches to the rear of the oven drawer and supports the sides of the drawer. This allows the drawer to slide in and out of range without difficulty. Only one tool is needed for this repair, ...Read morea flat blade screw driver. Make sure to unplug the oven and wear gloves before repair to protect hands in case range is not cooled before repairing. This an OEM part sourced directly from the manufacturer.
Read less

$15.20
In Stock
Terminal Block Kit
Part #5303935058
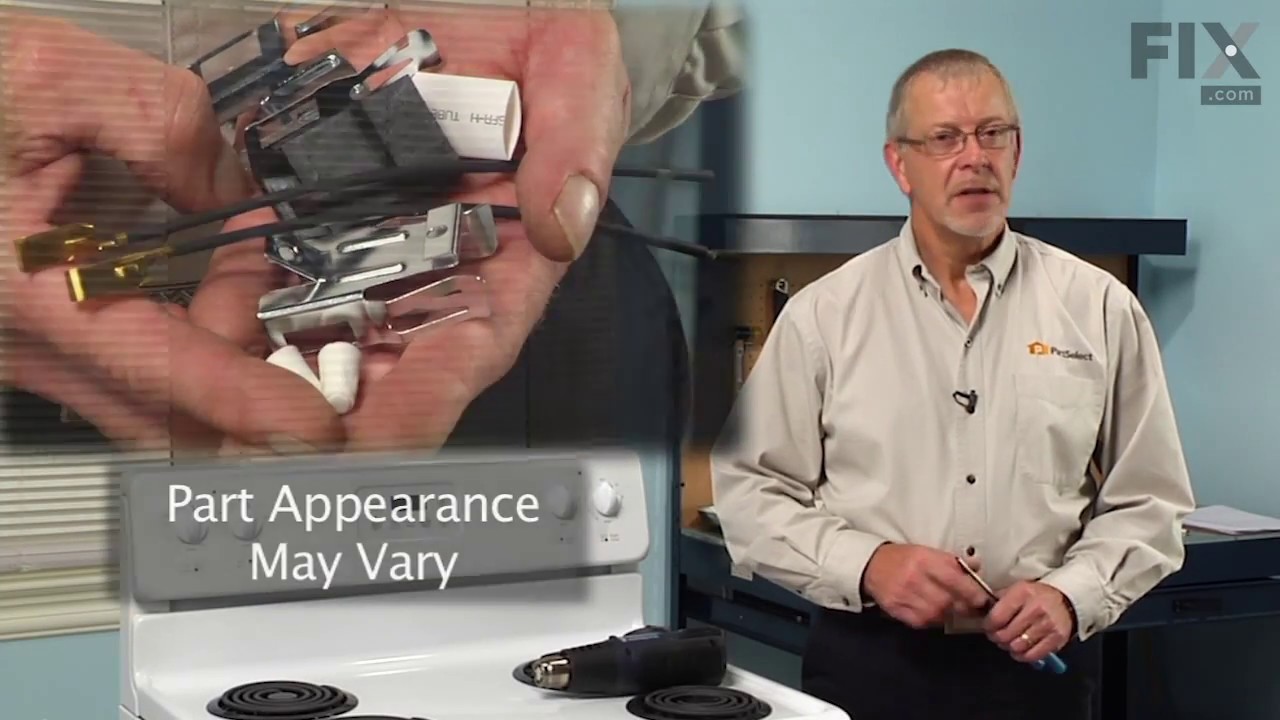
This part connects the wire harness to the surface element and is used for ranges. The kit includes interchangeable mounting brackets, ceramic wire nuts, heat shrink protective tubing, and wires. If your range/oven is having symptoms such as burner not heating, heating elements not working, burning smell, or if the oven is making a buzzin...Read moreg noise then this could be the solution. The tools needed to replace the kit are wire strippers, a heat gun or hair dryer, and #1 square heard screw driver. Refer to the installation/instructional video for further guidance to accurately replace the element.
Read less

$37.35
In Stock
Surface Element - 8 Inch - 220V
Part #316442300
If the burner element on your range will not heat up, or is damaged, it may need to be replaced. This part is 8 inches in diameter, and should not be confused with the smaller 6-inch model. The part is 220 Volts and 4 Turn. The burner element connects to the terminal block inside the range. To do this repair, simply remove the old surface...Read more element and replace it with the new part. This product is sold individually. As the surface element is hot when it is on, be sure to unplug the range from the power source before completing this repair.
Read less

$37.35
In Stock
Surface Element - 6 Inch
Part #318372210
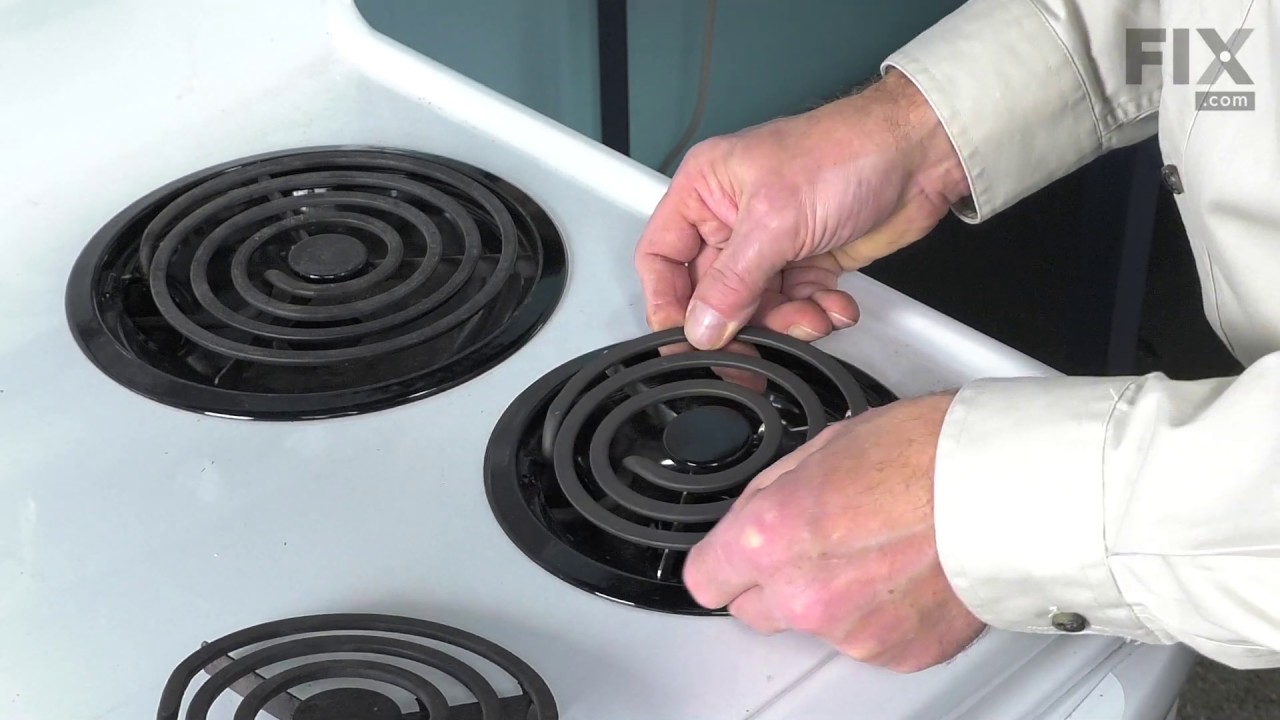
This part is sold individually. This is a part for your stove top. The surface element is what your cookware sits on. The element supplies heat at varying temperatures. This may need to be replaced if the coil has shorted out or the terminal block shorted, and this caused the connectors at the end to burn out. The element is set in place ...Read moreby springs. You will need to push the springs in to release the old element. Make sure the drip bowl is lined up with the terminal block and press the new element into place.
Read less

$40.60
In Stock
Main Terminal Block Kit
Part #5304409888
Terminal block kits are also known as terminal boards, or terminal strips, and they are found in a wide variety of household appliances. Most often in ranges, wall ovens, and dryers. This kit attaches the power cord to the inner wiring of your appliance. If the terminal block is faulty, your appliance will not get the power it needs to op...Read moreerate properly. When removing the old block pay close attention to the wire placement, this will make installing your new part much easier. If you notice any of the wires or wire terminals are corroded or damaged they will also need to be replaced.
Read less

$87.37
In Stock
Oven Rack
Part #316067902
Oven racks can become rusted or damaged from constant use, and need to be properly maintained and cleaned to keep them working properly. If you notice that your oven rack has been damaged or rusted, the rack should be replaced. This oven rack has two anchor points on either side to keep it stable and secure within the oven. This ensures t...Read morehat your food stays in place when baking, and allows you to remove pots and pans without the threat of the entire rack falling out in the process. This metal oven rack measures 16 inches long x 23 inches wide, and is sold individually.
Read less

$149.44
In Stock

No Longer Available
Clock Knob
Part #318036310
This is a clock knob for an electric range, oven, or stove. It allows you to adjust the clock and cooking timer. No tools are required for this repair, the knob simply pops on and off the turn shaft. It is recommended to check all knobs on your appliance before ordering. This part is approximately 1/2 inch in diameter, is made of plastic,...Read more and is black in color. It is sold individually. This knob is a genuine original manufacturer part.
Read less

No Longer Available

$115.30
Special Order
Oven Door Seal with Clips
Part #5303202011
Common Symptoms of the KTM4829A
How this model fails, and the parts that fix it.
Element will not heat
Fixed by
these parts
these parts


Show All
Door won’t close
Fixed by
these parts
these parts

Show All
Little to no heat when baking
Fixed by
these parts
these parts


Show All
Will Not Start
Fixed by
these parts
these parts
Show All
Little to no heat when broiling
Fixed by
these parts
these parts
Show All
Oven not heating evenly
Fixed by
these parts
these parts
Show All
Watch our pros, then fix it yourself.

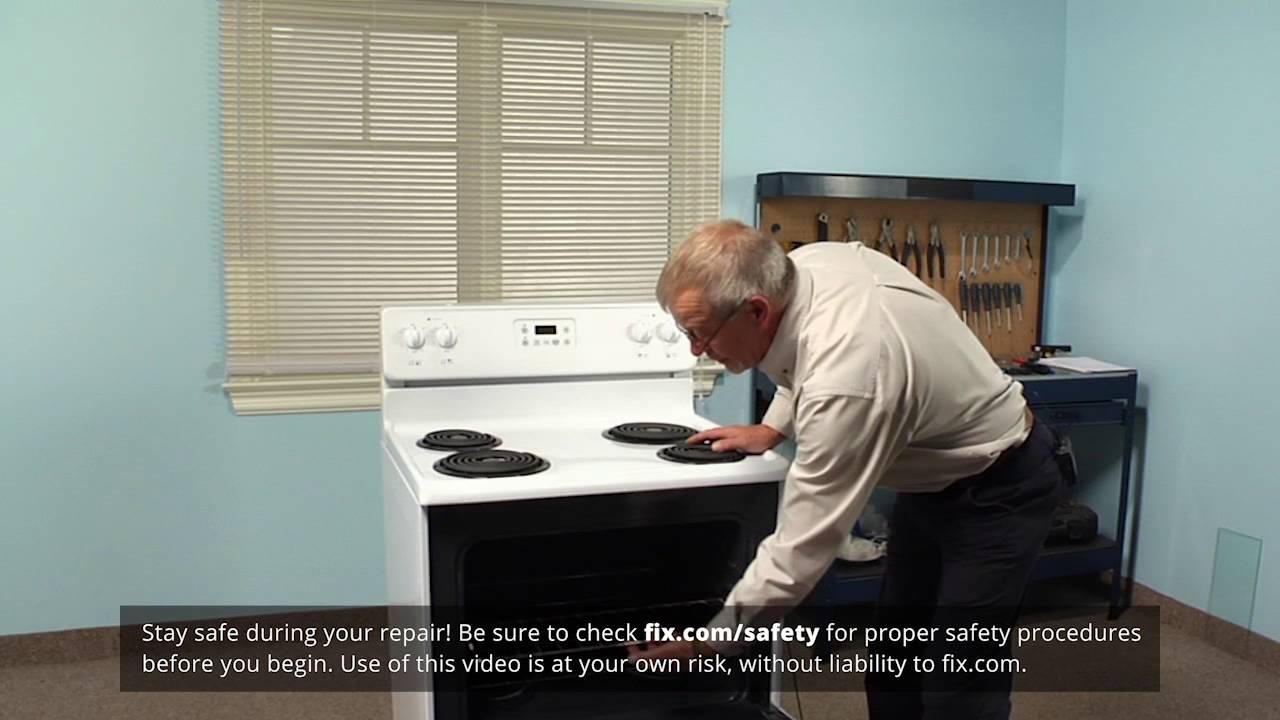
See how others fixed this model. Time, tools, difficulty, and steps that lead to victory!
View More