


 My Orders




KSSO3 KitchenAid Refrigerator - Overview
Models starting with KSSO3
Click on the best match to narrow your results.
- KSSO36FMX00 KitchenAid Refrigerator
- KSSO36FMX01 KitchenAid Refrigerator
- KSSO36FMX02 KitchenAid Refrigerator
- KSSO36FMX03 KitchenAid Refrigerator
- KSSO36FTX00 KitchenAid Refrigerator
- KSSO36FTX02 KitchenAid Refrigerator
- KSSO36FTX03 KitchenAid Refrigerator
- KSSO36FTX04 KitchenAid Refrigerator
- KSSO36FTX15 KitchenAid Refrigerator
- KSSO36FTX17 KitchenAid Refrigerator
- KSSO36FTX18 KitchenAid Refrigerator (36" SIDE BY SIDE BUILT IN REFRIGERATOR)
- KSSO36QMB00 KitchenAid Refrigerator
- KSSO36QMB01 KitchenAid Refrigerator
- KSSO36QMB02 KitchenAid Refrigerator
- KSSO36QMB03 KitchenAid Refrigerator
- KSSO36QMW00 KitchenAid Refrigerator
- KSSO36QMW01 KitchenAid Refrigerator
- KSSO36QMX01 KitchenAid Refrigerator (Built-in, 36")
- KSSO36QMX02 KitchenAid Refrigerator
- KSSO36QTB00 KitchenAid Refrigerator
- KSSO36QTB02 KitchenAid Refrigerator
- KSSO36QTB03 KitchenAid Refrigerator
- KSSO36QTB04 KitchenAid Refrigerator
- KSSO36QTX00 KitchenAid Refrigerator
- KSSO36QTX02 KitchenAid Refrigerator
- KSSO36QTX03 KitchenAid Refrigerator
- KSSO36QTX04 KitchenAid Refrigerator
Enter a part description. DIY Heroes keep it simple, eg. "belt" or "pump".
Search filter:
Clear Filter
Your search term must have 3 or more characters.

$79.33
In Stock
EveryDrop Water Filter
Part #EDR5RXD1
Enjoy cleaner water and ice with this easy-to-install refrigerator filter. It uses Triple Filtration Technology to reduce 16 common contaminants, so your drinks and meals taste better. For best results, swap it out every six months to keep your water fresh and safe.

$84.45
In Stock
Whirlpool EveryDrop3 Refrigerator Water Filter
Part #EDR3RXD1
This EveryDrop Filter3 is certified to reduce the most contaminants with Triple Filtration Technology. Now, you and your family can enjoy the enriching benefits of cleaner, freshly filtered ice & water. Not just in beverages, but for preparing meals, too. This advanced generation of ice and water refrigerator filters from EveryDrop Filter...Read mores are certified to reduce more contaminants with Triple Filtration Technology. Filter 5 reduces 16 contaminants, so you can feel reassured that you and your family are getting the most out of your water. Remember to replace your refrigerator filter every 6 months to maximize contaminant reduction.
Read less

$120.55
In Stock
Replacement Ice Maker
Part #4317943
This ice maker (Complete Icemaker Assembly, Whirlpool Icemaker Kit, Ice Maker Assembly, Refrigerator Ice Maker, Icemaker) receives water from the water inlet valve, freezes it, and dispenses it into the ice bucket until the bucket is full. Ice makers will need to be replaced every 3-10 years depending on the frequency of usage, and water ...Read morequality. You can perform a voltage test with a multimeter or perform an inlet valve test. If you’re unable to make ice, or notice leaks then it may be a sign your ice maker is damaged and could be in need of a replacement. This model measures approximately 11x5 inches, is constructed of plastic and metal, and comes in black/silver. This ice maker is a complete assembly; the whole assembly attaches to the wall of your freezer. ***NOTE: Ice maker does NOT come with the bail or shut off arm. You must order them separately if required. It does come complete with flat and round plug wiring harness, the mounting hardware, and the instructions. The harness can be reused. The ice maker will not fit refrigerators that have the ice auger mounted on the door.
Read less

$70.95
In Stock
Icemaker Control Assembly
Part #W10190935
The “Icemaker Control Assembly” (Module & Motor Assembly, Ice Maker Control Module, Icemaker Module, Refrigerator Ice Maker Module) is what controls the actions of your ice maker. The control turns the timing cams and the ejector blades. It controls most of the basic parts and functions such as the heater, water inlet valve, the cube size...Read more, and cube ejection. If your ice maker control is broken it can no longer properly control the ice maker functions. It may not produce any ice, make small ice cubes, or have intermittent operation. This can occur due to normal wear and tear. The icemaker control assembly is attached to the ice maker mold, and is under the white cover. Test the icemaker control assembly by using a multimeter. If this reveals the assembly to be defective, you will need to replace this part. It is approximately 4.25 inches square, beige, and is constructed of plastic and metal. This replacement part features one icemaker control assembly, including the control module and the motor.
Read less

$17.15
In Stock
Refrigerator Control Bracket
Part #WP2180226
This is a control bracket for your refrigerator, and may also be known as the dispenser control bracket. The function of this part is to hold the micro switches and the light socket in the freezer dispenser section in place. Its measurements are roughly 9 inches long and 5 inches high, and this model comes in white. The tools you will nee...Read mored in order to do this repair include a Phillips screw driver, a quarter-inch nut-driver, and a pair of needle-nose pliers. If your ice dispenser is not working properly, your bracket could be the problem.
Read less

$17.15
In Stock
Refrigerator Ice Guide
Part #WP2180224
This is a refrigerator ice guide that is made entirely of clear plastic. This ice guide is located in the freezer door. Turn your refrigerator ice dispenser off before replacing the part. This is a simple repair, and the only tool you will need is a small flat blade screwdriver to push on the pivot tab on the bottom of the ice guide. Do n...Read moreot worry about breaking the side or pivot tabs on your existing ice guide because it will be discarded anyway. This is a genuine manufacturer replacement part.
Read less

$35.80
In Stock

$30.53
In Stock

$34.74
In Stock
Refrigerator Bimetal Defrost Thermostat
Part #WPW10225581
If you have ice building up in your freezer, or if your freezer is getting too warm during the defrost cycle you may need to replace the bi-metal defrost thermostat. The function of the defrost bi-metal thermostat is to clip onto the evaporator and protect your evaporator from overheating during the defrost cycle. If your refrigerator doe...Read mores not defrost properly you can test both the thermostat and the heater to figure out which part is at fault. For this repair, you will need a Phillips screwdriver, a 1/4 inch nut driver, a flat blade screwdriver, a pair of wire strippers, a roll of electrical tape, and a few butt splice connectors.
Read less

$13.95
In Stock
Light Bulb - 120V 25W
Part #WPA3073101
This light bulb is a 120 volt, 25 watt incandescent appliance light bulb with a small base screw-in that fits in a variety of appliances such as microwaves, refrigerators, freezers, cooktops, or stoves. Its purpose is to light up the appliance when the door is open. This is a genuine OEM part. You may need to replace the light bulb if the...Read more existing bulb is burnt out or broken. This light bulb is sold individually and is a common wear part, it is recommended to order a spare.
Read less

$37.91
In Stock
Refrigerator Dispenser Overflow Grille
Part #WP2206670B
This grille is located on the bottom of the ice/water dispenser to catch the overflow. (Black)

No Longer Available
Ice Door Kit
Part #W10823377
In this kit you will find the support, the ice door, spring, and delay. The heater ribbon is no longer needed and therefore will not be included with this part. This kit works in the dispenser chute to let ice through when it is being dispensed. If you have the following symptoms such as: door sweating, difficulty opening or closing door,...Read more frost buildup, warm freezer section, or problems with ice dispensing, then this is a solution. The tools needed for this repair are a putty knife, needle nose pliers, and 1/4 inch nut driver. Wear work gloves to protect your hands when performing this repair.
Read less
Common Symptoms of models starting with KSSO3
How this model fails, and the parts that fix it.
Ice maker not making ice
Fixed by
these parts
these parts


Show All
Ice maker won’t dispense ice
Fixed by
these parts
these parts


Show All
Not dispensing water
Fixed by
these parts
these parts


Show All
Leaking
Fixed by
these parts
these parts

Show All
Light not working
Fixed by
these parts
these parts


Show All
Fridge too warm
Fixed by
these parts
these parts


Show All
Freezer not defrosting
Fixed by
these parts
these parts
Show All
Noisy
Fixed by
these parts
these parts


Show All
Ice maker dispenses too much ice
Fixed by
these parts
these parts


Show All
Freezer section too warm
Fixed by
these parts
these parts
Show All
Fridge too cold
Fixed by
these parts
these parts

Show All
Door Sweating
Fixed by
these parts
these parts

Show All
Frost buildup
Fixed by
these parts
these parts
Show All
Freezer too cold
Fixed by
these parts
these parts
Show All
Fridge and Freezer are too warm
Fixed by
these parts
these parts
Show All
Ice maker dispenses too little ice
Fixed by
these parts
these parts

Show All
Will Not Start
Fixed by
these parts
these parts


Show All
Door won’t open or close
Fixed by
these parts
these parts
Show All
Too warm
Fixed by
these parts
these parts
Show All
Fridge runs too long
Fixed by
these parts
these parts
Show All
Won’t start
Fixed by
these parts
these parts
Show All
Touchpad does not respond
Fixed by
these parts
these parts
Show All
Door latch failure
Fixed by
these parts
these parts

Show All
Watch our pros, then fix it yourself.
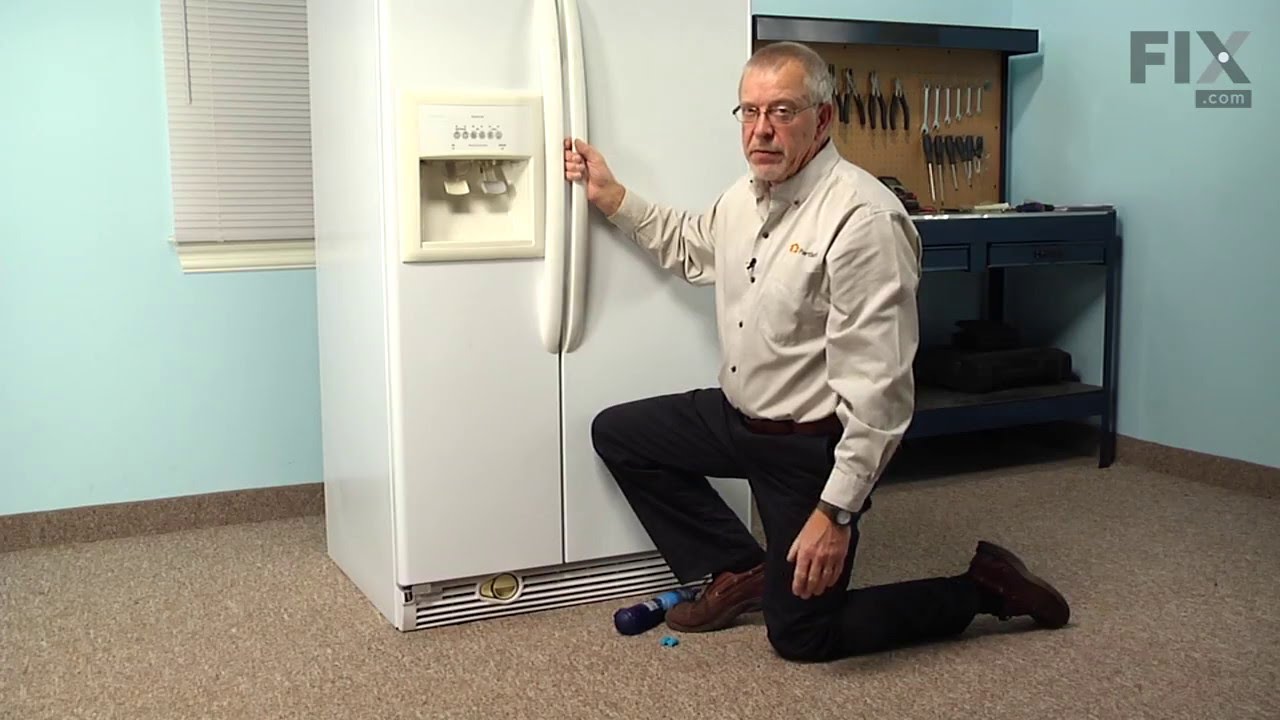
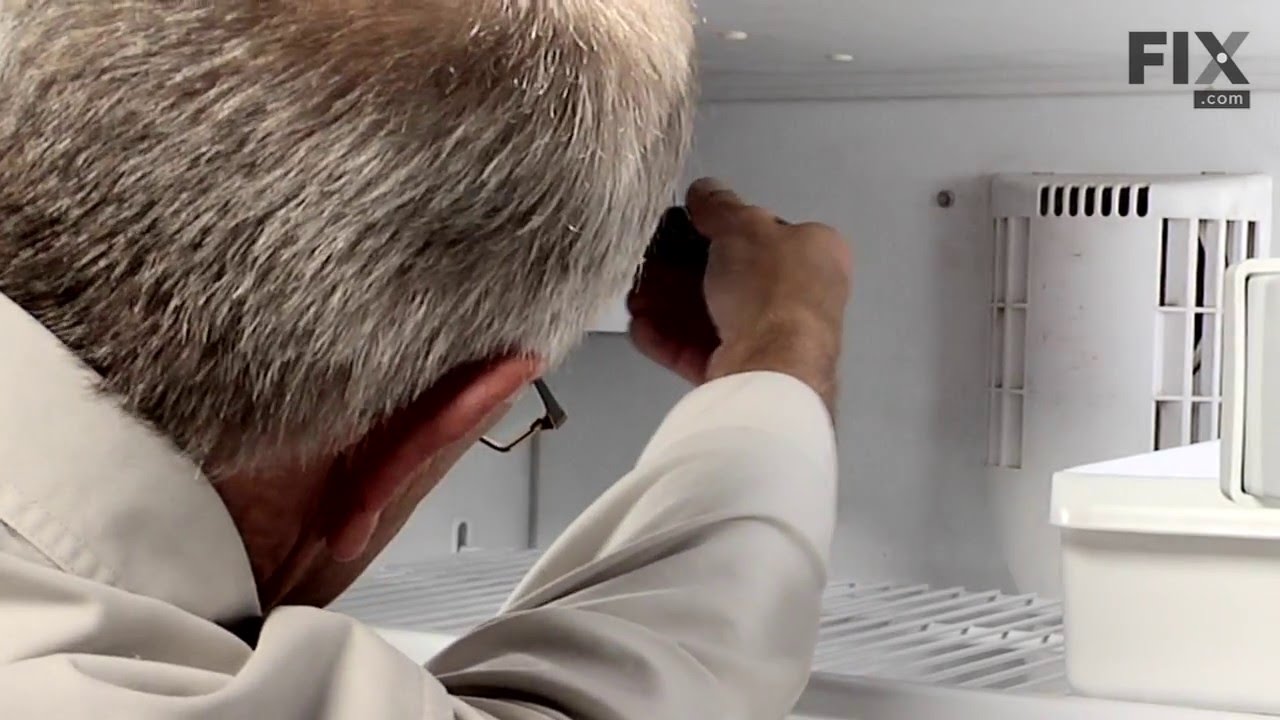

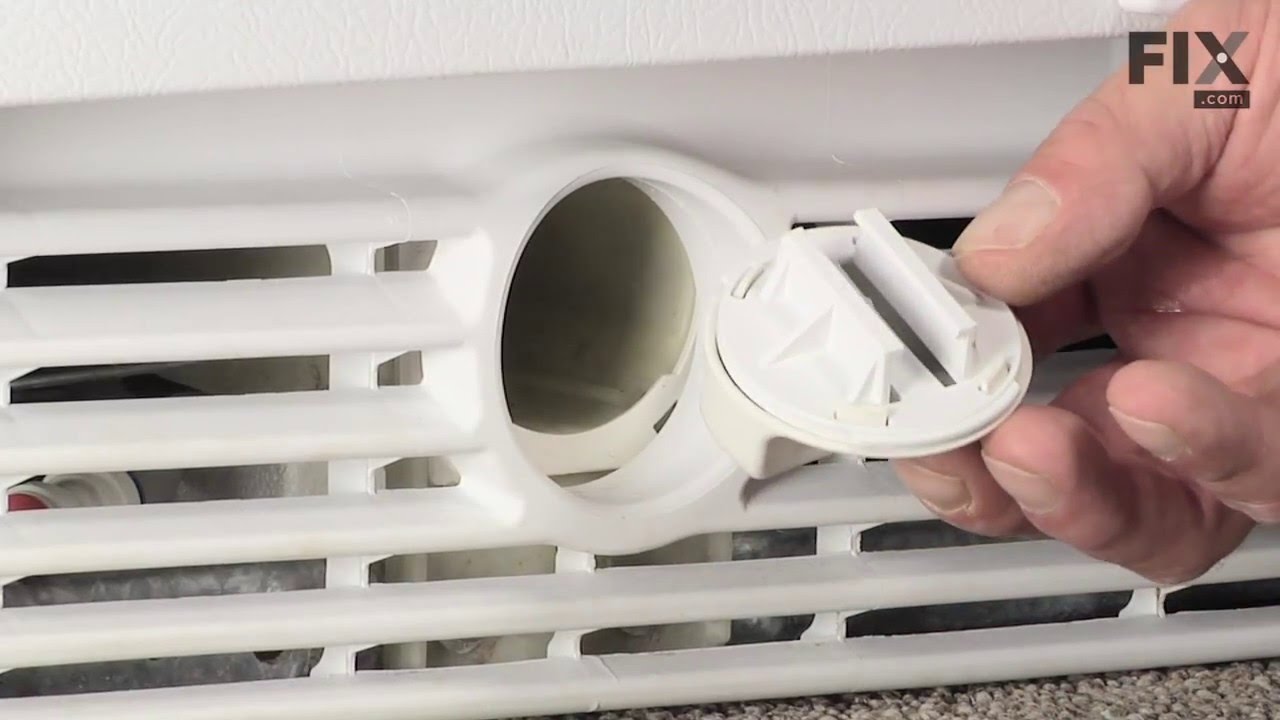

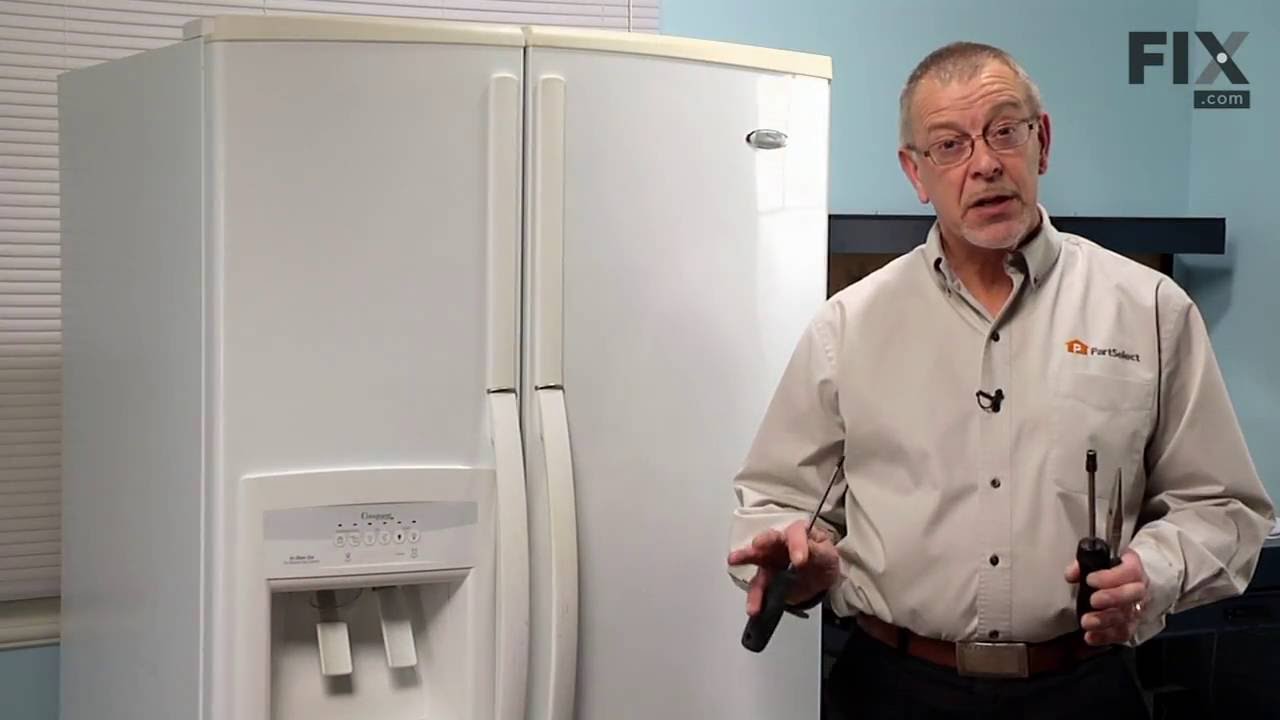
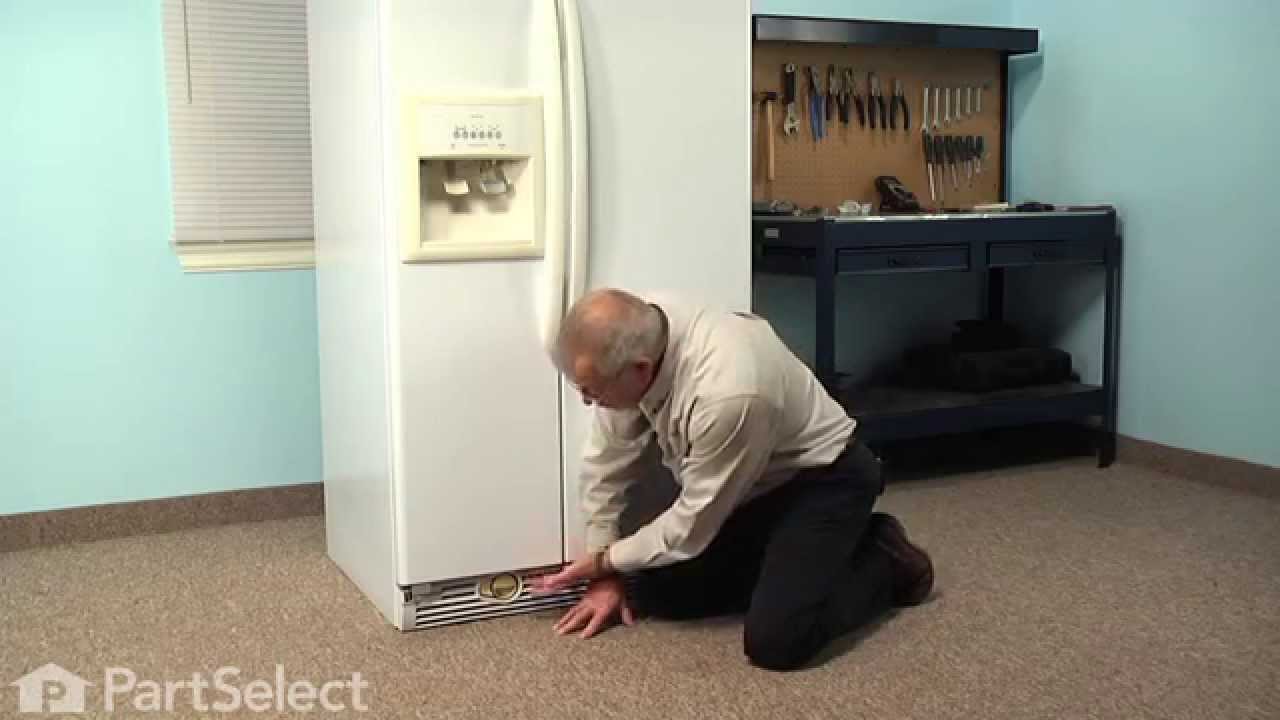
See how others fixed this model. Time, tools, difficulty, and steps that lead to victory!
View More