This EveryDrop Filter3 is certified to reduce the most contaminants with Triple Filtration Technology. Now, you and your family can enjoy the enriching benefits of cleaner, freshly filtered ice & water. Not just in beverages, but for preparing meals, too. This advanced generation of ice and water refrigerator filters from EveryDrop Filter...Read mores are certified to reduce more contaminants with Triple Filtration Technology. Filter 5 reduces 16 contaminants, so you can feel reassured that you and your family are getting the most out of your water. Remember to replace your refrigerator filter every 6 months to maximize contaminant reduction.
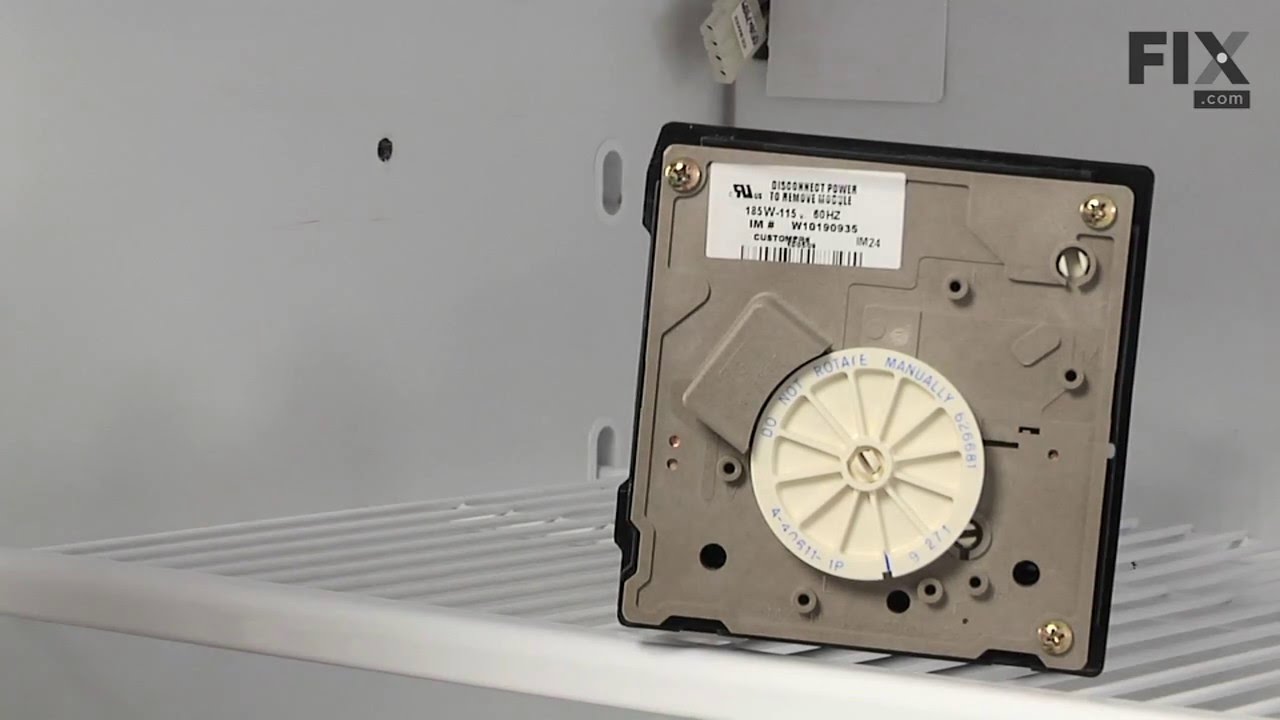
The “Icemaker Control Assembly” (Module & Motor Assembly, Ice Maker Control Module, Icemaker Module, Refrigerator Ice Maker Module) is what controls the actions of your ice maker. The control turns the timing cams and the ejector blades. It controls most of the basic parts and functions such as the heater, water inlet valve, the cube size...Read more, and cube ejection. If your ice maker control is broken it can no longer properly control the ice maker functions. It may not produce any ice, make small ice cubes, or have intermittent operation. This can occur due to normal wear and tear. The icemaker control assembly is attached to the ice maker mold, and is under the white cover. Test the icemaker control assembly by using a multimeter. If this reveals the assembly to be defective, you will need to replace this part. It is approximately 4.25 inches square, beige, and is constructed of plastic and metal. This replacement part features one icemaker control assembly, including the control module and the motor.
If you have ice building up in your freezer, or if your freezer is getting too warm during the defrost cycle you may need to replace the bi-metal defrost thermostat. The function of the defrost bi-metal thermostat is to clip onto the evaporator and protect your evaporator from overheating during the defrost cycle. If your refrigerator doe...Read mores not defrost properly you can test both the thermostat and the heater to figure out which part is at fault. For this repair, you will need a Phillips screwdriver, a 1/4 inch nut driver, a flat blade screwdriver, a pair of wire strippers, a roll of electrical tape, and a few butt splice connectors.
This light bulb is a 120 volt, 25 watt incandescent appliance light bulb with a small base screw-in that fits in a variety of appliances such as microwaves, refrigerators, freezers, cooktops, or stoves. Its purpose is to light up the appliance when the door is open. This is a genuine OEM part. You may need to replace the light bulb if the...Read more existing bulb is burnt out or broken. This light bulb is sold individually and is a common wear part, it is recommended to order a spare.
This set of two electronic control boards includes both the emitter and receiver modules, which work together to manage ice production and dispensing in compatible refrigerator models. The emitter sends a signal to detect ice levels, while the receiver interprets that signal to determine when the ice bin is full and when to initiate dumpi...Read moreng or refilling. These boards are essential for maintaining proper ice maker functionality, ensuring efficient operation and preventing overfilling or underproduction. Installation should be performed with the appliance unplugged, and compatibility must be confirmed using the refrigerator’s model number.
This refrigerator ice maker fill cup dispenses the water into the ice cube mold during the fill cycle. Replacing the water fill cup is a possible solution if you notice that the ice maker is leaking, or not making/dispensing ice. If you notice the fill cup has been damaged or cracked; replace the part straight away. This water fill cup is...Read more a genuine OEM part and will fit most refrigerators, but check the list of compatible brands to make sure yours is included before purchasing.
If your refrigerator or freezer is too warm, or making noises, you may need to replace the fan blade. The fan blade attaches to the evaporator motor, which is in the freezer section, to help circulate the cold air into the refrigerator and freezer sections. The fan blade is white in color and made from plastic. This is a genuine OEM part...Read more. Please be sure to disconnect the power to your refrigerator before starting your repair.
This part is a replacement refrigerator drive shaft seal for your refrigerator. The drive shaft seal protects the auger motor from water and condensation that may leak down the drive shaft from the ice bucket. If the seal is broken, water and condensation can get in, causing the ice maker to fail. To replace the seal, first remove the ice...Read more bucket from your freezer. Then remove the two screws on the drive shaft holder, and use a pair of pliers to remove the drive shaft. At this point you can remove the seal from the drive shaft. Be sure to clean the area that the seal sits in before you reinstall the drive shaft. This part is white in color and is about an inch in diameter. The seal is sold individually.
Ask our experts a question about this model and we'll get back to you as soon as possible!
We may have answered a similar question already! Search questions and answers left by others using simple keywords like "fit", "broken", "easy", or "quality" to find questions that match.
Search filter:
Clear Filter
Your search term must have 3 or more characters.
Sort by:
Prev
1
Next
Sorry, we couldn't find any existing answers that matched.Try using some different or simpler keywords, or submit your new question by using the "Ask a Question" button above!
Stewiacke - For model number KSSC48QTS00
July 20, 2021
I'm trying to pull out the drive shaft from the ice dispensing motor from the top where the ice bucket goes but can only pull it up 3/4 of the way. Is there a washer or something on the bottom of the shaft that I can't see and preventing me from pulling it out?
Hello Stewiacke, Thank you for the question. In order to remove the Drive Shaft, the motor has to be removed from the Ice Bucket so it will release the Shaft. We hope this helps!
Was this helpful?
Thank you for voting!
Rob - For model number KSSC48QTS00
July 21, 2021
I'm trying to remove the drive shaft from the motor on the ice dispenser from the top where the shaft goes into the ice bucket. I've removed the ice bucket and i'm trying to pull the drive shaft out as it shows in the videos i've watched, but it only comes up 3/4 of the way and gets stuck. Is there something at the bottom of it that i cannot see where it goes into the motor that would prevent this, or is it maybe just frozen on the bottom? Thx!!
Hi Rob,
Thank you for your question. If the drive shaft is not coming out easily, use piers to lift the shaft up and out of the unit. If it doesn't come up easily, you may have to jiggle it back and forth to break it free. Once the shaft is up, remove the seal and set it aside. You can remove the drive shaft completely. Once the drive shaft is all the way out, the sleeve would be removed. If it is stuck on with rust you may need to use some penetrating oil on it and work or tap it off. Once the old sleeve is off you can replace it with the new one and reassembly by following the previous steps. We hope this helps! If you have any questions, please let us know.
Was this helpful?
Thank you for voting!
Marjorie - For model number KSSC48QTS00
October 23, 2023
Freezer and refrigerator stinks like fermented blue cheese. What can be done to eliminate the smell?
Hi Marjorie, thank you for reaching out. Based on our research, to eliminate the smell, you may need to clean the refrigerator thoroughly. We have found instructions regarding the cleaning of the refrigerator. You may need to follow these steps:
1. Remove the top grille.
2. Press power switch to off.
3. Remove all removable parts from inside, such as shelves, crispers, etc.
4. Hand wash, rinse, and dry removable parts and interior surfaces thoroughly. Use a clean sponge or soft cloth and a mild detergent in warm water.
5. Do not use abrasive or harsh cleaners such as window sprays, scouring cleansers, flammable fluids, cleaning waxes, concentrated detergents, bleaches or cleansers containing petroleum products on plastic parts, interior and door liners or gaskets.
6. Do not use paper towels, scouring pads, or other harsh cleaning tools. These can scratch or damage materials.
7. To help remove odors, you can wash interior walls with a mixture of warm water and baking soda (2 tablespoon to 1 quart [26 g to 0.95 L] of water).
8. Wash stainless steel and painted metal exteriors with a clean sponge or soft cloth and a mild detergent in warm water.
9. Do not use abrasive or harsh cleaners, or cleaners containing chlorine. Dry thoroughly with a soft cloth. For additional protection against damage to painted metal exteriors, apply appliance wax (or auto paste wax) with a clean, soft cloth.
10. Do not wax plastic parts.
11. Press the power switch to on.
12. Replace the top grille.
We hope this information helps!
Was this helpful?
Thank you for voting!
Kelly - For model number KSSC48QTS00
June 15, 2021
We broke the glass shelf that is on top of the crisper drawer. I would to order new glass to replace it.
Hello Kelly, Thank you for contacting us. I have researched the model you have provided and have found the part you are looking for is PartSelect Number PS896407. I looked up the part and it is listed as No Longer Available/Discontinued sorry. There are no part substitutions listed. Our suggestion here would be to call the manufacturer and see if they can provide you with a substitution for these part numbers and contact us back with he updated substitution number. We hope this helps.
Was this helpful?
Thank you for voting!
Prev
1
Next
✖
Ask a Question
Ask our experts a question on this model and we'll respond as soon as we can.
See how others fixed this model. Time, tools, difficulty, and steps that lead to victory!View More
Search repair tips from other customers using simple keywords like "replace", "fit", "remove", "inspect". DIY doesn't mean you have to do it alone!
Search filter:
Clear Filter
Your search term must have 3 or more characters.
No ice
567 of 688 peoplefound this instruction helpful.
Daniel from Suwanee, GA
Easy
15 - 30 mins
Screw drivers, Socket set
removed flap door in front of icemaker...removed 3 screws with bolt heads...removed one additional screw with bolt head and ice unit slid out. I removed motor unit (pops out no screws). Replaced and had ice within 3 hours.
Was this helpful?
Thank you for voting!
there were directions
754 of 1282 peoplefound this instruction helpful.
Kate from Jacksonville, FL
Very Difficult
30 - 60 mins
We didn't know where the product went and it was very difficult to install.
Was this helpful?
Thank you for voting!
six months the light turns red. time to replace filter
310 of 392 peoplefound this instruction helpful.
Leroy from Perkiomenville, PA
Really Easy
Less than 15 mins
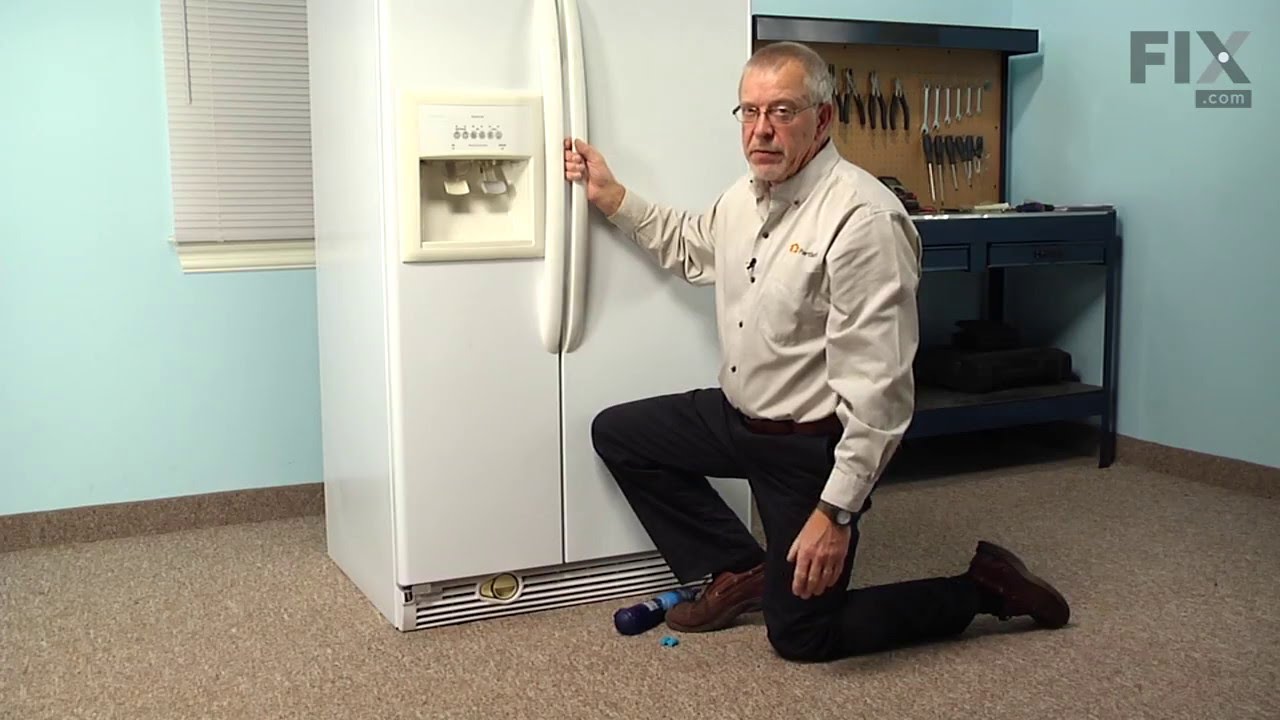
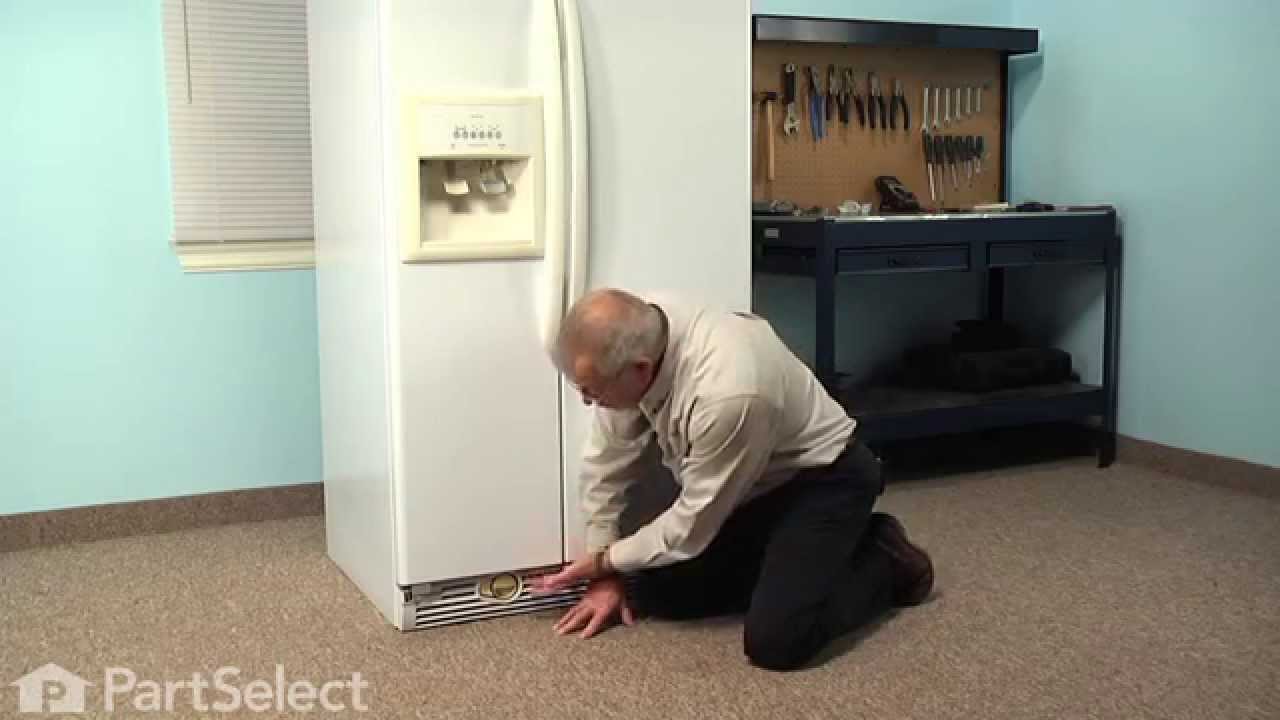
First I shut the water off to the refrigerator.then i pushed the big button in the middle of the grille below the refrigerator door. pulled out the old filter, took the front cap off the old filter put it on the new filter. took the two red caps off the new filter. pushed the filter in till it locked in place. all done! Turned the back on
... Read more.



 My Orders