


 My Orders




KSSC36FMS03 KitchenAid Refrigerator - Overview
Diagrams for KSSC36FMS03
See every part. Know exactly what you need.


Enter a part description. DIY Heroes keep it simple, eg. "belt" or "pump".
Search filter:
Clear Filter
Your search term must have 3 or more characters.

$79.33
In Stock
EveryDrop Water Filter
Part #EDR5RXD1
Enjoy cleaner water and ice with this easy-to-install refrigerator filter. It uses Triple Filtration Technology to reduce 16 common contaminants, so your drinks and meals taste better. For best results, swap it out every six months to keep your water fresh and safe.

$70.95
In Stock
Icemaker Control Assembly
Part #W10190935
The “Icemaker Control Assembly” (Module & Motor Assembly, Ice Maker Control Module, Icemaker Module, Refrigerator Ice Maker Module) is what controls the actions of your ice maker. The control turns the timing cams and the ejector blades. It controls most of the basic parts and functions such as the heater, water inlet valve, the cube size...Read more, and cube ejection. If your ice maker control is broken it can no longer properly control the ice maker functions. It may not produce any ice, make small ice cubes, or have intermittent operation. This can occur due to normal wear and tear. The icemaker control assembly is attached to the ice maker mold, and is under the white cover. Test the icemaker control assembly by using a multimeter. If this reveals the assembly to be defective, you will need to replace this part. It is approximately 4.25 inches square, beige, and is constructed of plastic and metal. This replacement part features one icemaker control assembly, including the control module and the motor.
Read less

$30.53
In Stock

$34.74
In Stock
Refrigerator Bimetal Defrost Thermostat
Part #WPW10225581
If you have ice building up in your freezer, or if your freezer is getting too warm during the defrost cycle you may need to replace the bi-metal defrost thermostat. The function of the defrost bi-metal thermostat is to clip onto the evaporator and protect your evaporator from overheating during the defrost cycle. If your refrigerator doe...Read mores not defrost properly you can test both the thermostat and the heater to figure out which part is at fault. For this repair, you will need a Phillips screwdriver, a 1/4 inch nut driver, a flat blade screwdriver, a pair of wire strippers, a roll of electrical tape, and a few butt splice connectors.
Read less

$44.23
In Stock
Refrigerator Water Filter Cap
Part #WP2186494B
This refrigerator water filter cap is a durable black plastic component designed to secure the water filter in place within compatible refrigerator models. It functions as both a protective cover and a locking mechanism, ensuring the filter remains properly seated for optimal performance. The cap installs easily without tools—simply turn ...Read moreit clockwise to lock and counterclockwise to remove. A properly fitted cap helps maintain water filtration efficiency and prevents leaks or dislodgement during operation. This replacement part is compatible with select models and offers a reliable solution for maintaining your refrigerator’s water system.
Read less

$35.80
In Stock
Refrigerator Water Fill Cup & Bearing
Part #WP628356
This refrigerator ice maker fill cup dispenses the water into the ice cube mold during the fill cycle. Replacing the water fill cup is a possible solution if you notice that the ice maker is leaking, or not making/dispensing ice. If you notice the fill cup has been damaged or cracked; replace the part straight away. This water fill cup is...Read more a genuine OEM part and will fit most refrigerators, but check the list of compatible brands to make sure yours is included before purchasing.
Read less

$7.47
In Stock
Screw
Part #WP488729
Metallic screw that is less than an inch long. Does not include the plastic washer.

$28.42
In Stock
Evaporator Fan Blade
Part #WP2169142
If your refrigerator or freezer is too warm, or making noises, you may need to replace the fan blade. The fan blade attaches to the evaporator motor, which is in the freezer section, to help circulate the cold air into the refrigerator and freezer sections. The fan blade is white in color and made from plastic. This is a genuine OEM part...Read more. Please be sure to disconnect the power to your refrigerator before starting your repair.
Read less

$98.81
In Stock
Icemaker Motor Kit
Part #8201515
This kit includes the module motor, ejector arm, and ice stripper arm. The complete icemaker is sold separately.

$162.26
In Stock
Refrigerator Ice Mold
Part #WPW10190929
This is an ice maker mold and heater assembly for a refrigerator ice maker. It is used with modular style icemakers and is located in the freezer section of the refrigerator. This ice mold is flake resistant which prevents the coating on the mold from flaking into the ice cubes when the ice mold begins to wear. The ice mold forms the ice ...Read morecubes and the heater allows the ice cubes to fall from the ice mold to drop them into the ice bucket. You will need to remove the ice maker from the refrigerator to access the mold and heater assembly. This is a genuine replacement part.
Read less

$10.70
In Stock
Refrigerator Single Shelf Stud
Part #WP2196483
This part screws into the side of the wall in your fresh food compartment and supports a shelf.

$60.51
In Stock
Cycling thermostat
Part #WP627985
The ice maker thermostat, also known as the cycling thermostat, controls and regulates the ice maker ejection cycle by monitoring the temperature inside the freezer to determine when to release the ice into the bin and start the ice making cycle again. If your ice maker is making unusual noises, or if the ice maker is not making or dispen...Read moresing ice, there could be an issue with the thermostat. Before you begin this repair, make sure the power is disconnected from your refrigerator, and that any food that may spoil is safely stored. This is an OEM part and is sourced directly from the manufacturer. This thermostat is sold individually, and comes with two attachment clips.
Read less
Manuals & Care Guides for KSSC36FMS03
Click to downloadCommon Symptoms of the KSSC36FMS03
How this model fails, and the parts that fix it.
Ice maker not making ice
Fixed by
these parts
these parts


Show All
Light not working
Fixed by
these parts
these parts


Show All
Fridge too warm
Fixed by
these parts
these parts


Show All
Leaking
Fixed by
these parts
these parts


Show All
Freezer not defrosting
Fixed by
these parts
these parts
Show All
Ice maker won’t dispense ice
Fixed by
these parts
these parts
Show All
Noisy
Fixed by
these parts
these parts

Show All
Freezer section too warm
Fixed by
these parts
these parts
Show All
Not dispensing water
Fixed by
these parts
these parts
Show All
Fridge and Freezer are too warm
Fixed by
these parts
these parts
Show All
Fridge too cold
Fixed by
these parts
these parts

Show All
Frost buildup
Fixed by
these parts
these parts
Show All
Will Not Start
Fixed by
these parts
these parts


Show All
Freezer too cold
Fixed by
these parts
these parts
Show All
Too warm
Fixed by
these parts
these parts
Show All
Fridge runs too long
Fixed by
these parts
these parts
Show All
Ice maker dispenses too much ice
Fixed by
these parts
these parts
Show All
Ice maker dispenses too little ice
Fixed by
these parts
these parts
Show All
Touchpad does not respond
Fixed by
these parts
these parts
Show All
Won’t start
Fixed by
these parts
these parts
Show All
Watch our pros, then fix it yourself.

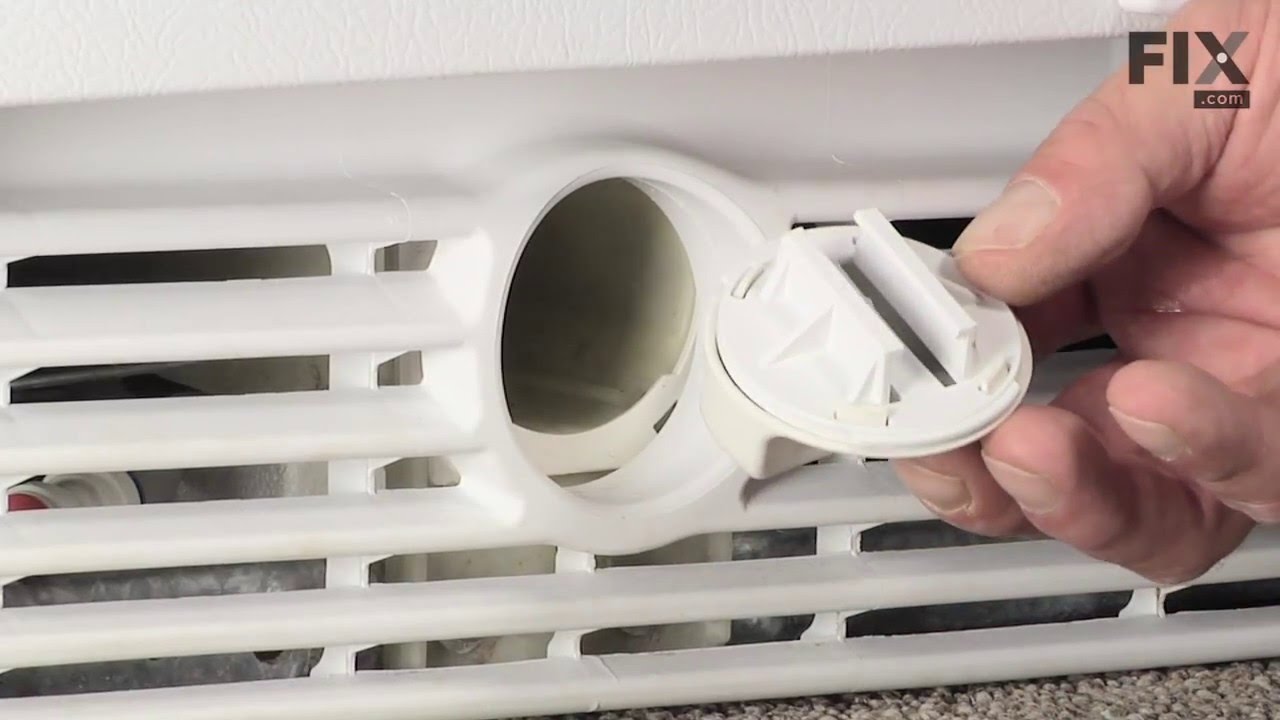


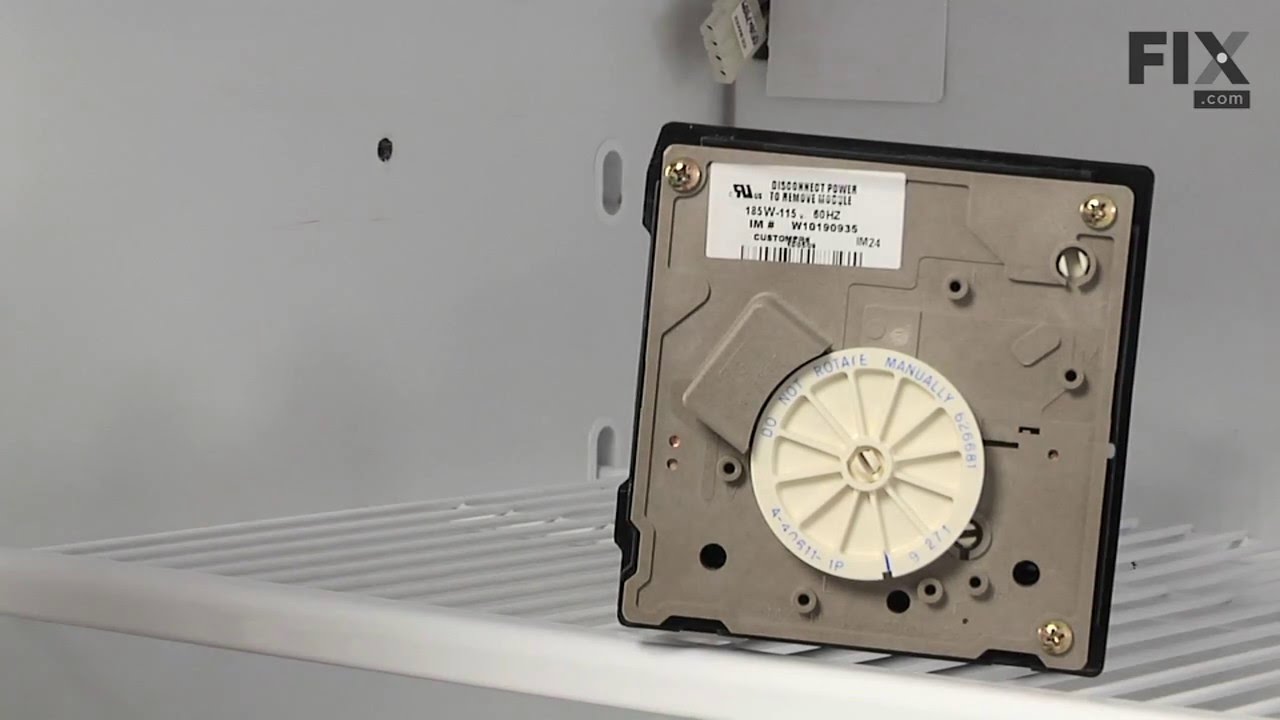
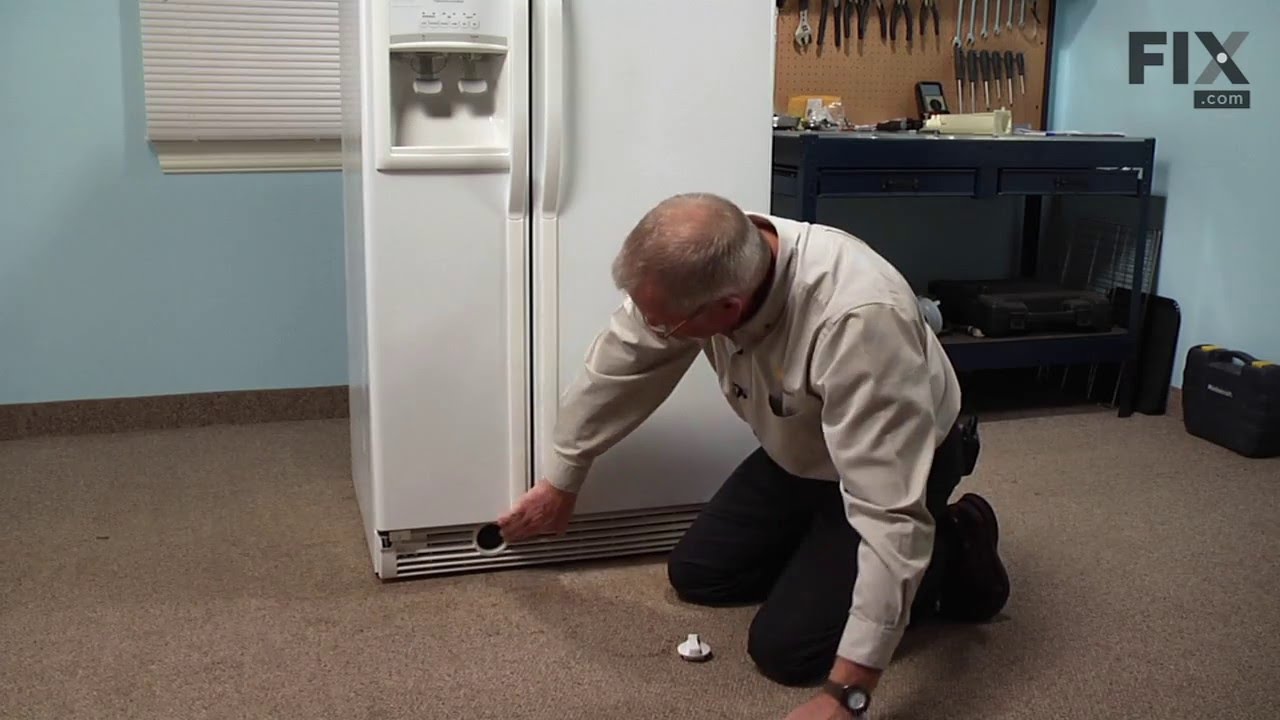
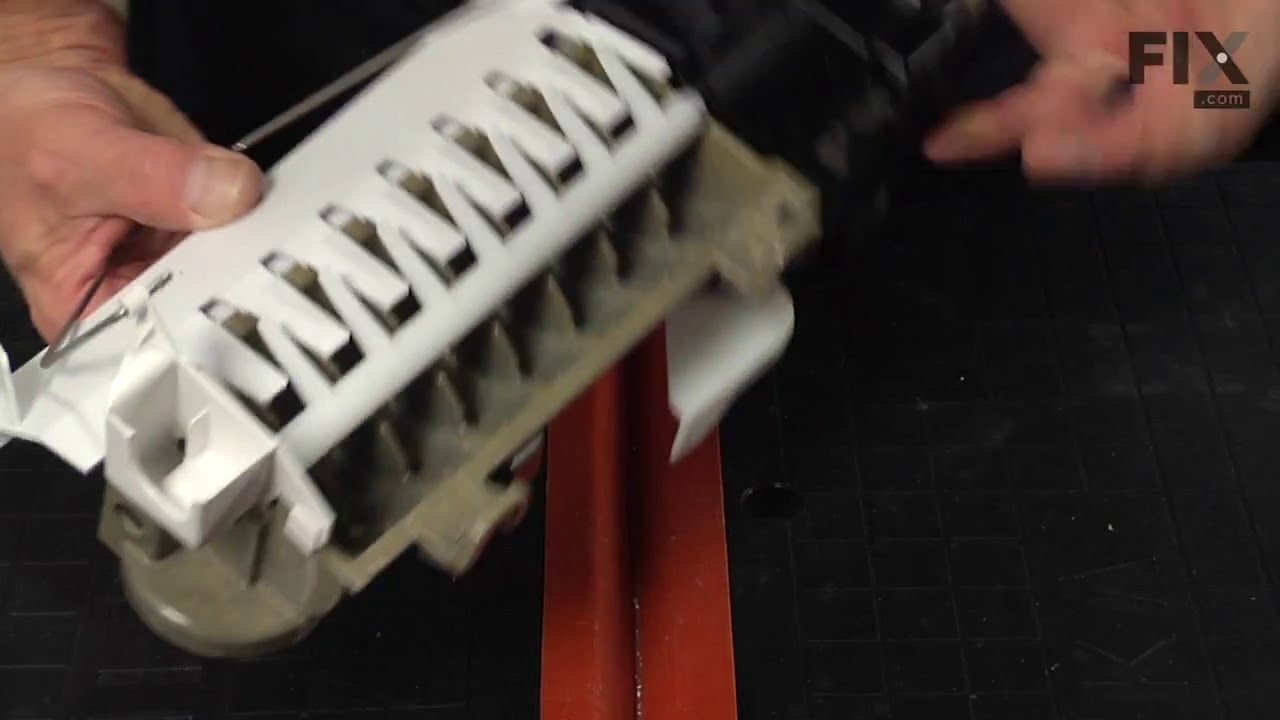

See how others fixed this model. Time, tools, difficulty, and steps that lead to victory!
View More