


 My Orders




KSRS25MWMS01 KitchenAid Refrigerator - Overview
Diagrams for KSRS25MWMS01
See every part. Know exactly what you need.


Enter a part description. DIY Heroes keep it simple, eg. "belt" or "pump".
Search filter:
Clear Filter
Your search term must have 3 or more characters.

$47.40
In Stock
Refrigerator Door Shelf Bin
Part #WPW10321304
This refrigerator door bin is a genuine OEM replacement designed to fit many side-by-side refrigerator models. Compatible with brands like KitchenAid, Maytag, and Amana, it attaches to the interior door, providing storage for jars and bottles. Featuring a clear design with white trim, this bin is both durable and functional. Installation ...Read moreis tool-free—simply align and snap into place. Verify your refrigerator’s model number before ordering to ensure compatibility, as dimensions may vary slightly. Restore your refrigerator's storage capacity and organization with this high-quality replacement door bin.
Read less

$9.62
In Stock
Refrigerator Lower Door Closing Cam
Part #WP2182179
The lower door closing cam is used in refrigerator doors, it can be located on the fresh food side or the freezer side. It helps hold the door open. This cam is made out of plastic, so it might crack or wear down over time. If your door will not open and close properly you may need to replace the door closing cam. To successfully install ...Read morethis part, you will need a 5/16 nut driver and a small flat blade screwdriver. Before you begin, unplug your appliance and disconnect the water supply. Lubricating this part may help with installation. This replacement part is sold individually. This part will fit both the left and right side of your refrigerator door. To make the repair, remove the top hinge cover, then the top hinge support. Lift the door from the bottom support and remove the old door cams. Replace the cams, using a little lubricant if necessary, and place the door back on the lower hinge support. Replace the top hinge support and your repair is complete!
Read less

$9.62
In Stock
Refrigerator Door Cam
Part #WPW10329686
The Door Cam is a black plastic part which helps the door pivot shut while keeping the door and hinge in proper alignment. Lubricating this part upon installation may help it move easier. It attaches onto the door hinge and should be replaced if broken or if there is noticeable damage. Refer to your model number and user manual to ensure...Read more this is the correct part for you. To do this repair you will need a 5/6 nut driver, a 5/16 socket, and a ratchet. For safety purposes, do not forget to turn off your appliance before making this repair. Note that this piece is black, and as per the manufacturer requires a new screw to mount the door cam which is sold individually. Please also note that this is the closing cam for the lower door, and the upper door cam is sold as a separate kit.
Read less

$30.53
In Stock

$45.29
In Stock
Refrigerator Capacitor
Part #WPW10662129
This capacitor (Refrigerator and Freezer Compressor Run Capacitor, Run Capacitor) provides the voltage or energy current required to start the compressor and keep it running. It allows the compressor in your appliance to easily cycle on and off. This capacitor mounts directly onto the compressor starting relay. If the capacitor is faulty ...Read morethe compressor may get unusually hot and draw excessive amperage. It the compressor overheats, it may fail to run until it cools down again. The compressor may also get noisy from overheating. If this part is totally electrically open, it is defective (often due to overheating) and needs to be replaced. The part measures 1 inch by 1-1/2 inches, and is constructed of plastic with two metal wire terminals. This item includes 1 capacitor, sold individually. This part comes in black.
Read less

$34.74
In Stock
Refrigerator Bimetal Defrost Thermostat
Part #WPW10225581
If you have ice building up in your freezer, or if your freezer is getting too warm during the defrost cycle you may need to replace the bi-metal defrost thermostat. The function of the defrost bi-metal thermostat is to clip onto the evaporator and protect your evaporator from overheating during the defrost cycle. If your refrigerator doe...Read mores not defrost properly you can test both the thermostat and the heater to figure out which part is at fault. For this repair, you will need a Phillips screwdriver, a 1/4 inch nut driver, a flat blade screwdriver, a pair of wire strippers, a roll of electrical tape, and a few butt splice connectors.
Read less

$159.59
On Order
Refrigerator Shelf Frame with Glass
Part #WPW10276341
This is a glass shelf for models of refrigerator. This part acts as a cover, a shelf, and a set of drawer slides all-in-one. This part includes a white plastic frame that doubles as drawer slides for the snack pan underneath and measures approximately 17.5-inches wide by 18.5-inches long, along with a glass insert that allows for items to...Read more be set on it. If your current glass shelf is shattered, cracked, or simply missing, it should be replaced. Replacing this shelf is easy, as you only need to carefully pull it out, then slide in the new shelf. This shelf is supplied by the original equipment manufacturer and does not come sold with any other parts than those mentioned.
Read less

$146.56
On Order
ICE MAKER KIT-PKG ASSEMBLY (EZ
Part #W11700559
This genuine OEM ice maker kit is designed to fit refrigerators that did not originally come with an ice maker. This kit contains everything needed to install the new ice maker on your refrigerator including: the ice maker, ice bin, inlet valve, fill tube, and hardware. If your new ice maker does not function properly after being installe...Read mored, check the freezer temperature. The freezer must to be around zero degrees Fahrenheit. Remember to disconnect the power and water supply to your refrigerator before beginning this installation. Make sure to check that your model is compatible with this part before ordering.
Note: The manufacturer has updated this part. It may differ in appearance but will function the same as the original.
Read less

$93.27
In Stock
Snack Pan - Clear
Part #WP2309517
This refrigerator snack pan is the topmost and smallest drawer in the unit, designed to store food items that require refrigeration but not the humidity control of larger drawers. Constructed from clear, durable plastic, it features a series of molded ribs along the bottom to help with airflow and item separation. The drawer measures 16 i...Read morenches wide, 16.5 inches deep, and 4.75 inches high, and it slides into a drawer glide mounted beneath the top glass shelf. If the pan is cracked or damaged, replacement is recommended to maintain proper storage conditions. For smooth operation, ensure the drawer glides and the supporting glass shelf are intact and properly aligned.
Read less

$62.60
In Stock
Door Shelf
Part #WP2309941
This authentic Whirlpool refrigerator part is a door shelf rail. It snaps into your refrigerator door and prevents items from sliding or falling out when your open the door. It is made of plastic and is approximately 17 inches in length by 5 inches in width. To replace this part, simply snap out the old door shelf rail and install the new one.

No Longer Available
Touch-Up Paint - White
Part #72017
This touch-up paint can be used on a wide variety of household appliances. It is most often used on washers, dryer, refrigerators, dishwashers, ranges, freezers, trash compactors, or microwaves. It is an 18 ml, or.6 fluid ounces, bottle of touch-up paint. It also features a brush for easy application. This quick-drying, long-lasting paint...Read more is perfect for fixing any nicks, scratches, or chips on the exterior of your appliance. This paint is white in color, and provides a durable finish.
Read less

$11.77
In Stock
Manuals & Care Guides for KSRS25MWMS01
Click to downloadCommon Symptoms of the KSRS25MWMS01
How this model fails, and the parts that fix it.
Door won’t open or close
Fixed by
these parts
these parts


Show All
Light not working
Fixed by
these parts
these parts


Show All
Fridge too warm
Fixed by
these parts
these parts


Show All
Noisy
Fixed by
these parts
these parts


Show All
Clicking sound
Fixed by
these parts
these parts
Show All
Freezer section too warm
Fixed by
these parts
these parts
Show All
Fridge and Freezer are too warm
Fixed by
these parts
these parts

Show All
Will Not Start
Fixed by
these parts
these parts

Show All
Freezer not defrosting
Fixed by
these parts
these parts

Show All
Leaking
Fixed by
these parts
these parts


Show All
Too warm
Fixed by
these parts
these parts
Show All
Fridge too cold
Fixed by
these parts
these parts
Show All
Door Sweating
Fixed by
these parts
these parts
Show All
Ice maker not making ice
Fixed by
these parts
these parts


Show All
Frost buildup
Fixed by
these parts
these parts
Show All
Freezer too cold
Fixed by
these parts
these parts
Show All
Fridge runs too long
Fixed by
these parts
these parts
Show All
Ice maker won’t dispense ice
Fixed by
these parts
these parts
Show All
Won’t start
Fixed by
these parts
these parts
Show All
Watch our pros, then fix it yourself.
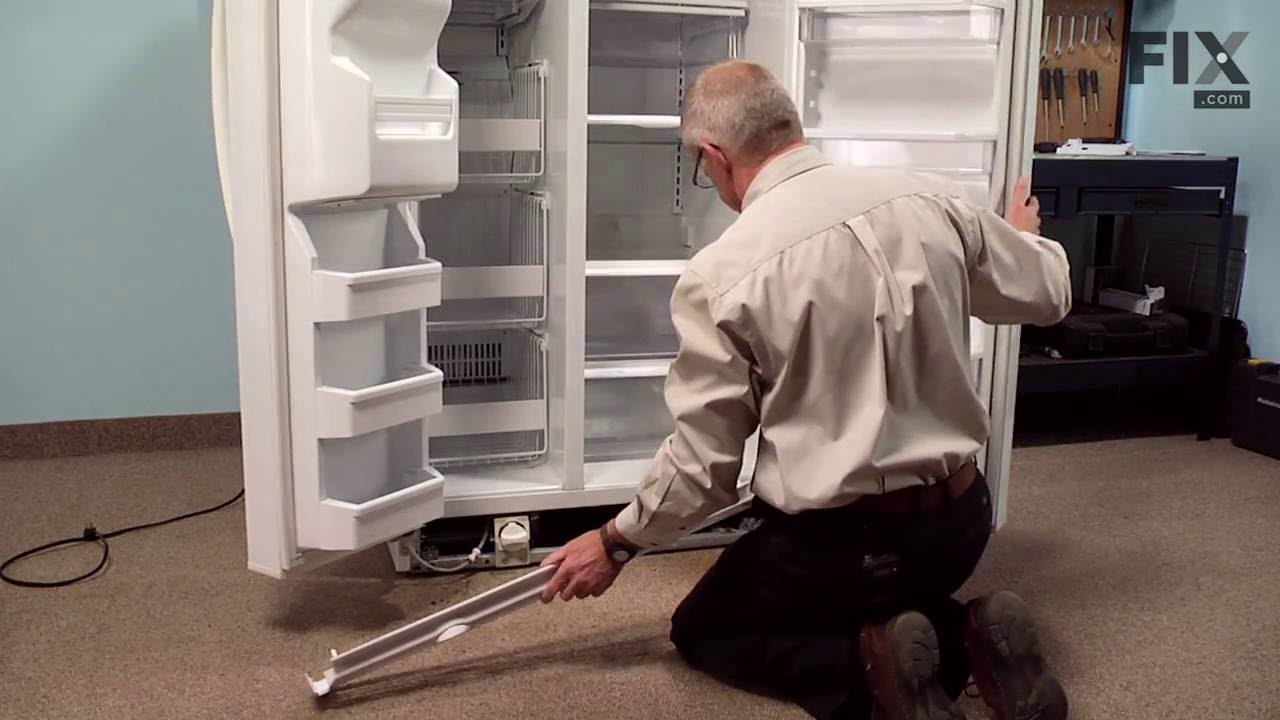

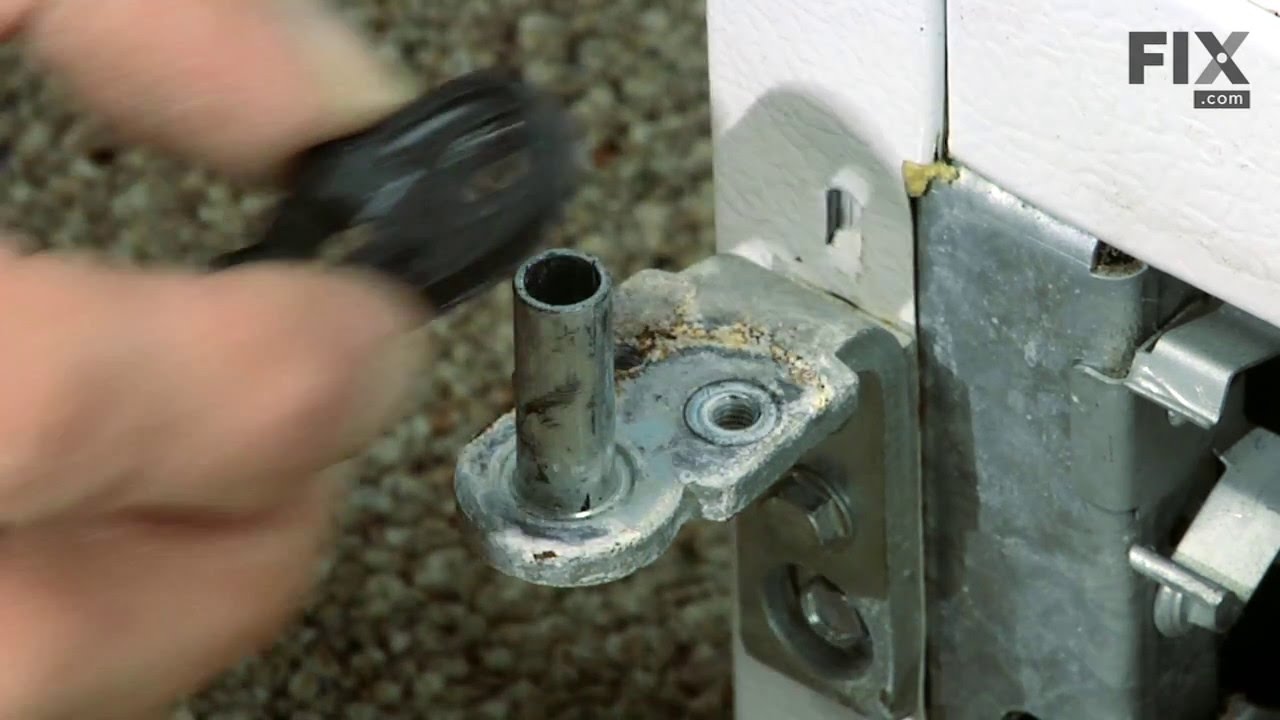



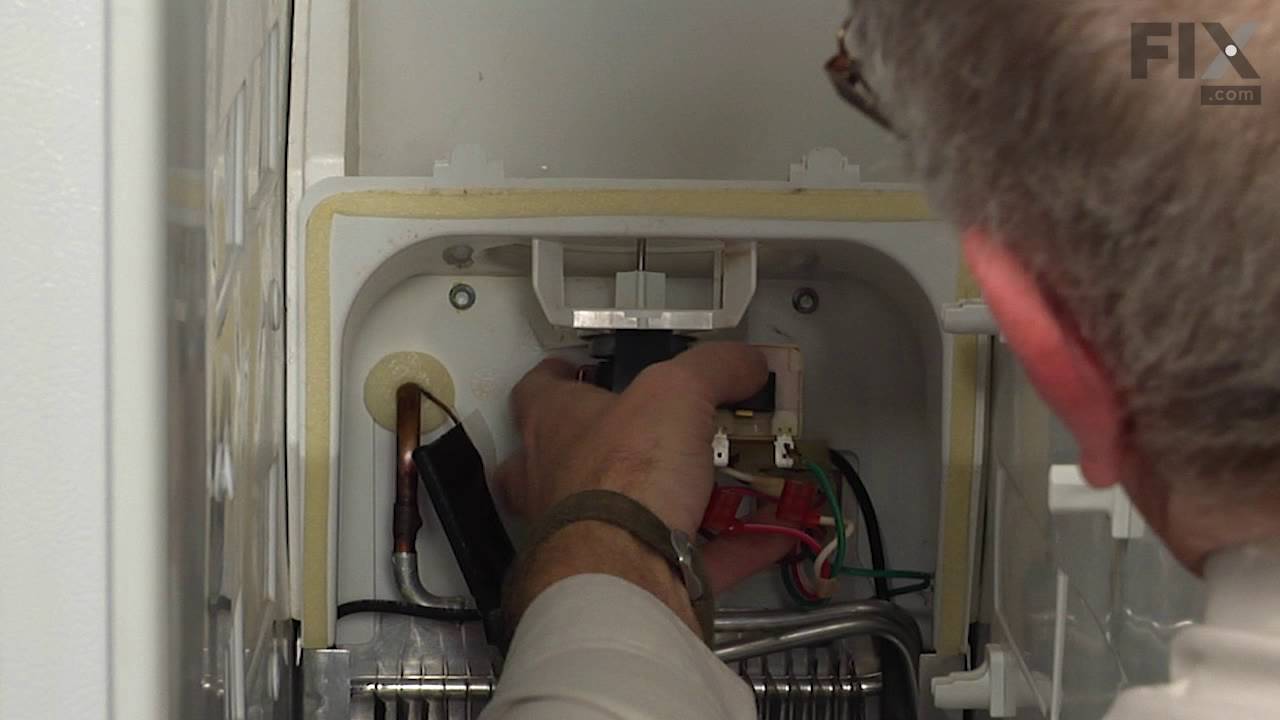
See how others fixed this model. Time, tools, difficulty, and steps that lead to victory!
View More
Search repair tips from other customers using simple keywords like "replace", "fit", "remove", "inspect". DIY doesn't mean you have to do it alone!
Search filter:
Clear Filter
Your search term must have 3 or more characters.
Refigerator door was not closing all the way if not pushed shut.
394 of 419 people
found this instruction helpful.
Remove the top hinge cover. Removed the top hinge support. Lifted the door from the bottom support. Old door cams were worn completly flat. Replaced the lower door cam and closing cam use a little vasalene for lubricant on the cam surfaces. Placed the door back on the lower hinge support. Replaced the top hinge support. Door is cl
... Read more
osing great now.
Thanks for the quick part deliver.
Thanks for the quick part deliver.
Read less
Other Parts Used:


Was this helpful?
Thank you for voting!