


 My Orders




KSRA22CNBT01 KitchenAid Refrigerator - Overview
Diagrams for KSRA22CNBT01
See every part. Know exactly what you need.


Enter a part description. DIY Heroes keep it simple, eg. "belt" or "pump".
Search filter:
Clear Filter
Your search term must have 3 or more characters.

$79.33
In Stock
EveryDrop Water Filter
Part #EDR5RXD1
Enjoy cleaner water and ice with this easy-to-install refrigerator filter. It uses Triple Filtration Technology to reduce 16 common contaminants, so your drinks and meals taste better. For best results, swap it out every six months to keep your water fresh and safe.

$9.62
In Stock
Refrigerator Lower Door Closing Cam
Part #WP2182179
The lower door closing cam is used in refrigerator doors, it can be located on the fresh food side or the freezer side. It helps hold the door open. This cam is made out of plastic, so it might crack or wear down over time. If your door will not open and close properly you may need to replace the door closing cam. To successfully install ...Read morethis part, you will need a 5/16 nut driver and a small flat blade screwdriver. Before you begin, unplug your appliance and disconnect the water supply. Lubricating this part may help with installation. This replacement part is sold individually. This part will fit both the left and right side of your refrigerator door. To make the repair, remove the top hinge cover, then the top hinge support. Lift the door from the bottom support and remove the old door cams. Replace the cams, using a little lubricant if necessary, and place the door back on the lower hinge support. Replace the top hinge support and your repair is complete!
Read less

$9.62
In Stock
Refrigerator Door Cam
Part #WPW10329686
The Door Cam is a black plastic part which helps the door pivot shut while keeping the door and hinge in proper alignment. Lubricating this part upon installation may help it move easier. It attaches onto the door hinge and should be replaced if broken or if there is noticeable damage. Refer to your model number and user manual to ensure...Read more this is the correct part for you. To do this repair you will need a 5/6 nut driver, a 5/16 socket, and a ratchet. For safety purposes, do not forget to turn off your appliance before making this repair. Note that this piece is black, and as per the manufacturer requires a new screw to mount the door cam which is sold individually. Please also note that this is the closing cam for the lower door, and the upper door cam is sold as a separate kit.
Read less

$70.95
In Stock
Icemaker Control Assembly
Part #W10190935
The “Icemaker Control Assembly” (Module & Motor Assembly, Ice Maker Control Module, Icemaker Module, Refrigerator Ice Maker Module) is what controls the actions of your ice maker. The control turns the timing cams and the ejector blades. It controls most of the basic parts and functions such as the heater, water inlet valve, the cube size...Read more, and cube ejection. If your ice maker control is broken it can no longer properly control the ice maker functions. It may not produce any ice, make small ice cubes, or have intermittent operation. This can occur due to normal wear and tear. The icemaker control assembly is attached to the ice maker mold, and is under the white cover. Test the icemaker control assembly by using a multimeter. If this reveals the assembly to be defective, you will need to replace this part. It is approximately 4.25 inches square, beige, and is constructed of plastic and metal. This replacement part features one icemaker control assembly, including the control module and the motor.
Read less

$17.15
In Stock
Refrigerator Ice Guide
Part #WP2180224
This is a refrigerator ice guide that is made entirely of clear plastic. This ice guide is located in the freezer door. Turn your refrigerator ice dispenser off before replacing the part. This is a simple repair, and the only tool you will need is a small flat blade screwdriver to push on the pivot tab on the bottom of the ice guide. Do n...Read moreot worry about breaking the side or pivot tabs on your existing ice guide because it will be discarded anyway. This is a genuine manufacturer replacement part.
Read less

$45.29
In Stock
Refrigerator Capacitor
Part #WPW10662129
This capacitor (Refrigerator and Freezer Compressor Run Capacitor, Run Capacitor) provides the voltage or energy current required to start the compressor and keep it running. It allows the compressor in your appliance to easily cycle on and off. This capacitor mounts directly onto the compressor starting relay. If the capacitor is faulty ...Read morethe compressor may get unusually hot and draw excessive amperage. It the compressor overheats, it may fail to run until it cools down again. The compressor may also get noisy from overheating. If this part is totally electrically open, it is defective (often due to overheating) and needs to be replaced. The part measures 1 inch by 1-1/2 inches, and is constructed of plastic with two metal wire terminals. This item includes 1 capacitor, sold individually. This part comes in black.
Read less

$34.74
In Stock
Refrigerator Bimetal Defrost Thermostat
Part #WPW10225581
If you have ice building up in your freezer, or if your freezer is getting too warm during the defrost cycle you may need to replace the bi-metal defrost thermostat. The function of the defrost bi-metal thermostat is to clip onto the evaporator and protect your evaporator from overheating during the defrost cycle. If your refrigerator doe...Read mores not defrost properly you can test both the thermostat and the heater to figure out which part is at fault. For this repair, you will need a Phillips screwdriver, a 1/4 inch nut driver, a flat blade screwdriver, a pair of wire strippers, a roll of electrical tape, and a few butt splice connectors.
Read less

No Longer Available
Ice Door Kit
Part #W10823377
In this kit you will find the support, the ice door, spring, and delay. The heater ribbon is no longer needed and therefore will not be included with this part. This kit works in the dispenser chute to let ice through when it is being dispensed. If you have the following symptoms such as: door sweating, difficulty opening or closing door,...Read more frost buildup, warm freezer section, or problems with ice dispensing, then this is a solution. The tools needed for this repair are a putty knife, needle nose pliers, and 1/4 inch nut driver. Wear work gloves to protect your hands when performing this repair.
Read less

$265.04
In Stock
Electronic Control Board
Part #W11629974
This set of two electronic control boards includes both the emitter and receiver modules, which work together to manage ice production and dispensing in compatible refrigerator models. The emitter sends a signal to detect ice levels, while the receiver interprets that signal to determine when the ice bin is full and when to initiate dumpi...Read moreng or refilling. These boards are essential for maintaining proper ice maker functionality, ensuring efficient operation and preventing overfilling or underproduction. Installation should be performed with the appliance unplugged, and compatibility must be confirmed using the refrigerator’s model number.
Read less

$25.75
In Stock

$44.23
In Stock
Refrigerator Water Filter Cap
Part #WP2186494B
This refrigerator water filter cap is a durable black plastic component designed to secure the water filter in place within compatible refrigerator models. It functions as both a protective cover and a locking mechanism, ensuring the filter remains properly seated for optimal performance. The cap installs easily without tools—simply turn ...Read moreit clockwise to lock and counterclockwise to remove. A properly fitted cap helps maintain water filtration efficiency and prevents leaks or dislodgement during operation. This replacement part is compatible with select models and offers a reliable solution for maintaining your refrigerator’s water system.
Read less

$60.51
In Stock
Refrigerator Housing Water Filter
Part #WP2186443
This refrigerator water filter housing is a key component of the appliance’s water and ice dispensing system. It securely holds the water filter in place and connects it to the water supply lines, ensuring clean, filtered water is delivered through the dispenser and to the ice maker. The housing features two push-in fittings—one for 1/4-i...Read morench tubing and another for 5/16-inch tubing—allowing for straightforward installation. Common symptoms of a failing housing include water leakage, a non-functioning dispenser, or an ice maker that fails to produce or dispense ice. Replacing a damaged housing restores proper filtration and water flow, helping maintain the performance and hygiene of your refrigerator.
Read less
Manuals & Care Guides for KSRA22CNBT01
Click to downloadCommon Symptoms of the KSRA22CNBT01
How this model fails, and the parts that fix it.
Door won’t open or close
Fixed by
these parts
these parts


Show All
Ice maker not making ice
Fixed by
these parts
these parts


Show All
Fridge too warm
Fixed by
these parts
these parts


Show All
Leaking
Fixed by
these parts
these parts


Show All
Ice maker won’t dispense ice
Fixed by
these parts
these parts


Show All
Clicking sound
Fixed by
these parts
these parts
Show All
Noisy
Fixed by
these parts
these parts


Show All
Freezer section too warm
Fixed by
these parts
these parts
Show All
Will Not Start
Fixed by
these parts
these parts


Show All
Fridge and Freezer are too warm
Fixed by
these parts
these parts
Show All
Light not working
Fixed by
these parts
these parts


Show All
Not dispensing water
Fixed by
these parts
these parts


Show All
Freezer not defrosting
Fixed by
these parts
these parts
Show All
Door Sweating
Fixed by
these parts
these parts
Show All
Fridge too cold
Fixed by
these parts
these parts

Show All
Ice maker dispenses too much ice
Fixed by
these parts
these parts


Show All
Too warm
Fixed by
these parts
these parts
Show All
Freezer too cold
Fixed by
these parts
these parts
Show All
Frost buildup
Fixed by
these parts
these parts

Show All
Fridge runs too long
Fixed by
these parts
these parts
Show All
Ice maker dispenses too little ice
Fixed by
these parts
these parts
Show All
Won’t start
Fixed by
these parts
these parts
Show All
Touchpad does not respond
Fixed by
these parts
these parts
Show All
Door latch failure
Fixed by
these parts
these parts

Show All
Watch our pros, then fix it yourself.
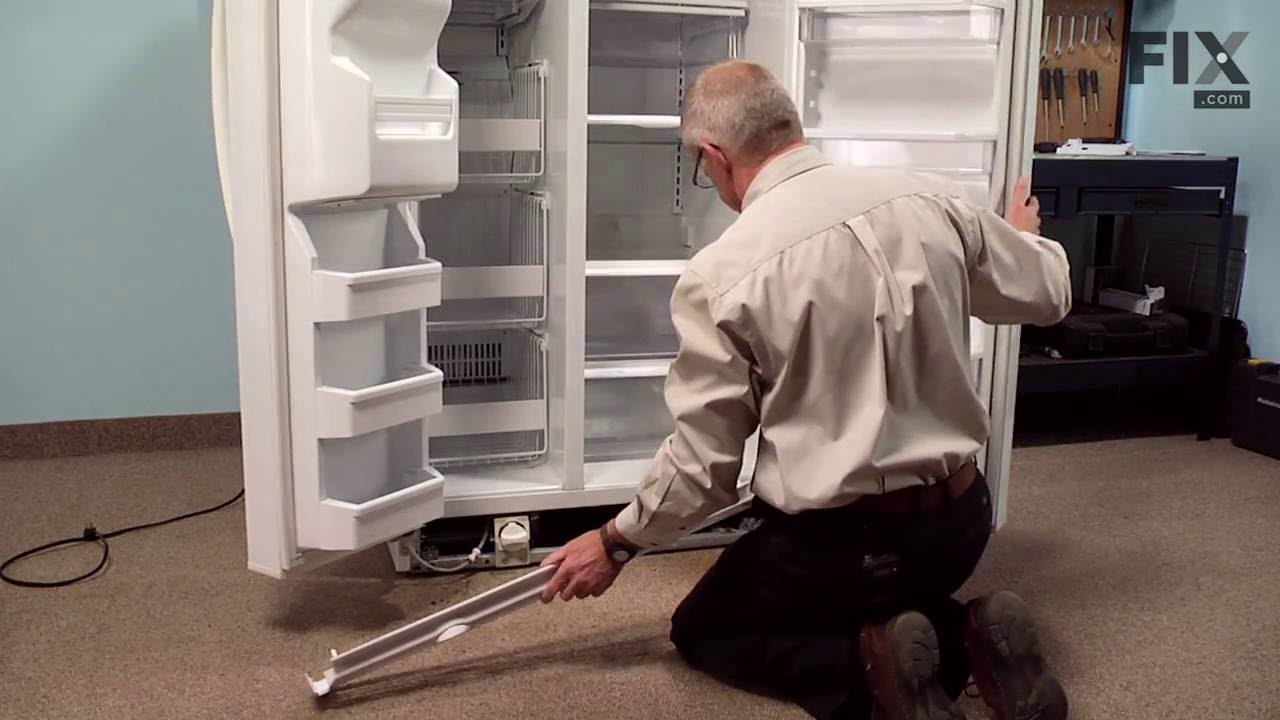

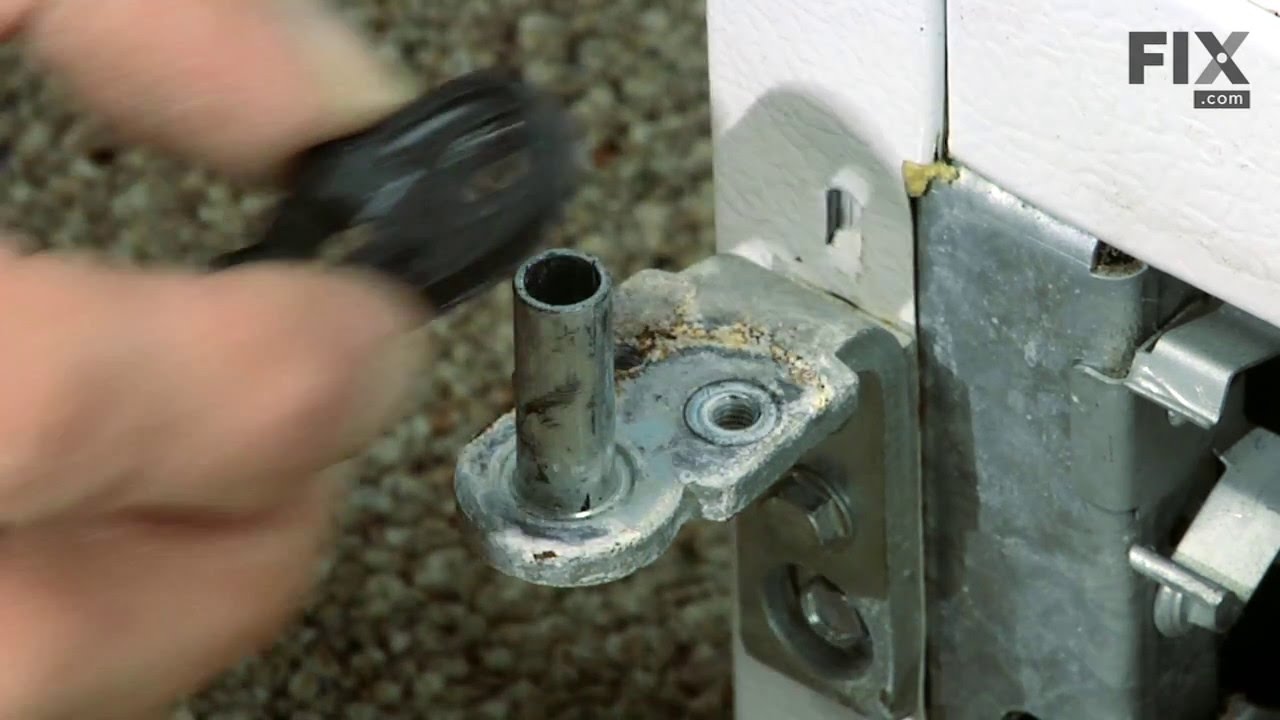
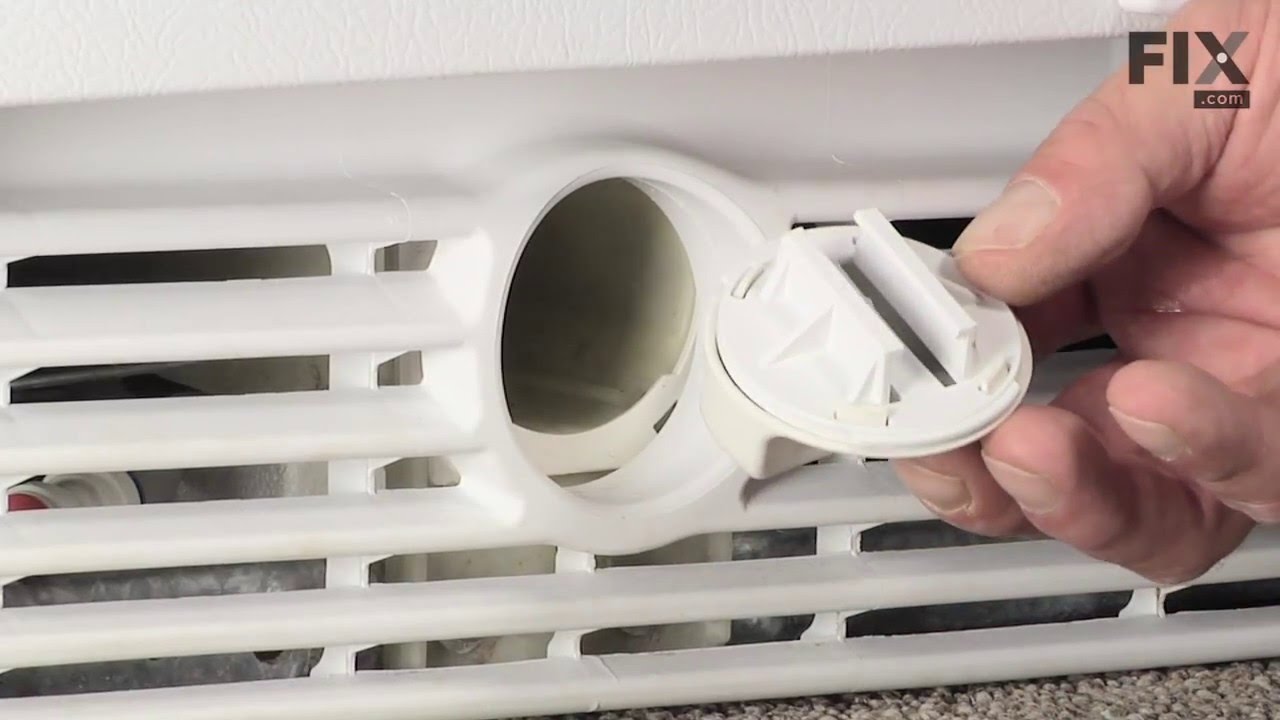


See how others fixed this model. Time, tools, difficulty, and steps that lead to victory!
View More
Search repair tips from other customers using simple keywords like "replace", "fit", "remove", "inspect". DIY doesn't mean you have to do it alone!
Search filter:
Clear Filter
Your search term must have 3 or more characters.
Front wheel was broken when moving refrigerator
527 of 555 people
found this instruction helpful.
Lifted the front up onto a scrap 2x4 to get it off the ground and it had 1 bolt that you removed to get the old item off and replace with new assymbly and 1 bolt to re attach. This sat broke for over a year becuase I thought it would be alot harder to fix, found the part on parts select ordered it recieved it in approx 2 days and had it f
... Read more
ixed in less than 15 minutes. I would recommend parts select to anyone who told me that they had a appliance broken.
Thanks
Thanks
Read less
Other Parts Used:

Was this helpful?
Thank you for voting!