


 My Orders




KSPZ25V9GS3 Frigidaire Refrigerator - Overview
Diagrams for KSPZ25V9GS3
See every part. Know exactly what you need.


Enter a part description. DIY Heroes keep it simple, eg. "belt" or "pump".
Search filter:
Clear Filter
Your search term must have 3 or more characters.

$13.12
In Stock
Crisper Cover Support - Front
Part #241993101
This crisper cover front support is used to keep the crisper shelf in place and may need replacing if the door will not open or close. This white, OEM part measures roughly 1 inch in diameter and can be used for the front and the rear support, as designed by the manufacturer, and mounts to the inside cabinet wall. Replacing this part is a...Read moren easy repair, and will require a small flat blade screwdriver, a putty knife, and a soft hammer. Remove the crisper and shelf from the refrigerator before replacing the support. The crisper cover front support is held in place with a locking pin. To remove the old part, you will first need to push the pin into the interior of the cabinet using the screwdriver, and then you can pull the support out with a putty knife. If you cannot get the pin out you can use a flat-blade screwdriver to push it down and out of sight and it will not harm anything in your refrigerator After removing the pin and attaching the new support, simply use the soft hammer to lock the new pin in place.
Read less

$17.18
In Stock
Crisper Support - Rear
Part #241993001
This authentic rear crisper support is a white, plastic part which is rated as "easy" to install by our customers. This OEM part replaces the rear crisper cover support in your fridge and mounts to the inside cabinet wall. If there is visible damager or your crisper stops fitting properly, it may be time to replace the part. Check your us...Read moreer manual and model number to ensure this part is what you need. Replacing the rear crisper support in your refrigerator is an easy job. This part is made from plastic and mounts on the inside of the wall. To complete this repair you will need a small putty knife, a punch or a short flat blade screwdriver, and a small hammer. You may need to replace your rear crisper support if you find that the door will not open or close. In order to complete this repair, you will need to remove all the shelves above the crisper in order to have ample room to work. It is also good to have duct tape on hand, which can be used to protect the liner around the support. This part is sold individually. Please note that the rear and front crisper support are different parts; this is the one you are looking for if it is your rear support that needs replacing.
Read less

$59.47
In Stock
Water Filter
Part #WFCB
This OEM cup filter is designed to be compatible with all rear-filter refrigerators made before April 2001. The filter fits into a round white plastic housing. For this repair you may also require the PS428513 wrench or PS428532 O-ring. To install you will need to unscrew the cup before you can see the old filter, and then dump the water....Read more Pull the old filter straight down and place the new filter inside the filter cup. The end of the filter with the O-ring should be directed upward. As you tighten the filter it will align itself. If your refrigerator has a Change Filter light, it will need to be reset. Press and hold this button until the green light flashes (up to 15 seconds). This filter has a 2-Inch depth, 4.25-Inch height, 2-Inch width and needs to be replaced every 6 months of use or 200 gallons depending on which comes first. Filters for: Taste and odor Sediment 99.3% of Lead 99.99% of Cysts 99.7% of Turbidity 99.8% of Particulates (Class I) 94.9% of Atrazine (a herbicide) 94.2% of 2,4-D (a herbicide) 97.8% of Chlorine (Class I) 87.5% of Toxaphene (a pesticide).
Read less

$62.65
In Stock
Door Bin
Part #240363702
This refrigerator door shelf bin is designed to provide convenient storage for bottles, jars, and other items within the door compartment. Made from durable, transparent plastic, it allows for easy visibility and helps maximize usable space inside the refrigerator. Commonly referred to as a 2-liter bin, it snaps securely into the designat...Read moreed slot on the door without the need for tools. If your current bin is cracked or no longer holding items safely, replacing it ensures continued organization and functionality.
Read less

$41.14
In Stock
Defrost Thermostat
Part #5303918202
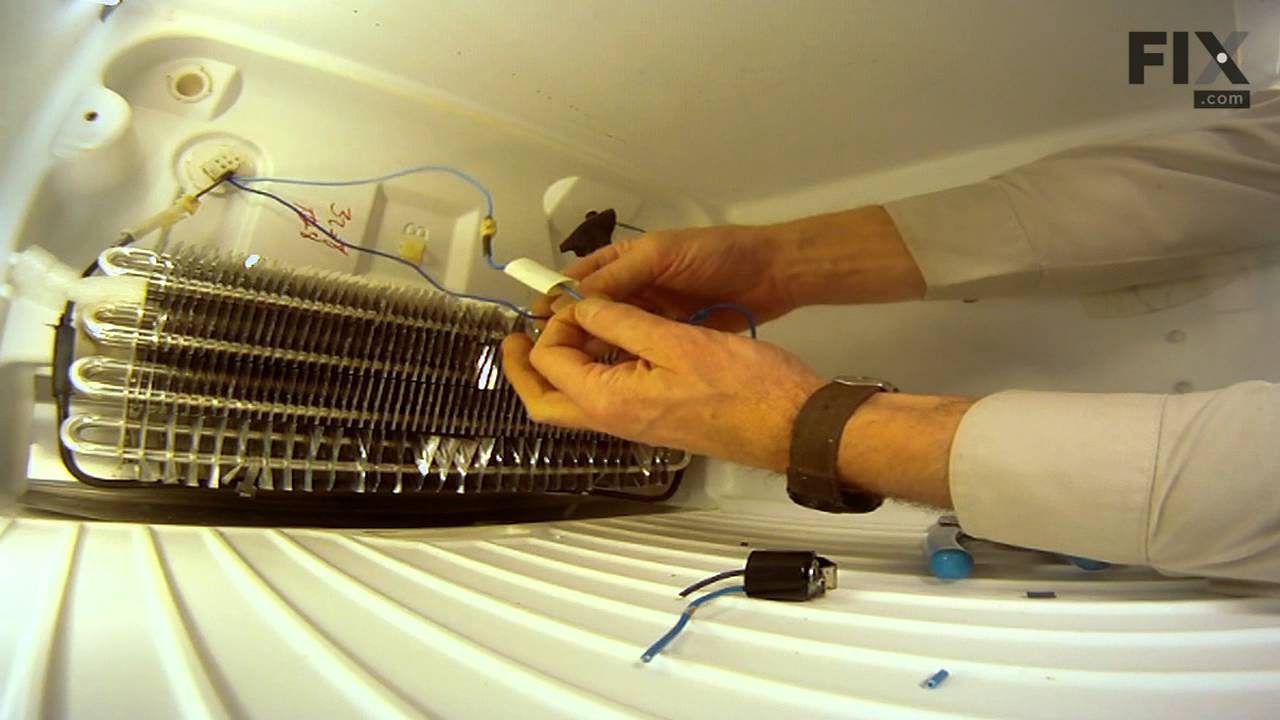
This defrost thermostat is also known as a refrigerator defrost bi-metal thermostat kit. The function of the defrost bi-metal thermostat is to prevent overheating during the defrost cycle in your refrigerator by protecting the evaporator. The most common sign that there is a problem with your refrigerator defrost thermostat kit is if your...Read more freezer is cold but your refrigerator is warm. If your evaporator coils are icy then your defrost bi-metal thermostat kit could be defective. To do this installation the tools you will need include a 1/4 inch nut driver, a pair of wire strippers and crimpers, and a heat gun.
Read less

$71.98
In Stock
Dispenser Crusher Housing
Part #241885001
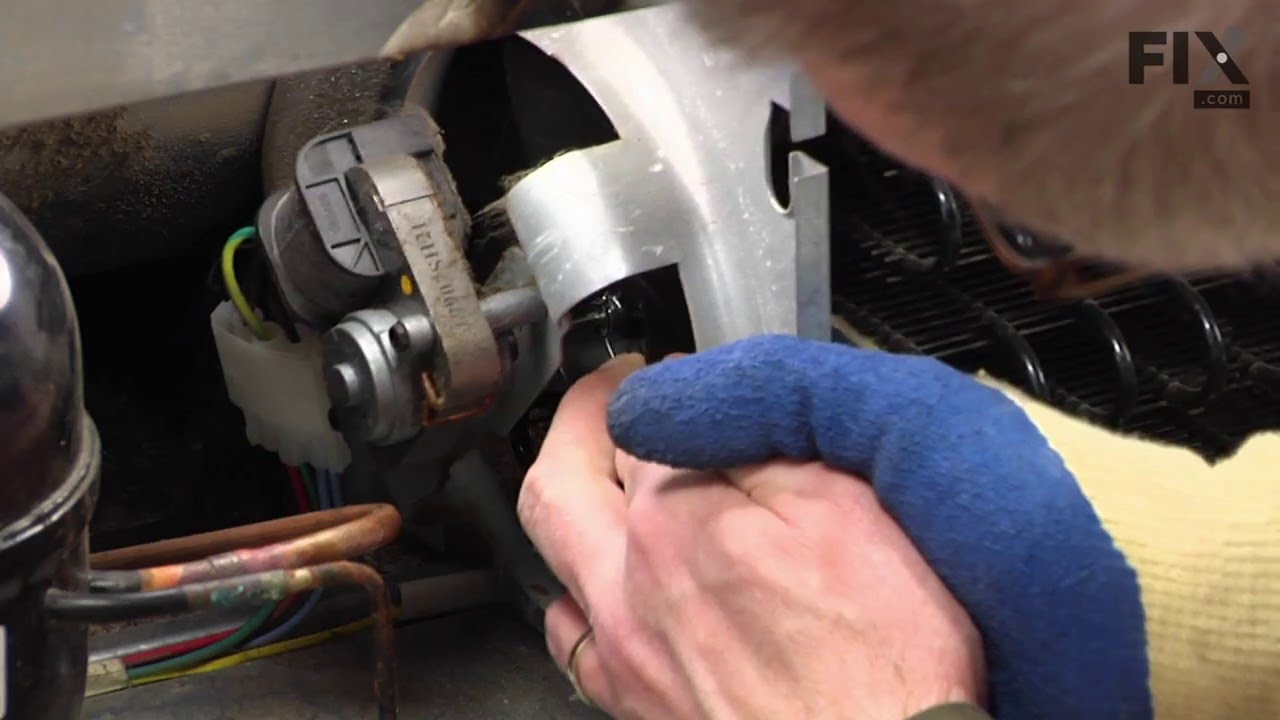
This dispenser crusher housing may also be known as a refrigerator ice crusher housing, and is compatible with your refrigerator. The function of the dispenser crusher housing is to shield the ice crushing blades within the ice container. To make this repair you will need a Phillips screwdriver, a flat blade screwdriver, a quarter-inch nu...Read moret driver, and a pair of channel lock pliers. For this installation, work gloves are recommended. Note that this piece may look different or be a different color than the original, but this part will fit and function in the same way as the original part.
Read less

$54.95
In Stock
Ice Dispenser Drum
Part #241685101
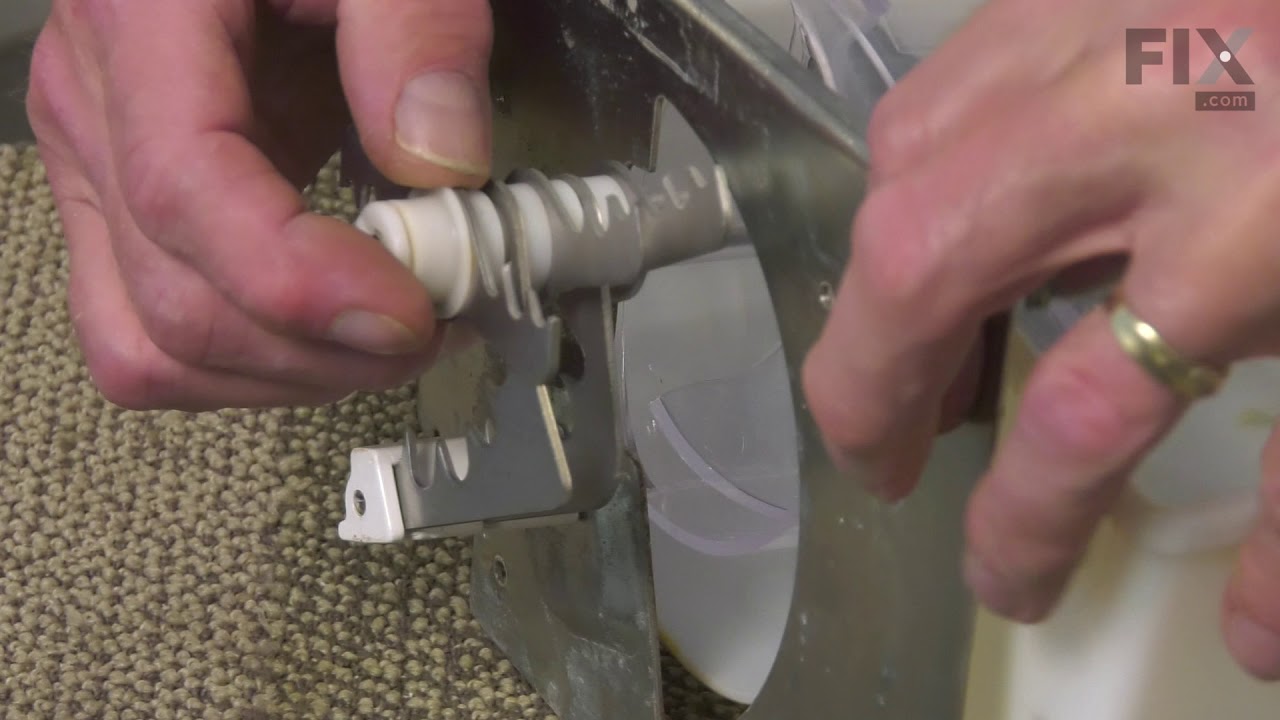
This genuine replacement ice dispenser drum is designed for use with a wide range of refrigerator models. Made from durable plastic, the drum plays a key role in your ice maker by capturing ice and directing it to the crusher for dispensing. It is positioned between the ice dispenser drive plate and the ice crusher mounting plate, ensurin...Read moreg smooth and efficient operation.
If the drum becomes damaged or worn, replacing it is a simple process. All you’ll need is a Phillips head screwdriver. Just remove the necessary components to access the drum, unfasten it, and install the new one in its place. This part is sold individually and is compatible with many refrigerator models—check your model’s diagram to confirm fit.
Read less

$42.38
In Stock

No Longer Available

$61.19
In Stock
Dispenser Grille
Part #241649003
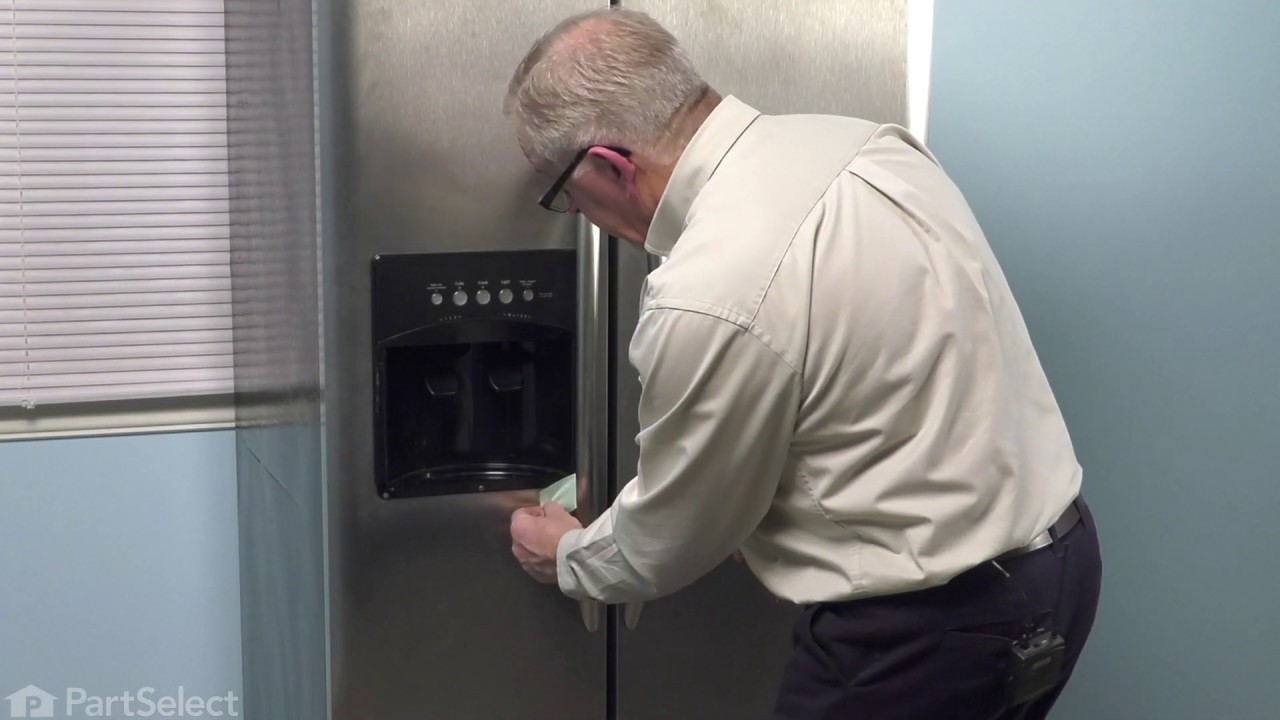
This part is the replacement dispenser grille for your refrigerator. It is made of black plastic and is approximately 10 inches wide and 4 inches deep. The dispenser grill sits at the bottom of your ice dispenser assembly and catches any spills when your ice or water dispenser is running. If your dispenser grille/drip tray is missing or d...Read moreamaged, this is the part that replaces it. To replace the dispenser grille, simply remove it and insert the new one. This part is sold individually and is and authentic OEM part sourced directly from the manufacturer.
Read less

$16.04
In Stock
Micro Switch
Part #241689106
This micro switch is a replacement electrical component that detects position or movement and sends signals to control functions. It is commonly replaced when an appliance does not respond correctly to door or control actions. Proper application should be verified prior to installation.

$97.93
In Stock
Water Filter Base
Part #240396002
This is the replacement water filter base for your refrigerator. It is made of plastic and is mainly white in color. The water filter lines will each have a blue release collar at the top. The water filter base is found at the top of your refrigerator, beneath the console, and it is the part that the water filter presses into. If the O-ri...Read morengs have gone bad, and the filter is leaking, or the locking device has failed and the water filter is not locking in, you may need to replace the water filter base. This part is sold individually and is an OEM part sourced directly from the manufacturer.
Read less
Common Symptoms of the KSPZ25V9GS3
How this model fails, and the parts that fix it.
Not dispensing water
Fixed by
these parts
these parts


Show All
Fridge too warm
Fixed by
these parts
these parts


Show All
Noisy
Fixed by
these parts
these parts


Show All
Ice maker won’t dispense ice
Fixed by
these parts
these parts


Show All
Leaking
Fixed by
these parts
these parts

Show All
Freezer not defrosting
Fixed by
these parts
these parts
Show All
Ice maker not making ice
Fixed by
these parts
these parts
Show All
Door won’t open or close
Fixed by
these parts
these parts


Show All
Freezer section too warm
Fixed by
these parts
these parts
Show All
Fridge too cold
Fixed by
these parts
these parts
Show All
Clicking sound
Fixed by
these parts
these parts
Show All
Ice maker dispenses too little ice
Fixed by
these parts
these parts
Show All
Frost buildup
Fixed by
these parts
these parts
Show All
Ice maker dispenses too much ice
Fixed by
these parts
these parts
Show All
Fridge and Freezer are too warm
Fixed by
these parts
these parts
Show All
Freezer too cold
Fixed by
these parts
these parts
Show All
Too warm
Fixed by
these parts
these parts
Show All
Light not working
Fixed by
these parts
these parts
Show All
Fridge runs too long
Fixed by
these parts
these parts
Show All
Will Not Start
Fixed by
these parts
these parts
Show All
Watch our pros, then fix it yourself.
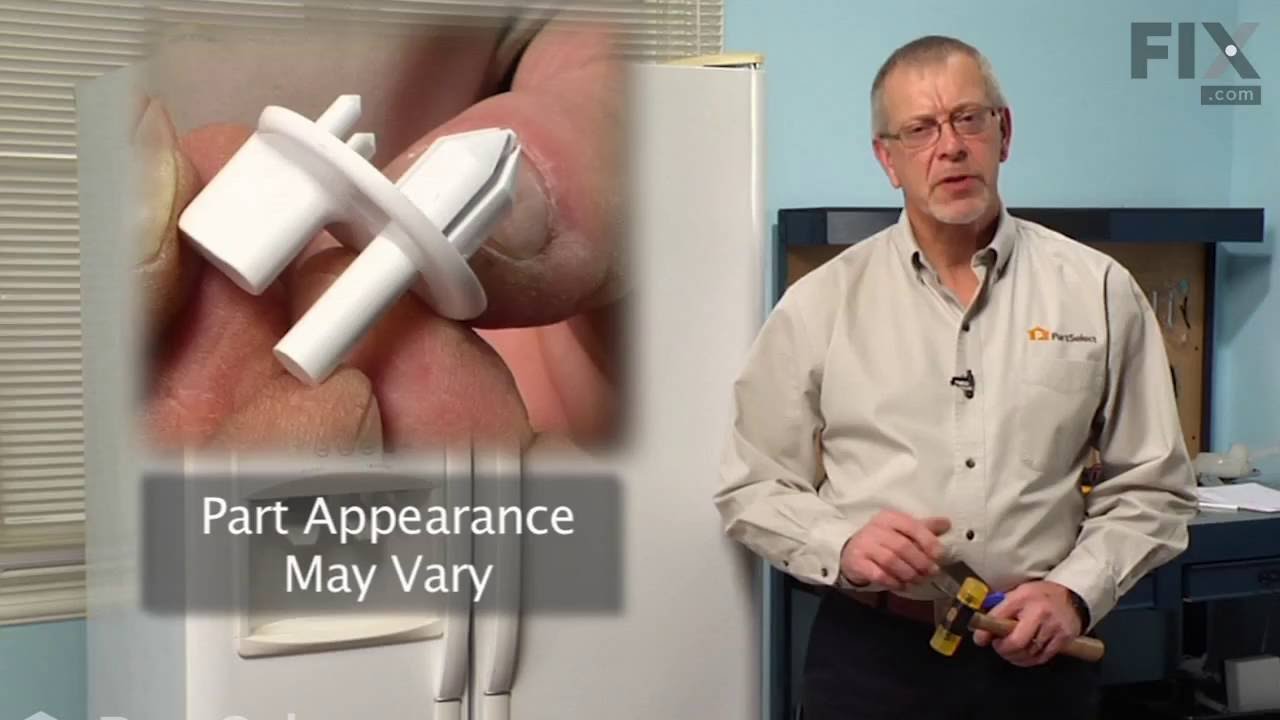
See how others fixed this model. Time, tools, difficulty, and steps that lead to victory!
View More
Search repair tips from other customers using simple keywords like "replace", "fit", "remove", "inspect". DIY doesn't mean you have to do it alone!
Search filter:
Clear Filter
Your search term must have 3 or more characters.
Support studs were broken
337 of 381 people
found this instruction helpful.
Used pliers to remove the residual broken stud that was still attached to the wall of the refrigerator, and then just pushed the new part in place. The longest time was spent in removing the food and crisper drawers.
Other Parts Used:
Was this helpful?
Thank you for voting!