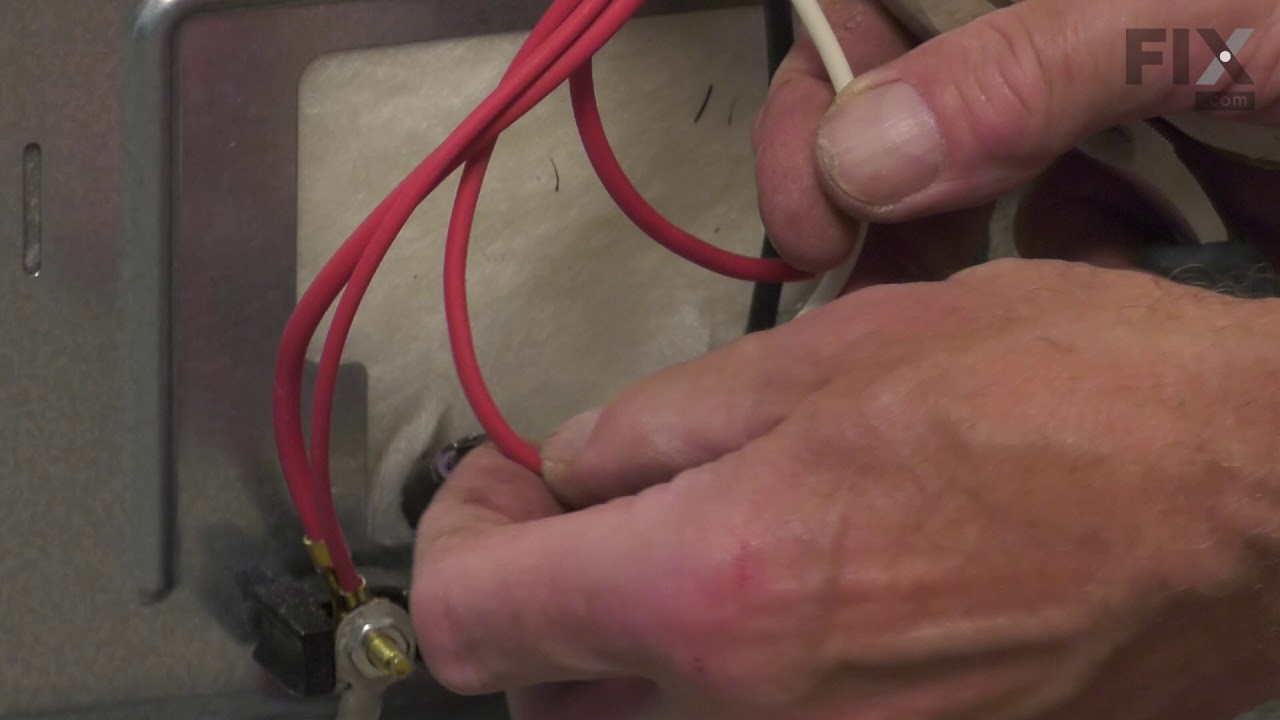
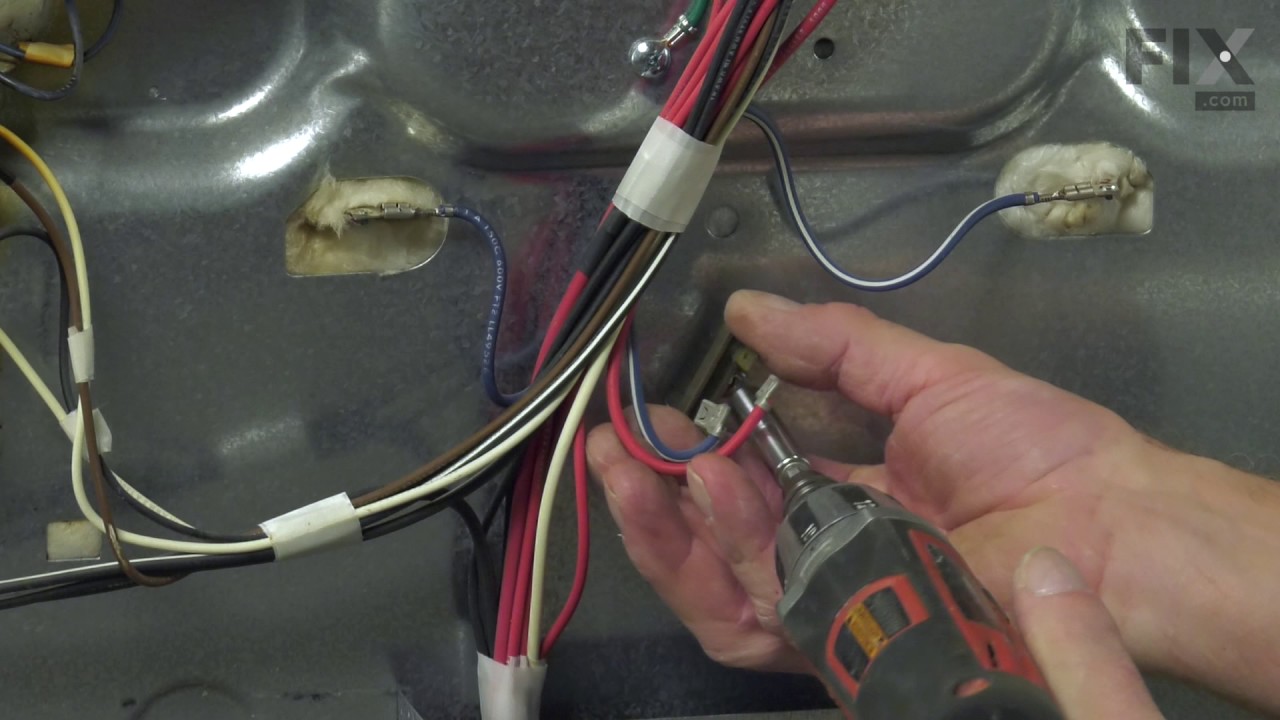
This is a heating element compatible with various makes of ranges and ovens and is sold as an individual part. Measuring 20.5-inches wide and 20.25-inches (with terminals) long, this heating element is a genuine OEM part. If your range is not heating during the bake setting, not heating evenly, or if the element is burnt out or damaged, t...Read morehe element will need to be replaced. This repair is simple and only requires that you disconnect your oven from the wall outlet and use an appropriate screwdriver to disassemble and replace the element with the additional support brackets to secure it.
This is a multi-use and multi-appliance screw. It can be used on a microwave, refrigerator, range/oven, air conditioner, dehumidifier, washer, or dryer. The measurements of this screw are 8 x 1/2 inch. It has 6 threads. Refer to the manual provided by the manufacturer for further information on repair and accurate guidance. Remember to wear work gloves as a safety precaution.
This is a manufacturer-made oven temperature sensor for various models of range. This sensor is designed to accurately detect the internal temperature of your oven and communicate with the control board to control the level of heat inside of it. Over time and through extended exposure to hot temperatures, this sensor can fail and cause yo...Read moreur oven to have issues heating or staying at a consistent heat level, at which point it needs to be replaced. This sensor features a wire harness to connect to the control board of the oven, as well as two mounting screws to install it. Replacing this sensor is easy and only requires a screwdriver to unthread it from the lower portion of your oven. This sensor is sold on its own, and does not come with any other necessary parts, like its securing screws.
The outer door panel and glass assembly is an OEM replacement for select Whirlpool, KitchenAid, Maytag, Jenn-Air, Amana, Inglis, and Magic Chef ovens, stoves, and ranges. It features a stainless steel exterior with a black glass insert for a modern appearance. Measuring approximately 30 inches by 23 inches, it fits a range of models but d...Read moreoes not include the handle. For safety, wait until the oven is cool before installing, and consider using gloves to avoid injury. Assistance may be required to handle the heavy door during servicing. Verify compatibility with your appliance model before purchase, as slight variations in parts can occur.
This cast aluminum non-stick gas range griddle provides a versatile cooking surface that fits neatly over the center burner, making it ideal for preparing foods like pancakes, eggs, bacon, and grilled sandwiches. Measuring approximately 7¾ inches wide by 19¾ inches deep with a low-profile 1-inch height, it offers ample space while maintai...Read morening stable placement. The smooth black non-stick coating promotes easy food release, while recessed drain channels and dual grease wells help direct excess grease away from food for cleaner cooking. Designed for convenient use with no tools required for installation, the griddle should be hand washed with non-abrasive materials to help preserve the coating and maintain long-term performance.
Ask our experts a question about this model and we'll get back to you as soon as possible!
We may have answered a similar question already! Search questions and answers left by others using simple keywords like "fit", "broken", "easy", or "quality" to find questions that match.
Search filter:
Clear Filter
Your search term must have 3 or more characters.
Sort by:
Prev
1
Next
Sorry, we couldn't find any existing answers that matched.Try using some different or simpler keywords, or submit your new question by using the "Ask a Question" button above!
Thomas - For model number KSDG950ESS6
November 28, 2024
I HAVE A FBEO BLOWER FAN SPEED TOO LOW ) ON THE DISPLAY THE STOVE IS 18 MONTHS OLD
Hello Thomas, Thank you for your inquiry. The F8 E0 error either indicates the fan is turning too slowly because of a restricted blade or there is an issue with the hall sensor in the fan motor. Check the motor assembly for any restrictions inside the fan assembly and you can test the complete assembly with a multimeter. Good luck with your repair.
CHRIS , i have the code (FBEO ) UPPER FAN BLOWER ! YOU SENT ME THE THE LOWER BLOWER MOTOR PART & NUMBER , PLEASE SEND THE UPPPER FAN BLOWER MOTOR PART #
Hello Thomas, Thank you for your inquiry. For your model, we show the convection fan as part# PS12745419 and the blower fan motor as part# PS11770168. We hope this helps you.
See how others fixed this model. Time, tools, difficulty, and steps that lead to victory!View More
Search repair tips from other customers using simple keywords like "replace", "fit", "remove", "inspect". DIY doesn't mean you have to do it alone!
Search filter:
Clear Filter
Your search term must have 3 or more characters.
The oven would take an hour to preheat.
59 of 64 peoplefound this instruction helpful.
Helen from PURVIS, MS
Very Easy
Less than 15 mins
Screw drivers
First, we turned on broil and the upper element turned orange and obviously worked. We figured the bottom element went out. The diagram on this site showed a bottom heating element that looked nothing like ours, but after reading other reviews, and reading that part that goes through the back of the oven was in the middle, and not off to
... Read morethe side, we ordered this element. It was perfect. All you have to do is unplug the oven, take out the bottom pan covering the element by removing 2 screws in the back, remove the lower small cover on the back of the oven and then unplug the old element, unscrew the old element on the inside of the stove, then install the new element and put everything back like it was. Nothing to it. It worked like a charm and my oven now heats up fast again. Easiest appliance repair job ever!
Read less
Was this helpful?
Thank you for voting!
Oven Bake Element bad
33 of 43 peoplefound this instruction helpful.
Bryan from ROME, NY
Really Easy
15 - 30 mins
Screw drivers
1. Unplugged stove 2. Removed two (2) screws from bottom panel in oven cavity 3. Lifted out bottom panel 4. Removed two (2) screws from bake element standoffs. 5. Removed two (2) screws from bake element (Rear of oven cavity) 6. Removed Terminal Block Cover Box by removing two (2) screws and lifting up on it.
... Read more>7. Removed lugs from the ends of the bake element. 8. Extracted bake element. 9 Inserted bake element through rear opening and attached the two lugs removed in step 7. 10 Inserted two screws removed in step 5. 11. This bake element only had a standoff bracket in the front. Used one (1) screw from step 4. for front standoff. 12 Replaced bottom panel and two screws. 13 Reinstalled Terminal Block Cover Box and two screws. 14. Plugged oven in and tested oven.
Read less
Was this helpful?
Thank you for voting!
Bottom heat element burned out
12 of 14 peoplefound this instruction helpful.
Robert from CHURCHTON, MD
Very Easy
Less than 15 mins
Screw drivers
Unplug from power source, remove panel on back of range, unplug power connections for bottom element on back of range, remove bottom pan in oven installed element, put back together in reverse. Video on parts select website is the bomb!



 My Orders