This EveryDrop Filter3 is certified to reduce the most contaminants with Triple Filtration Technology. Now, you and your family can enjoy the enriching benefits of cleaner, freshly filtered ice & water. Not just in beverages, but for preparing meals, too. This advanced generation of ice and water refrigerator filters from EveryDrop Filter...Read mores are certified to reduce more contaminants with Triple Filtration Technology. Filter 5 reduces 16 contaminants, so you can feel reassured that you and your family are getting the most out of your water. Remember to replace your refrigerator filter every 6 months to maximize contaminant reduction.
The lower door closing cam is used in refrigerator doors, it can be located on the fresh food side or the freezer side. It helps hold the door open. This cam is made out of plastic, so it might crack or wear down over time. If your door will not open and close properly you may need to replace the door closing cam. To successfully install ...Read morethis part, you will need a 5/16 nut driver and a small flat blade screwdriver. Before you begin, unplug your appliance and disconnect the water supply. Lubricating this part may help with installation. This replacement part is sold individually. This part will fit both the left and right side of your refrigerator door. To make the repair, remove the top hinge cover, then the top hinge support. Lift the door from the bottom support and remove the old door cams. Replace the cams, using a little lubricant if necessary, and place the door back on the lower hinge support. Replace the top hinge support and your repair is complete!
This Ice Maker (Icemaker Assembly, Complete Icemaker Assembly, Ice Maker Assembly, Refrigerator Ice Maker) can be used with 25-27 cubic feet refrigerators that have a vertical auger dispenser located on the freezer door. It’s used to make ice. When this part fails, no ice cubes will be made. It could prevent the icemaker from filling with...Read more water or just prevent the harvesting of the ice cubes. This is a sign the part should be replaced. The parts electrical contacts and motor can fail due to normal wear and tear. The icemaker attaches to the ceiling of the freezer compartment. This assembly measures 11 inches by 5 inches, is constructed of plastic and metal, and comes in black/white.
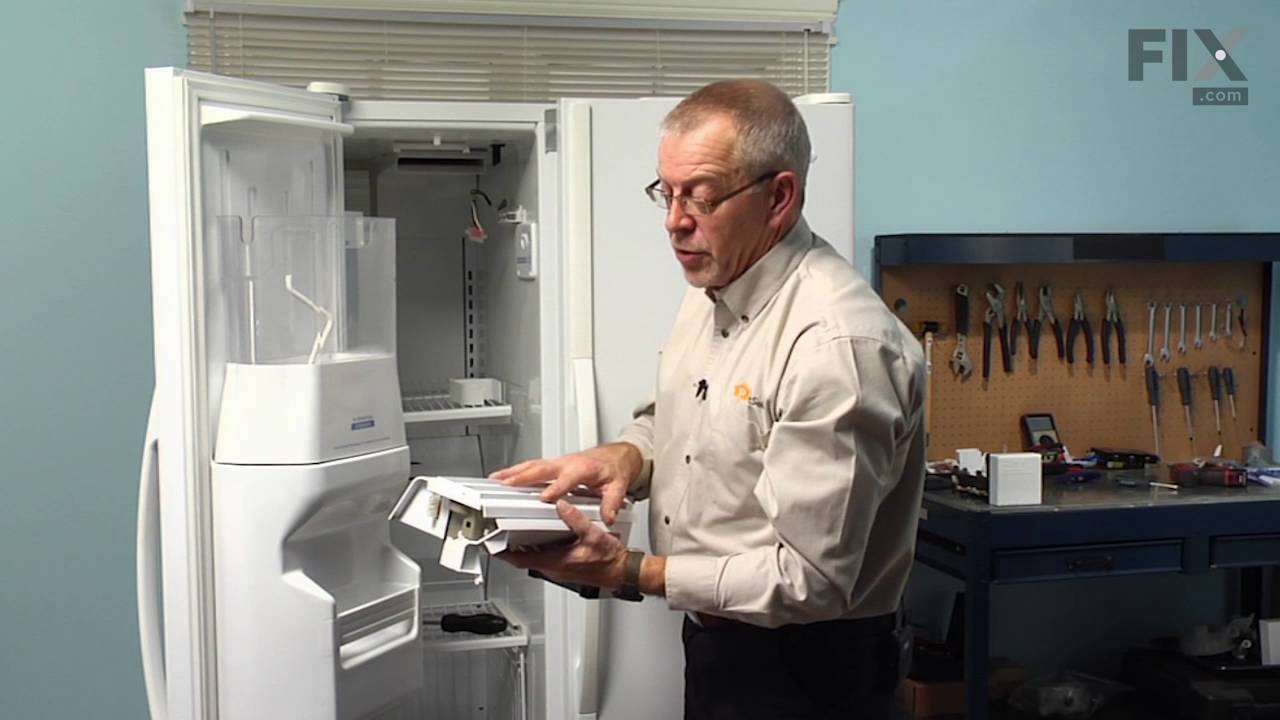
The “Icemaker Control Assembly” (Module & Motor Assembly, Ice Maker Control Module, Icemaker Module, Refrigerator Ice Maker Module) is what controls the actions of your ice maker. The control turns the timing cams and the ejector blades. It controls most of the basic parts and functions such as the heater, water inlet valve, the cube size...Read more, and cube ejection. If your ice maker control is broken it can no longer properly control the ice maker functions. It may not produce any ice, make small ice cubes, or have intermittent operation. This can occur due to normal wear and tear. The icemaker control assembly is attached to the ice maker mold, and is under the white cover. Test the icemaker control assembly by using a multimeter. If this reveals the assembly to be defective, you will need to replace this part. It is approximately 4.25 inches square, beige, and is constructed of plastic and metal. This replacement part features one icemaker control assembly, including the control module and the motor.
This is a refrigerator ice guide that is made entirely of clear plastic. This ice guide is located in the freezer door. Turn your refrigerator ice dispenser off before replacing the part. This is a simple repair, and the only tool you will need is a small flat blade screwdriver to push on the pivot tab on the bottom of the ice guide. Do n...Read moreot worry about breaking the side or pivot tabs on your existing ice guide because it will be discarded anyway. This is a genuine manufacturer replacement part.
If you have ice building up in your freezer, or if your freezer is getting too warm during the defrost cycle you may need to replace the bi-metal defrost thermostat. The function of the defrost bi-metal thermostat is to clip onto the evaporator and protect your evaporator from overheating during the defrost cycle. If your refrigerator doe...Read mores not defrost properly you can test both the thermostat and the heater to figure out which part is at fault. For this repair, you will need a Phillips screwdriver, a 1/4 inch nut driver, a flat blade screwdriver, a pair of wire strippers, a roll of electrical tape, and a few butt splice connectors.
This light bulb is a 120 volt, 25 watt incandescent appliance light bulb with a small base screw-in that fits in a variety of appliances such as microwaves, refrigerators, freezers, cooktops, or stoves. Its purpose is to light up the appliance when the door is open. This is a genuine OEM part. You may need to replace the light bulb if the...Read more existing bulb is burnt out or broken. This light bulb is sold individually and is a common wear part, it is recommended to order a spare.
In this kit you will find the support, the ice door, spring, and delay. The heater ribbon is no longer needed and therefore will not be included with this part. This kit works in the dispenser chute to let ice through when it is being dispensed. If you have the following symptoms such as: door sweating, difficulty opening or closing door,...Read more frost buildup, warm freezer section, or problems with ice dispensing, then this is a solution. The tools needed for this repair are a putty knife, needle nose pliers, and 1/4 inch nut driver. Wear work gloves to protect your hands when performing this repair.
This set of two electronic control boards includes both the emitter and receiver modules, which work together to manage ice production and dispensing in compatible refrigerator models. The emitter sends a signal to detect ice levels, while the receiver interprets that signal to determine when the ice bin is full and when to initiate dumpi...Read moreng or refilling. These boards are essential for maintaining proper ice maker functionality, ensuring efficient operation and preventing overfilling or underproduction. Installation should be performed with the appliance unplugged, and compatibility must be confirmed using the refrigerator’s model number.
Ask our experts a question about this model and we'll get back to you as soon as possible!
We may have answered a similar question already! Search questions and answers left by others using simple keywords like "fit", "broken", "easy", or "quality" to find questions that match.
Search filter:
Clear Filter
Your search term must have 3 or more characters.
Sort by:
Prev
1
2
3
Next
Sorry, we couldn't find any existing answers that matched.Try using some different or simpler keywords, or submit your new question by using the "Ask a Question" button above!
Cynthia - For model number KSCS25INSS01
February 9, 2020
How many cubic feet
Hello and thank you for writing.
This unit is 24.5 Cu. Ft.capacity. We hope this helps. Please contact us anytime if you require further assistance.
2 peoplefound this instruction helpful.
Was this helpful?
Thank you for voting!
JOANNE - For model number KSCS25INSS01
August 22, 2023
I cannot remove the water filter below the freezer on my side by side refrigerator. The old cap broke and the I am unable to attach the new cap to the cartridge still in the refrigerator. I have tried turning the cap every way but it will not line up so I cannot remove the old cartridge to replace it. This is the first time this happened, I have replaced the cartridge many times in the past. Hope you can help. I even watched the video. No luck still. Thank you.
Hi Joanne, thank you for contacting us. First, you may need to make sure you have pressed the water filter button on the left side of the cap before removing the filter. To install the new cap, you just have to give it a little clockwise turn, and it locks in place. If you are still unable to remove the filter, then you may need to check the filter housing, part number PS11748616, as it is most likely faulty. We hope this is helpful!
Hi Nancy, thank you for reaching out. Based on our research, your model has approximately the following dimensions:
Height: 71 1/2 inches.
Width: 35 11/16 inches.
Depth: 30 1/8 inches.
We hope this information helps!
1 personfound this instruction helpful.
Was this helpful?
Thank you for voting!
Patrin Ogwaro - For model number KSCS25INSS01
March 25, 2026
Seeking common issues for this model or similar common issue ..compressor tests ok with continuity . Compressor doesn't run ,continues to clicks on and off and so on . I didn't find the typical comp starter relay , any clue what out of many things might be the problem?
Hello Patrin, thank you for contacting us. If your compressor has continuity, the inverter box is likely faulty and unable to convert power to start the motor. We would recommend replacing it to fix the issue. The part number is PS8760019. We hope this solves your problem!
I tried to replace the light bulbs inside the refrigerator but it doesn’t work. Is there a special type for this model. I don’t have the manual on it!
Hello Mary, thank you for reaching out to us. You will need to check the light socket, part number PS371236. Overheating or loose wiring can burn out the socket. Look for burned spots, rust, or loose connections. If the socket is fine the issue could be with the door switch, part number PS12728638. Press it manually with the door open to see if the light flashes. If it feels stuck, clean it with electrical cleaner. We hope this information helps!
See how others fixed this model. Time, tools, difficulty, and steps that lead to victory!View More
Search repair tips from other customers using simple keywords like "replace", "fit", "remove", "inspect". DIY doesn't mean you have to do it alone!
Search filter:
Clear Filter
Your search term must have 3 or more characters.
No ice
567 of 688 peoplefound this instruction helpful.
Daniel from Suwanee, GA
Easy
15 - 30 mins
Screw drivers, Socket set
removed flap door in front of icemaker...removed 3 screws with bolt heads...removed one additional screw with bolt head and ice unit slid out. I removed motor unit (pops out no screws). Replaced and had ice within 3 hours.
Was this helpful?
Thank you for voting!
there were directions
754 of 1282 peoplefound this instruction helpful.
Kate from Jacksonville, FL
Very Difficult
30 - 60 mins
We didn't know where the product went and it was very difficult to install.
Was this helpful?
Thank you for voting!
Ice maker stopped functioning
463 of 495 peoplefound this instruction helpful.
Phil from Auberry, CA
A Bit Difficult
15 - 30 mins
Nutdriver, Screw drivers
Remove the icemaker service door... gently pry the door pins from the hinge sockets. Remove the 3 screws from the under side of the icemaker with a nut driver (1/4"). Gently remove the icemaker . It's a tight fit between the top of the compartment and the icemaker lower support tray. Next, disconnect the electrical connector at the ri
... Read moreght side. You're done! Reverse procedure for installing. Good luck. Remember, your working with cold plastic...take your time and don't force too much.




 My Orders