


 My Orders




KSBP25FKSS00 KitchenAid Refrigerator - Overview
Diagrams for KSBP25FKSS00
See every part. Know exactly what you need.


Enter a part description. DIY Heroes keep it simple, eg. "belt" or "pump".
Search filter:
Clear Filter
Your search term must have 3 or more characters.

$79.33
In Stock
EveryDrop Water Filter
Part #EDR5RXD1
Enjoy cleaner water and ice with this easy-to-install refrigerator filter. It uses Triple Filtration Technology to reduce 16 common contaminants, so your drinks and meals taste better. For best results, swap it out every six months to keep your water fresh and safe.

$19.54
In Stock
Light Bulb - 40W
Part #8009
This an authentic OEM 40-Watt replacement light bulb, used in a number of household appliances. It is specially designed to withstand extreme temperatures, which is why these replacement bulbs are most often used to light the inside of refrigerators and ranges. It features a standard socket base, which means you simply unscrew the burnt-o...Read moreut bulb and screw in the replacement. Depending on the appliance you may require a screwdriver or nut driver to access the light bulb. We recommend you wear work gloves while handling this replacement part. It is constructed of glass and metal and is sold individually. Depending on the appliance and location of the bulb within it, you may want to consider disconnecting power and using a flashlight for easier access to unscrewing and re-screwing in your bulb during this repair.
Read less

$9.62
In Stock
Refrigerator Lower Door Closing Cam
Part #WP2182179
The lower door closing cam is used in refrigerator doors, it can be located on the fresh food side or the freezer side. It helps hold the door open. This cam is made out of plastic, so it might crack or wear down over time. If your door will not open and close properly you may need to replace the door closing cam. To successfully install ...Read morethis part, you will need a 5/16 nut driver and a small flat blade screwdriver. Before you begin, unplug your appliance and disconnect the water supply. Lubricating this part may help with installation. This replacement part is sold individually. This part will fit both the left and right side of your refrigerator door. To make the repair, remove the top hinge cover, then the top hinge support. Lift the door from the bottom support and remove the old door cams. Replace the cams, using a little lubricant if necessary, and place the door back on the lower hinge support. Replace the top hinge support and your repair is complete!
Read less

$120.55
In Stock
Replacement Ice Maker
Part #4317943
This ice maker (Complete Icemaker Assembly, Whirlpool Icemaker Kit, Ice Maker Assembly, Refrigerator Ice Maker, Icemaker) receives water from the water inlet valve, freezes it, and dispenses it into the ice bucket until the bucket is full. Ice makers will need to be replaced every 3-10 years depending on the frequency of usage, and water ...Read morequality. You can perform a voltage test with a multimeter or perform an inlet valve test. If you’re unable to make ice, or notice leaks then it may be a sign your ice maker is damaged and could be in need of a replacement. This model measures approximately 11x5 inches, is constructed of plastic and metal, and comes in black/silver. This ice maker is a complete assembly; the whole assembly attaches to the wall of your freezer. ***NOTE: Ice maker does NOT come with the bail or shut off arm. You must order them separately if required. It does come complete with flat and round plug wiring harness, the mounting hardware, and the instructions. The harness can be reused. The ice maker will not fit refrigerators that have the ice auger mounted on the door.
Read less

$70.95
In Stock
Icemaker Control Assembly
Part #W10190935
Automatic ice harvesting relies on this refrigerator ice maker control module and motor assembly to coordinate the operating cycle. Located behind the ice maker cover, it drives the ejector mechanism and controls the sequence for loosening, releasing, and refilling the ice mold. A failed module may leave cubes stuck in the mold, stop the ...Read moreice maker from cycling, or cause unusual clicking during operation. Water supply problems and incorrect freezer temperatures can cause similar symptoms, so a lack of ice alone does not confirm module failure. This is an OEM part sourced directly from the manufacturer.
Read less

$17.15
In Stock
Refrigerator Control Bracket
Part #WP2180226
This is a control bracket for your refrigerator, and may also be known as the dispenser control bracket. The function of this part is to hold the micro switches and the light socket in the freezer dispenser section in place. Its measurements are roughly 9 inches long and 5 inches high, and this model comes in white. The tools you will nee...Read mored in order to do this repair include a Phillips screw driver, a quarter-inch nut-driver, and a pair of needle-nose pliers. If your ice dispenser is not working properly, your bracket could be the problem.
Read less

$17.15
In Stock
Refrigerator Ice Guide
Part #WP2180224
This is a refrigerator ice guide that is made entirely of clear plastic. This ice guide is located in the freezer door. Turn your refrigerator ice dispenser off before replacing the part. This is a simple repair, and the only tool you will need is a small flat blade screwdriver to push on the pivot tab on the bottom of the ice guide. Do n...Read moreot worry about breaking the side or pivot tabs on your existing ice guide because it will be discarded anyway. This is a genuine manufacturer replacement part.
Read less

$53.20
In Stock

No Longer Available
Ice Door Kit
Part #W10823377
In this kit you will find the support, the ice door, spring, and delay. The heater ribbon is no longer needed and therefore will not be included with this part. This kit works in the dispenser chute to let ice through when it is being dispensed. If you have the following symptoms such as: door sweating, difficulty opening or closing door,...Read more frost buildup, warm freezer section, or problems with ice dispensing, then this is a solution. The tools needed for this repair are a putty knife, needle nose pliers, and 1/4 inch nut driver. Wear work gloves to protect your hands when performing this repair.
Read less

$19.30
In Stock
Refrigerator Light Bulb 10w
Part #WP22002263
This 10-watt clear incandescent light bulb is designed to provide reliable interior illumination for household appliances such as dryers and refrigerators. Measuring approximately 2 inches in length, it fits securely into standard appliance sockets and activates when the appliance door is opened, offering clear visibility inside the drum ...Read moreor compartment. The bulb is suitable for use in a wide range of models across multiple appliance brands and is engineered to deliver consistent performance and durability. Installation is straightforward—simply screw the bulb into the designated socket within the appliance. Ensure the appliance is powered off before installation to maintain safety.
Read less

$21.45
On Order
Screw
Part #W11233072
This is a multi-use and multi-appliance screw. It can be used on a microwave, refrigerator, range/oven, air conditioner, dehumidifier, washer, or dryer. The measurements of this screw are 8 x 1/2 inch. It has 6 threads. Refer to the manual provided by the manufacturer for further information on repair and accurate guidance. Remember to wear work gloves as a safety precaution.

$20.37
In Stock
Refrigerator Micro Switch
Part #WP2162361
This refrigerator dispenser micro switch signals the appliance to release ice or water when you press the dispenser paddle. It responds to paddle movement, completing the electrical circuit while pressed and releasing it when your cup is removed. Worn contacts or a sticking mechanism may cause intermittent dispensing, no response, or disp...Read moreensing that fails to stop normally. Replacing a faulty switch helps restore reliable paddle control. Unplug the refrigerator before opening the dispenser housing or disconnecting wiring, and handle the wire terminals carefully during replacement. This is an OEM part sourced directly from the manufacturer.
Read less
Manuals & Care Guides for KSBP25FKSS00
Click to downloadInstall
Installation Instructions
(0.38MB)
Manual
Owner's Manuals
(1.37MB)
Specs
Product Specifications Sheet
(0.03MB)
Common Symptoms of the KSBP25FKSS00
How this model fails, and the parts that fix it.
Ice maker not making ice
Fixed by
these parts
these parts


Show All
Door won’t open or close
Fixed by
these parts
these parts


Show All
Ice maker won’t dispense ice
Fixed by
these parts
these parts


Show All
Not dispensing water
Fixed by
these parts
these parts

Show All
Leaking
Fixed by
these parts
these parts

Show All
Clicking sound
Fixed by
these parts
these parts
Show All
Noisy
Fixed by
these parts
these parts


Show All
Fridge too warm
Fixed by
these parts
these parts

Show All
Door Sweating
Fixed by
these parts
these parts

Show All
Light not working
Fixed by
these parts
these parts


Show All
Ice maker dispenses too much ice
Fixed by
these parts
these parts


Show All
Ice maker dispenses too little ice
Fixed by
these parts
these parts
Show All
Frost buildup
Fixed by
these parts
these parts
Show All
Freezer section too warm
Fixed by
these parts
these parts
Show All
Won’t start
Fixed by
these parts
these parts
Show All
Will Not Start
Fixed by
these parts
these parts

Show All
Touchpad does not respond
Fixed by
these parts
these parts
Show All
Fridge too cold
Fixed by
these parts
these parts
Show All
Too warm
Fixed by
these parts
these parts
Show All
Freezer not defrosting
Fixed by
these parts
these parts
Show All
Watch our pros, then fix it yourself.
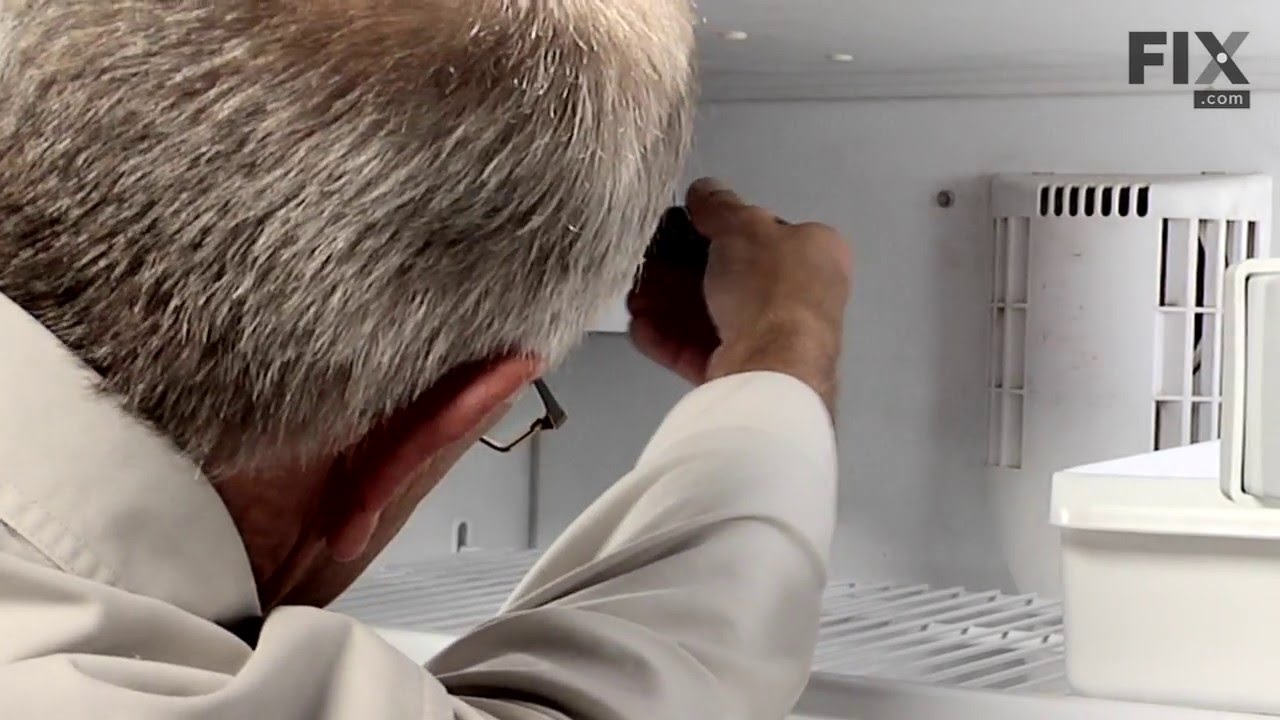
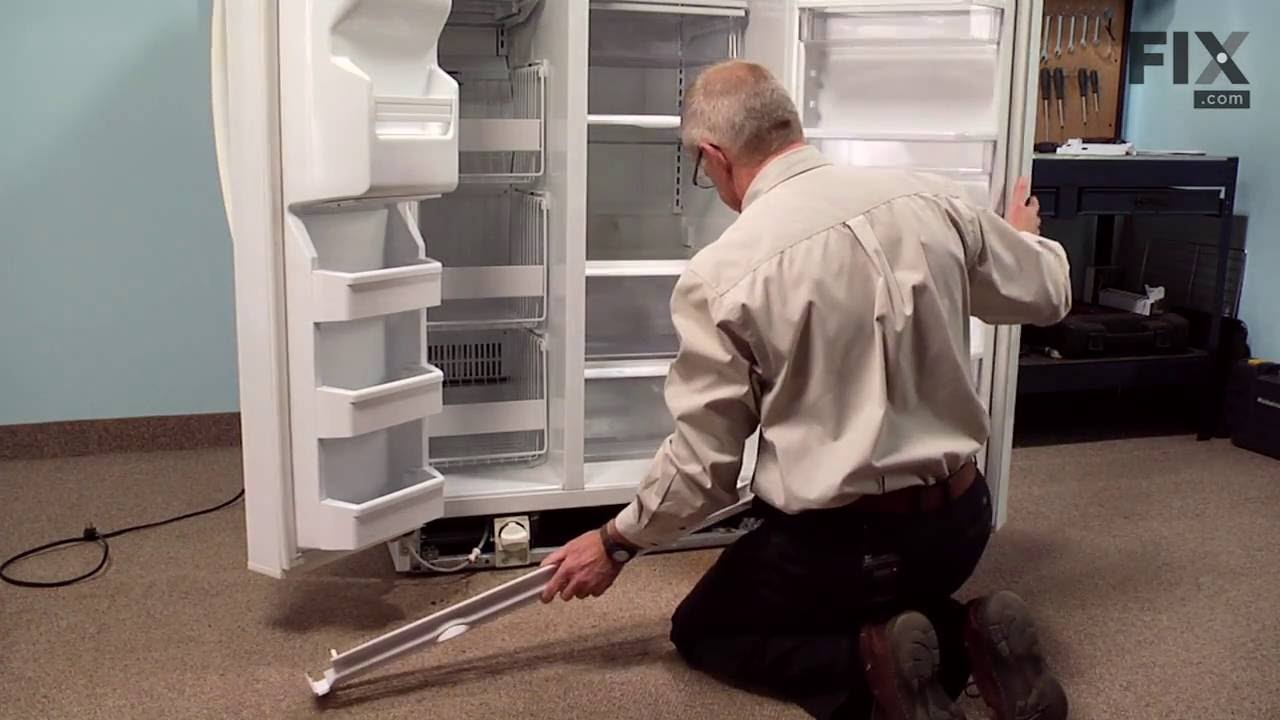
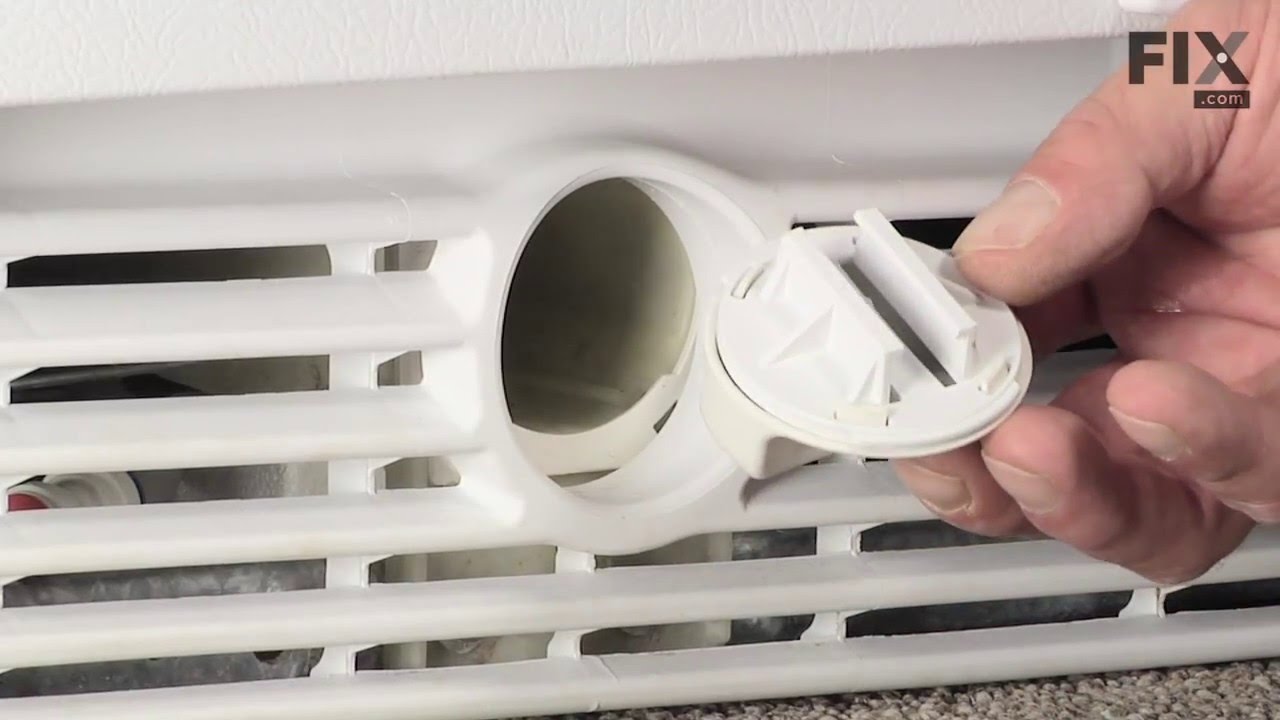
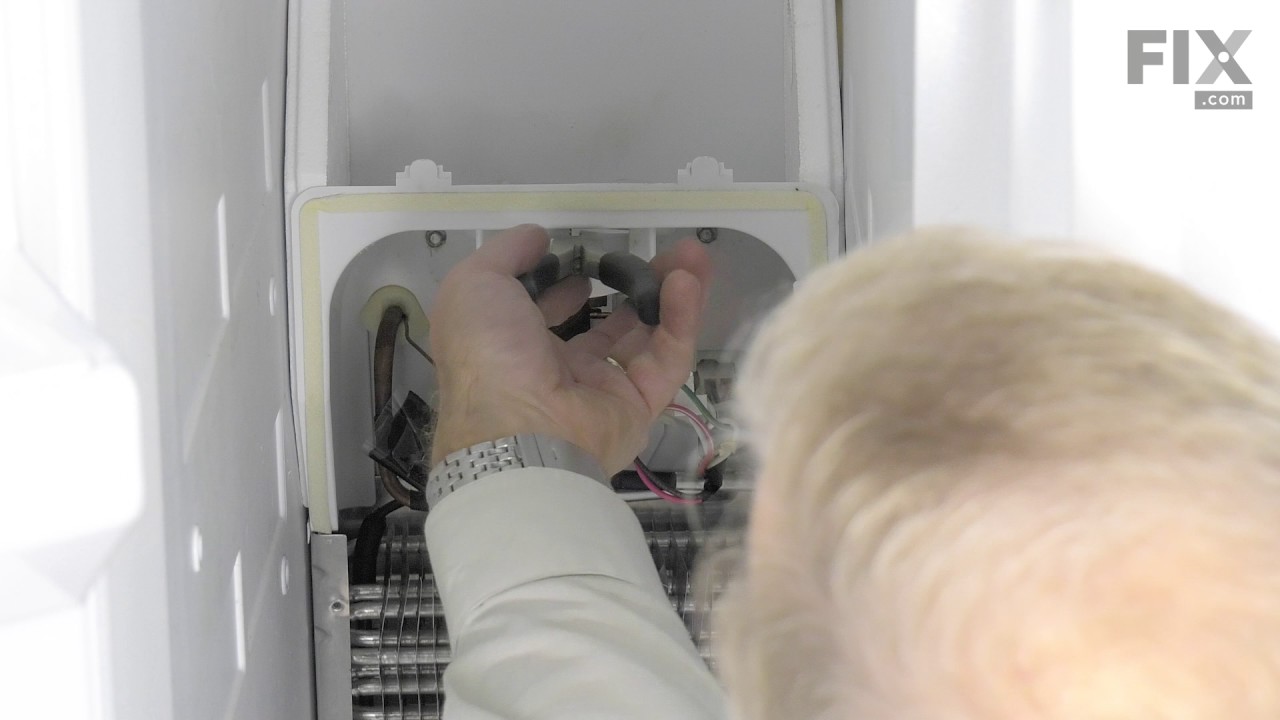
See how others fixed this model. Time, tools, difficulty, and steps that lead to victory!
View More
Search repair tips from other customers using simple keywords like "replace", "fit", "remove", "inspect". DIY doesn't mean you have to do it alone!
Search filter:
Clear Filter
Your search term must have 3 or more characters.
Front Door Ice Wouldn't Work And Air Going Into Freezer
498 of 612 people
found this instruction helpful.
Thanks to the pictorial diagram, I was able to order correct parts. It was just a matter of removal of broken parts and replacing them. Ice maker now working and air is no longer getting into freezer which was freezing up ice maker. Thanks for timely delivery, now I am able to use ice dispenser, which I haven't used for long time. Tha
... Read more
nks
Read less
Other Parts Used:


Was this helpful?
Thank you for voting!