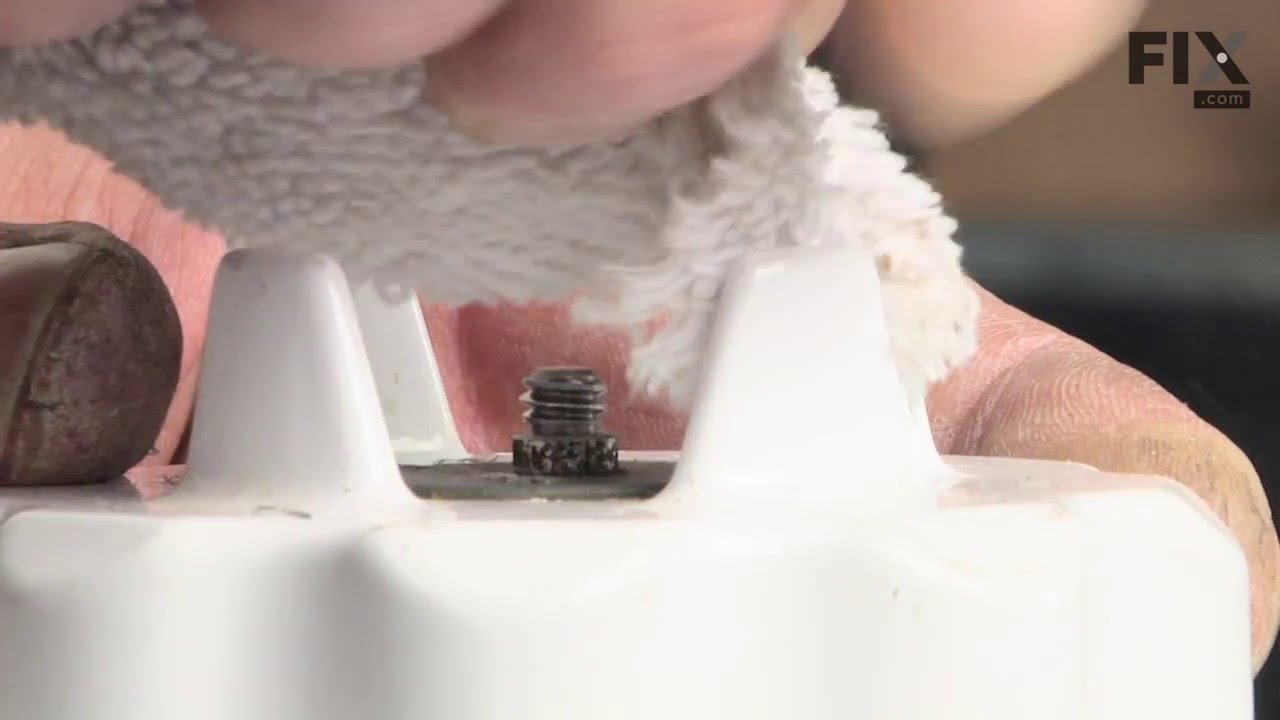
This drive coupling for your blender has reverse threads, and is used to spin the blender blades. The coupling connects the blender jar to the base. To replace this part, use a flat blade screwdriver to pry the coupling off, wipe the threads off with a dry cloth, and screw the new coupling on counter-clockwise. Make sure the blender is unplugged before beginning this repair.
This is a replacement dome and blade assembly for your blender. This part connects to the bottom of the blender, and contains the blade. When the blender is running, the blade will rotate to chop any items that may be in the blender. If, when you touch the touchpad, the blender does not start, and the blade does not rotate, you may need t...Read moreo replace it. This part contains the dome as well as the blade. It is an OEM part from the manufacturer.
Ask our experts a question about this model and we'll get back to you as soon as possible!
We may have answered a similar question already! Search questions and answers left by others using simple keywords like "fit", "broken", "easy", or "quality" to find questions that match.
Search filter:
Clear Filter
Your search term must have 3 or more characters.
Sort by:
Prev
1
Next
Sorry, we couldn't find any existing answers that matched.Try using some different or simpler keywords, or submit your new question by using the "Ask a Question" button above!
TOM - For model number KSB5WW4
August 11, 2023
Is the KSB5WW4 MODEL BLENDER? i AM IN NEED OF THE GEAR MECHANISM THAT FITS ON THE TOP OF THE BLENDER HOUSING
Hello Tom, thank you for asking. The part you are looking for is drive coupling, part number PS11746921. We hope this helps!
See how others fixed this model. Time, tools, difficulty, and steps that lead to victory!View More
Search repair tips from other customers using simple keywords like "replace", "fit", "remove", "inspect". DIY doesn't mean you have to do it alone!
Search filter:
Clear Filter
Your search term must have 3 or more characters.
Coupling teeth gone.
700 of 744 peoplefound this instruction helpful.
STEPHEN from PITTSBORO, IN
Really Easy
Less than 15 mins
First I inserted a small diameter rod in the motor fins to keep the motor from turning. Then I simply loosened the coupling. (Please know this is a left-hand thread). The coupling was not that tight. New coupling only requires a snug hand -tightening. You are are good to go!
Was this helpful?
Thank you for voting!
1/2 of the teeth broke off of the blender drive coupling
347 of 385 peoplefound this instruction helpful.
Richard from Naperville, IL
Really Easy
15 - 30 mins
My first step in repairing the broken KitchenAid blender, was to politely inform my wife HOW & WHY the blender broke in the first place. She thanked me for that, so she would know for the future. (whew...) Replacing the drive tooth wheel was a cinch. We who are reading this are all fortunate to have others, before us, fill us in on t
... Read morehe details. I'm glad I read previous testimonials instead of banking on KitchenAid's instructions. Although the motor shaft is a left-hand threaded mount, the mfg's instructions said to remove the defective coupler by prying the wheel off in various positions with a 1/2" screwdriver!! Reading previous repair stories here, proved to be more reliable. It took more time for me to find a tool to aid in the removal of the old part, than it was to replace the part itself. I needed to find something that was thin enough to fit around the motor shaft and hold it from turning while I unscrewed the defective coupler in a "clockwise" direction. I eventually found a small, old pair of adjustable wire strippers. I was able to wiggle them in and barely grab the motor shaft. I turned the coupling clockwise and it came right off. No problem at all. Turns out that all that was probably needed was to insert a small punch between the motor fan blades through the bottom of the unit just to keep the motor from turning. The new fitting doesn't have to be on any more than hand tight, as the blender runs in a clockwise rotation, and will keep the fitting snug all the time. Good luck, home mechanics.



 My Orders