


 My Orders




KRTD20V3GW1 Frigidaire Refrigerator - Overview


Enter a part description. DIY Heroes keep it simple, eg. "belt" or "pump".
Search filter:
Clear Filter
Your search term must have 3 or more characters.

$47.25
In Stock
Door Shelf Retainer Bar
Part #240534901
This door shelf retaining bar, also known as refrigerator door bar retainer or fridge door rack, is a genuine part sourced from the original manufacturer. It is a white This manufacturer-certified Door Shelf Retainer Bar, sometimes otherwise known as the door rack or bar retainer, is a white, plastic part which can be easily installed on...Read moreto the inside of the refrigerator or freezer door to hold items on the door shelves. It holds items in your fridge and will show physical damage if broken or warped, at which time it should be replaced. Check your user manual and model number to see if this part is right for you. No tools are required for this installation, the part should simply snap into place. This part measures roughly 25 inches wide, 3 inches high, and 5 inches deep. This part is sold individually, and we recommend checking the other door shelf retaining bars on your refrigerator or freezer at the same time as ordering this part to ensure that no others need to be replaced, as they often wear or warp at similar speeds.
Read less

$38.45
In Stock
Door Shelf Retainer Bar
Part #240534701
The Door Shelf Retainer Bar, also known as a refrigerator door rack, is a white, plastic part which can be easily installed onto your fridge door. It holds items in your fridge and will show physical damage if broken, at which time it should be replaced. Check your user manual and model number to see if this part is right for you. To ins...Read moretall this part, you will need to remove the old one by unlocking the tabs, which can be slid with your fingers. To install the new shelf, line it up with the shelf cut-outs, over the tabs, and gently press it down to lock it into place. This part generally fits the middle door shelf of refrigerators. This is a part that frequently requires multiple parts per refrigerator. Because it is sold individually, you will need to purchase as many door racks as necessary to complete your repair.
Read less

$43.63
In Stock
Refrigerator Crisper Pan
Part #240337103
This manufacturer-certified Refrigerator Crisper Pan is a clear plastic pan which easily inserts into your fridge's crisper area in order to hold items. In some models of refrigerator this model is the same pan for both the meat and vegetable bins, but please note that this part is sold individually and not part of a complete kit. If brok...Read moreen then the part should be replaced. Refer to your user manual and model number to see if this crisper is right for your fridge. This bin measures approximately 11 inches deep and 22 inches long.
Read less

$53.85
On Order
Crisper Glass Shelf Insert
Part #240350608
This refrigerator crisper shelf insert is a genuine replacement component designed to sit above the crisper drawers, providing a stable surface for food storage while helping to maintain proper humidity levels below. Measuring approximately 23.82 inches by 15.50 inches, it is made of durable glass and fits select Frigidaire refrigerator m...Read moreodels. Installation is tool-free—simply remove the old insert and slide the new one into place. This OEM part is sold individually and ensures a precise fit and reliable performance.
Read less

$131.88
In Stock
Refrigerator Door Gasket
Part #242193213
Frost near the door, long cooling cycles, or a warm refrigerator can result from a cracked or twisted fresh-food door seal. The gasket forms a tight barrier between the door and cabinet, helping hold cold air inside. First check for spilled food, loose hinges, bent door parts, or shelves that stop the door from closing. Match the replacem...Read moreent to the full appliance model before ordering. Disconnect power and move food to a cooler during the repair. Smooth shipping creases with warm water or low heat, but do not overheat the material. Install the seal without stretching it, then test several spots around the closed door with a sheet of paper.
Read less

$41.14
In Stock
Defrost Thermostat
Part #5303918202
This defrost thermostat is also known as a refrigerator defrost bi-metal thermostat kit. The function of the defrost bi-metal thermostat is to prevent overheating during the defrost cycle in your refrigerator by protecting the evaporator. The most common sign that there is a problem with your refrigerator defrost thermostat kit is if your...Read more freezer is cold but your refrigerator is warm. If your evaporator coils are icy then your defrost bi-metal thermostat kit could be defective. To do this installation the tools you will need include a 1/4 inch nut driver, a pair of wire strippers and crimpers, and a heat gun.
Read less

$17.17
In Stock
Screw - Kit of Four
Part #5304515677
This screw is used in refrigerators. The screw can be loosened or tightened with a Phillips-head or square-head screwdriver. This screw is used to secure the refrigerator handle to the refrigerator door. This is an OEM part sourced directly from the manufacturer.

$53.85
On Order
Dairy Door - Clear
Part #240337712
This is a dairy door for your refrigerator. This part covers the products in the dairy bin section. To access this section, simply lift the lid. This dairy door is made entirely of plastic and is transparent. It is almost 10 inches wide, and roughly 6 inches long. In order to make this repair you will not need any tools, as this part will easily clip in and out of place of the hinged holes.

$104.99
In Stock
Meat Pan
Part #240530811
This is the replacement meat pan for your refrigerator. It is made of clear plastic and is approximately 18 inches long and 13 inches wide. The meat pan slides into the bottom of the refrigerator shelf and is used to store meat and other food items. The main reason to replace the meat pan is if yours is cracked, damaged, or missing. To re...Read moreplace the meat pan, simply slide the old pan out, and slide the new one into place. This part is an OEM part sourced directly from the manufacturer, and is sold individually.
Read less

$75.91
In Stock
Freezer Shelf
Part #240358008
Sold individually. This shelf is for refrigerators.
Follow the directions in the owner's manual to install refrigerator shelf in your refrigerator. Wear work gloves to protect your hands.

$13.73
In Stock
Hinge Bearing
Part #5304507146
This is a replacement hinge bearing for your refrigerator. The hinge bearing is found on the door hinge, and reduces friction when the door opens and closes. If the bearing is damaged, you may not be able to open or close the door properly, and in this case, it will need to be replaced. It is made of white plastic and is approximately 2 i...Read morenches long and 1 inch in diameter. This part is sold individually and is a genuine OEM part.
Read less

$42.38
In Stock
Common Symptoms of the KRTD20V3GW1
How this model fails, and the parts that fix it.
Fridge too warm
Fixed by
these parts
these parts


Show All
Door won’t open or close
Fixed by
these parts
these parts


Show All
Noisy
Fixed by
these parts
these parts


Show All
Freezer not defrosting
Fixed by
these parts
these parts
Show All
Door Sweating
Fixed by
these parts
these parts


Show All
Leaking
Fixed by
these parts
these parts

Show All
Freezer section too warm
Fixed by
these parts
these parts
Show All
Fridge and Freezer are too warm
Fixed by
these parts
these parts
Show All
Light not working
Fixed by
these parts
these parts

Show All
Frost buildup
Fixed by
these parts
these parts
Show All
Fridge runs too long
Fixed by
these parts
these parts
Show All
Freezer too cold
Fixed by
these parts
these parts
Show All
Too warm
Fixed by
these parts
these parts
Show All
Clicking sound
Fixed by
these parts
these parts
Show All
Fridge too cold
Fixed by
these parts
these parts
Show All
Watch our pros, then fix it yourself.
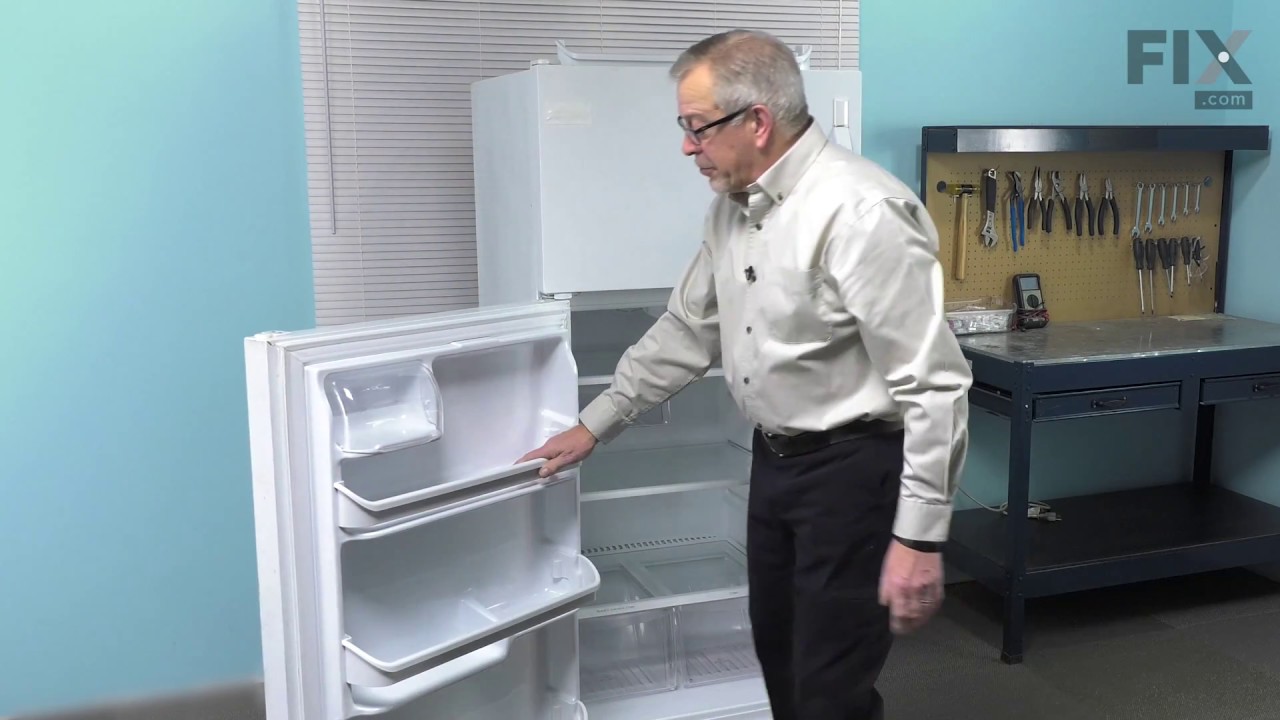
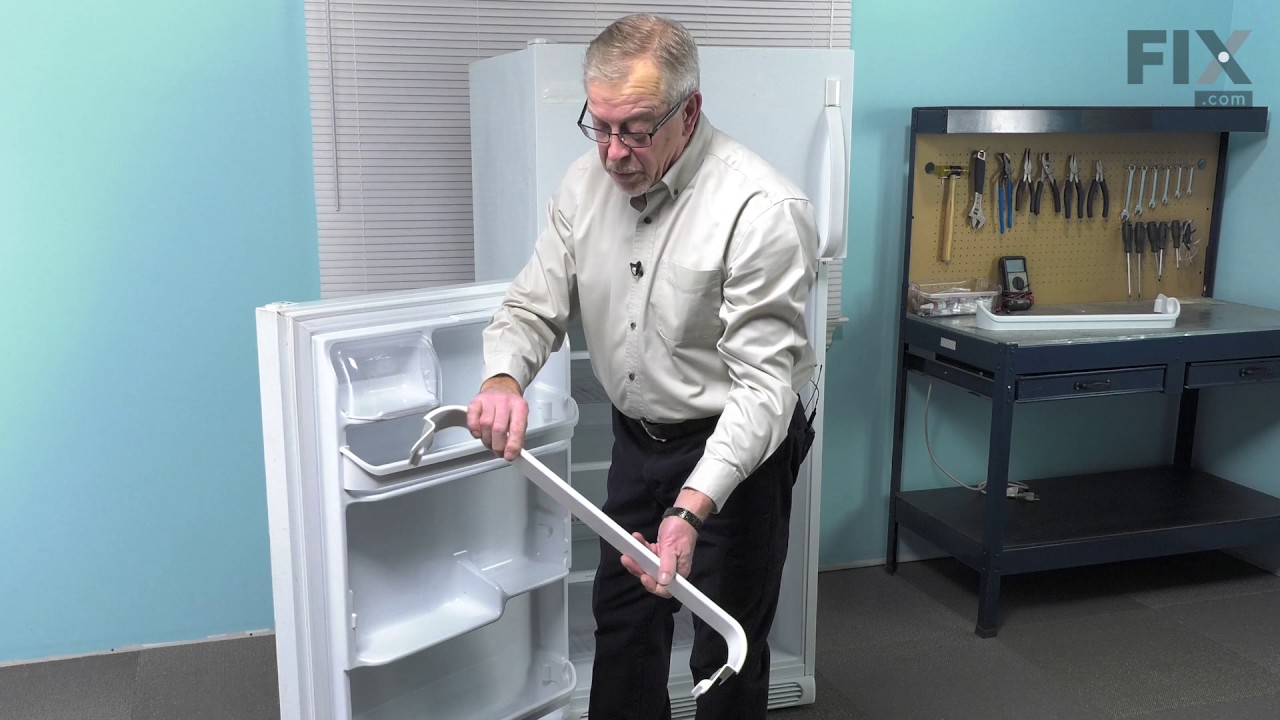
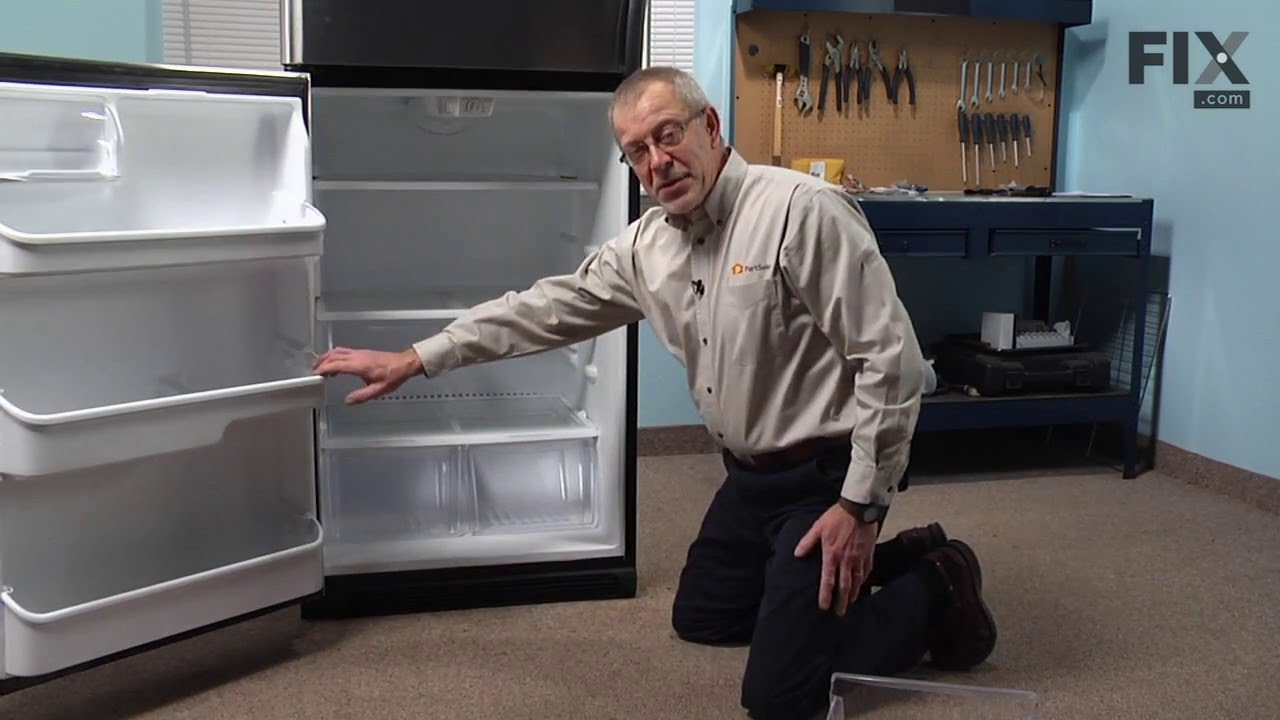
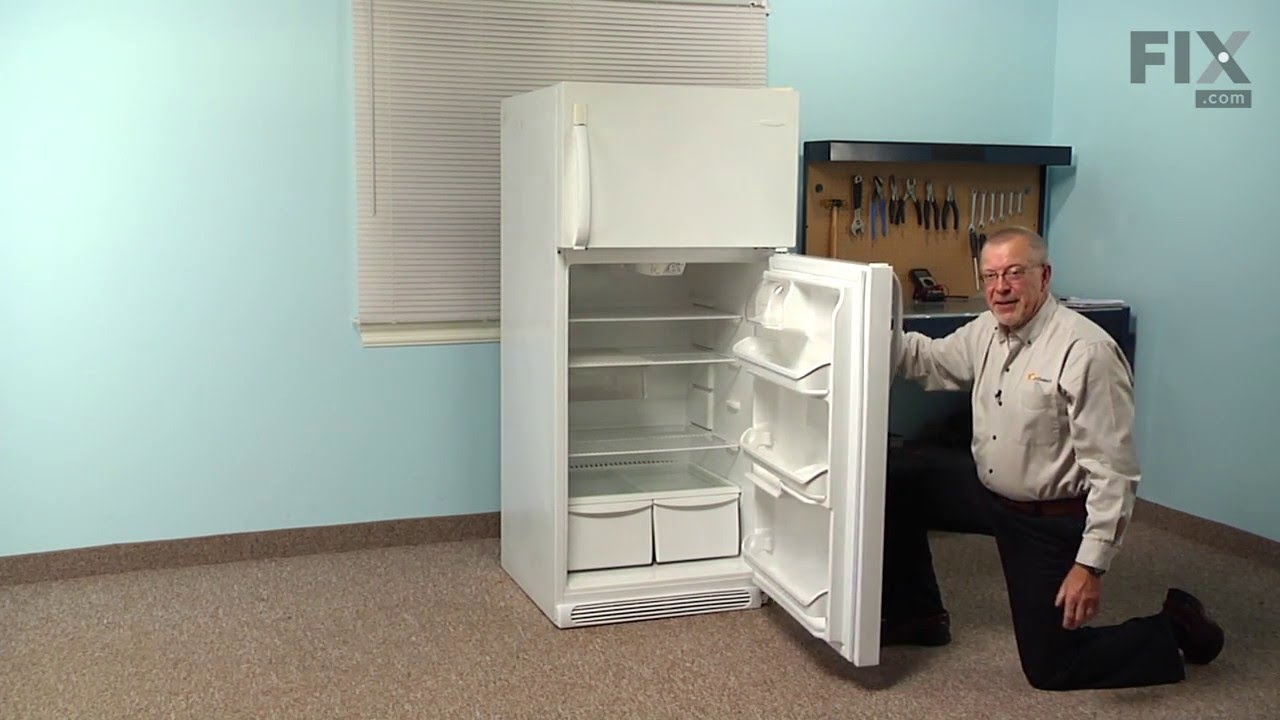
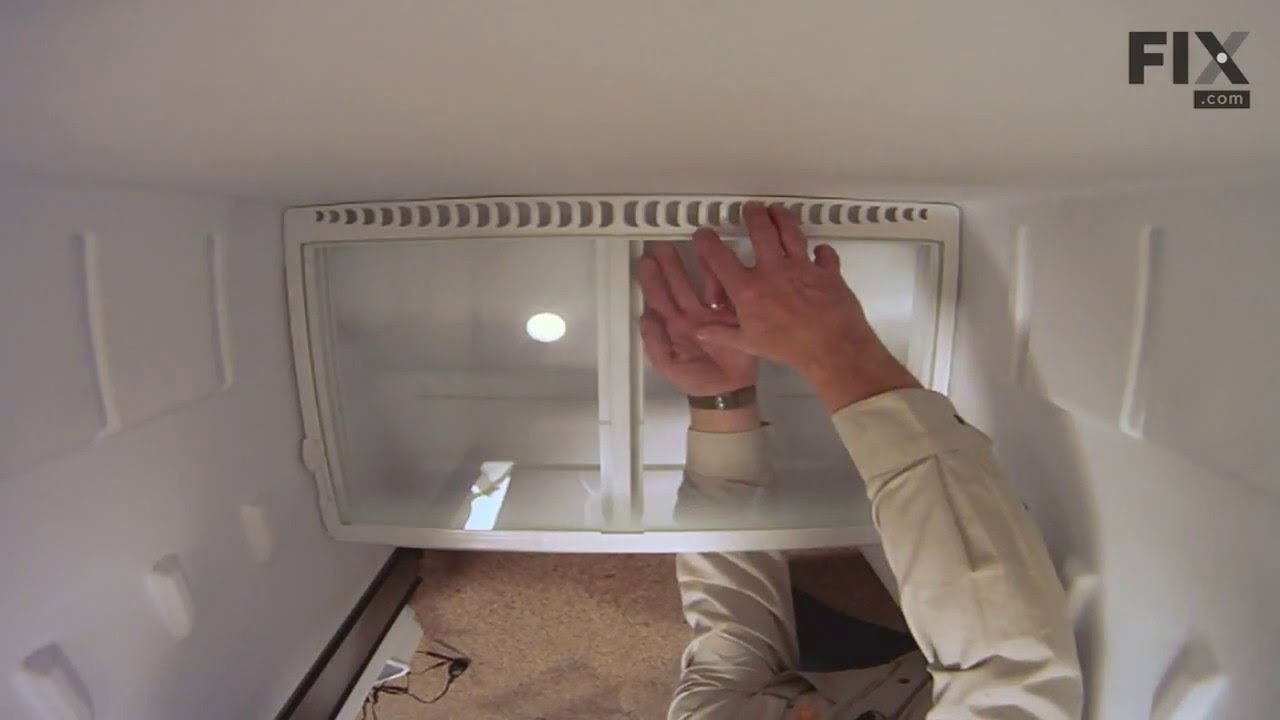
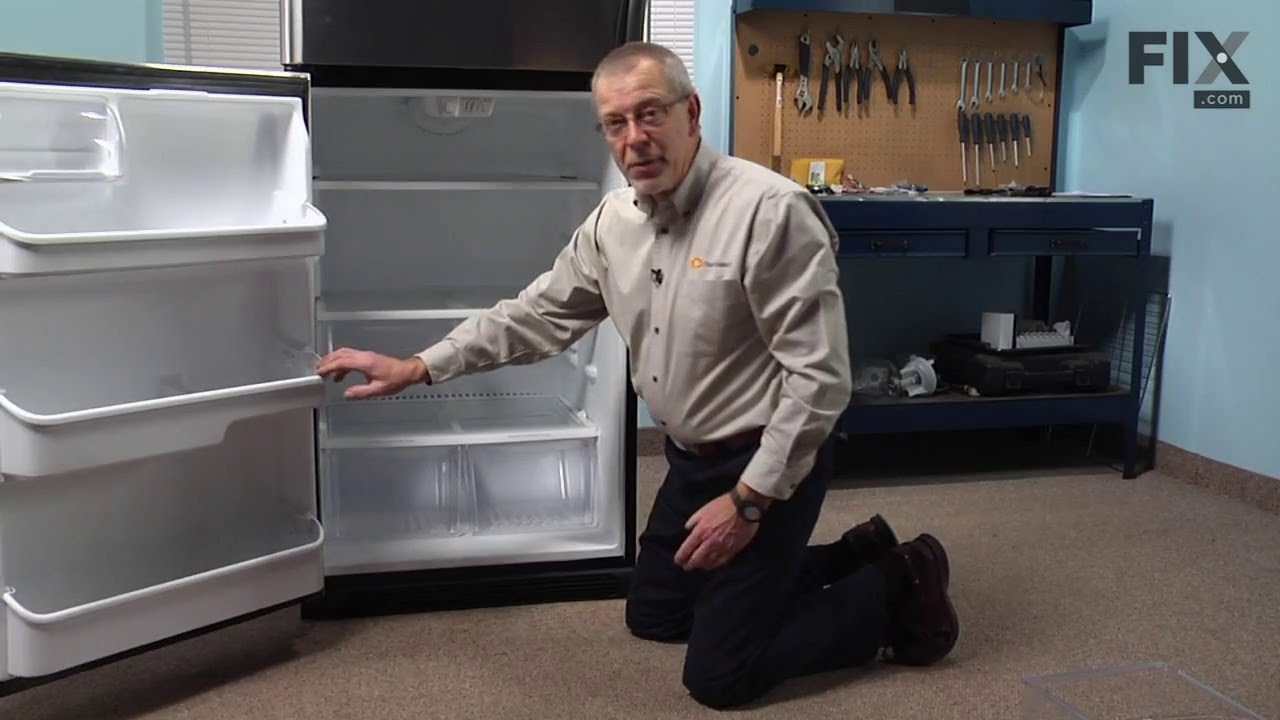
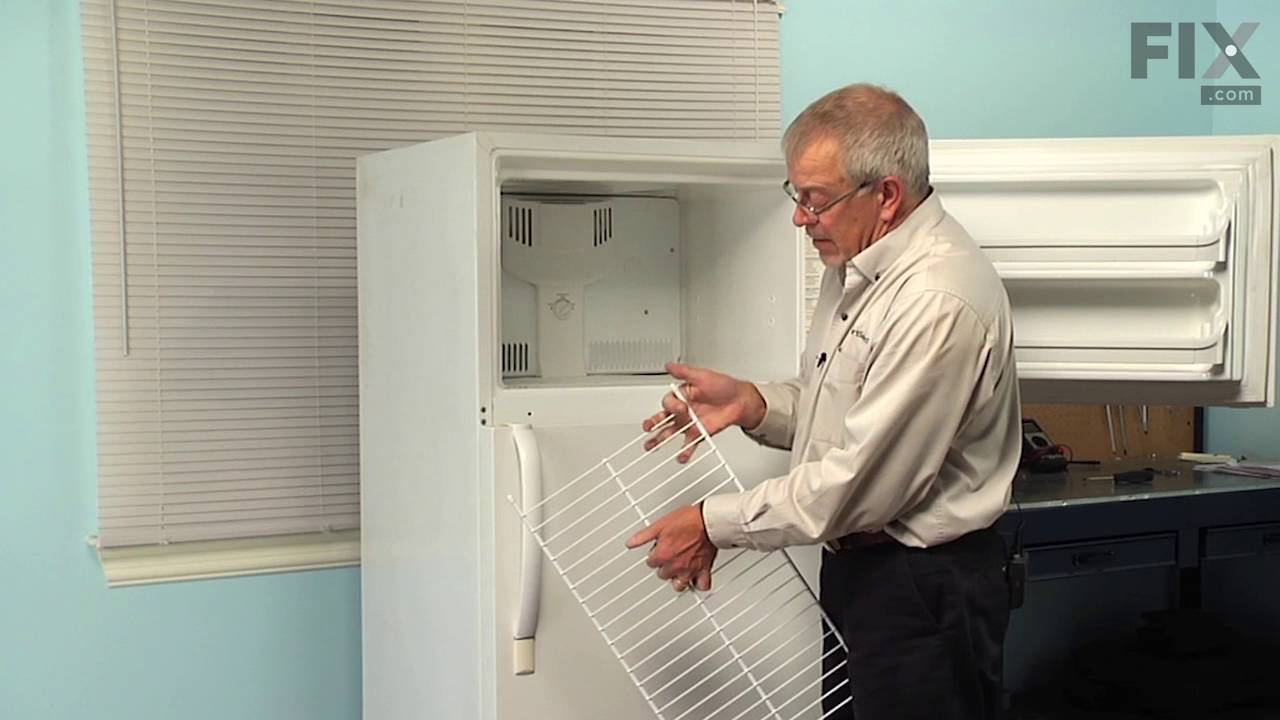
See how others fixed this model. Time, tools, difficulty, and steps that lead to victory!
View More