


 My Orders




KRSF - Overview
Models starting with KRSF
Click on the best match to narrow your results.
- KRSF3152AWW-1 General Electric Range
- KRSF3152AWW-2 General Electric Range
- KRSF336RPS00 KitchenAid Refrigerator
- KRSF505EBL00 KitchenAid Refrigerator (REFRIGERATOR)
- KRSF505EBL01 Whirlpool Refrigerator
- KRSF505ESS00 KitchenAid Refrigerator (REFRIGERATOR)
- KRSF505ESS01 Whirlpool Refrigerator
- KRSF505EWH00 KitchenAid Refrigerator (REFRIGERATOR)
- KRSF505EWH01 Whirlpool Refrigerator
- KRSF536RBS00 KitchenAid Refrigerator
- KRSF536RPS00 KitchenAid Refrigerator
- KRSF705HBS00 Whirlpool Refrigerator
- KRSF705HBS01 Whirlpool Refrigerator (Refrigerator)
- KRSF705HBS04 KitchenAid Refrigerator (Model # Krsf705hbs04 Official Kitchenaid Refrigerator)
- KRSF705HBS05 KitchenAid Refrigerator (Model # Krsf705hbs05 Official Kitchenaid Sxs Refrigerator)
- KRSF705HPS00 Whirlpool Refrigerator
- KRSF705HPS01 Whirlpool Refrigerator (Refrigerator)
- KRSF705HPS04 KitchenAid Refrigerator (Kitchenaid Refrigerator Krsf705hps04)
- KRSF705HPS05 KitchenAid Refrigerator (Model # Krsf705hps05 Official Kitchenaid Sxs Refrigerator)
Enter a part description. DIY Heroes keep it simple, eg. "belt" or "pump".
Search filter:
Clear Filter
Your search term must have 3 or more characters.

$84.45
In Stock
Refrigerator Ice and Water Filter
Part #EDR1RXD1
The EDR1RXD1 water filter provides clean, fresh-tasting water by reducing contaminants such as lead, chlorine, and particulates. Designed for easy installation, this filter ensures your refrigerator water and ice are safe and refreshing with every use

$17.15
In Stock
Refrigerator Air Filter
Part #W10311524
This Refrigerator Air Filter is a white 1.8x3.2" plastic filter which neutralizes odor and bacteria in the air. It should be replaced every six months at a minimum. Refer to your user manual and model number to see if this filter is right for your fridge. Location for storage of the air filter may vary from model to model, but generally, ...Read moreyou will find a small cover on the back-middle-top of your fridge, which can be popped off to reveal the air filter, which can be easily changed out from there. This part does not come sold with the indicator; it is the filter only. Sold individually.
Read less

$22.52
In Stock
Burner Bowl - 8 Inch
Part #WB31T10015
This part is located beneath the element and catches any spills.

$18.22
In Stock
Burner Bowl - 6 Inch
Part #WB31T10014
This burner bowl is also known as a burner drip bowl or burner drip pan, and is designed for use with your cooktop or range. It is black in color and is approximately 6 inches in diameter. It can be found beneath the element and catches spills. If your old burner bowl is damaged or missing, you may need to replace it with this part.

$30.53
In Stock

$21.95
In Stock
Light Bulb - 40W
Part #40A15
This 40-Watt light bulb is sold individually.
It is specially designed to withstand extreme temperatures, so this bulb is compatible with a variety of appliance types including refrigerators, ranges, microwaves, and dryers. It features a frosted glass bulb with a standard metal socket base, which allows you to easily unscrew the burnt-out light and twist the new bulb into place.

$30.53
In Stock
Door Switch
Part #W11396033
This light switch may also be known as a refrigerator door switch or a light switch kit, and is compatible with your refrigerator. The function of the refrigerator door switch is to turn on the light when your fridge door is open, and to make sure it is off when your refrigerator door is closed. The reason you would need to replace this p...Read moreart is if your light is not turning on when your door is open. For this repair, you will need a putty knife, and a small flat-blade screwdriver.
Read less

$77.34
In Stock
Refrigerator Ice Maker
Part #W10873791
Tired of your fridge not making ice? This replacement ice maker can fix that. It automatically fills with water, freezes it, and drops ice into the bin—so you always have ice ready for drinks or cooking. It’s made to fit several Whirlpool, Maytag, and KitchenAid models and is great if your current ice maker is leaking, noisy, or just not working. Easy to install and ready to get your ice supply back on track.

$18.22
On Order
Produce Preserver Filter
Part #W10346771A
Fresh Flow Produce Preserver is made for your refrigerator to help keep produce fresh for longer by absorbing the chemical, ethylene, that causes your fruits and vegetables to ripen quicker. Your produce could be fresh for up to 4 days longer. It includes 2 packs of preserver and a status indicator strip. Replace every 6 months.

$11.77
In Stock
Refrigerator Screw
Part #WPW10661886
This mounting screw is a genuine OEM replacement part for the door handle in your refrigerator. If you are having trouble shutting the refrigerator door, or opening it, replacing this screw can help solve the issue. Replacing this part is easy and requires minimal disassembly of the refrigerator end cap handle. Your will need a screwdriver to complete this repair.

$147.53
In Stock
Oven Sensor
Part #WB21X5301
It is possible that your oven is cold because of a fault in the temperature sensor. The temperature sensor regulates oven temperature in modern ranges, like a thermostat. It is on the back wall near the broiler on the top wall. On a newer oven, there may be a fault code displayed. Faulty temperature sensors are often responsible for F3 an...Read mored F4 error messages on an electric range. Check your manual or the manufacturer website to find out the proper resistance of the temperature sensor. To check your sensor, unplug the oven and use a multi-meter to see if your sensor is at the correct resistance.
Read less

No Longer Available
Touch-Up Paint - White
Part #72017
This touch-up paint can be used on a wide variety of household appliances. It is most often used on washers, dryer, refrigerators, dishwashers, ranges, freezers, trash compactors, or microwaves. It is an 18 ml, or.6 fluid ounces, bottle of touch-up paint. It also features a brush for easy application. This quick-drying, long-lasting paint...Read more is perfect for fixing any nicks, scratches, or chips on the exterior of your appliance. This paint is white in color, and provides a durable finish.
Read less
Common Symptoms of models starting with KRSF
How this model fails, and the parts that fix it.
Light not working
Fixed by
these parts
these parts


Show All
Ice maker not making ice
Fixed by
these parts
these parts


Show All
Leaking
Fixed by
these parts
these parts


Show All
Ice maker won’t dispense ice
Fixed by
these parts
these parts


Show All
Noisy
Fixed by
these parts
these parts


Show All
Door won’t open or close
Fixed by
these parts
these parts


Show All
Fridge too warm
Fixed by
these parts
these parts

Show All
Not dispensing water
Fixed by
these parts
these parts
Show All
Little to no heat when baking
Fixed by
these parts
these parts

Show All
Fridge too cold
Fixed by
these parts
these parts

Show All
Oven not heating evenly
Fixed by
these parts
these parts
Show All
Oven is too hot
Fixed by
these parts
these parts
Show All
Will Not Start
Fixed by
these parts
these parts
Show All
Element will not heat
Fixed by
these parts
these parts
Show All
Too warm
Fixed by
these parts
these parts
Show All
Clicking sound
Fixed by
these parts
these parts
Show All
Freezer section too warm
Fixed by
these parts
these parts

Show All
Door Sweating
Fixed by
these parts
these parts
Show All
Ice maker dispenses too little ice
Fixed by
these parts
these parts
Show All
Frost buildup
Fixed by
these parts
these parts
Show All
Freezer not defrosting
Fixed by
these parts
these parts
Show All
Watch our pros, then fix it yourself.
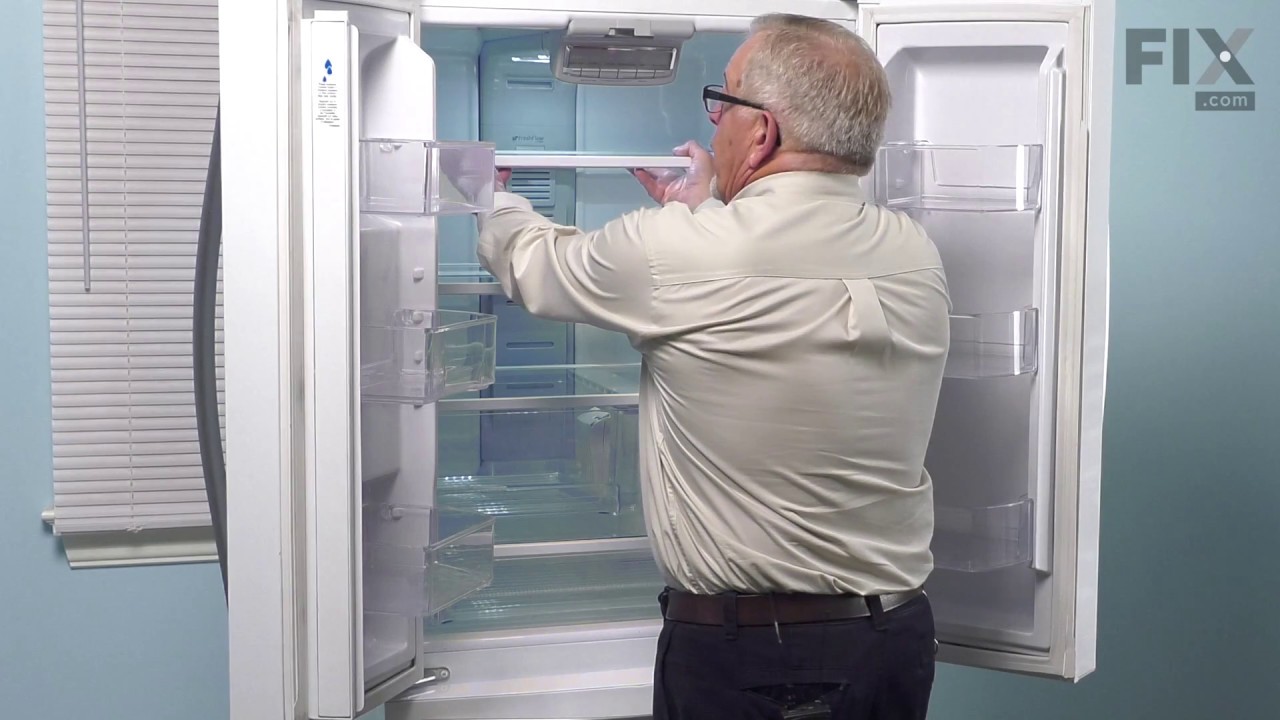


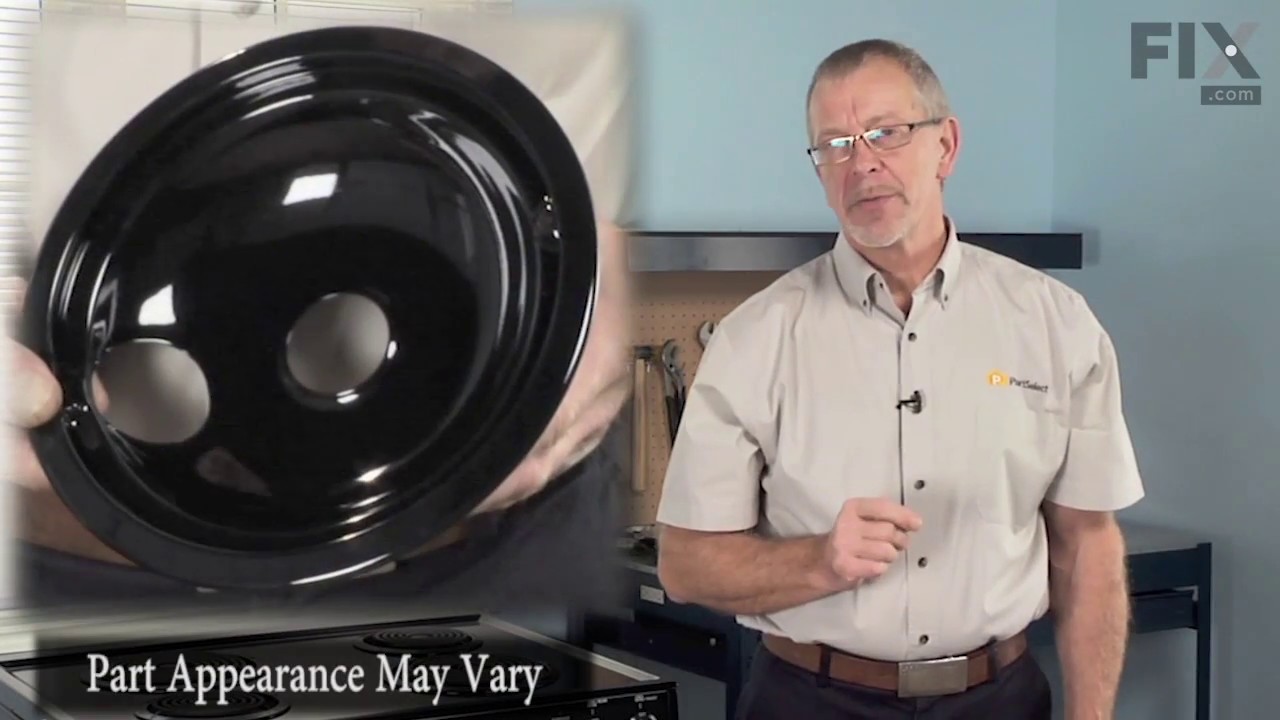
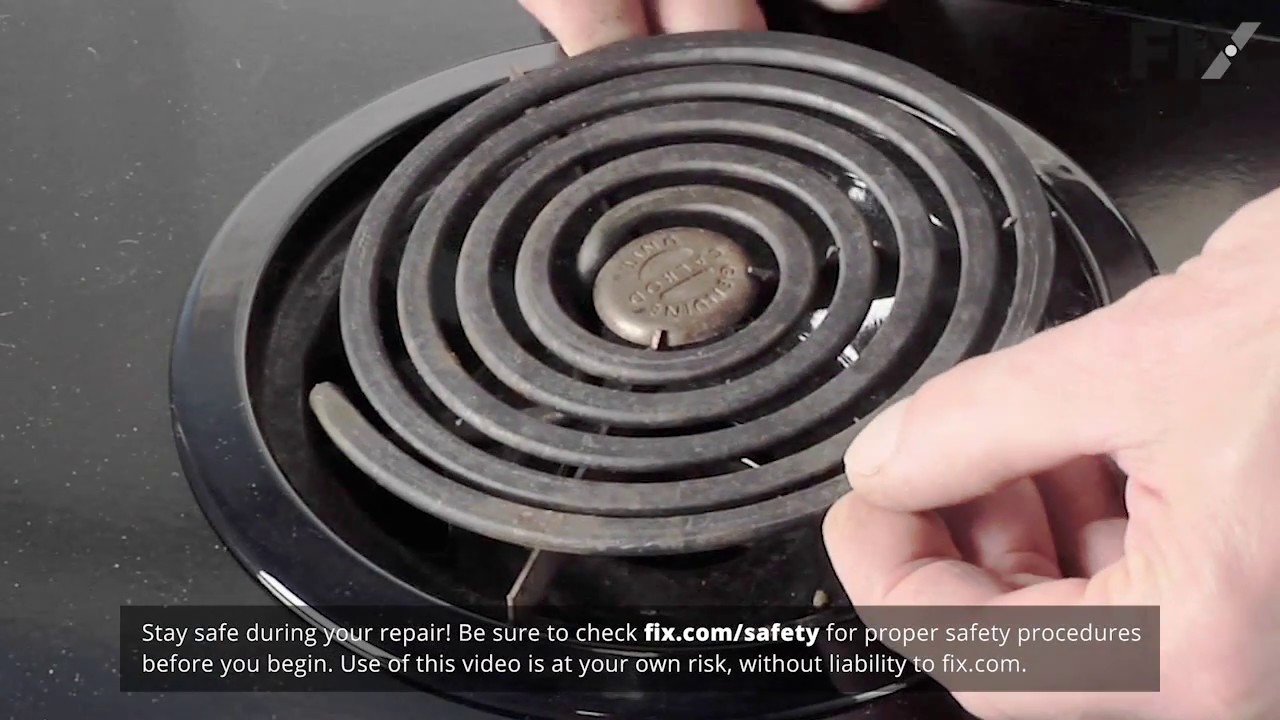

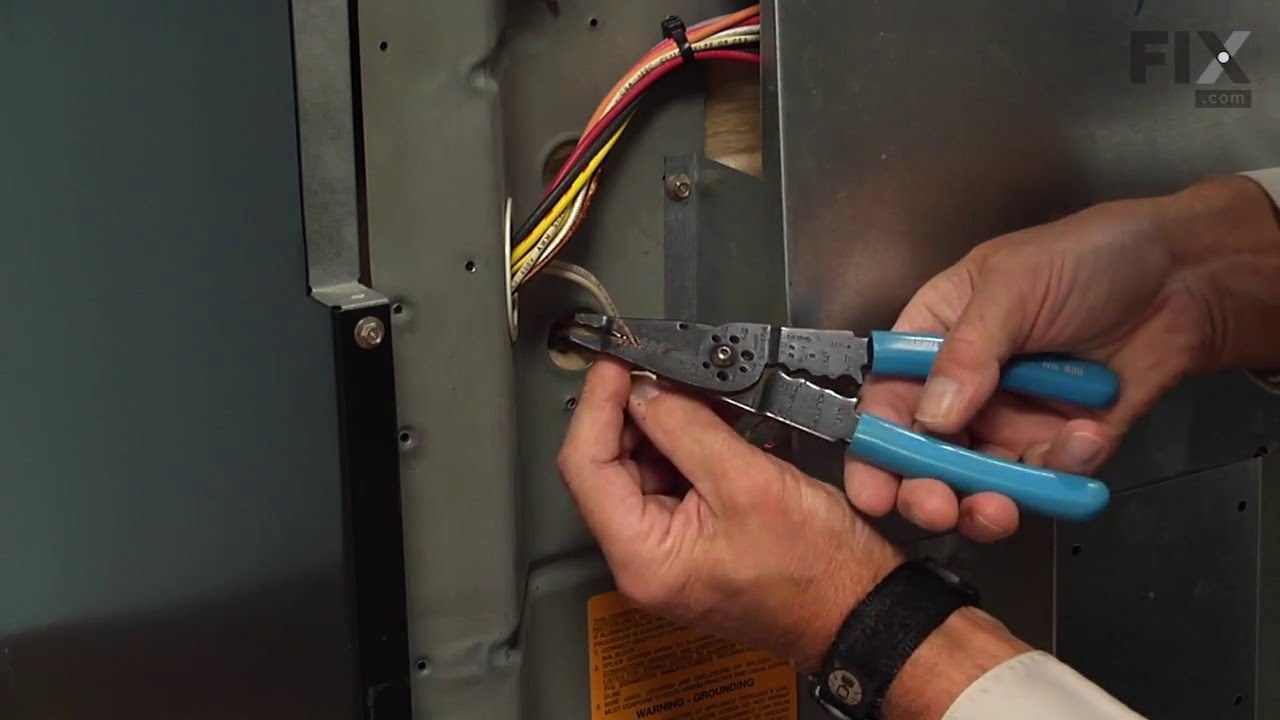
See how others fixed this model. Time, tools, difficulty, and steps that lead to victory!
View More