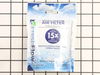
This Refrigerator Air Filter is a white 1.8x3.2" plastic filter which neutralizes odor and bacteria in the air. It should be replaced every six months at a minimum. Refer to your user manual and model number to see if this filter is right for your fridge. Location for storage of the air filter may vary from model to model, but generally, ...Read moreyou will find a small cover on the back-middle-top of your fridge, which can be popped off to reveal the air filter, which can be easily changed out from there. This part does not come sold with the indicator; it is the filter only. Sold individually.
This water filter is a genuine replacement for bottom-freezer refrigerators that accept a Filter 2. it is certified to remove up to 24 different contaminants which include pharmaceuticals, waterborne parasites, lead, and pesticides. The filter should be replaced every six months, or when 200 gallons of water have passed through, to ensure...Read more optimum contaminant reduction. The filter is found in the top right corner of your fridge, and replacing it is easy. Simply pop out the old one (keep a bucket underneath to catch any water) and slide in the new one. You will hear a click once it has locked into place. You should run water through the filter for a couple minutes prior to use. This filter measures approximately two inches wide, two inches deep, and 7.5 inches long.
This mounting screw is a genuine OEM replacement part for the door handle in your refrigerator. If you are having trouble shutting the refrigerator door, or opening it, replacing this screw can help solve the issue. Replacing this part is easy and requires minimal disassembly of the refrigerator end cap handle. Your will need a screwdriver to complete this repair.
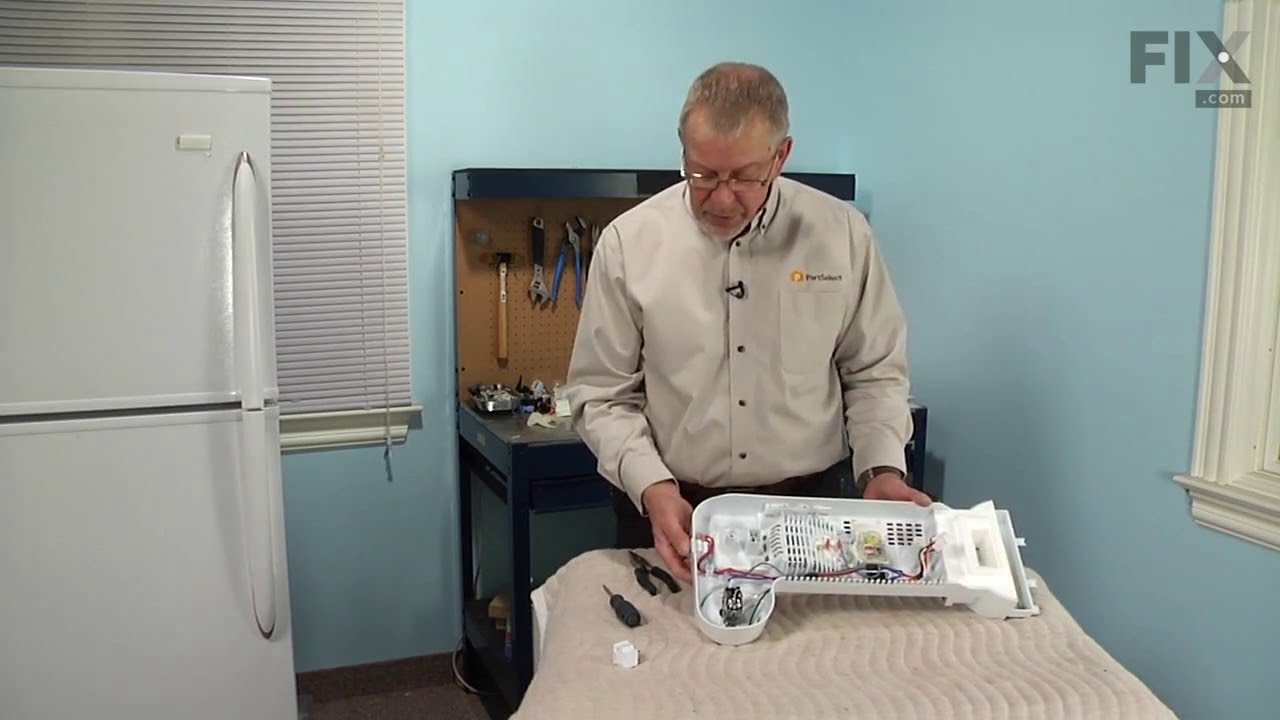
This is a light switch for your refrigerator. It activates when the door of your appliance is opened, and it will turn the light inside on and off. You will need to replace this part is if your light is not working properly. In order to make this repair you will need a Phillips screwdriver, a pair of needle nose pliers, and a small flat b...Read morelade screwdriver. This light switch is almost 2 inches long, 1.5 inches wide, and just over an inch thick.
This touch-up paint can be used on a wide variety of household appliances. It is most often used on washers, dryer, refrigerators, dishwashers, ranges, freezers, trash compactors, or microwaves. It is an 18 ml, or.6 fluid ounces, bottle of touch-up paint. It also features a brush for easy application. This quick-drying, long-lasting paint...Read more is perfect for fixing any nicks, scratches, or chips on the exterior of your appliance. This paint is white in color, and provides a durable finish.
This part is a replacement refrigerator drive shaft seal for your refrigerator. The drive shaft seal protects the auger motor from water and condensation that may leak down the drive shaft from the ice bucket. If the seal is broken, water and condensation can get in, causing the ice maker to fail. To replace the seal, first remove the ice...Read more bucket from your freezer. Then remove the two screws on the drive shaft holder, and use a pair of pliers to remove the drive shaft. At this point you can remove the seal from the drive shaft. Be sure to clean the area that the seal sits in before you reinstall the drive shaft. This part is white in color and is about an inch in diameter. The seal is sold individually.
This OEM, 120V, 60 HZ water inlet valve is specially designed for refrigerators. It is responsible for regulating the flow of water into the water dispenser and ice maker of the fridge. If your refrigerator is leaking or it is unable to dispense water, the water inlet valve may be damaged or experiencing electrical failure. It will need t...Read moreo be replaced to restore the functionality of the appliance. You can find the valve at the back of the refrigerator where it is connected to the water supply line.
The ice maker includes the ice mold and the control device. The ice maker receives water from the water inlet valve and then holds the water in the ice mold until the water freezes solid.
Appliance spray paint is a great way to cover up any chips and scratches that have appeared on your appliances. Instead of replacing the part entirely, this is an easy fix. This is also a great way to give a fresh new look to any handles or areas that have discoloring due to wear. Make sure to clean the area before you begin and wear a pr...Read moreotective mask for safety. Give the can a good shake and spray a few inches away from the surface. Apply the paint until the area is fully covered as desired. Wait until the paint has dried before using the appliance.
Ask our experts a question about this model and we'll get back to you as soon as possible!
We may have answered a similar question already! Search questions and answers left by others using simple keywords like "fit", "broken", "easy", or "quality" to find questions that match.
Search filter:
Clear Filter
Your search term must have 3 or more characters.
Sort by:
Prev
1
2
3
Next
Sorry, we couldn't find any existing answers that matched.Try using some different or simpler keywords, or submit your new question by using the "Ask a Question" button above!
Brian - For model number KRMF706ESS01
March 11, 2020
Freezer isn’t cold enough. Refrigerator section seems to be at the appropriate temperature. Ice maker is still making ice. Any thoughts on the problem?
Hi Brian,
Thank you for your question. If the freezer section is too warm, there are some parts that you will need to check to see which one is causing the issue. You will need to check the evaporator fan motor, the electronic control board, the thermistor, and the defrost heater. For more information on how to test these parts, click on the Appliance Repair link on our website and on the next page that comes up click on the refrigerator icon. When the next page comes up, you will be provided with a symptoms list. Choose the "Fridge and Freezer are too warm" symptom and the information will come up for you. Not all the parts may be listed under this option and you will need to check the other symptoms for information on them. We hope this helps. Thank you and have a great day.
In the fridge the top lights all quit working. The side lights still work. What should I be looking for?
Hi Scott, thank you for reaching out. According to our research, you need to replace LED Module, part number PS12349214, it consists of 3 lights; if one of the lights is bad whole module does not work. Furthermore, you need to replace LED Light, part number PS16218086, you need 2 of these. We hope this information helps!
Lights on the ceiling of the refrigerator are on but are not as bright as they were or as the remaining lights. I tried unplugging it and plugging it back in but didn’t help.
Hello Tom,
Thank you for your question. Our source suggest replacing the light switch under part PS11738500 for your model to fix the light quality. We hope this helps.
The fridge randomly shuts off. No power. When shut off there is a clicking coming from the solenoid on the copper piping. Unplug the unit from the wall for 15 minutes. Plug back in and fridge works ok. The problem can happen in one day or not again for 2 weeks. ( main power board and the control board have both been replaced.)
Hello and thank you for writing.
It sounds like you might have 2 different issues here.
The clicking sound is usually caused by a faulty or clogged water filter PS11722126.
The shut-off issue could be caused by a faulty drier PS11749031 which in rare cases might also be causing the clicking sound, another reason for the shut off could simply be loose wiring somewhere as you already replaced the control boards (which eliminates those parts), so you should recheck the wiring as well. We hope this helps. Please contact us anytime if you require further assistance.
The right side top door does not close smoothly anymore. It has a sticking point at approximately a 45° angle. We have to push it a little harder than normal causing it to slam shut. Thanks in advance for your help.
Hello Scott and thanks for writing.
you might be in need of a new part called closer PS12347960, but also check your door gasket PS11759512 as a damaged gasket can cause this problem as well. We hope this helps. Please contact us anytime.
See how others fixed this model. Time, tools, difficulty, and steps that lead to victory!View More
Search repair tips from other customers using simple keywords like "replace", "fit", "remove", "inspect". DIY doesn't mean you have to do it alone!
Search filter:
Clear Filter
Your search term must have 3 or more characters.
Lights inside refrigerator not working
137 of 257 peoplefound this instruction helpful.
Clint from Rayville, MO
Really Easy
Less than 15 mins
Screw drivers
I used a flat-head screwdriver to pop out the old light rocker switch. Then, I unplugged the wires, plugged them into the new light rocker switch, and then popped the new switch into the hole. That's it! Lights began working again.
Was this helpful?
Thank you for voting!
Ice dispenser motor burnt out, water got inside.
86 of 129 peoplefound this instruction helpful.
Blye from Victoria, VA
Really Easy
1- 2 hours
Nutdriver, Screw drivers
Purchased new motor from Partselect.com. When it arrived it came with a new rubber washer that fitted on top of new motor that was not on old motor, that how water got into old motor. However, the instruction sheet did not give info on how to access the proper way to the motor that is the door. Not wanting to damage the freezer door assy.
... Read more called in a tech who made it look easy, but even he had a little problem locating access panel that was directly under the motor in the freezer side of the door. After that it was a piece of cake.
Read less
Was this helpful?
Thank you for voting!
Light Switch broke
48 of 78 peoplefound this instruction helpful.
James Richard from St. Cloud, MN
Easy
Less than 15 mins
Socket set
An easy job for smaller hands. Removed the two bolts holding the light cover. Removed two electrical connections from the old switch by pinching the retaining clip,removed the switch, snapped in the new one and re-attached the connectors. Your online illustrations helped me to know that the plastic housing for the light switch would only
... Read moreswing down so far and was not intended to be removed. Saved me from breaking that plastic cover's tabs. This home repair saved me more than 5 times the cost of hiring a professional to do it. Very happy homeowner.



 My Orders