



EasyApplianceParts is now PartSelect! We've merged our sites to provide a better shopping experience for you.   Full Details
✖

Find Parts

Parts Departments

Top Model Types

Top Brands

Repair Help

Expert Repair Videos

Keep typing for more specific results...

Parts That Fix KitchenAid Refrigerator KRMF706ESS00 Leaking

Leaking is a commonly reported symptom for the KRMF706ESS00 KitchenAid Refrigerator, and we have put together a full guide on how to fix this. This advice is based on feedback from people who own this exact appliance. We have listed the most common parts for your KRMF706ESS00 KitchenAid Refrigerator that will fix Leaking. We have included repair instructions, and helpful step-by-step video tutorials. If you are experiencing this issue, not to worry, DIYers just like you have fixed this, and shared their experience to help you!

Fixes Symptom 64% of time

This OEM, 120V, 60 HZ water inlet valve is specially designed for refrigerators. It is responsible for regulating the flow of water into the water dispenser and ice maker of the fridge. If your refrigerator is leaking or it is unable to dispense water, the water inlet valve may be damaged or experiencing electrical failure. It will need to be replaced to restore the functionality of the appliance. You can find the valve at the back of the refrigerator where it is connected to the water supply line.

$ 62.60
In Stock
Part #W10865826

Customer Repair Stories

Water inlet valve leaking
3 of 6 people found this instruction helpful.
  • Mark from OLEAN, NY
  • Really Easy
  • 30 - 60 mins
  • Nutdriver, Screw drivers, Wrench (Adjustable)
Removed valve, replaced, slight modification needed on water line going into ice maker.
Was this helpful?
Thank you for voting!
Leaking water valve
2 of 2 people found this instruction helpful.
  • Dan from BOURBONNAIS, IL
  • Really Easy
  • 15 - 30 mins
  • Nutdriver, Wrench (Adjustable)
Removed old, installed new.
Was this helpful?
Thank you for voting!

Fixes Symptom 11% of time

$ 68.86
In Stock
Part #W11168758

Customer Repair Stories

Water was leaking when ice maker or water dispenser was being used.
2 of 2 people found this instruction helpful.
  • Don from Orlando, FL
  • Easy
  • 1- 2 hours
  • Screw drivers
Looked for the same repair on line by model number. I found it, watched the repair, then used those instructions to complete the repair on my refrigerator. The disassembly and reassembly took longer than actually replacing the part. It now works beautifully with NO leaks.
Was this helpful?
Thank you for voting!
Small water leak from cracked fitting leading into water reservoir fill valve.
3 of 3 people found this instruction helpful.
  • Luke from Jewett city, CT
  • Really Easy
  • 15 - 30 mins
  • Nutdriver, Socket set
Remove some shelving and have a towel handy. Opened water filter door to expose two 1/4” screws. Removed 2 screws. Placed my hands firmly on upper panel and gently pulled/tugged panel forward and slightly down. Disconnected roof lighting clip. Removed panel from frig. Disconnected both ends from solenoid fill valves by pressing in the co lored locking piece to release tubing while pulling tube out. Cut zip ties and removed old leaking reservoir. I also removed the straight reservoir seeing as the part I replace was redesigned and the other one was not needed. Put new zip ties in place. Slid the new part into position and pressed the ends into the solenoid valves. You do not need to press in colored locking pieces, they will self lock. Secured with zip ties. Grabbed a container and filled it up with water through the door to fill and purge and check for leaks. Reconnect light clip, reinstalled top liner and snapped into place. Put screws in. Closed filter door. Took about 15 minutes. I did watch a you tube video prior to attempting this repair myself.
Was this helpful?
Thank you for voting!

Fixes Symptom 5% of time

Has your Whirlpool refrigerator's utility pan seen better days? Don't worry - it?s our job to help you get it back to working like new. We?re introducing the Whirlpool PAN-UTILITY Utility Pan, an authentic OEM part, created especially for your Whirlpool fridge. We know how challenging it can be to find a part that fits exactly - that?s where this utility pan comes into play. Every fridge model?s bits and pieces may look alike, but in fact, they come with subtle differences in sizes and shapes. But with this pan, you can be confident it?s going to fit perfectly into your Whirlpool model, guaranteed. Why is this pan so vital? It's all about organization. It sits in the fresh food section of your fridge, offering a dedicated space for your items. No more messy shelves and lost food items in random corners. With this pan, everything has a designated spot. Setting it up is a breeze. But remember, safety always comes first. We suggest slipping on some work gloves before you start to protect your hands during installation. Don't put off fixing your fridge any longer. Grab the robust and space-saving Whirlpool PAN-UTILITY Utility Pan, designed to keep your food chill and your fridge well-organized, like new!

$ 75.13
In Stock
Part #WPW10341329

Fixes Symptom 5% of time

Proper alignment often depends on a strong housing that holds and shields the working parts inside. Damage from heat, impact, or normal wear can cause looseness, noise, poor movement, or added stress on nearby components. Check the mounting hardware and inner supports before ordering a replacement. Match the housing to the full model number and parts diagram. Shut down and disconnect the equipment before installation, transfer attached components carefully, and make sure nothing rubs, binds, or shifts after the housing is secured.

$ 96.94
In Stock
Part #W11194438

Fixes Symptom 5% of time

This Refrigerator Air Filter is a white 1.8x3.2" plastic filter which neutralizes odor and bacteria in the air. It should be replaced every six months at a minimum. Refer to your user manual and model number to see if this filter is right for your fridge. Location for storage of the air filter may vary from model to model, but generally, you will find a small cover on the back-middle-top of your fridge, which can be popped off to reveal the air filter, which can be easily changed out from there. This part does not come sold with the indicator; it is the filter only. Sold individually.

$ 17.15
In Stock
Part #W10311524

Replacing your Whirlpool Refrigerator Air Filter
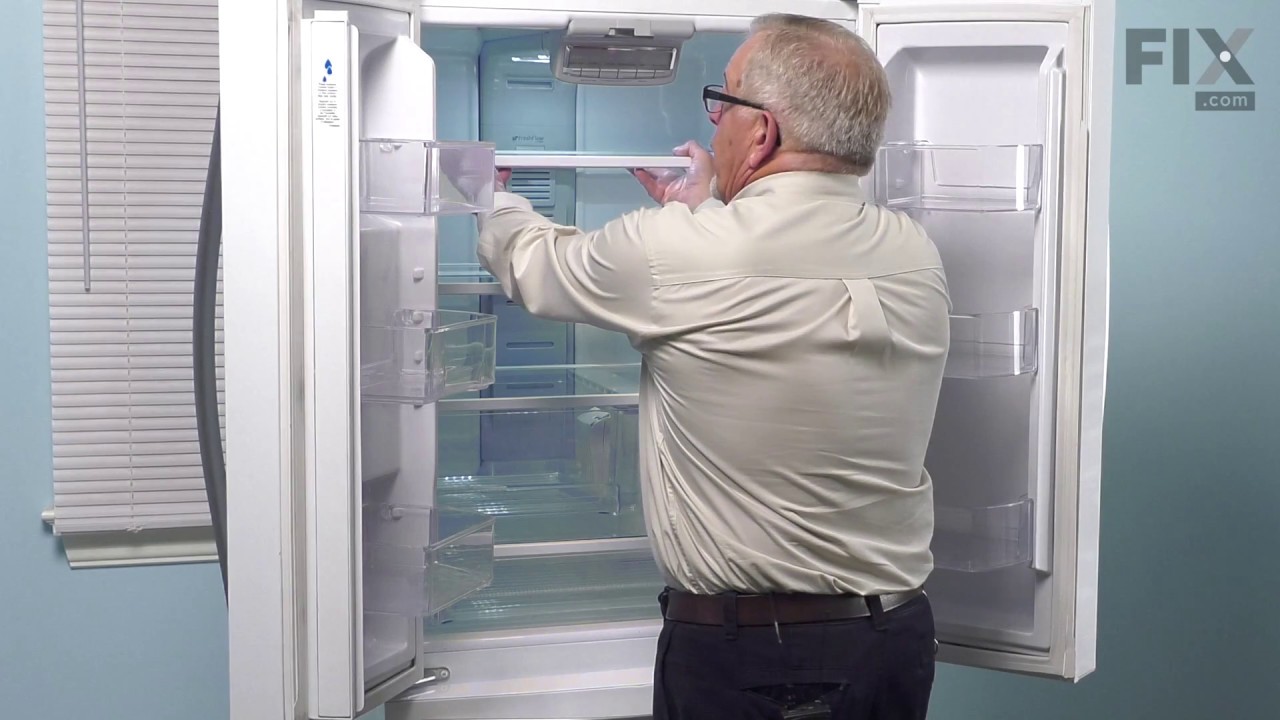
Replacing your Refrigerator Air Filter

Customer Repair Stories

air filter needed replacement
5 of 6 people found this instruction helpful.
  • David from Dublin, NH
  • Very Easy
  • Less than 15 mins
pulled the top shelf and poped open the door and replaced the filter
Was this helpful?
Thank you for voting!
Changed air filter
6 of 7 people found this instruction helpful.
  • Tom from LONGMONT, CO
  • Very Easy
  • Less than 15 mins
Very simple, easy, and quick! Anybody can do it!!
Was this helpful?
Thank you for voting!

Fixes Symptom 4% of time

$ 69.91
In Stock
Part #W11457241

Fixes Symptom 3% of time

This door gasket is used to make an air-tight seal for the cabinet when the door is closed.

$ 171.35
In Stock
Part #W10407216

Customer Repair Stories

Ice sheet forming on the bottom of the freezer, requiring frequent disassembly and cleanup
9 of 9 people found this instruction helpful.
  • Monica from PITTSFORD, NY
  • A Bit Difficult
  • More than 2 hours
We were misled into believing we needed to replace the door seal, and after this replacement was completed we found out it was not the case.

Instead we needed to clean out the EXTENSION-DRAIN,DUAL EVAP W11661573, part #5 on the unit diagram, which is found on the back of the unit.

Back to the seal instructions: ... Read more >Once you remove the original seal you cannot reuse it, so if you replace it and it is not what you needed, you can't return the not-needed part. There goes about $190.

Also, the seal comes with no instructions (at the time there was no instruction video here either and we had to search other sites). It turns out it takes at least 24 hrs for the rubber seal to regain its shape. You also may have to use a hair dryer for this pre-installation process. Because of this, I marked the time of repair as more than 2 hours.
The end of the instruction video we followed called for testing the new seal installation with a bill ($), if you can pull it out easily from the closed door, you need to continue heating the seal with the hair dryer to improve sealing.

So do yourself a favor and test you fridge seal first, to see if you really need to replace it. Close the door with a bill or paper trapped. If it is loose or falls out, seal needs to be replaced, if the bill/paper stays firm enough, the seal is fine.

It took a lot of research through other resources, not Partselect, to eventually fix the ice formation issue. From all the appliance repairs I have done, this was the most frustrating, although not the most complicated. Since no part needs to be purchased (though you could replace the drain tube for just $24 instead of hassle to clean it), no real help from parts stores is available, and you have to rely on random people with their home videos, some are reliable some are not. We could not find one with our model (596.72383411) and had to figure it out based on similar models. Our drain tube has a siphon, so it is a little harder to clean than other models with s straight tube.

Good luck!
Was this helpful?
Thank you for voting!

Fixes Symptom 3% of time

This part is a replacement refrigerator drive shaft seal for your refrigerator. The drive shaft seal protects the auger motor from water and condensation that may leak down the drive shaft from the ice bucket. If the seal is broken, water and condensation can get in, causing the ice maker to fail. To replace the seal, first remove the ice bucket from your freezer. Then remove the two screws on the drive shaft holder, and use a pair of pliers to remove the drive shaft. At this point you can remove the seal from the drive shaft. Be sure to clean the area that the seal sits in before you reinstall the drive shaft. This part is white in color and is about an inch in diameter. The seal is sold individually.

$ 12.85
In Stock
Part #WP2198628

Customer Repair Stories

Ice maker grinder motor was not running.
1 person found this instruction helpful.
  • John from DUNNELLON, FL
  • Really Easy
  • 30 - 60 mins
  • Pliers, Socket set
Remove the ice bucket and check that the auger that turns in the ice bucket is free to turn. Cover the open freezer with cardboard or whatever to retain most of the freezer temperature. Remove the holder that supports the top of the motor shaft. Check the splines on the upper part of the motor shaft and also check the seal under the holde r. Open the access the door to the motor, remove wiring connector and unbolt the motor. Check the lower splines on motor shaft for condition, clean the shaft and apply new grease to the splines. Before installing, connect the wiring to the new motor, push the door switch in, press the ice dispenser arm outside the door to make sure the motor runs. If all ok, check the motor shaft for fit in the new motor. Be careful not to install the motor shaft too deep in the motor splines, otherwise there may not be enough spline showing on the top end to engage the auger. Bolt the motor in place, close access door and install the holder and ice bucket and make sure everything works. If there is not enough spline showing thru the holder to engage the auger, take pliers and pull the shaft up a bit. This seems to be a hit or miss fit on the shaft but you can adjust the height of the shaft without taking every thing apart again. That's all, not difficult at all. But do check parts and pieces for anything else you might need, parts wise, before ordering the motor by itself like I did. Shipping is high, so try to order any associated parts needed when you order the motor. By the way, This site are great to work with!
Was this helpful?
Thank you for voting!