


 My Orders




KRMF536RBS01 Whirlpool Refrigerator - Overview
Diagrams for KRMF536RBS01
See every part. Know exactly what you need.


Enter a part description. DIY Heroes keep it simple, eg. "belt" or "pump".
Search filter:
Clear Filter
Your search term must have 3 or more characters.

$17.15
In Stock
Refrigerator Air Filter
Part #W10311524
This Refrigerator Air Filter is a white 1.8x3.2" plastic filter which neutralizes odor and bacteria in the air. It should be replaced every six months at a minimum. Refer to your user manual and model number to see if this filter is right for your fridge. Location for storage of the air filter may vary from model to model, but generally, ...Read moreyou will find a small cover on the back-middle-top of your fridge, which can be popped off to reveal the air filter, which can be easily changed out from there. This part does not come sold with the indicator; it is the filter only. Sold individually.
Read less

$30.53
In Stock

$12.85
In Stock
Refrigerator Seal
Part #WP2198628
This part is a replacement refrigerator drive shaft seal for your refrigerator. The drive shaft seal protects the auger motor from water and condensation that may leak down the drive shaft from the ice bucket. If the seal is broken, water and condensation can get in, causing the ice maker to fail. To replace the seal, first remove the ice...Read more bucket from your freezer. Then remove the two screws on the drive shaft holder, and use a pair of pliers to remove the drive shaft. At this point you can remove the seal from the drive shaft. Be sure to clean the area that the seal sits in before you reinstall the drive shaft. This part is white in color and is about an inch in diameter. The seal is sold individually.
Read less

$115.62
In Stock
Ice Maker Assembly
Part #W11658802
The ice maker includes the ice mold and the control device. The ice maker receives water from the water inlet valve and then holds the water in the ice mold until the water freezes solid.

$9.62
In Stock

$9.62
In Stock
Foot Brake
Part #WPW10141622
Introducing the Whirlpool Refrigerator Leveling Leg. This genuine OEM part supports your refrigerator, ensuring it remains stability and level. The height of the leveling leg can be adjusted to suit your unique refrigerator model, providing you with versatility and customization. This leveling leg is compatible with some models of Whirlpo...Read moreol, KitchenAid, Maytag, Jenn-Air, Amana, Inglis, and Magic Chef fridges. For a smooth installation, we recommend wearing work gloves to protect your hands. Verify your model compatibility before purchase.
Read less

$111.43
In Stock
Ice Bucket Auger Motor
Part #W10822606
This auger motor is for refrigerators.
Auger motor turns the auger that pushes the ice cubes through the dispenser chute.
Safely store any food that could deteriorate while the power is off. Unplug the refrigerator before installing this part. Wear work gloves to protect your hands.

$11.77
Special Order

$7.47
In Stock
Refrigerator Screw
Part #WP98165
This screw is a little under an inch long and is made of metal. It is used with a refrigerator's ice maker assembly. Sold individually.

No Longer Available
Touch-up Paint - Black
Part #72032
This authentic OEM black touch-up paint is specifically designed for repairing minor scratches, chips, or blemishes on your kitchen appliances. The bottle contains 16ml or 0.6oz of black paint and has an applicator brush under the cap, the same way a nail polish bottle is designed. Restoring these visible damages is important because crac...Read moreked or chipped surfaces can become a breeding ground for dirt and bacteria. If your existing bottle of paint has a thick or clumpy consistency, do not use it. Remember to shake the bottle before applying the paint to your appliance. Please keep in mind that this bottle is sold individually.
Read less

$28.95
Special Order

$28.95
In Stock
Common Symptoms of the KRMF536RBS01
How this model fails, and the parts that fix it.
Light not working
Fixed by
these parts
these parts


Show All
Ice maker won’t dispense ice
Fixed by
these parts
these parts


Show All
Ice maker not making ice
Fixed by
these parts
these parts
Show All
Fridge too warm
Fixed by
these parts
these parts


Show All
Fridge too cold
Fixed by
these parts
these parts
Show All
Leaking
Fixed by
these parts
these parts

Show All
Noisy
Fixed by
these parts
these parts

Show All
Clicking sound
Fixed by
these parts
these parts
Show All
Door Sweating
Fixed by
these parts
these parts
Show All
Freezer not defrosting
Fixed by
these parts
these parts
Show All
Watch our pros, then fix it yourself.
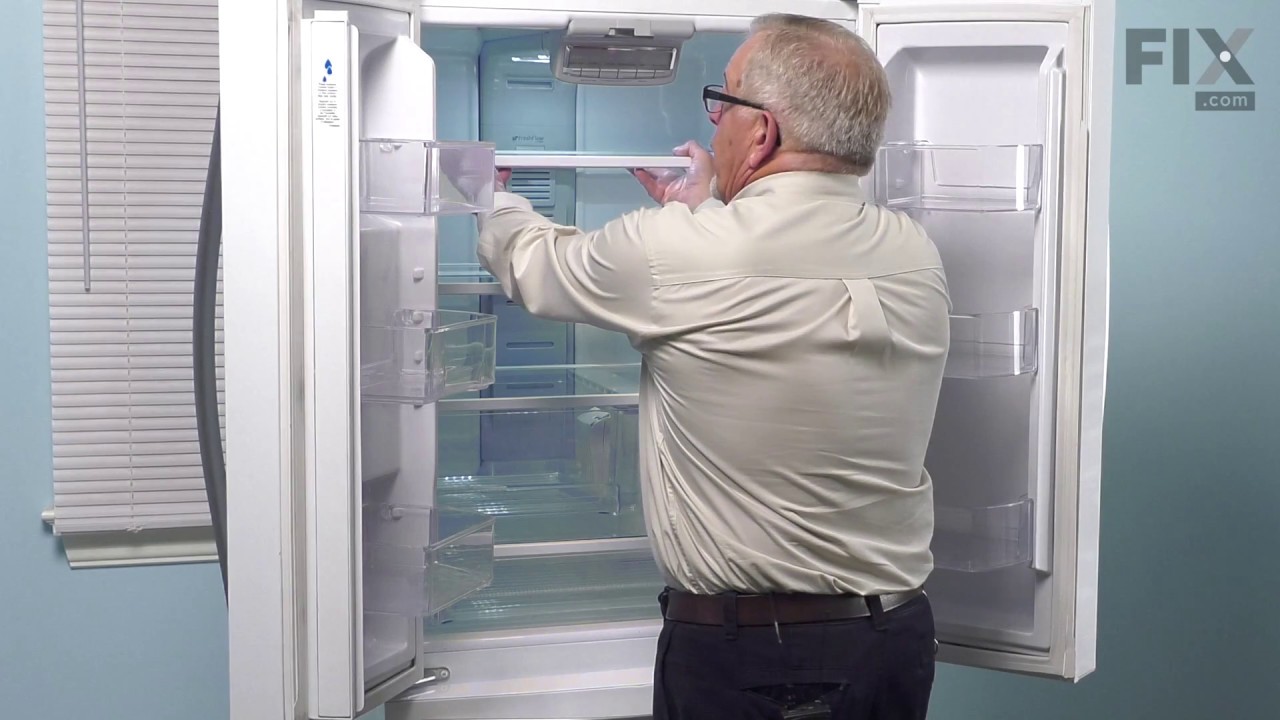

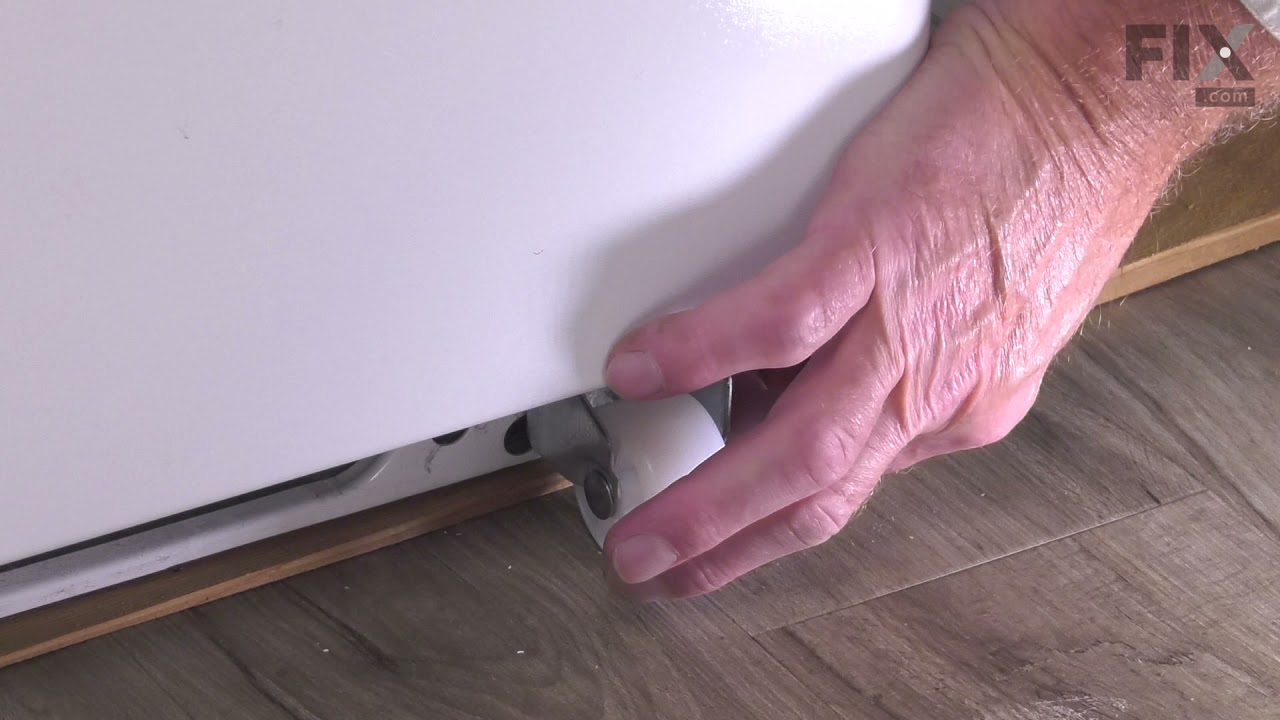

See how others fixed this model. Time, tools, difficulty, and steps that lead to victory!
View More