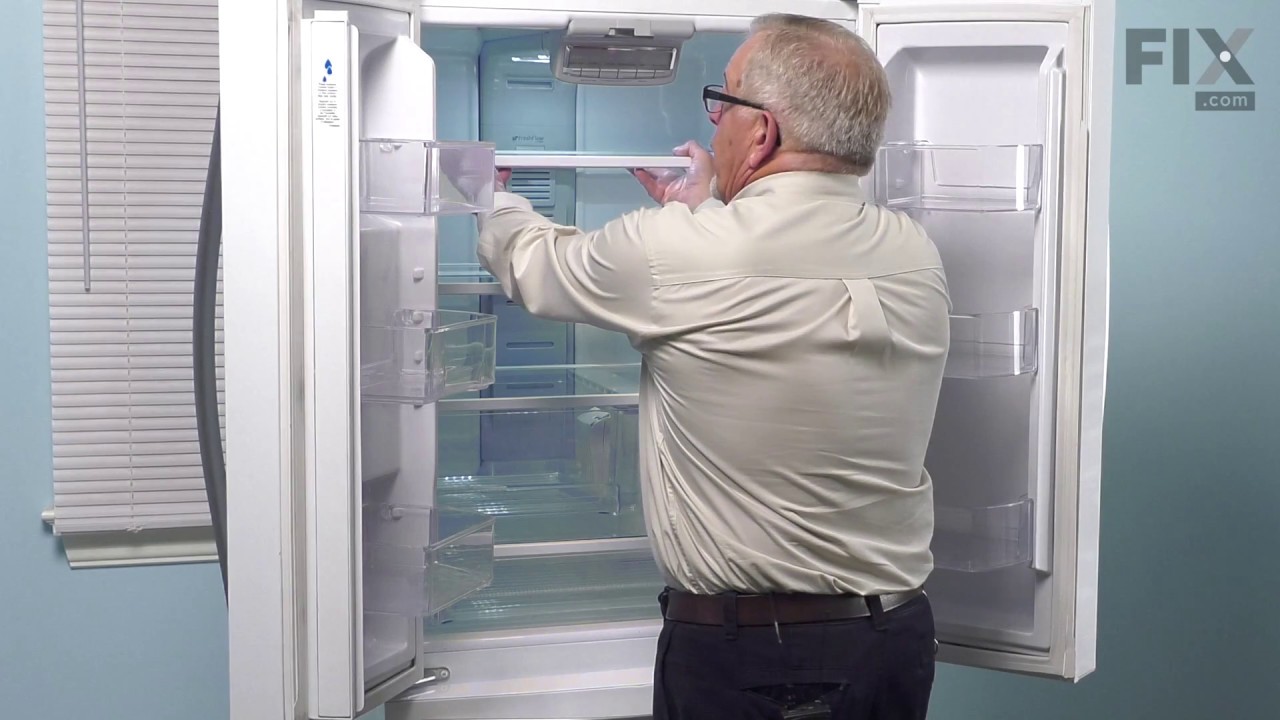
This Refrigerator Air Filter is a white 1.8x3.2" plastic filter which neutralizes odor and bacteria in the air. It should be replaced every six months at a minimum. Refer to your user manual and model number to see if this filter is right for your fridge. Location for storage of the air filter may vary from model to model, but generally, ...Read moreyou will find a small cover on the back-middle-top of your fridge, which can be popped off to reveal the air filter, which can be easily changed out from there. This part does not come sold with the indicator; it is the filter only. Sold individually.
This part is a replacement refrigerator drive shaft seal for your refrigerator. The drive shaft seal protects the auger motor from water and condensation that may leak down the drive shaft from the ice bucket. If the seal is broken, water and condensation can get in, causing the ice maker to fail. To replace the seal, first remove the ice...Read more bucket from your freezer. Then remove the two screws on the drive shaft holder, and use a pair of pliers to remove the drive shaft. At this point you can remove the seal from the drive shaft. Be sure to clean the area that the seal sits in before you reinstall the drive shaft. This part is white in color and is about an inch in diameter. The seal is sold individually.
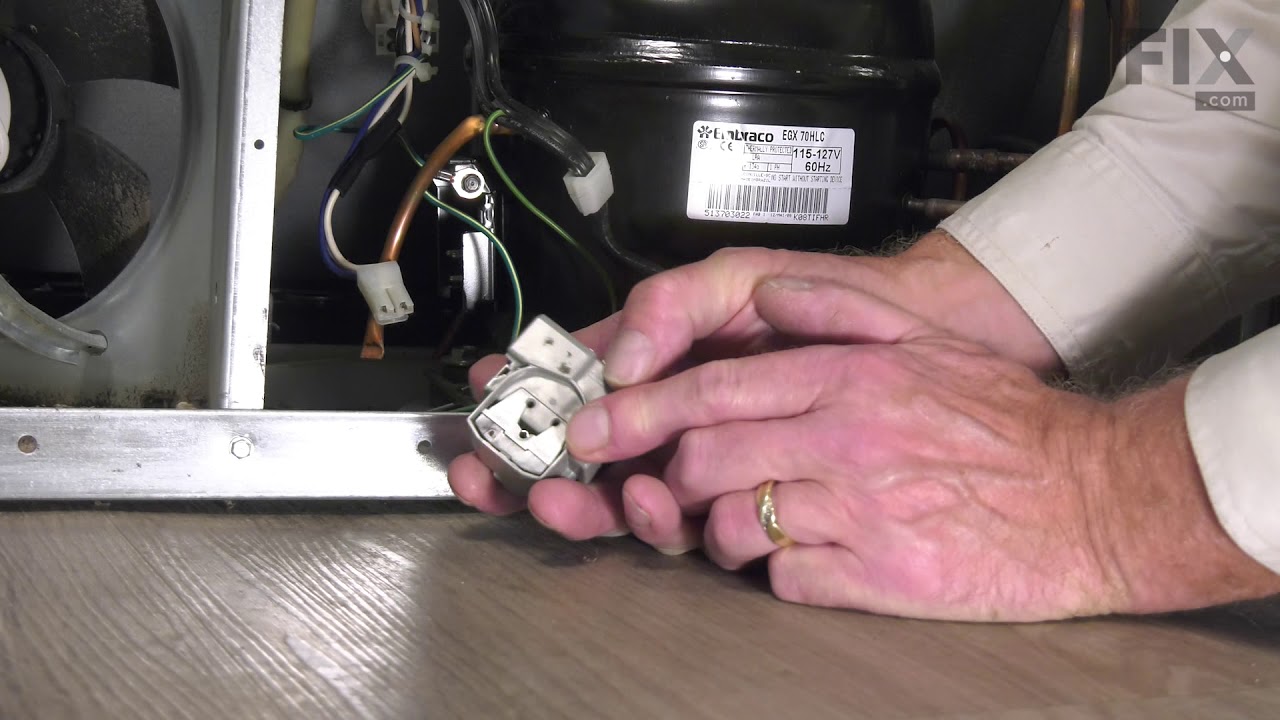
This compressor start relay is for refrigerators. The compressor start relay attaches to the compressor and helps start the compressor motor. Safely store any food that could deteriorate while the power is off and unplug the refrigerator before installing this part.
The ice maker includes the ice mold and the control device. The ice maker receives water from the water inlet valve and then holds the water in the ice mold until the water freezes solid.
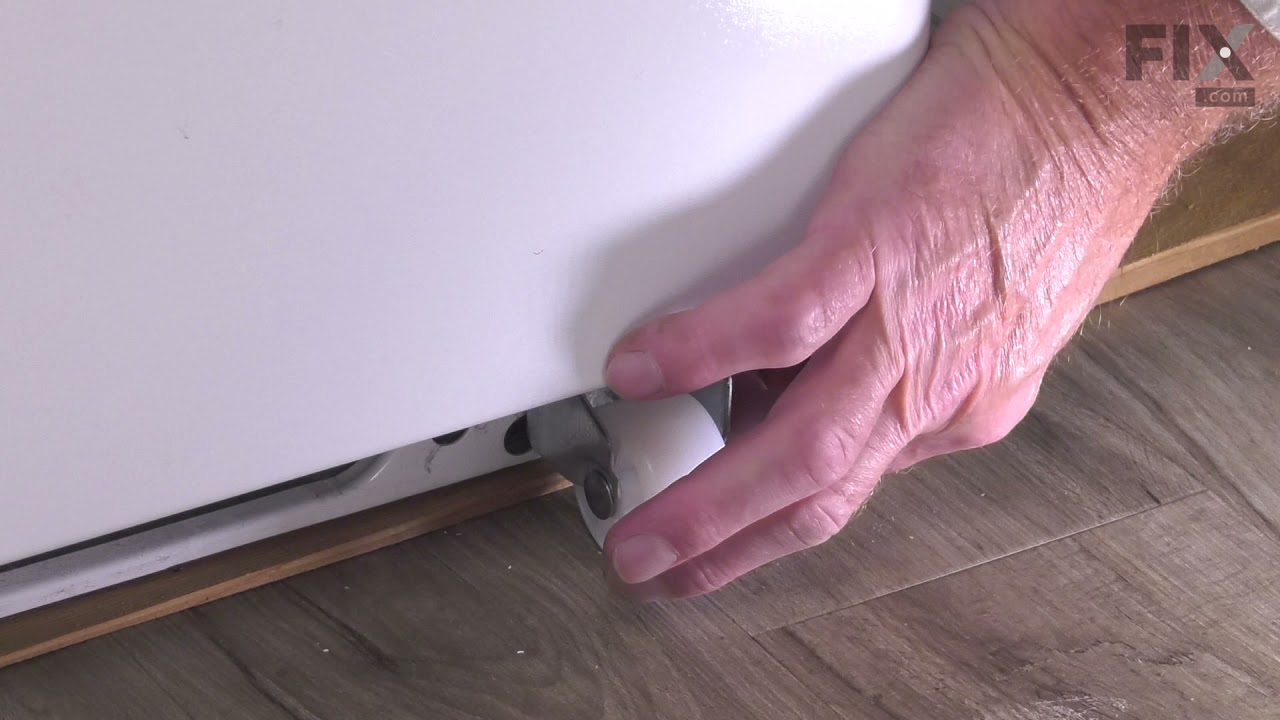
Introducing the Whirlpool Refrigerator Leveling Leg. This genuine OEM part supports your refrigerator, ensuring it remains stability and level. The height of the leveling leg can be adjusted to suit your unique refrigerator model, providing you with versatility and customization. This leveling leg is compatible with some models of Whirlpo...Read moreol, KitchenAid, Maytag, Jenn-Air, Amana, Inglis, and Magic Chef fridges. For a smooth installation, we recommend wearing work gloves to protect your hands. Verify your model compatibility before purchase.
The compressor run capacitor helps keep the motor running smoothly in refrigerators. It works with various models and is a genuine replacement part. Always unplug the refrigerator before installing the capacitor, and check the part number for compatibility with your model.
This auger motor is for refrigerators.
Auger motor turns the auger that pushes the ice cubes through the dispenser chute.
Safely store any food that could deteriorate while the power is off. Unplug the refrigerator before installing this part. Wear work gloves to protect your hands.
Ask our experts a question about this model and we'll get back to you as soon as possible!
We may have answered a similar question already! Search questions and answers left by others using simple keywords like "fit", "broken", "easy", or "quality" to find questions that match.
Search filter:
Clear Filter
Your search term must have 3 or more characters.
Sort by:
Prev
1
Next
Sorry, we couldn't find any existing answers that matched.Try using some different or simpler keywords, or submit your new question by using the "Ask a Question" button above!
Sandy - For model number KRFF577KPS03
May 20, 2025
I received a notice that I needed to replace a water filter. I can't tell from these parts which one it is. My refrigerator is about 4 months old. Maybe you are talking about air filter. I can't find the notice so I'm not sure....Could it mean air filter? Thanks
Hello Sandy, thank you for reaching out. If you have received the notice regarding the water filter, then you may need to replace the water filter. The water filter for your model is part number PS11722126. Water filter does not mean the air filter, as the air filter is a separate part. We hope that helps!
See how others fixed this model. Time, tools, difficulty, and steps that lead to victory!View More
Search repair tips from other customers using simple keywords like "replace", "fit", "remove", "inspect". DIY doesn't mean you have to do it alone!
Search filter:
Clear Filter
Your search term must have 3 or more characters.
Ice dispenser motor burnt out, water got inside.
86 of 129 peoplefound this instruction helpful.
Blye from Victoria, VA
Really Easy
1- 2 hours
Nutdriver, Screw drivers
Purchased new motor from Partselect.com. When it arrived it came with a new rubber washer that fitted on top of new motor that was not on old motor, that how water got into old motor. However, the instruction sheet did not give info on how to access the proper way to the motor that is the door. Not wanting to damage the freezer door assy.
... Read more called in a tech who made it look easy, but even he had a little problem locating access panel that was directly under the motor in the freezer side of the door. After that it was a piece of cake.
Read less
Was this helpful?
Thank you for voting!
Refrigerator would ice up around the condenser and through out the air vents. Stopping all air flow in the refrigerator. If you defrosted the refrigerator it would work for about 24 hours then ice up again.
29 of 31 peoplefound this instruction helpful.
Richard from STATEN ISLAND, NY
Easy
30 - 60 mins
Nutdriver, Pliers, Screw drivers
Unplugged and empty refrigerator, completely defrosted refrigerator using a hair dryer to speed up the defrosting, put a lot of towels on the floor to soak up the water when the ice melts. Removed all refrigerator racks and drawers, then remove the white plastic and styrofoam condenser cover. You will then see the thermistor, cut the two
... Read more small wires connecting the thermistor to the harness leave yourself as mush wire as possible. Splice in the new thermistor and put the refrigerator back together.
Read less
Was this helpful?
Thank you for voting!
Original bracket foot brake screw hole was stripped and foot brake would not extend
16 of 20 peoplefound this instruction helpful.
Daniel from BOCA RATON, FL
A Bit Difficult
30 - 60 mins
Nutdriver, Screw drivers, Socket set
The repair seemed simple, I just needed to remove the old bracket -- 4 screws -- and slip the new one on.
The tricky bit is that the roller bracket holds the weight of the fridge. So in order to make sure that the fridge did not fall over, and to keep the installation point off the ground so that I could align the screw holes,
... Read moreI needed to shim up the side of the fridge that I was working on.
To tap in the shims, I used a hammer and a spare chunk of wood. I ultimately used 3 shims, and kept tapping until the roller wheel could roll freely. Then I knew that the fridge was high enough. After that, it was pretty easy to remove the 4 screws, align the new bracket, and replace the screws. After that, in order to get the shims out I could just extend the foot brake as it was designed, and that lifted the fridge enough for me to easily slide out the shims. After that I just had to level out the fridge by adjusting the two feet.



 My Orders