


 My Orders




KRFC9 KitchenAid Refrigerator - Overview
Models starting with KRFC9
Click on the best match to narrow your results.
Enter a part description. DIY Heroes keep it simple, eg. "belt" or "pump".
Search filter:
Clear Filter
Your search term must have 3 or more characters.

$84.45
In Stock
Refrigerator Water Filter
Part #EDR4RXD1
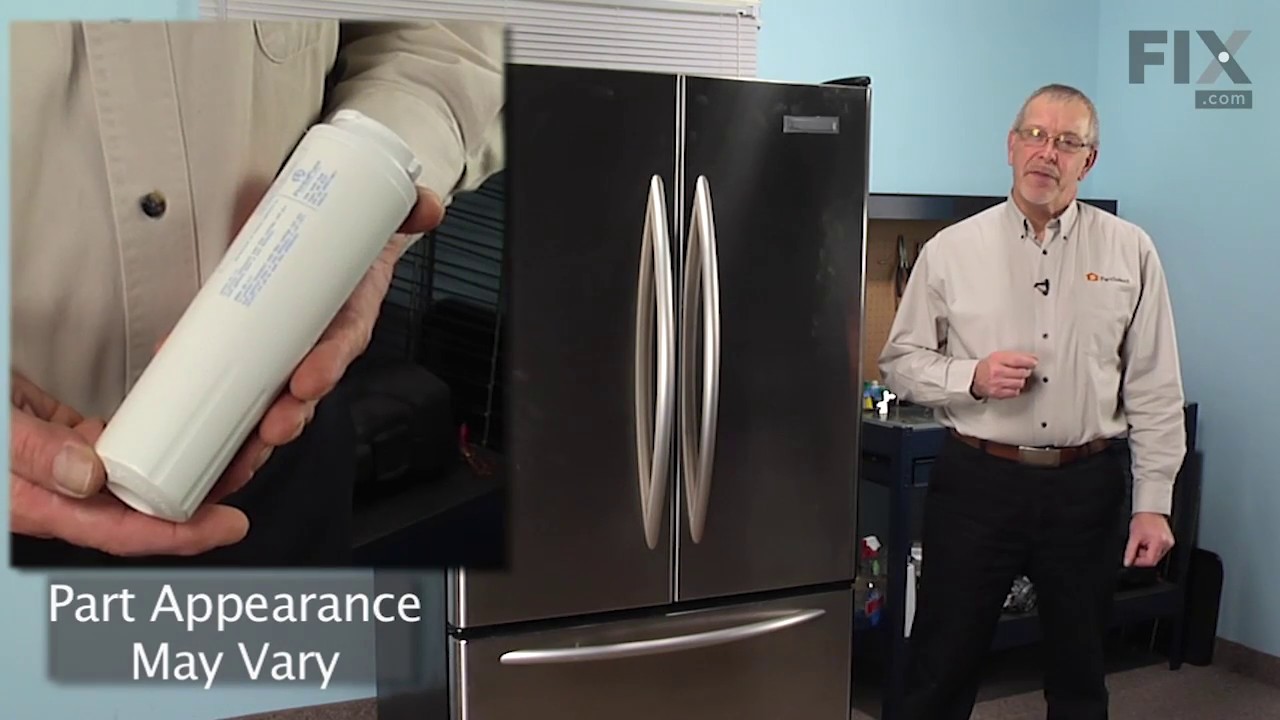
This water filter (Whirlpool EveryDrop Refrigerator Water Filter, Single Turn Filter) purifies water going to the water dispenser and sometimes the icemaker as well. This part should be replaced if it is causing reduced water flow or just replaced periodically per the owner manual. Replacing this water filter may fix a noisy or leaking fr...Read moreidge, a fridge that is not dispensing water (or reduced flow rate), and an ice maker that is not making ice at all, or not making enough ice. This filter is white, sold individually and measures 8 inches by 3 inches in diameter. This water filter has been updated by the manufacturer. It may appear different but will still function the same. It is sold individually.
Read less

$108.91
In Stock
Crisper Drawer
Part #WP67002659
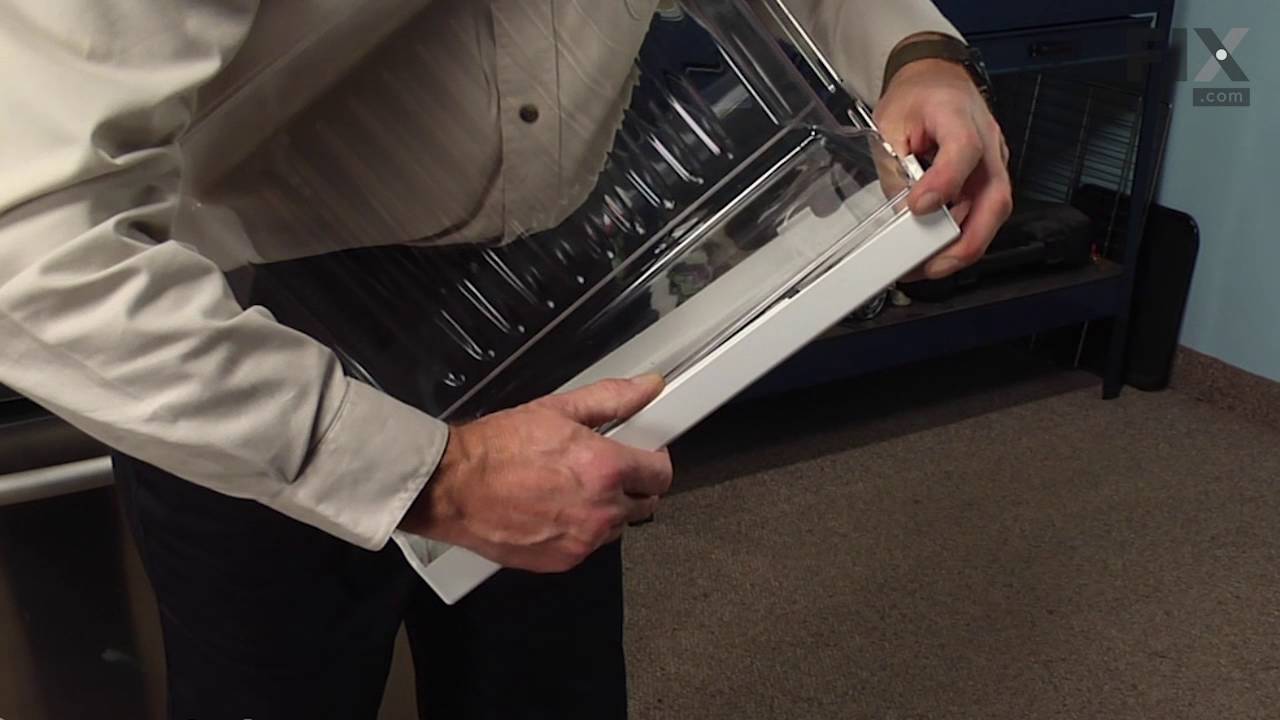
The crisper drawer in your refrigerator is used for storing various items. If you notice that your current crisper drawer is damaged, you may need to replace it. You may notice that your refrigerator door does not open or close properly, which is a sign that your cripser drawer is damaged. This crisper drawer is made of clear plastic and ...Read moreis roughly 20 inches in length. This part is sold individually and does not come with the plastic faceplate on it. If your current crisper has one, you will need to remove it and transfer it to the new crisper. NOTE: As per the manufacture the crisper drawer has been updated from the original. A new crisper cover may need to be purchased for the drawers to work. Factory dimensions - 12.847" Depth X 15.217" Width X 6.93 High.
Read less

$49.50
In Stock
Refrigerator Pantry End Cap
Part #WP12656018
This right-side end cap is designed to support the pantry drawer in your refrigerator, ensuring smooth operation and secure placement. Mounted directly to the interior wall of the appliance, it helps stabilize the drawer and maintain proper alignment. If the end cap becomes damaged or worn, replacement is recommended to restore full funct...Read moreionality. Installation should be done with the refrigerator unplugged, and manufacturer-provided instructions and diagrams should be followed for proper setup. Sold individually.
Read less

$54.24
In Stock
Refrigerator Pantry End Cap
Part #WP12656105
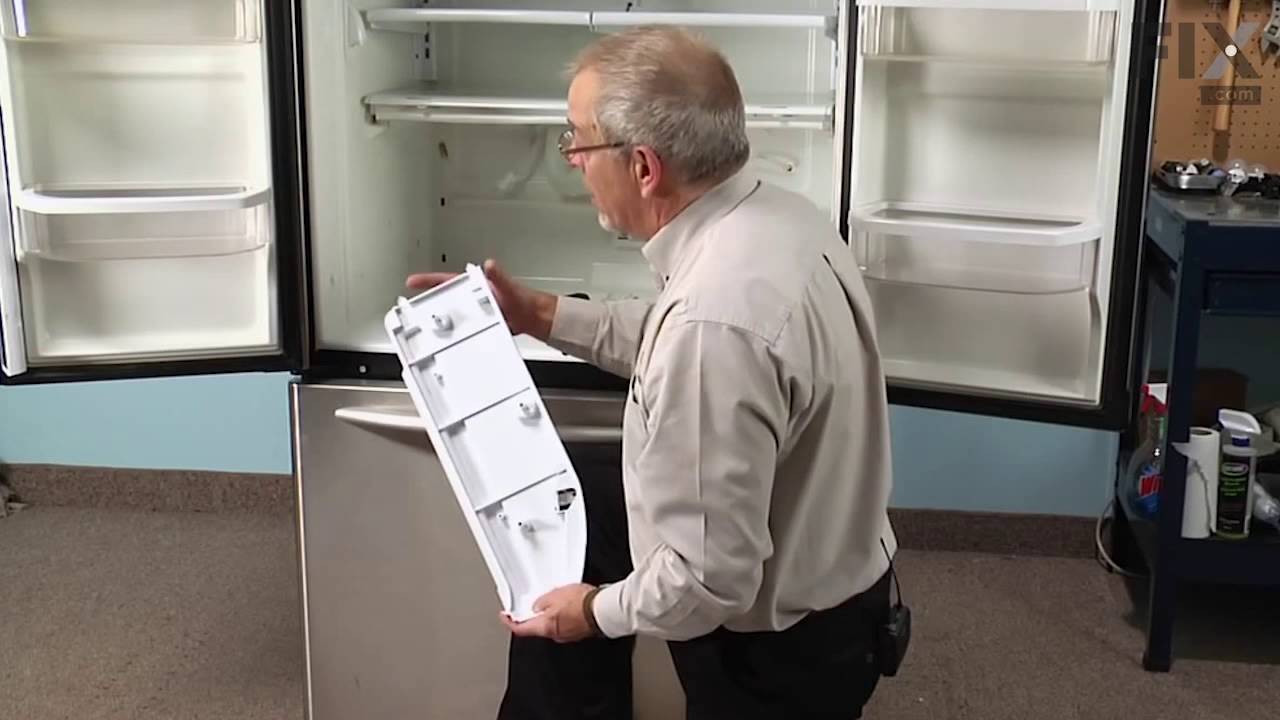
The pantry end cap is also known as a drawer support or a door shelf trim. This specific piece is sold individually and is meant for the left side of your refrigerator. It snaps into place on the door of your fridge, which allows it to hold items on the door shelf. To change the left side end cap on your refrigerator you will need a 1/4 i...Read morench nut driver. Users have ranked this installation as easy to do, with a less than thirty minute repair time.
Read less

$30.53
In Stock

$30.53
In Stock
Door Switch
Part #W11396033
This light switch may also be known as a refrigerator door switch or a light switch kit, and is compatible with your refrigerator. The function of the refrigerator door switch is to turn on the light when your fridge door is open, and to make sure it is off when your refrigerator door is closed. The reason you would need to replace this p...Read moreart is if your light is not turning on when your door is open. For this repair, you will need a putty knife, and a small flat-blade screwdriver.
Read less

$12.20
In Stock

$21.45
In Stock
Screw
Part #W11233072
This is a multi-use and multi-appliance screw. It can be used on a microwave, refrigerator, range/oven, air conditioner, dehumidifier, washer, or dryer. The measurements of this screw are 8 x 1/2 inch. It has 6 threads. Refer to the manual provided by the manufacturer for further information on repair and accurate guidance. Remember to wear work gloves as a safety precaution.

$7.47
In Stock

$66.77
In Stock
Refrigerator Pantry Drawer Lid
Part #WP67005930
This pantry drawer front lid assembly is a genuine OEM replacement component designed to maintain optimal freshness and organization within select refrigerator models. Constructed from durable white plastic and featuring a clear window for visibility, it fits securely over the pantry drawer to regulate temperature and moisture levels. By ...Read moreforming a proper seal, it helps prevent spoilage and reduces air exposure, preserving the quality of stored food. Compatible with a wide range of refrigerators from Whirlpool, KitchenAid, Maytag, and other affiliated brands, this part is engineered for long-lasting performance. Model verification is recommended prior to installation.
Read less

$44.23
In Stock
P-Trap Drain Tube Kit
Part #W10619951
The p-trap drain tube kit may also be known as the duck bill, or the drain pipe, and it is compatible with your refrigerator. The function of the p-trap drain kit is to carry the water that has formed during the defrost cycle to the bottom of the refrigerator, where your drain pan is located. The tools you will need for this repair includ...Read moree a 1/4-inch nut driver and a small flat-blade screwdriver. To do this repair you will need to pull the refrigerator forward in order to reach the lower access panel at the back. This kit includes the tube extension piece and spacer.
Read less

$48.45
In Stock
Refrigerator Water Filter Bypass
Part #W11395888
This water filter bypass cap, also known as a water filter bypass plug, is an authentic OEM part that replaces the regular water filter cartridge in refrigerators. It allows water to flow freely through the dispensing system when the filter is not present. The bypass can fail if it becomes clogged, cracked, or falls out of alignment. A fa...Read moreulty filter bypass will result in leaking, poor ice production, and difficulties dispensing water. You can find the filter bypass inside the refrigerator, near the water filter housing. Disconnect the water supply lines and remove the faulty bypass. Insert the new bypass in its place and reconnect the water supply lines.
Read less
Common Symptoms of models starting with KRFC9
How this model fails, and the parts that fix it.
Light not working
Fixed by
these parts
these parts


Show All
Leaking
Fixed by
these parts
these parts


Show All
Door won’t open or close
Fixed by
these parts
these parts


Show All
Not dispensing water
Fixed by
these parts
these parts


Show All
Ice maker not making ice
Fixed by
these parts
these parts

Show All
Fridge too warm
Fixed by
these parts
these parts


Show All
Noisy
Fixed by
these parts
these parts

Show All
Fridge too cold
Fixed by
these parts
these parts
Show All
Frost buildup
Fixed by
these parts
these parts

Show All
Freezer not defrosting
Fixed by
these parts
these parts
Show All
Ice maker won’t dispense ice
Fixed by
these parts
these parts
Show All
Ice maker dispenses too little ice
Fixed by
these parts
these parts
Show All
Freezer too cold
Fixed by
these parts
these parts
Show All
Ice maker dispenses too much ice
Fixed by
these parts
these parts

Show All
Freezer section too warm
Fixed by
these parts
these parts
Show All
Door Sweating
Fixed by
these parts
these parts
Show All
Touchpad does not respond
Fixed by
these parts
these parts
Show All
Too warm
Fixed by
these parts
these parts
Show All
Fridge and Freezer are too warm
Fixed by
these parts
these parts
Show All
Will Not Start
Fixed by
these parts
these parts

Show All
Fridge runs too long
Fixed by
these parts
these parts
Show All
Watch our pros, then fix it yourself.



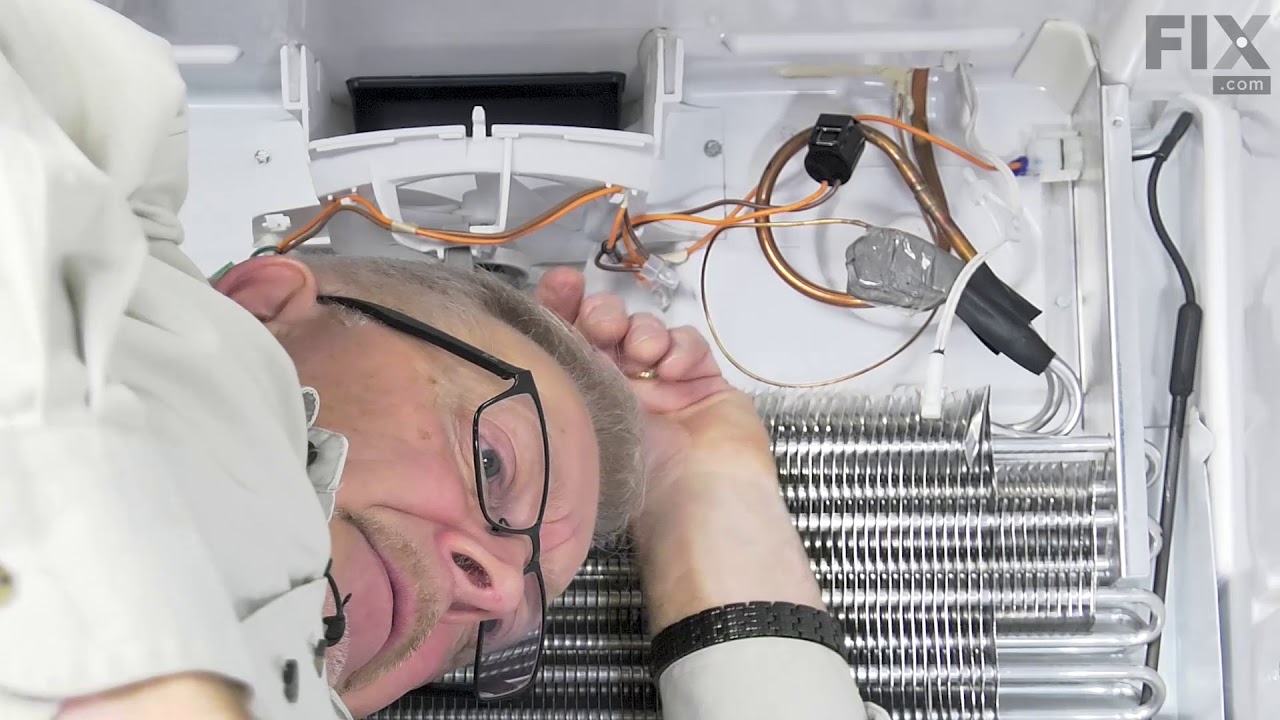
See how others fixed this model. Time, tools, difficulty, and steps that lead to victory!
View More
Search repair tips from other customers using simple keywords like "replace", "fit", "remove", "inspect". DIY doesn't mean you have to do it alone!
Search filter:
Clear Filter
Your search term must have 3 or more characters.
Broken pins holding pantry door
149 of 169 people
found this instruction helpful.
Removed door and crisper pans.
Removed nuts on left end cap - think there were 3.
Removed nuts on right end cap and one or two on back air regulator attached to right end cap.
Replaced left end cap with new one using reserved nuts.
Carefully removed back air regulator from right end cap.
Attached back air regula ... Read more tor to new right end cap.
Replaced right end cap and back air regulator and attached with nuts.
Carefully inserted pantry door into pin on one side and slightly bent both right and left pins to insert door fully into end caps.
Replaced crisper pans.
That's it.
Removed nuts on left end cap - think there were 3.
Removed nuts on right end cap and one or two on back air regulator attached to right end cap.
Replaced left end cap with new one using reserved nuts.
Carefully removed back air regulator from right end cap.
Attached back air regula ... Read more tor to new right end cap.
Replaced right end cap and back air regulator and attached with nuts.
Carefully inserted pantry door into pin on one side and slightly bent both right and left pins to insert door fully into end caps.
Replaced crisper pans.
That's it.
Read less
Other Parts Used:


Was this helpful?
Thank you for voting!