


 My Orders




KP6 - Overview
Models starting with KP6
Click on the best match to narrow your results.
- KP60 US Stove Company Heating Stove (2,200 Sq. Ft. Pellet Stove With Remote And Wall Thermostat, Kp60)
- KP630LXA1 Westinghouse Range (Westinghouse Range/Stove/Oven Model KP630LXA1 Parts)
- KP630LXA2 Westinghouse Range (Westinghouse Range/Stove/Oven Model KP630LXA2 Parts)
- KP630LXE1 Westinghouse Range (Westinghouse Range/Stove/Oven Model KP630LXE1 Parts)
- KP630LXE2 Westinghouse Range (Westinghouse Range/Stove/Oven Model KP630LXE2 Parts)
- KP630LXG1 Westinghouse Range (Westinghouse Range/Stove/Oven Model KP630LXG1 Parts)
- KP630LXG2 Westinghouse Range (Westinghouse Range/Stove/Oven Model KP630LXG2 Parts)
- KP630LXK1 Westinghouse Range (Westinghouse Range/Stove/Oven Model KP630LXK1 Parts)
- KP630LXK2 Westinghouse Range (Westinghouse Range/Stove/Oven Model KP630LXK2 Parts)
- KP630LXW1 Westinghouse Range (Westinghouse Range/Stove/Oven Model KP630LXW1 Parts)
- KP630LXW2 Westinghouse Range (Westinghouse Range/Stove/Oven Model KP630LXW2 Parts)
- KP630RDA1 Westinghouse Range (Westinghouse Range/Stove/Oven Model KP630RDA1 Parts)
- KP630RDE1 Westinghouse Range (Westinghouse Range/Stove/Oven Model KP630RDE1 Parts)
- KP630RDG1 Westinghouse Range (Westinghouse Range/Stove/Oven Model KP630RDG1 Parts)
- KP630RDK1 Westinghouse Range (Westinghouse Range/Stove/Oven Model KP630RDK1 Parts)
- KP630RDW1 Westinghouse Range (Westinghouse Range/Stove/Oven Model KP630RDW1 Parts)
- KP632LB1 Frigidaire Cooktop (Electric)
- KP632LD Westinghouse Freezer (Westinghouse Freezer Model KP632LD Parts)
- KP632LD1 Frigidaire Cooktop (Electric)
- KP632LH1 Frigidaire Cooktop (Electric)
- KP632LW Westinghouse Freezer (Westinghouse Freezer Model KP632LW Parts)
- KP632LW1 Frigidaire Cooktop (Electric)
- KP632LW2 Frigidaire Cooktop (Electric)
Enter a part description. DIY Heroes keep it simple, eg. "belt" or "pump".
Search filter:
Clear Filter
Your search term must have 3 or more characters.

$48.93
In Stock
DEFROST TIMER
Part #5304518034
This is a 120 volt defrost timer manufactured for refrigerators. The defrost timer manages the automatic defrost systemin the unit. It acts like a clock by switching between activating the cooling cycle and the defrost heater to maintain the set thermostat temperature, preventing the unit from being too warm or cold. The defrost timer may...Read more need to be replaced if the fridge will not maintain its temperature or has frost buildup. Depending on the model, it could be located on the rear panel or ceiling of the fresh food compartment. Be sure to disconnect power to the refrigerator before replacing this part.
Read less

$41.75
In Stock
Defrost Thermostat
Part #5303917954
This limiter thermostat cuts out when the temperature inside your refrigerator reaches 55 degrees Fahrenheit and kicks back in when the internal temperature drops to 20 degrees Fahrenheit. If you discover temperature issues with your refrigerator or freezer, the defrost thermostat may need to be replaced. You will need tools for this repa...Read moreir, including a 1/4-inch nut driver, a pair of wire strippers, and a heat gun. Be sure to disconnect power to the refrigerator before completing this repair. The defrost thermostat is located behind the back panel of your side-by-side refrigerator/freezer. You will first need to remove the panel and take the defrost thermostat out to complete the repair.
Read less

$50.33
In Stock
Burner Switch Kit
Part #5303935086
This is a burner switch kit, also known as the surface element control switch repair kit, for ranges. This burner switch kit sends voltage to the surface element coil and it controls the stove top surface burner. If the following symptoms occur, installing the switch could be the solution to the problem: surface element not heating, overh...Read moreeating, or inconsistent heating. Usually, if the element is not defective, that is a sign there is an issue with the switch. The kit comes with several insert sizes, and includes screws as well. The tools needed for this project are a nut driver, pliers, and screwdrivers.
Read less

$39.82
In Stock
Filter - Drier
Part #5303305677
A filter-drier in a refrigerator has two essential functions. The first is to absorb system contaminants, such as water, which can create acids. The second is to provide physical filtration. This means trapping moisture, small metal chips, and dirt found in the refrigerant gas. If your refrigerator motor is constantly running, but the ref...Read morerigerator is not getting cold, the issue could be due to a damaged or faulty filter-drier. Faulty filter-driers are sometimes the cause for abnormal freezer compartment temperatures and partially frosted evaporators. This filter-drier is approximately 11 inches long. Remember to disconnect the power from your refrigerator before beginning this repair.
Read less

No Longer Available
Red Indicator Light Lens
Part #318250801
This indicator light lens protects bulbs in ranges, ovens, stoves, and humidifiers. The lens keeps the bulb from getting cracked, scratched, and damaged. It is 1 inch long and 1 inch wide. If your lens is defective or broken, or the bulb is easily getting damaged, replacing the lens can be a solution. Refer to the installation instruction...Read mores provided by the manufacturer for further accurate guidance. Remember to unplug your appliance from the power source before starting this project and wear gloves to ensure your hands are protected.
Read less

$62.37
In Stock
Aluminum Heater Strap
Part #5308000110
This strap is designed for use with the evaporator in your refrigerator. The function of this part is to hold wires, tubes, defrost heaters and other parts in place. If you notice that any of these parts are not held in place properly, you will most likely need to replace the refrigerator strap. This part is made entirely of thin metal. T...Read morehe part is very bendable, and the smaller end is designed to fit inside the large one. This part is sold individually. It is an OEM part sourced directly from the manufacturer. Many of our customers have rated this repair as easy.
Read less

No Longer Available
Solid Element Cleaner
Part #5308016255
This solid element restorer is for ranges and cooktops. Solid element restorer restores and protects solid elements from rusting and spotting. Follow the instructions on the label when using this product.

$23.01
In Stock
Compressor Mounting Grommet
Part #216498900

$17.19
Special Order
Drip Bowl - 6" Chrome
Part #A316221501
This six inch chrome drip bowl is used for some Frigidaire/WCI brand White-Westinghouse style electric ranges.

No Longer Available
Start Relay
Part #5303007171

No Longer Available
6 Inch Surface Element
Part #5300161845

$30.62
Special Order
BUSHING
Part #318146010
Common Symptoms of models starting with KP6
How this model fails, and the parts that fix it.
Fridge too warm
Fixed by
these parts
these parts


Show All
Too warm
Fixed by
these parts
these parts
Show All
Frost buildup
Fixed by
these parts
these parts
Show All
Freezer not defrosting
Fixed by
these parts
these parts
Show All
Element will not heat
Fixed by
these parts
these parts

Show All
Freezer section too warm
Fixed by
these parts
these parts
Show All
Won’t start
Fixed by
these parts
these parts
Show All
Doesn’t stop running
Fixed by
these parts
these parts
Show All
Fridge runs too long
Fixed by
these parts
these parts
Show All
Freezer too cold
Fixed by
these parts
these parts
Show All
Fridge and Freezer are too warm
Fixed by
these parts
these parts
Show All
Fridge too cold
Fixed by
these parts
these parts
Show All
Will Not Start
Fixed by
these parts
these parts
Show All
Leaking
Fixed by
these parts
these parts
Show All
Watch our pros, then fix it yourself.
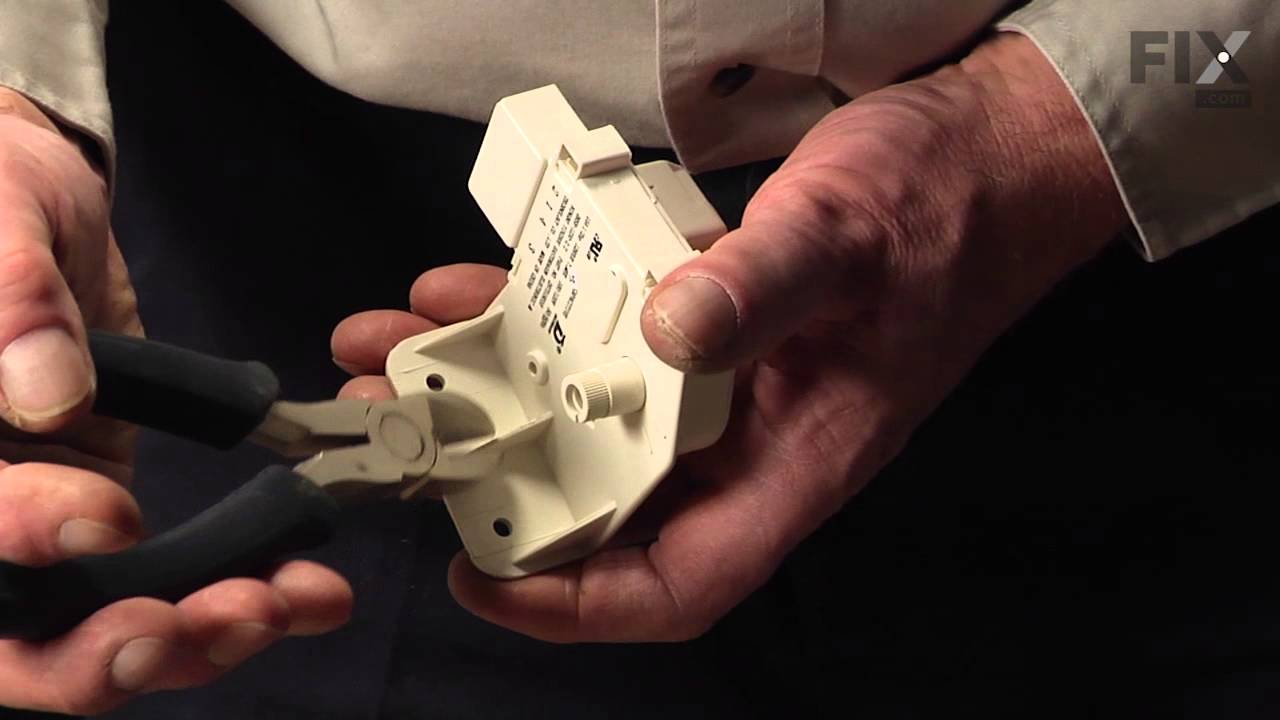
See how others fixed this model. Time, tools, difficulty, and steps that lead to victory!
View More