


 My Orders




KOSE507EWH03 KitchenAid Wall Oven - Overview
Diagrams for KOSE507EWH03
See every part. Know exactly what you need.


Enter a part description. DIY Heroes keep it simple, eg. "belt" or "pump".
Search filter:
Clear Filter
Your search term must have 3 or more characters.

$7.47
In Stock

$49.50
In Stock
2 Piece Broiler Pan
Part #4396923
This broiler pan and roasting rack set is designed to help reduce mess while cooking by allowing grease to drain away from food. Its durable porcelain-coated construction stands up to high temperatures and makes cleanup simple. With approximate dimensions of 16 3/4 inches long, 12 3/4 inches wide, and 1 3/4 inches high, it offers a convenient size for everyday broiling and roasting.

$76.17
In Stock

No Longer Available
Spray Paint - 12 oz. - White
Part #350930
Appliance spray paint is a great way to cover up any chips and scratches that have appeared on your appliances. Instead of replacing the part entirely, this is an easy fix. This is also a great way to give a fresh new look to any handles or areas that have discoloring due to wear. Make sure to clean the area before you begin and wear a pr...Read moreotective mask for safety. Give the can a good shake and spray a few inches away from the surface. Apply the paint until the area is fully covered as desired. Wait until the paint has dried before using the appliance.
Read less

$82.56
In Stock

No Longer Available

$91.74
In Stock
Thermostat
Part #WP4449751
This high-limit thermostat is a safety-critical component designed to prevent overheating in ranges and wall ovens. It monitors internal temperatures and cuts power to the heating elements if the oven exceeds a preset threshold, typically around 335°F (170°C). Constructed from heat-resistant materials for long-term durability, it helps pr...Read moreotect internal components and reduce the risk of fire or damage caused by control system failures, ventilation blockages, or fan malfunctions. A faulty thermostat may result in no heat, uneven cooking, or failure to start. Replacing this part restores safe and reliable oven operation. Installation should be performed with the appliance disconnected from power.
Read less

$7.47
In Stock

$8.55
In Stock
SCREW
Part #W10831019

$67.82
In Stock

$91.03
In Stock
Broil Element
Part #W10804429
This broil element is a genuine OEM replacement designed to deliver high-intensity heat from the top of the oven cavity, ideal for broiling and browning food. Engineered to meet original specifications, it ensures consistent performance and even heat distribution. Positioned at the top of the oven, it activates during broil cycles to sear...Read more and crisp food surfaces. Common symptoms of a failing element include no heat during broiling, uneven cooking, or visible damage such as burning or breakage. Compatible with select models from Whirlpool, Maytag, KitchenAid, Amana, and Jenn-Air, installation typically involves disconnecting power, removing mounting screws, and connecting the new element using existing terminals. Always verify model compatibility before installation.
Read less

No Longer Available
Spray Paint - Superior Black
Part #285006
This is a 12oz (about 355 ml) can of black spray paint that is compatible with a variety of different home appliances and is used to cover and conceal any visible scuffs, scratches or chips. This can is sold individually, so consider how much paint you need for your appliances prior to placing an order. To use this spray paint, make sure ...Read moreto have the proper personal protective equipment, such as protective glasses or gloves, as well as a respirator. Clean the surface of whatever you are spraying before you begin and shake the can for 1 minute after hearing the internal mixing balls rattle. Do not spray during high heat or humidity, spray at room temperature and in several thin coats to ensure the best adherence.
Read less
Common Symptoms of the KOSE507EWH03
How this model fails, and the parts that fix it.
Will Not Start
Fixed by
these parts
these parts


Show All
Will not program
Fixed by
these parts
these parts
Show All
Element will not heat
Fixed by
these parts
these parts

Show All
Door won’t open after self cleaning cycle
Fixed by
these parts
these parts
Show All
Watch our pros, then fix it yourself.

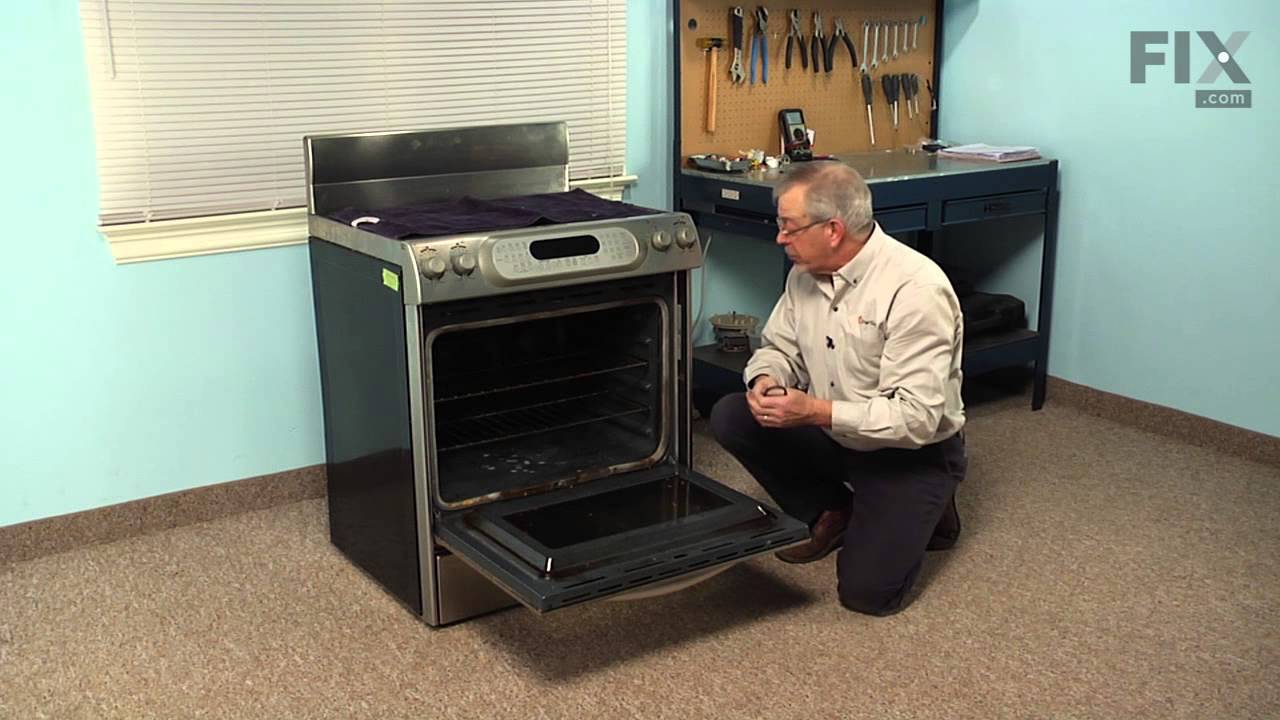
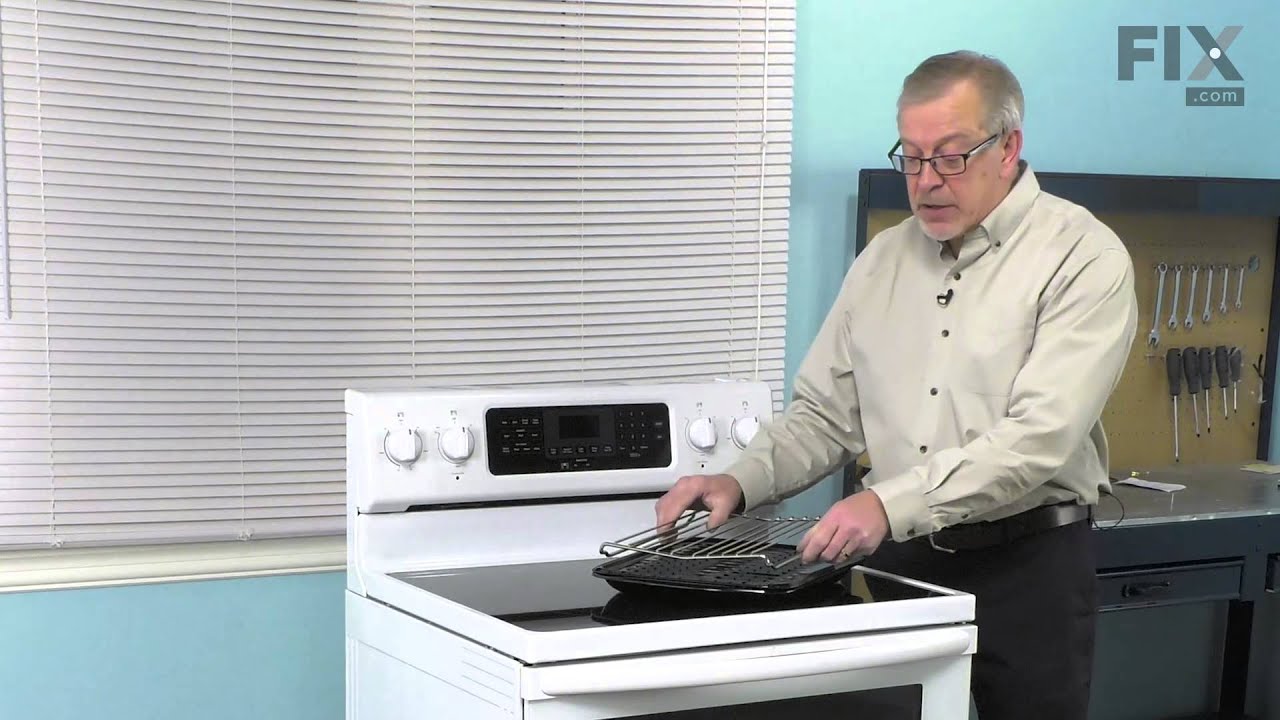
See how others fixed this model. Time, tools, difficulty, and steps that lead to victory!
View More