This broiler pan and roasting rack set is designed to help reduce mess while cooking by allowing grease to drain away from food. Its durable porcelain-coated construction stands up to high temperatures and makes cleanup simple. With approximate dimensions of 16 3/4 inches long, 12 3/4 inches wide, and 1 3/4 inches high, it offers a convenient size for everyday broiling and roasting.
This is a replacement light bulb to illuminate the inside of your oven. It is 25 watts and 120 volts. Please wear gloves during replacement if your existing bulb is shattered. Consider ordering a spare as this is a common wear part.
Appliance spray paint is a great way to cover up any chips and scratches that have appeared on your appliances. Instead of replacing the part entirely, this is an easy fix. This is also a great way to give a fresh new look to any handles or areas that have discoloring due to wear. Make sure to clean the area before you begin and wear a pr...Read moreotective mask for safety. Give the can a good shake and spray a few inches away from the surface. Apply the paint until the area is fully covered as desired. Wait until the paint has dried before using the appliance.
Ask our experts a question about this model and we'll get back to you as soon as possible!
We may have answered a similar question already! Search questions and answers left by others using simple keywords like "fit", "broken", "easy", or "quality" to find questions that match.
Search filter:
Clear Filter
Your search term must have 3 or more characters.
Sort by:
Prev
1
Next
Sorry, we couldn't find any existing answers that matched.Try using some different or simpler keywords, or submit your new question by using the "Ask a Question" button above!
Greg Pustilnik - For model number KOSC504ESS00
May 14, 2026
Hi. I’m getting an alarm F6 E1 after I set the oven to bake no matter what temp the broiler comes on. After 5min the oven goes in to an alarm. Can you help ?
Hi Greg, thank you for contacting us. The error code indicates that there may be a problem with the appliance manager control or the associated wiring. Ensure that the wire harness has not been damaged. If it is fine, the issue could be with the control board, part number PS11703485. You may need to replace it to fix the issue. We hope this solves your problem!
Hello Robert, thank you for contacting us. It's possible that the bake heating element in your oven is only receiving 66 volts because of a problem with the electrical circuit or wiring that supplies power to the element. We would also recommend checking the bake element, part number PS11750370, for continuity with a multimeter. Also, test the control board, part number PS11703486, with a multimeter. Customer service is available 7 days a week if you require assistance placing an order. Thanks again for reaching out!
Oven reaches set temperature and food is placed inside. Timer is set to recipe directions. When timer sounds that baking time is complete, food is not completely cooked. Upon investigation, I found the temperature sags as much as eighty degrees. As a work around, I reset the temperature, and the oven immediately begons to heat up again. Although this work around gets the food cooked, it is not how it is supposed to operate. The thermostat, or controller appears to be the issue. Are there any adjustments that can be made to alleviate the problem?
Hi Rick, thank you for your question! According to our search, the issues seem to be with the temperature sensor, part number PS11731446. If that does not help, we would recommend checking the control board, part number PS11703486. The control board manages the functions of the wall oven such as heating and temperature. If you need help placing an order, customer service is open 7 days a week. Thanks again for your great question.
See how others fixed this model. Time, tools, difficulty, and steps that lead to victory!View More
Search repair tips from other customers using simple keywords like "replace", "fit", "remove", "inspect". DIY doesn't mean you have to do it alone!
Search filter:
Clear Filter
Your search term must have 3 or more characters.
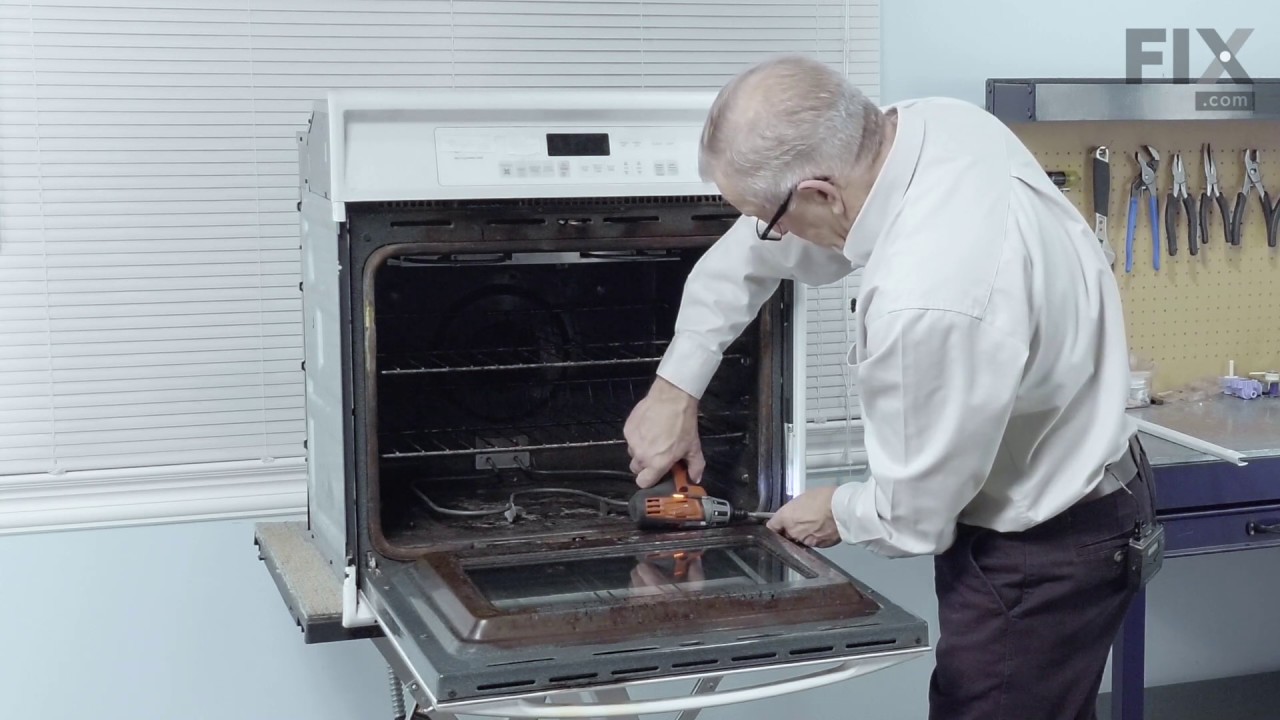
Broken inner door glass
31 of 37 peoplefound this instruction helpful.
Elizabeth from Seattle, WA
Easy
30 - 60 mins
Screw drivers
I removed all the screws attaching the inner liner to the door, then removed the broken glass. I did this before ordering the replacement glass so I could be sure that only one piece was broken -- the door contains four pieces of glass in all. After the replacement glass arrived (really fast delivery!), I cleaned all the parts and reass
... Read moreembled the door. I had some difficulty in aligning the screw holes properly, and I'm still not sure if I have the exterior sheet of glass positioned correctly -- the schematic shows the order in which the parts go together but not how they fit exactly. I should have inspected the door more closely before I took it apart. Anyway, it feels solid and everything seems to work.
Read less
Was this helpful?
Thank you for voting!
Inner glass
22 of 31 peoplefound this instruction helpful.
Michael from Denville, NJ
Easy
30 - 60 mins
Screw drivers
Take door off completely by setting hinge locks into place and then removing door. Take all of the screws out from frame (remember that the flat screws go the outside and the raised heads on the inside of door)Remove the clips on the bottom of door as well. Carefully remove frame. Then remove the inner glass clips, this will allow you to
... Read moreremove the broke or cracked glass easily and install the new glass. Set the door on a soft towel with finish side down. Make sure your hinges are on the proper sides if you moved them. (you will see where the screw hole matches up with the bottom of the frame. Do everything in reverse to put back together. Good Luck
Read less
Was this helpful?
Thank you for voting!
Corroded bake element
12 of 13 peoplefound this instruction helpful.
Tim from Langley, WA
Difficult
30 - 60 mins
Pliers, Screw drivers
Pull it away from the wall and take everything off the back. Unscrew the element cover, cut through the insulation and remove the part. Not easy, watch for sharp sheet metal edges



 My Orders