


 My Orders




KORU06RSSS00 KitchenAid Refrigerator - Overview
Diagrams for KORU06RSSS00
See every part. Know exactly what you need.


Enter a part description. DIY Heroes keep it simple, eg. "belt" or "pump".
Search filter:
Clear Filter
Your search term must have 3 or more characters.

$9.62
In Stock
Refrigerator Lower Door Closing Cam
Part #WP2182179
The lower door closing cam is used in refrigerator doors, it can be located on the fresh food side or the freezer side. It helps hold the door open. This cam is made out of plastic, so it might crack or wear down over time. If your door will not open and close properly you may need to replace the door closing cam. To successfully install ...Read morethis part, you will need a 5/16 nut driver and a small flat blade screwdriver. Before you begin, unplug your appliance and disconnect the water supply. Lubricating this part may help with installation. This replacement part is sold individually. This part will fit both the left and right side of your refrigerator door. To make the repair, remove the top hinge cover, then the top hinge support. Lift the door from the bottom support and remove the old door cams. Replace the cams, using a little lubricant if necessary, and place the door back on the lower hinge support. Replace the top hinge support and your repair is complete!
Read less

$9.62
In Stock
Refrigerator Door Cam
Part #WPW10329686
The Door Cam is a black plastic part which helps the door pivot shut while keeping the door and hinge in proper alignment. Lubricating this part upon installation may help it move easier. It attaches onto the door hinge and should be replaced if broken or if there is noticeable damage. Refer to your model number and user manual to ensure...Read more this is the correct part for you. To do this repair you will need a 5/6 nut driver, a 5/16 socket, and a ratchet. For safety purposes, do not forget to turn off your appliance before making this repair. Note that this piece is black, and as per the manufacturer requires a new screw to mount the door cam which is sold individually. Please also note that this is the closing cam for the lower door, and the upper door cam is sold as a separate kit.
Read less

$82.05
In Stock
Condenser Fan Motor Kit
Part #W10124096
This condenser fan motor kit includes a motor, fan blade, wire harness, and screws. Used in a refrigerator, the condenser fan motor moves the condenser fan blade to direct and move air across the condenser coil. Please note: The manufacturer has changed the appearance of the product from the original. The kit still functions the same as t...Read morehe original part. It is an OEM factory replacement. Make sure to unplug the refrigerator from the power source and wear gloves to protect your hands. Also, a helpful tip is to store food to prevent deterioration when the power is off.
Read less

$53.20
In Stock
Refrigerator Evaporator Fan Motor
Part #WPW10189703
This is a 60 Hertz, 120-volt evaporator fan motor for your refrigerator. This part is located in the back of the freezer, and circulates air over the refrigerator coils. These coils will convert the heat into cool air, which is then circulated. The most common reason for needing to replace the motor is if the temperature in your freezer a...Read morend fridge are inconsistent, or there is no air circulating at all. You will need a quarter inch nut driver and a pair of needle nose pliers for this repair. Note: This motor uses 2 brackets, which are sold separately.
Read less

$21.45
In Stock
SET SCREW - DOOR HANDLE
Part #W11366418
This screw is for refrigerators. Follow appropriate safety practices when installing screw

$11.77
In Stock

$9.62
In Stock

$7.47
In Stock
Refrigerator Socket
Part #WPW10191429
This light socket is a genuine OEM part for your refrigerator. The light socket powers the bulb that lights your fridge. To repair this part, you will need to remove the screws holding the control panel in place. Pull the panel out and unplug any terminals or wires connected to the socket. Plug the new socket into place, and reattach terminals and wires.

$50.56
In Stock
Freezer Evaporator Fan Blade
Part #WP2163777
This part is used to circulate air through the inside of the refrigerator to help improve the cooling efficiency.

$36.85
In Stock
Refrigerator Grommetmotor
Part #WP2264462

$46.34
Special Order
Refrigerator 40w Light Bulb
Part #WP548049
This light bulb is found behind the controls box in some refrigerators.

$9.62
In Stock
Manuals & Care Guides for KORU06RSSS00
Click to downloadManual
Owner's Manuals
(0.49MB)
Manual
Owner's Manuals
(2.51MB)
Specs
Product Specifications Sheet
(0.04MB)
Common Symptoms of the KORU06RSSS00
How this model fails, and the parts that fix it.
Door won’t open or close
Fixed by
these parts
these parts


Show All
Noisy
Fixed by
these parts
these parts


Show All
Fridge too warm
Fixed by
these parts
these parts
Show All
Clicking sound
Fixed by
these parts
these parts
Show All
Door Sweating
Fixed by
these parts
these parts
Show All
Freezer section too warm
Fixed by
these parts
these parts
Show All
Light not working
Fixed by
these parts
these parts


Show All
Fridge and Freezer are too warm
Fixed by
these parts
these parts
Show All
Will Not Start
Fixed by
these parts
these parts
Show All
Freezer not defrosting
Fixed by
these parts
these parts
Show All
Leaking
Fixed by
these parts
these parts
Show All
Fridge runs too long
Fixed by
these parts
these parts
Show All
Too warm
Fixed by
these parts
these parts
Show All
Watch our pros, then fix it yourself.
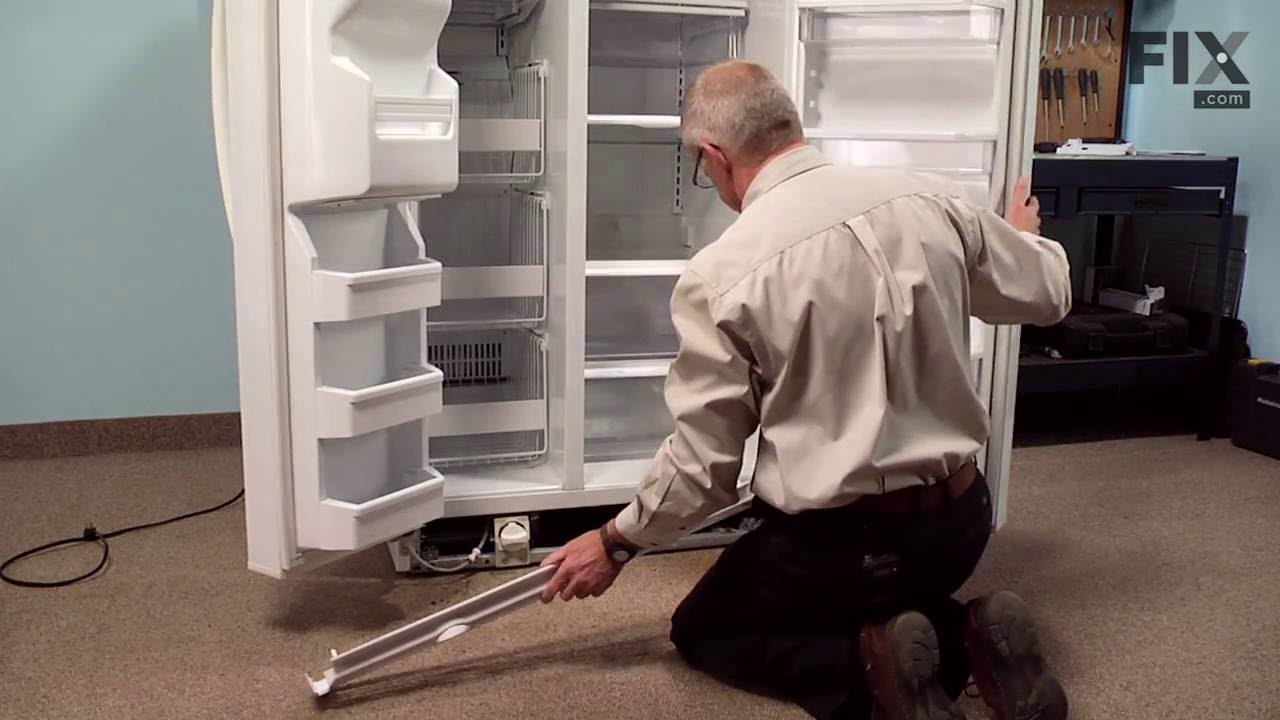
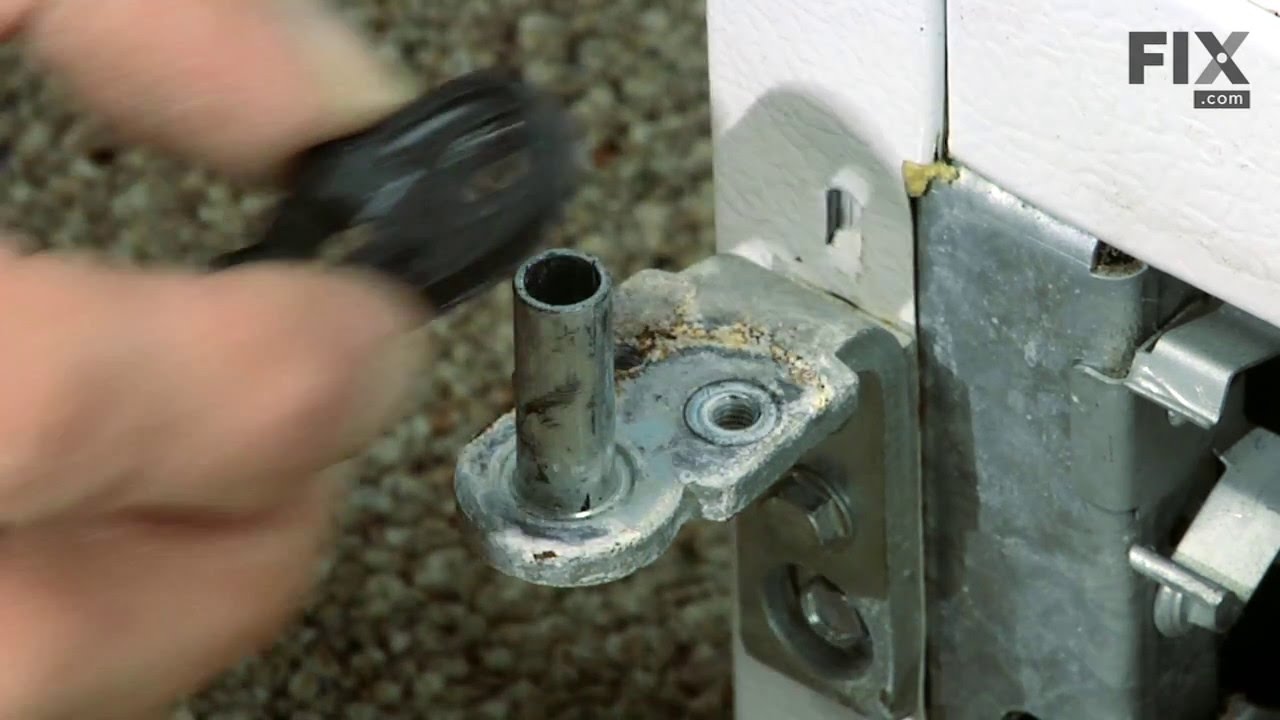
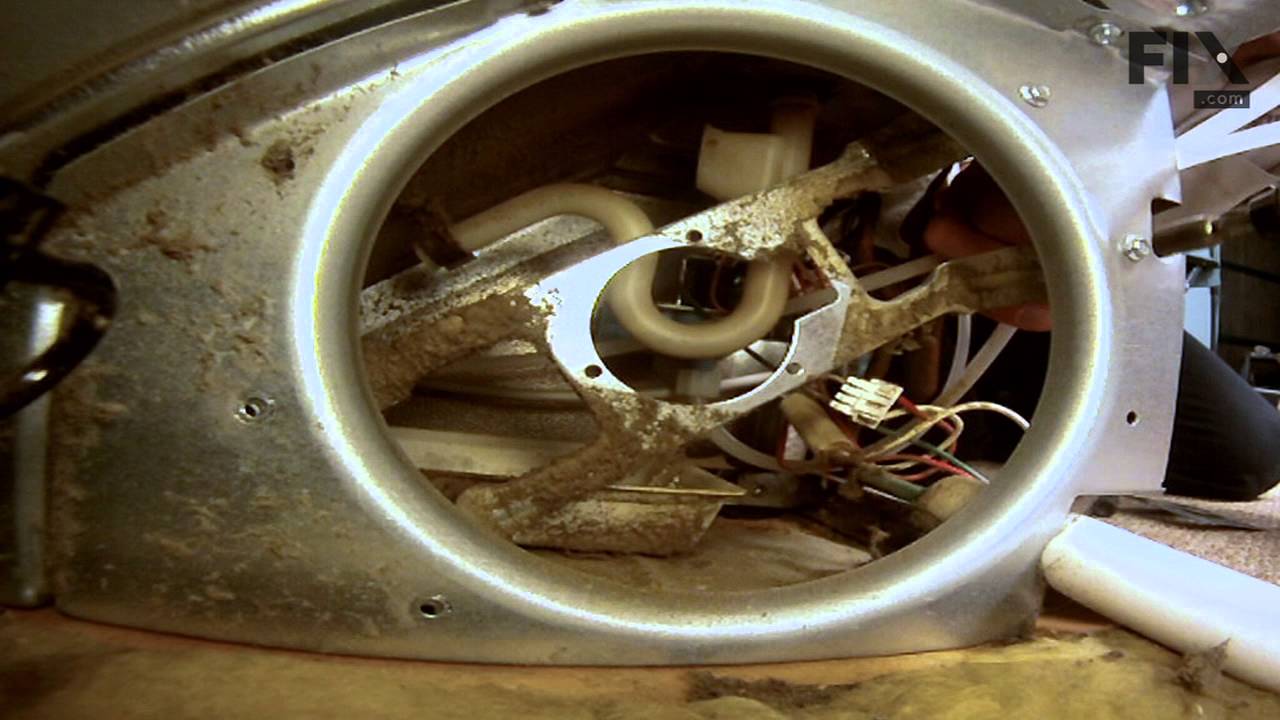
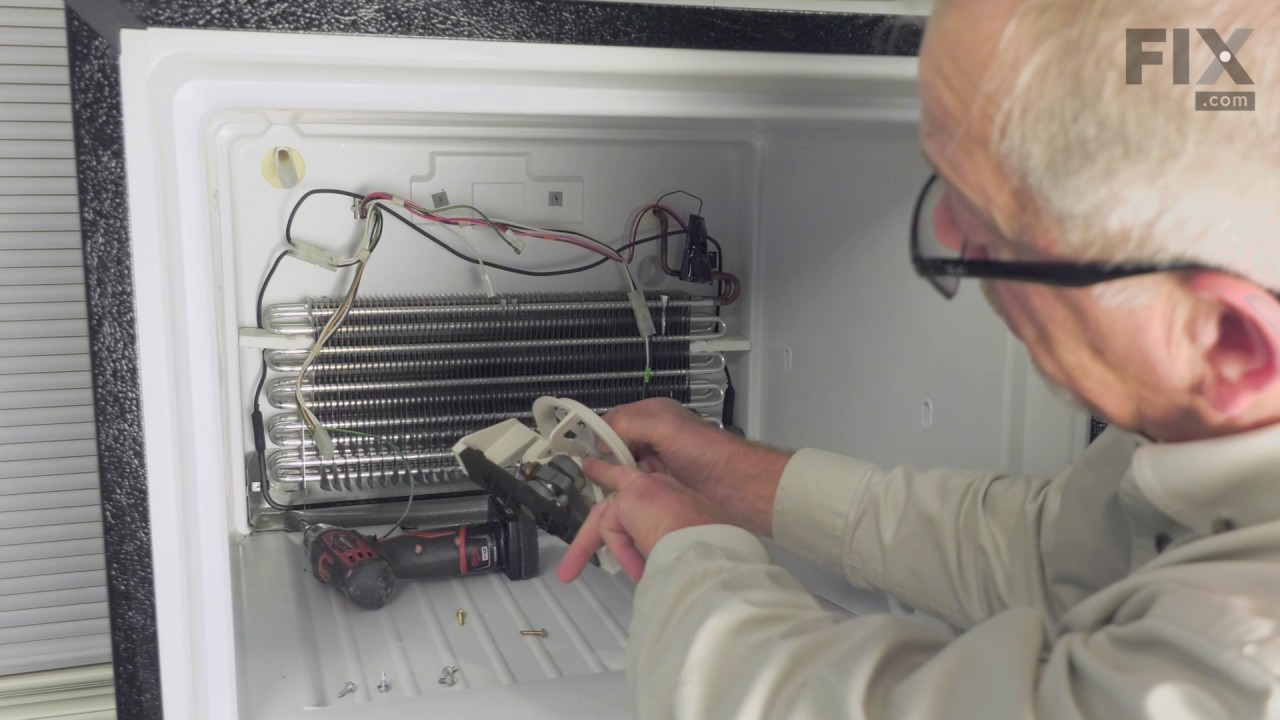
See how others fixed this model. Time, tools, difficulty, and steps that lead to victory!
View More
Search repair tips from other customers using simple keywords like "replace", "fit", "remove", "inspect". DIY doesn't mean you have to do it alone!
Search filter:
Clear Filter
Your search term must have 3 or more characters.
Refigerator door was not closing all the way if not pushed shut.
394 of 419 people
found this instruction helpful.
Remove the top hinge cover. Removed the top hinge support. Lifted the door from the bottom support. Old door cams were worn completly flat. Replaced the lower door cam and closing cam use a little vasalene for lubricant on the cam surfaces. Placed the door back on the lower hinge support. Replaced the top hinge support. Door is cl
... Read more
osing great now.
Thanks for the quick part deliver.
Thanks for the quick part deliver.
Read less
Other Parts Used:
Was this helpful?
Thank you for voting!
Refrigerator Door quit closing on it's own......
140 of 153 people
found this instruction helpful.
Door quit closing on it's own......
** Order the following from www.partselect.com
Lower Door Closing Cam -- Part Number: PS323495
Upper Door Closing Cam -- Part Number: PS327641
1. 1/4 drive socket and standard socket
2. On top of door .... remove black plastic bracket ... Read more cover on top of hinge
3. Have someone hold the frige door in place
4. On top of door .... remove 3 screws that hold the hinge onto the frige..... at this time, door will be loose
5. Lift door up and off the bottom hinge.
6. sit door on the ground. Tilt door at an angle for access to the "cam"
7. On frige, at the bottom, use socket to remove one screw that holds the old "bottom" cam in place..... then replace with new one.
8. While door is tilted, use socket to remove one screw that holds the "top" cam in place.
9. You will need to gently pull this cam out.... shouldn't take too much effort though.
10. Replace with new cam.
11. put door back on hinge
12. At top of frige, reinstall 3 screws
13. Reinstall plastic cover.
14. Voila, you're done
Thanks PartSelect !
** Order the following from www.partselect.com
Lower Door Closing Cam -- Part Number: PS323495
Upper Door Closing Cam -- Part Number: PS327641
1. 1/4 drive socket and standard socket
2. On top of door .... remove black plastic bracket ... Read more cover on top of hinge
3. Have someone hold the frige door in place
4. On top of door .... remove 3 screws that hold the hinge onto the frige..... at this time, door will be loose
5. Lift door up and off the bottom hinge.
6. sit door on the ground. Tilt door at an angle for access to the "cam"
7. On frige, at the bottom, use socket to remove one screw that holds the old "bottom" cam in place..... then replace with new one.
8. While door is tilted, use socket to remove one screw that holds the "top" cam in place.
9. You will need to gently pull this cam out.... shouldn't take too much effort though.
10. Replace with new cam.
11. put door back on hinge
12. At top of frige, reinstall 3 screws
13. Reinstall plastic cover.
14. Voila, you're done
Thanks PartSelect !
Read less
Other Parts Used:
Was this helpful?
Thank you for voting!